
April DIY – Make Your Own Bow
I love making these sweet fabric bows. They are so much fun to make and are great accessories.
Here’s how….
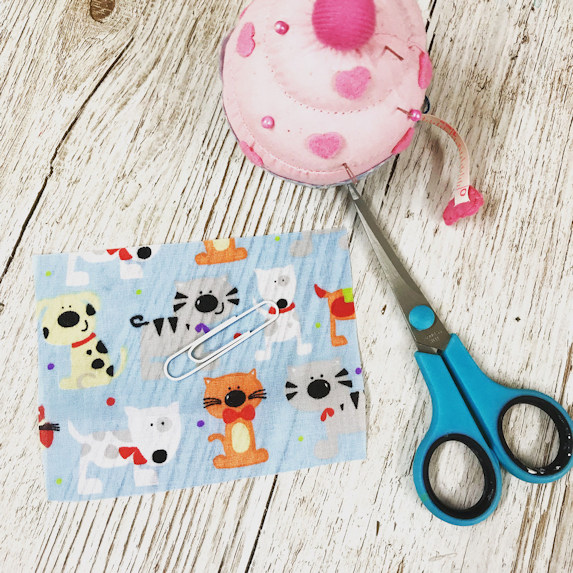
Take a piece of fabric, the wonder web and the clip. You will also need a hot iron. So if you are younger, you will need help with this.
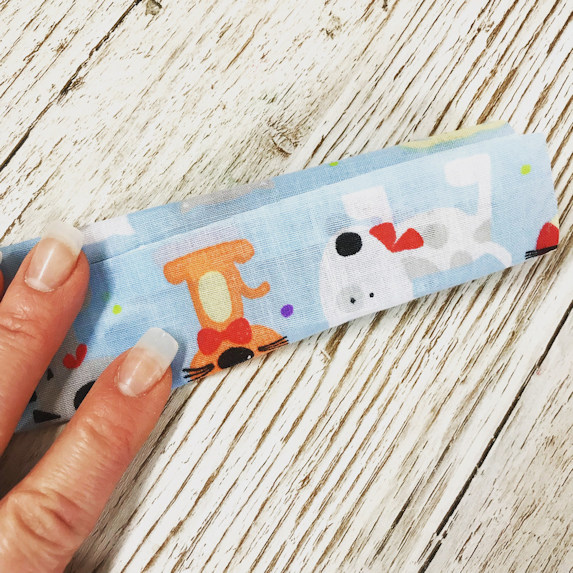
Start by folding over the ends so that your fabric looks neat. I ironed the sides over so it looked neat and tidy.
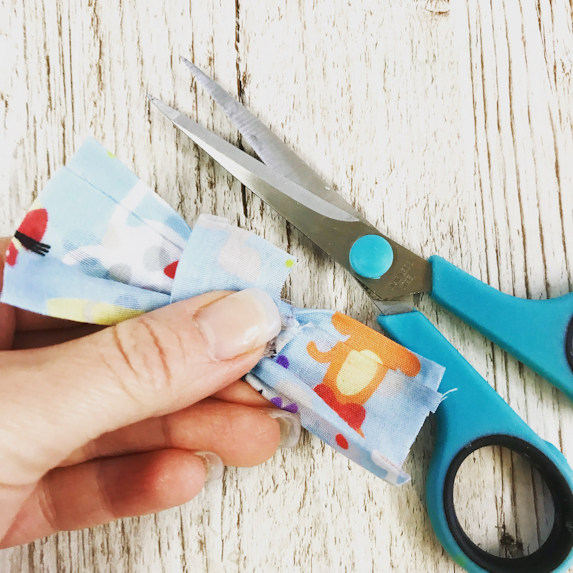
I’ve trimmed a little off the end to keep for the centre of the bow.
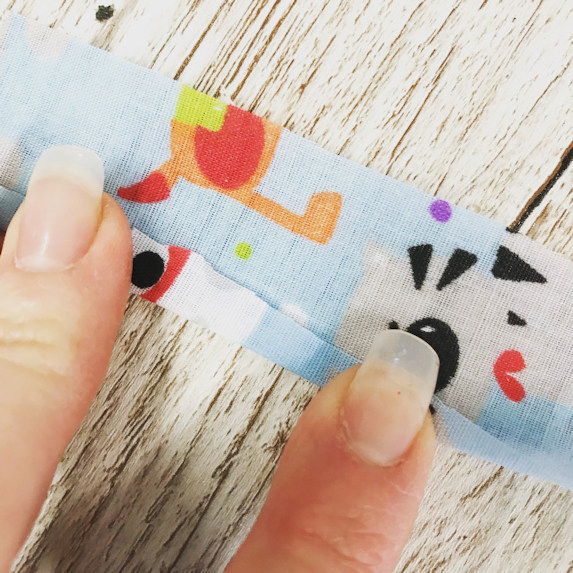
Now fold your fabric over like this and place the wonder web inside along the edges. Trim a small piece of the wonder web off, so you have a tiny piece left over. Pop that to one side and iron your fabric strip. The fabric will be fused together with the wonder web. I usually place a cotton cloth over the top of the fabric before ironing.
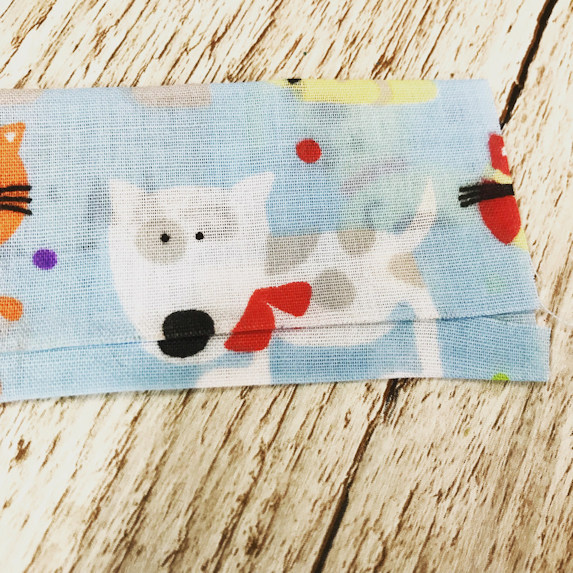
It will look like this. The wonder web is along the edges where it’s now joined together.
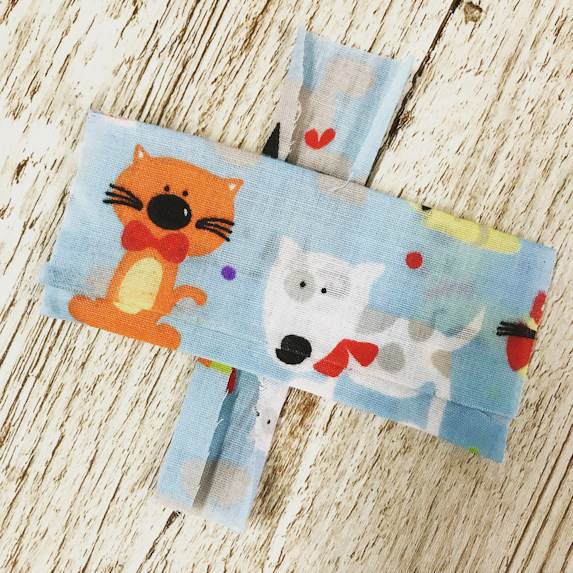
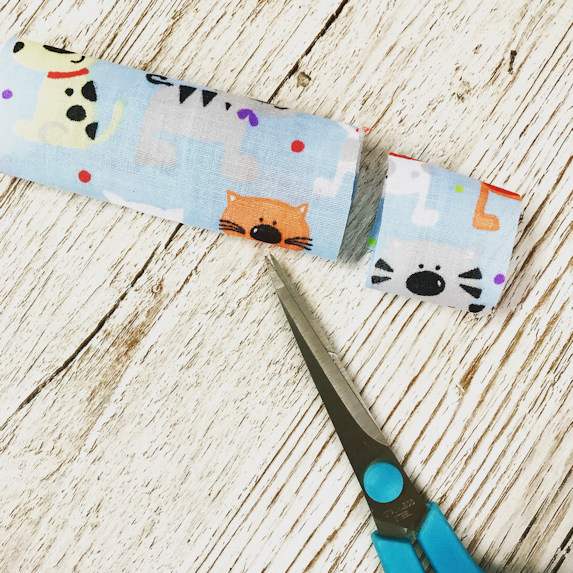
Now take that little strip that you cut off, fold over the sides again so they look tidy and place under your ironed piece. I like to place the seem that you’ve just joined facing up like this so it looks tidier.
Now wrap the thin fabric strip around the centre like this. Place the teeny piece of wonder web between as this will hold the bow together.
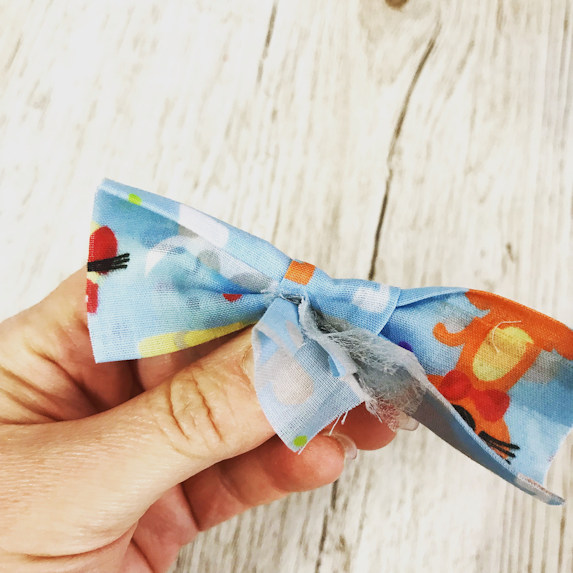
Iron it in place and then trim any excess fabric.
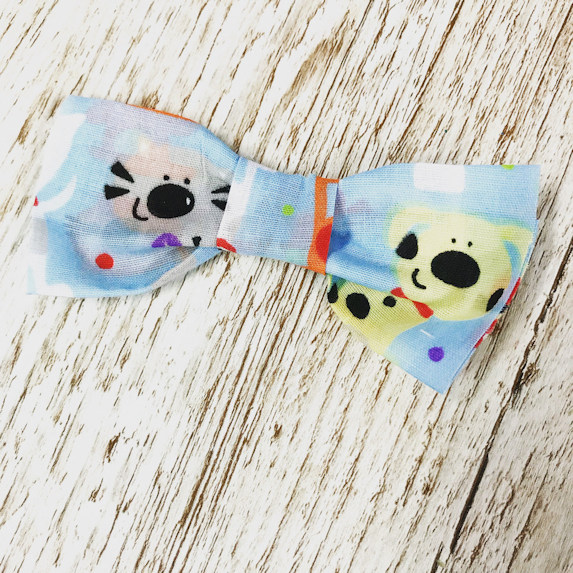
Pull the fabric to make a cute bow.
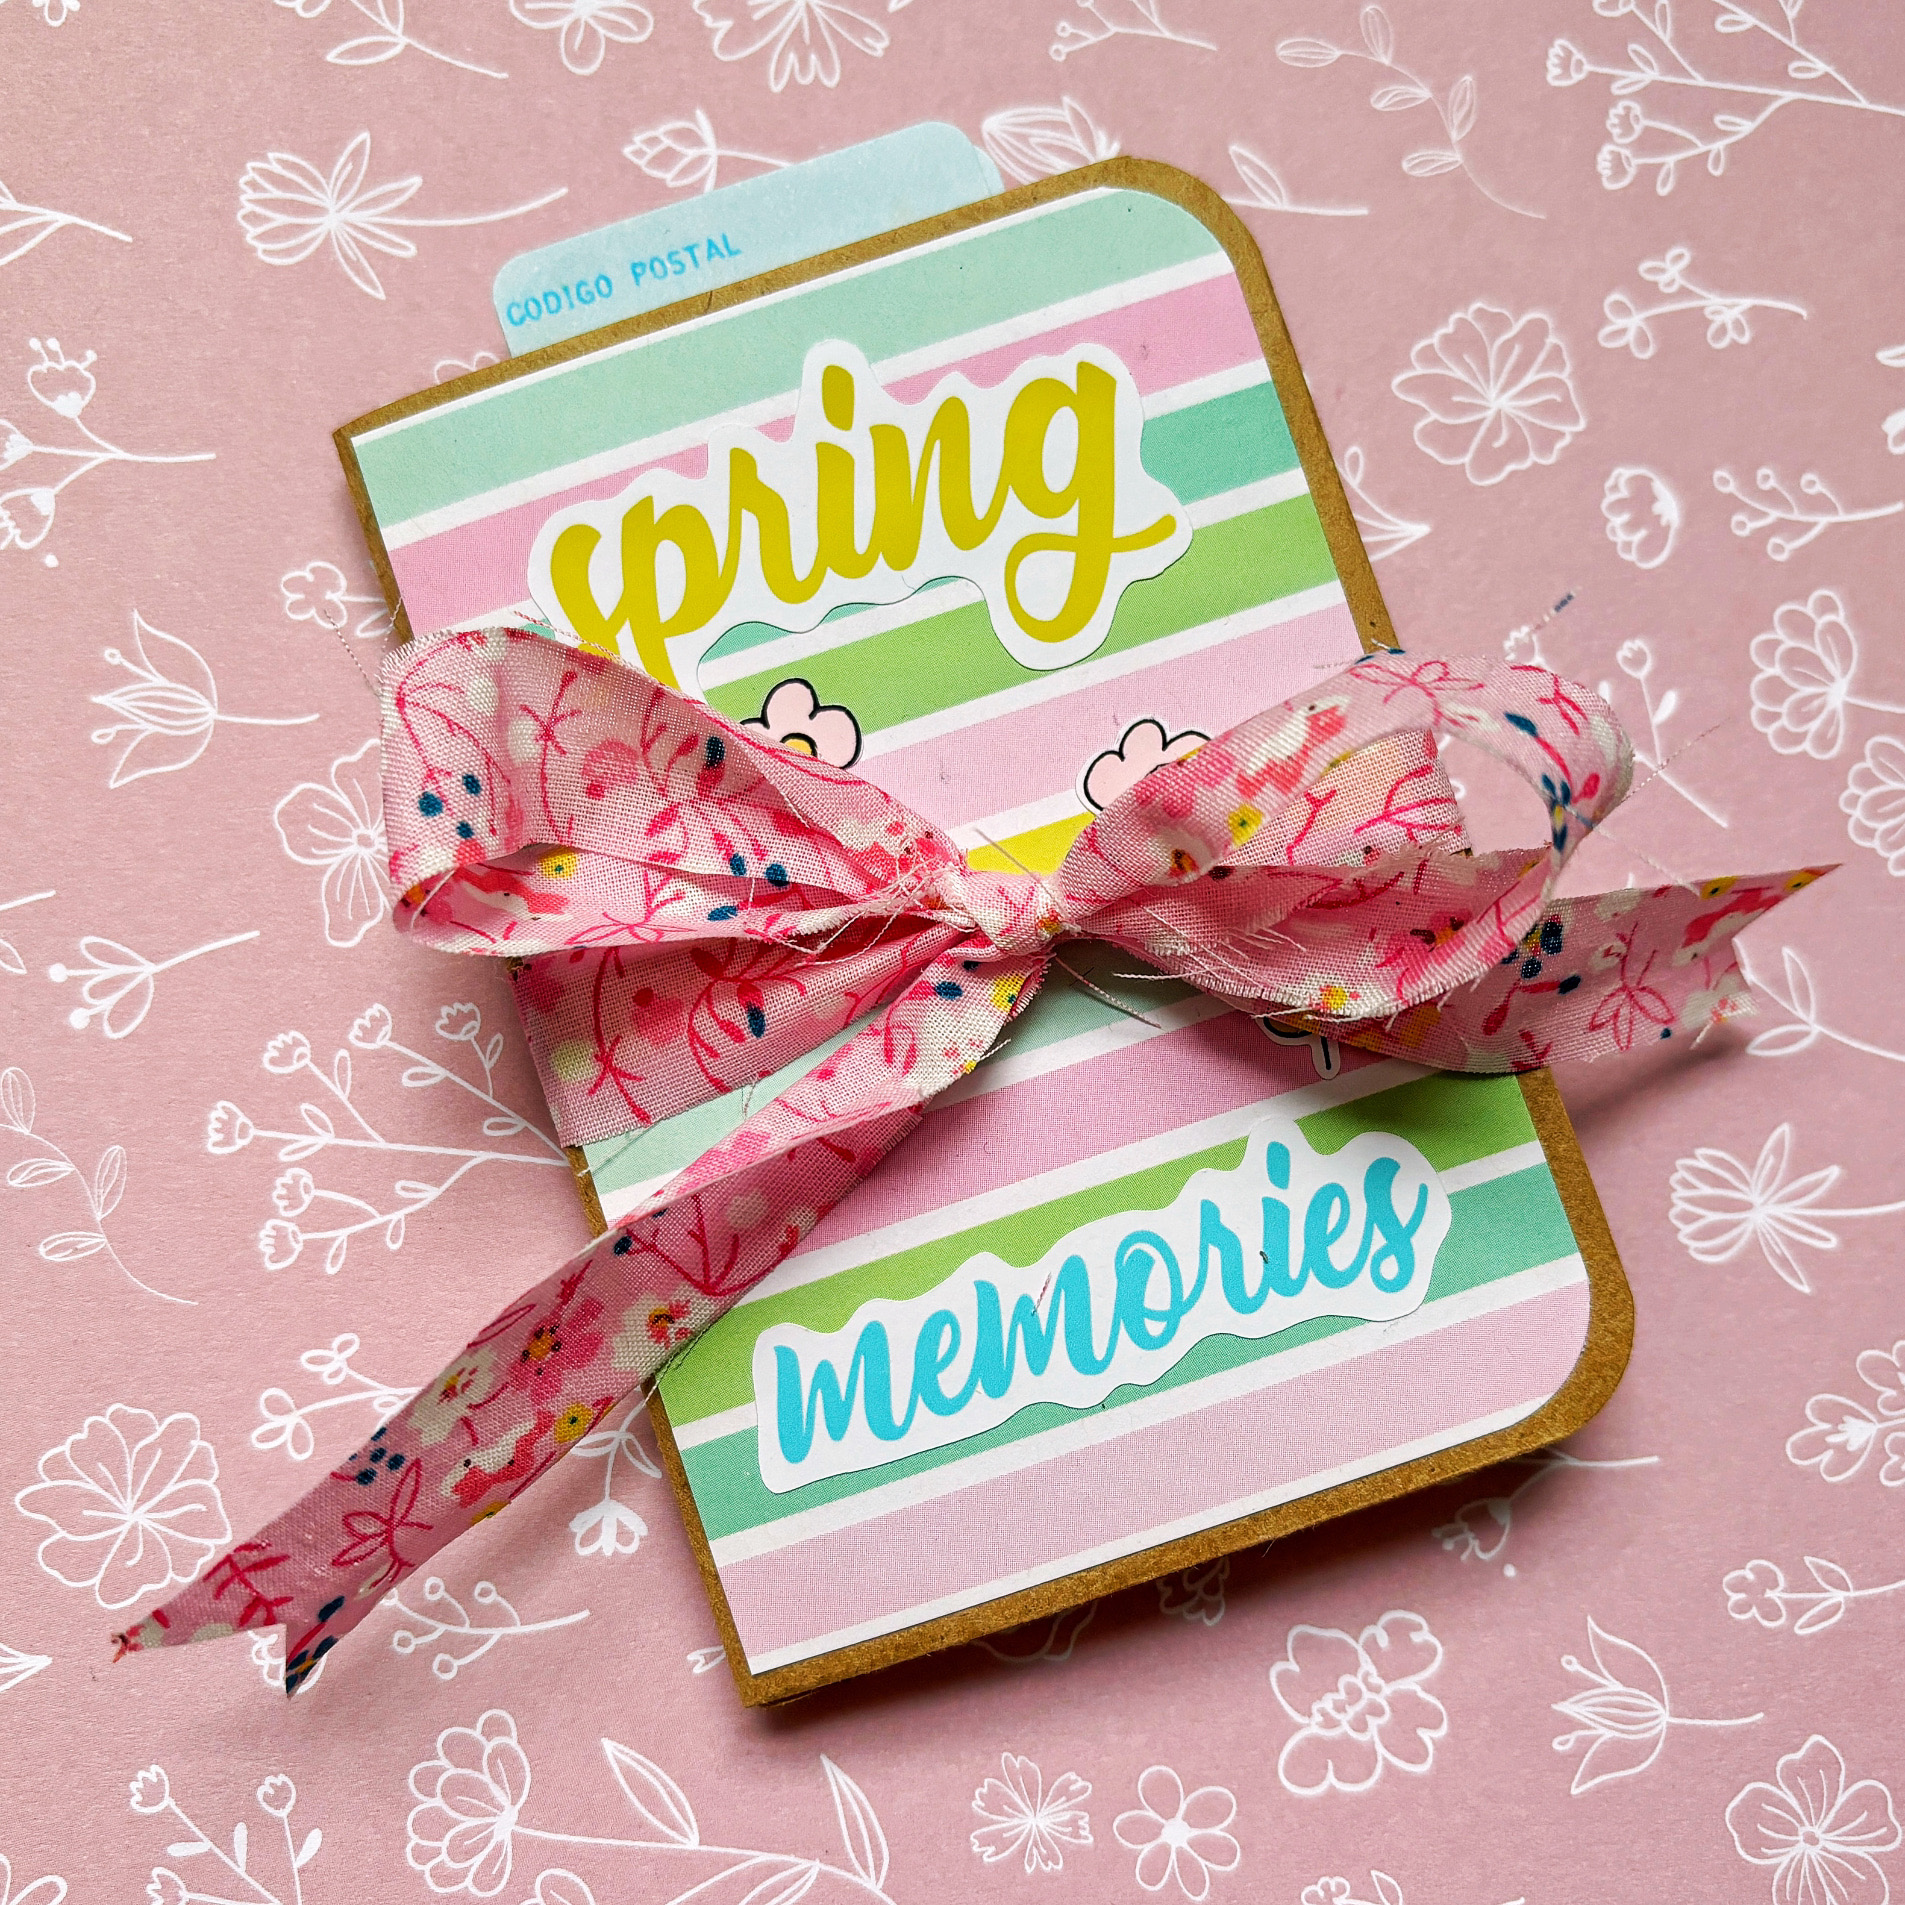
You could use this as an embellishment or even add a hair clip or elastic.
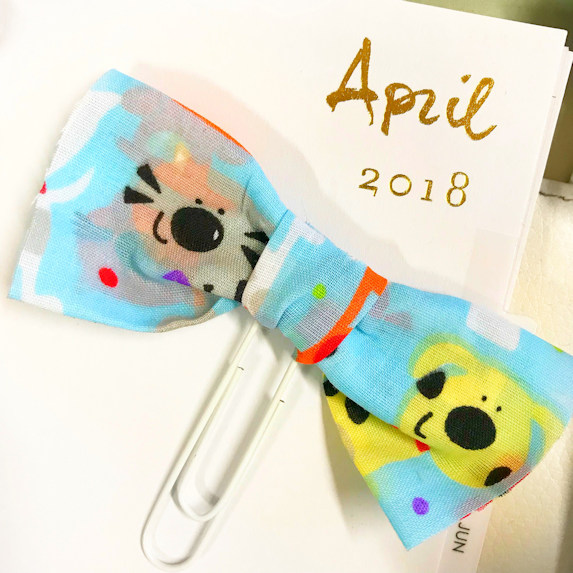
I chose to add a paper clip to mine.
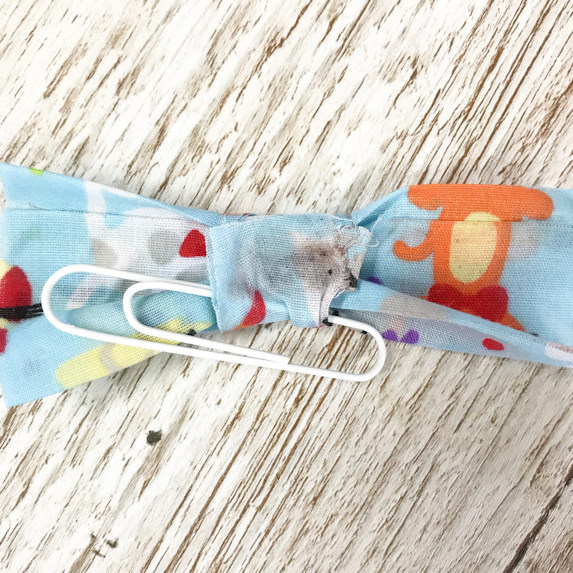
I threaded through the paper clip on the back.

And now I have the cutest planner clip.
If you really want it to feel secure you can also add a little glue using a glue gun.
I hope you love this month’s DIY. I can’t wait to see your’s. Don’t forget to share them online. Either add #lollipopboxclub to your instagram photos or add a photo to our chat group here.
And if you’d still like an April kit, you can buy one here.
Have fun crafty friends!!
Leave A Comment