
Pumpkin Dashboard with Vicki
Hiya, Vicki here,
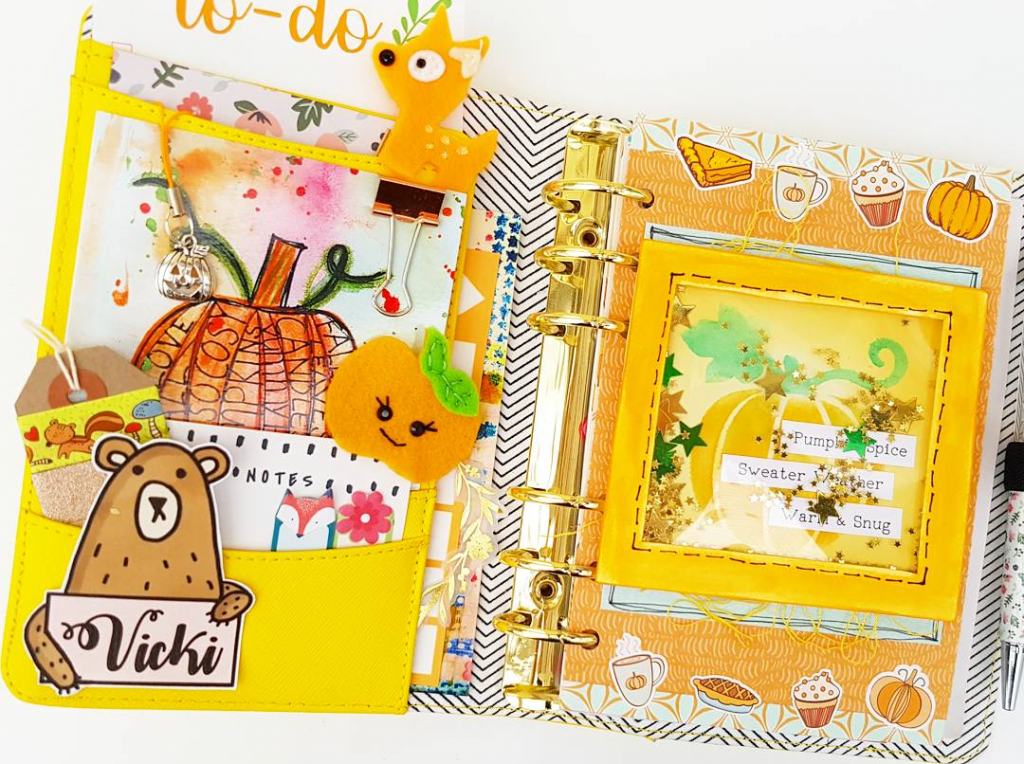
I’ve given the front of my planner a little pumpkin makeover with this months box! So many lovely pumpkiny bits to use!
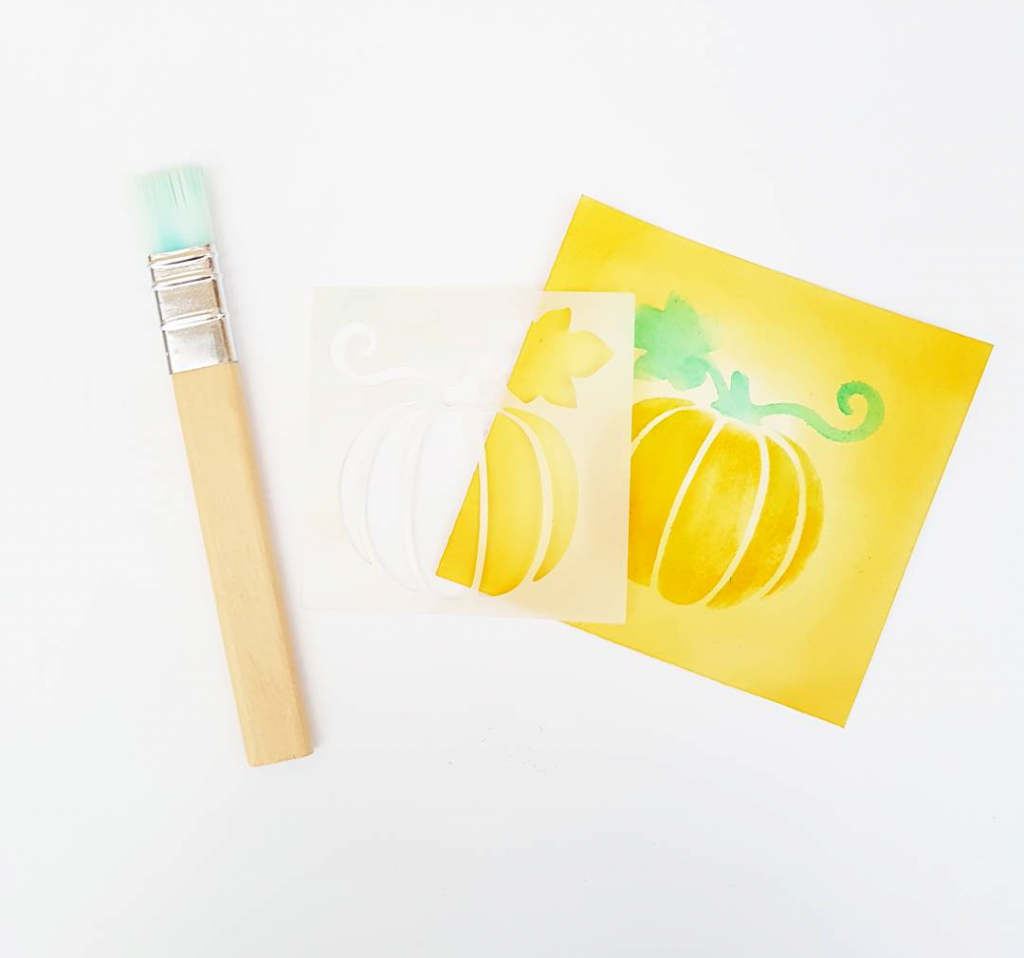
To make the shaker dashboard I cut a square of white card and used an orange watercolour on it. Once it was dry I taped the pumpkin stencil down over it. (this is an addon and can be bought here)I used an orange and green ink pad and a paintbrush to dab it on.
I cut another square of card the same size and used a craft knife to cut out the centre making a frame.
To make the window to hold the sequins in I cut down the packaging bag from the stencil and used double sided tape to stick it to the back of the frame. (You want to try and pull it really tight!)
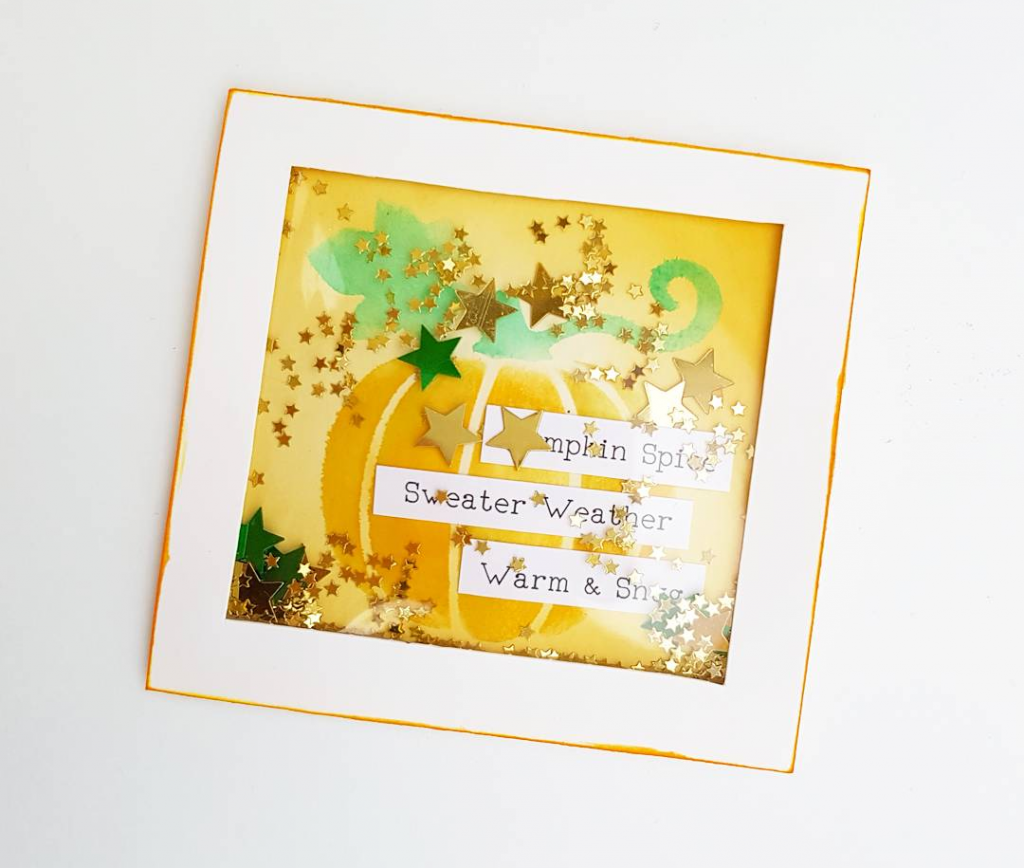
I glued a few of the sentiments onto the pumpkin and poured some star sequins into the centre. I used foam tape and put it all the way round the frame, then stuck it down over the pumpkin square and gave it a shake! I gave that a quick paint with the orange too.
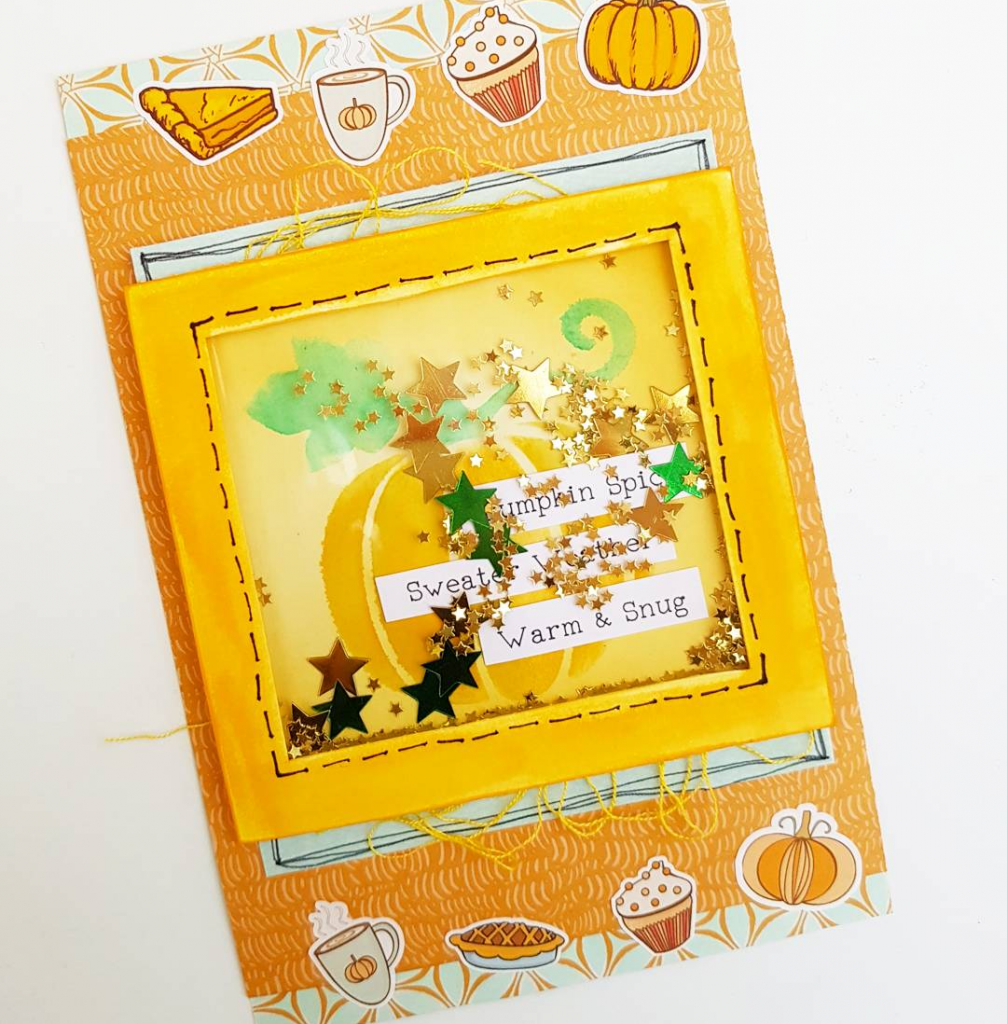
I used a couple of the papers from the kit to make the dashboard the right size and added some of the Beautiful Planning stickers to the top and bottom. I just used double sided tape to attach the shaker window.
I popped a few of the other bits in the pockets opposite too!
I hope you all enjoy your kits as much as I am this month!
Leave A Comment