
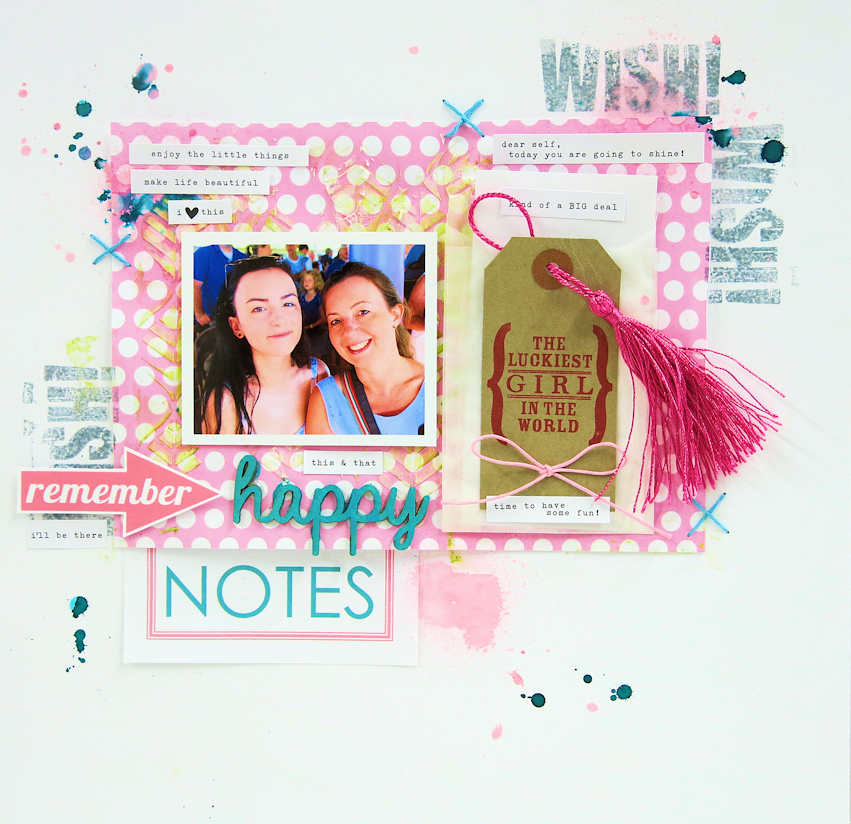
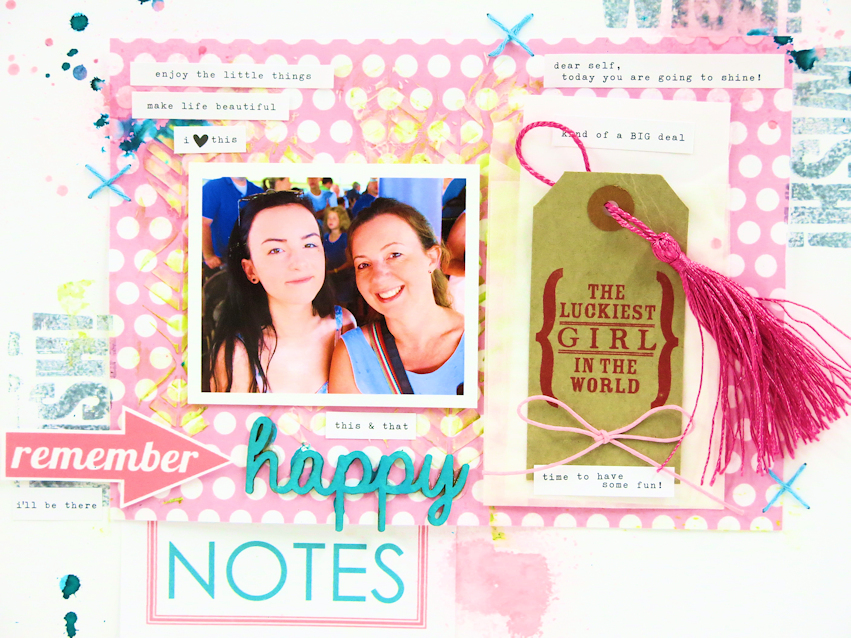
Today I am using the May ‘Make a Wish Kit’ to create this layout above. I will go through the process with you.
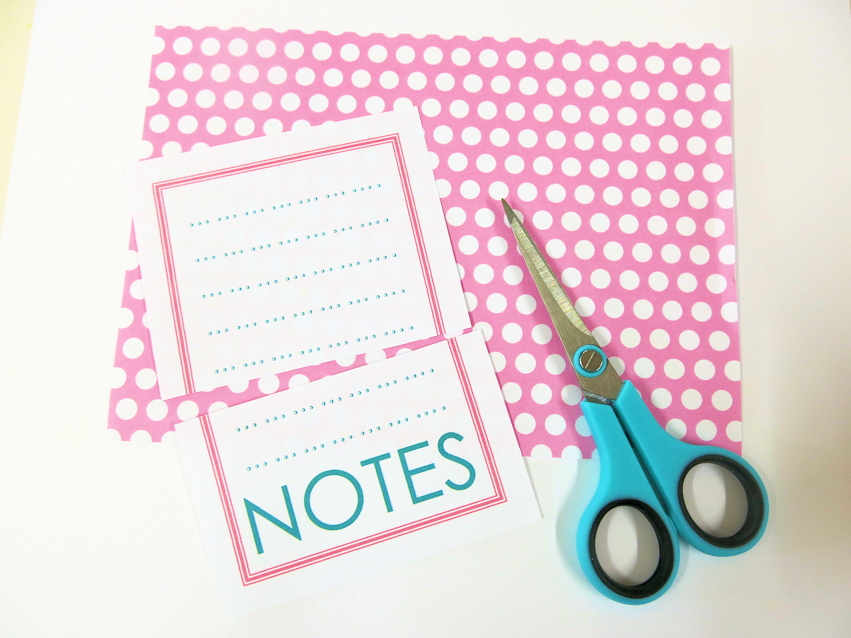
I started off with one piece of 12×12 white card and the pink spotty paper from the kit. I took the note paper, also in the kit and just trimmed the ‘Notes’ bit off as that’s all I needed for this scrapbooking page.
The papers got stuck down in place and now to paint one of the wooden words from the kit.
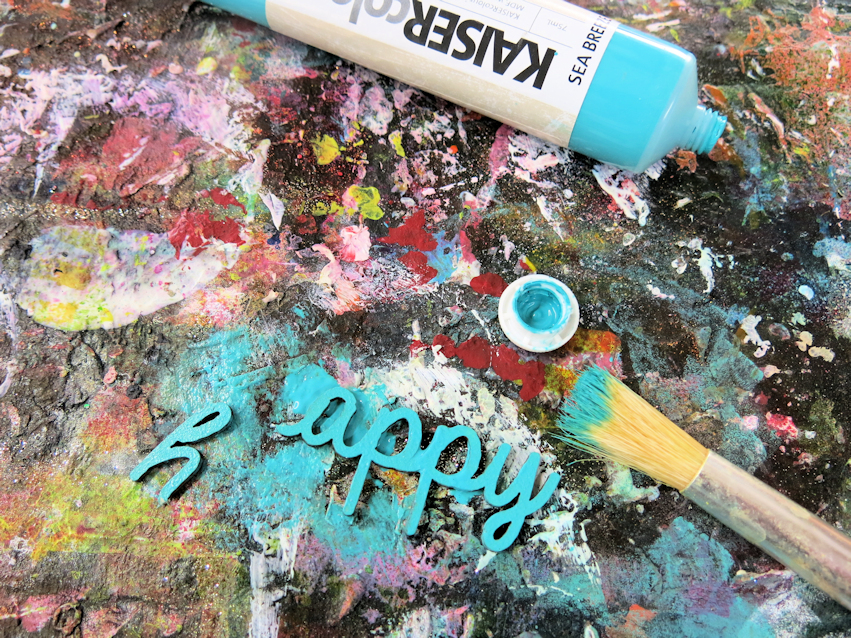
I managed to break mine, but I knew once painted it would stick together again.
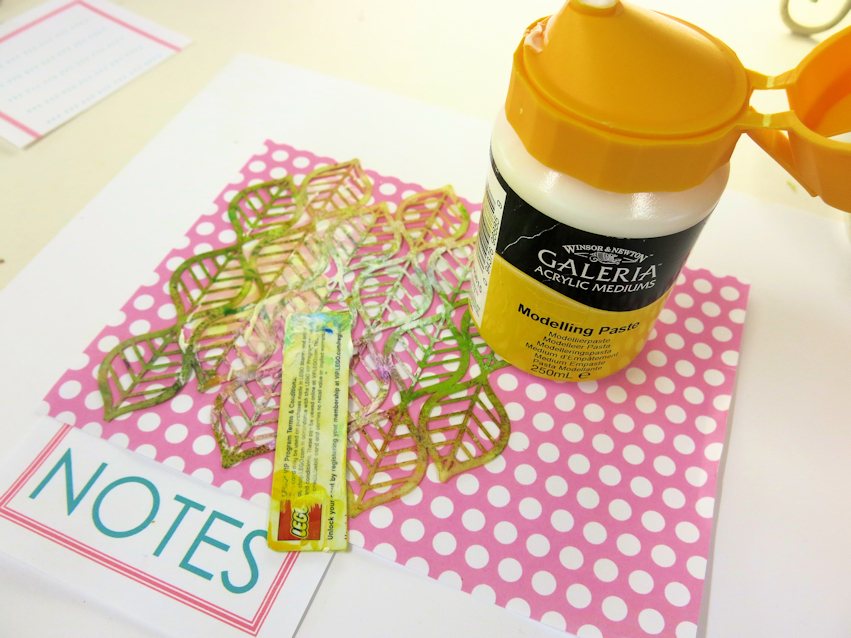
I then applied some modelling paste to my spotty paper using an old credit card. Then I dried it with a heat gun.
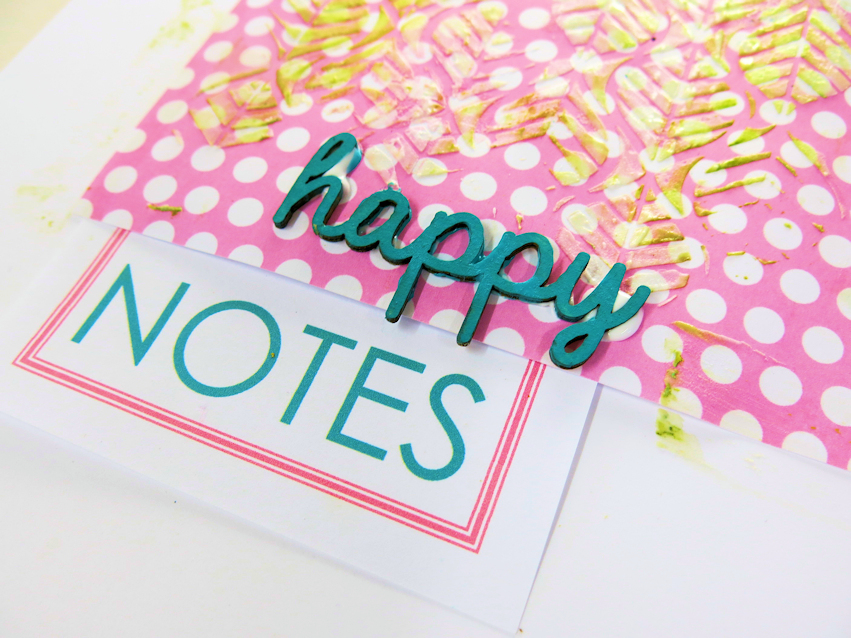
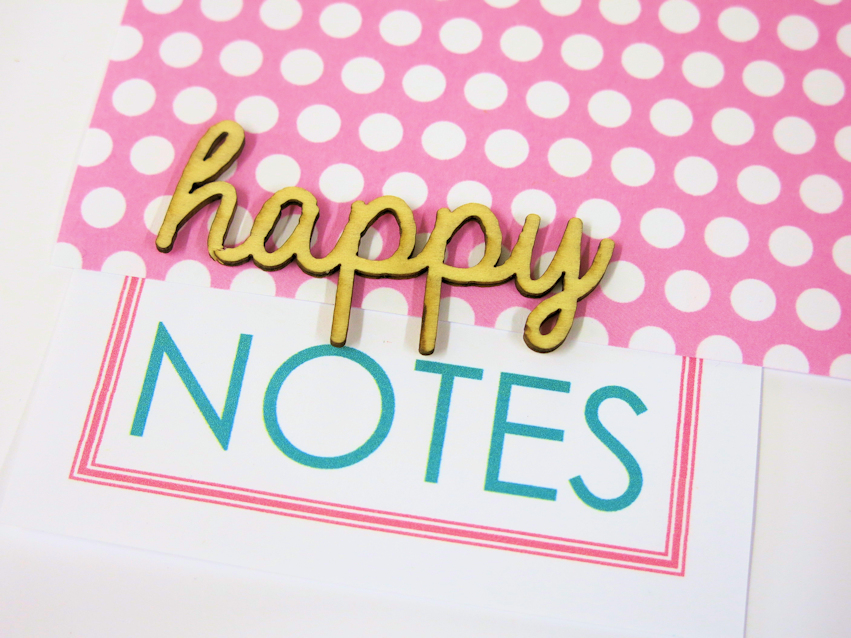
I stuck the word ‘happy’ on with some pva glue to create my title.
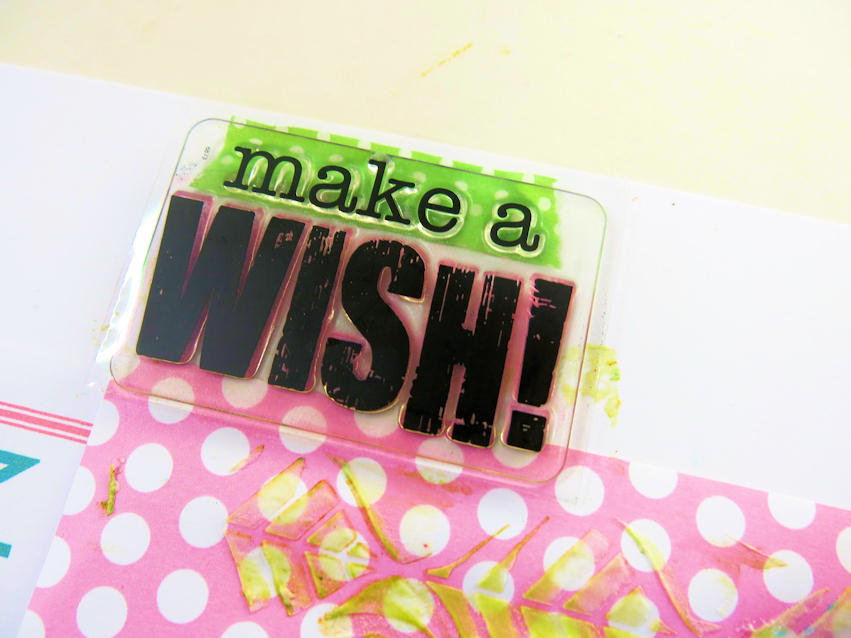
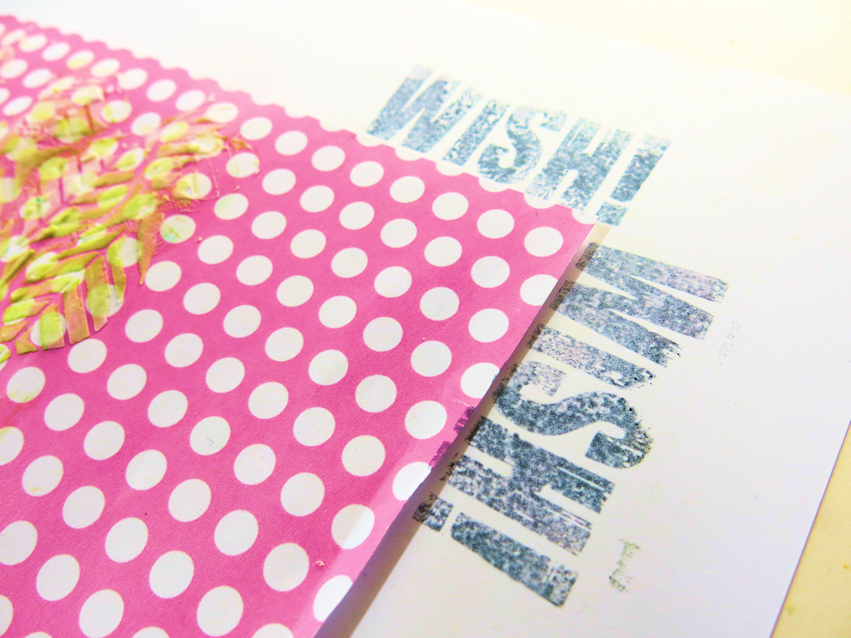
I took the stamp from this month’s kit. I only wanted to use the word ‘wish’ though. So I covered the ‘make a’ part with washi tape. I inked up the word ‘wish’ and stamped on my page.
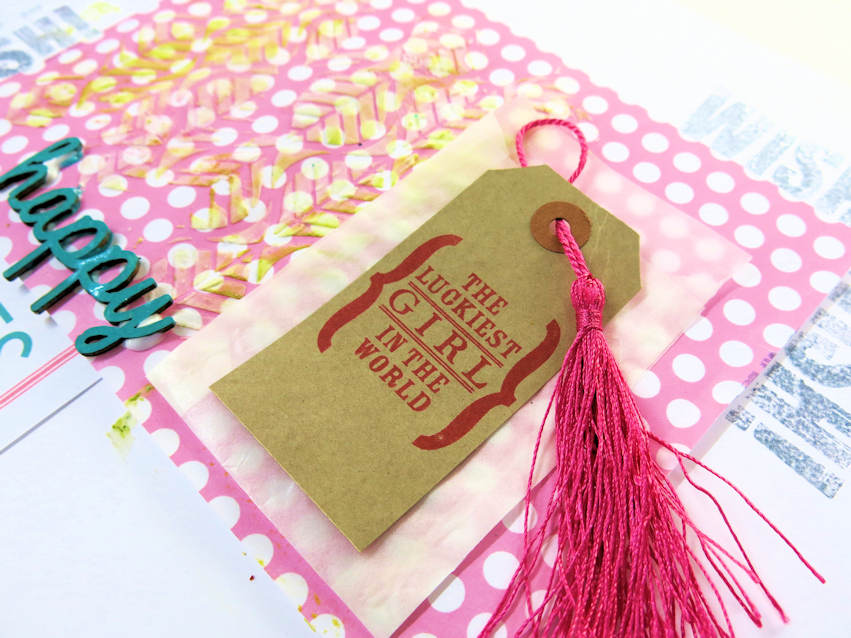
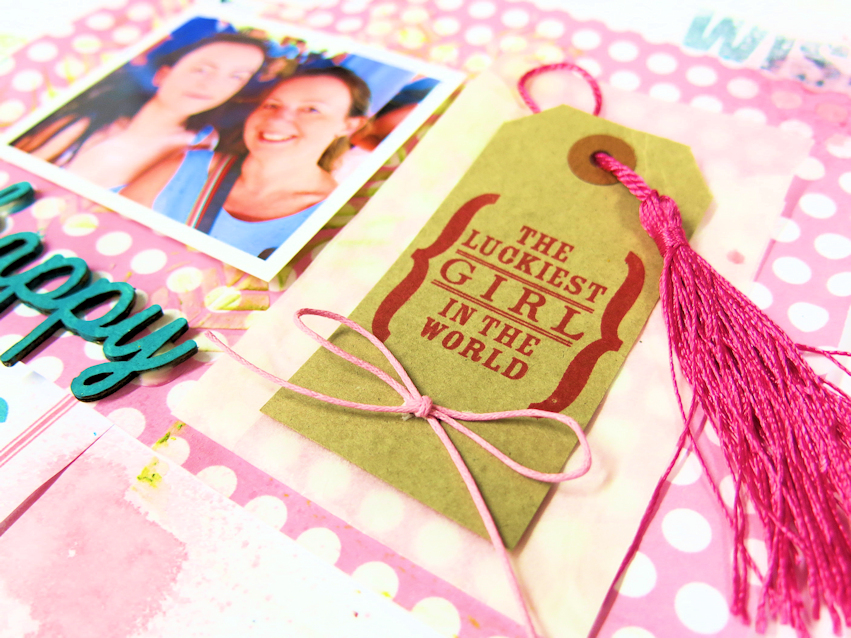
The wooden words come in a glassine envelope, so I’m using this for some hidden journaling. I’ve taken the tag and the tassle from the kit too. I’ve stuck everything down, including the tassle with double sided sticky tape.
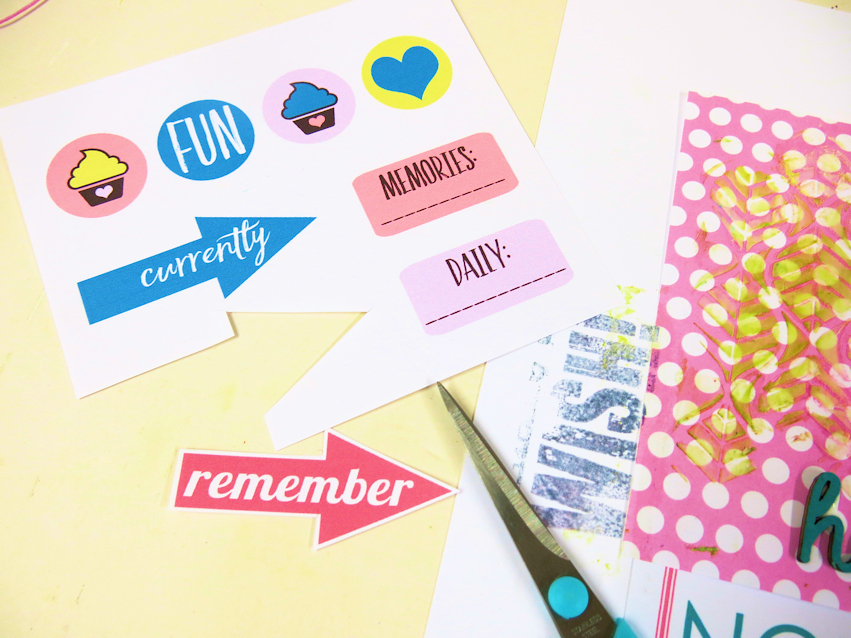
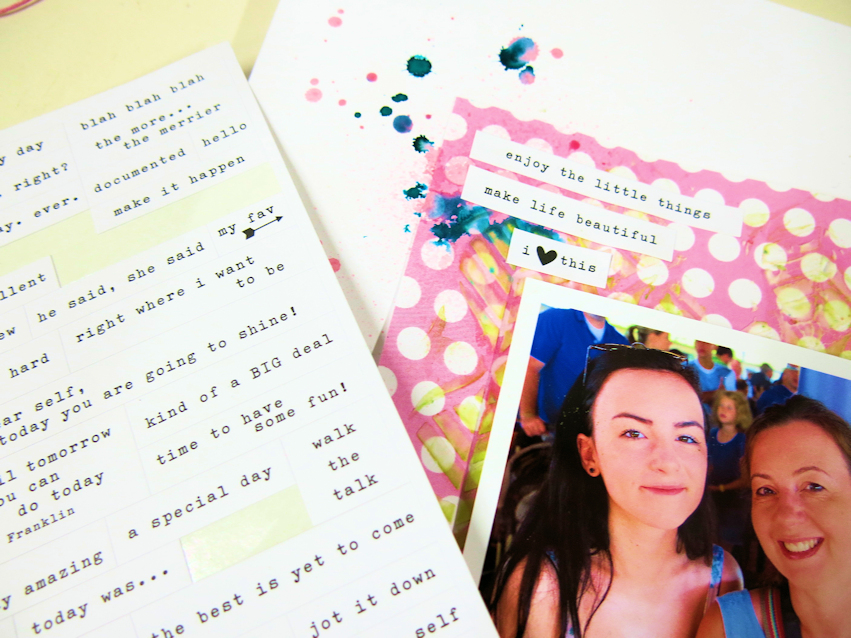
l used the printable from the kit too.
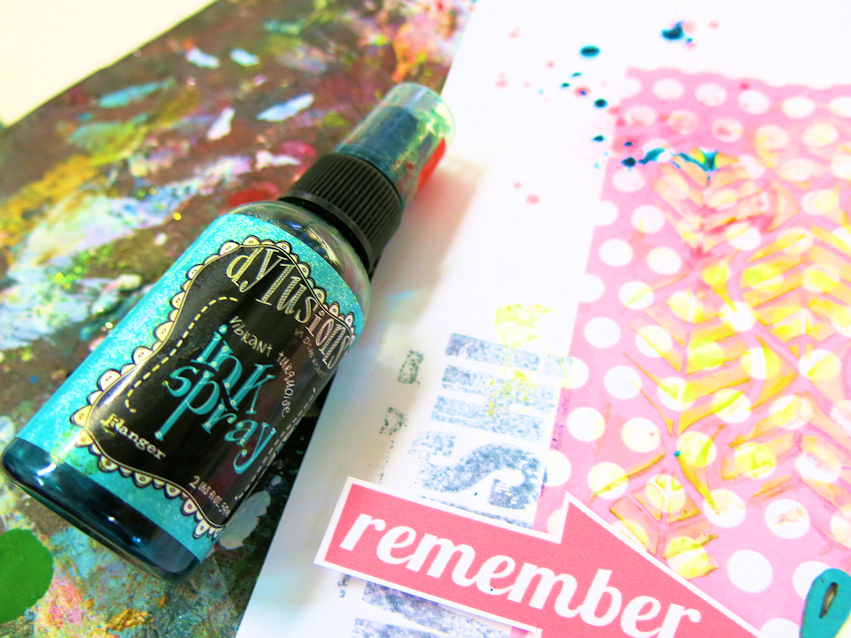
I sprayed and dripped some pink and teal inks.
I used some stickers from the kit. I love these Simple Stories word stickers.
I used the a little of the pink twine from the kit to make a bow on the tag.
And I sewed a few cross stitches too.

I wrote a little note to go in the glassine envelope and the LO was finished.
Thanks for joining me here today.
If you would like to see more of my scrapbooking, please visit my new YouTube channel here. Lisa x

Wow -so much detail! -lovely page!
Very pretty page
You are so good at scrapping, this looks amazing!
Thank you Yvonne xx