
Hello!!
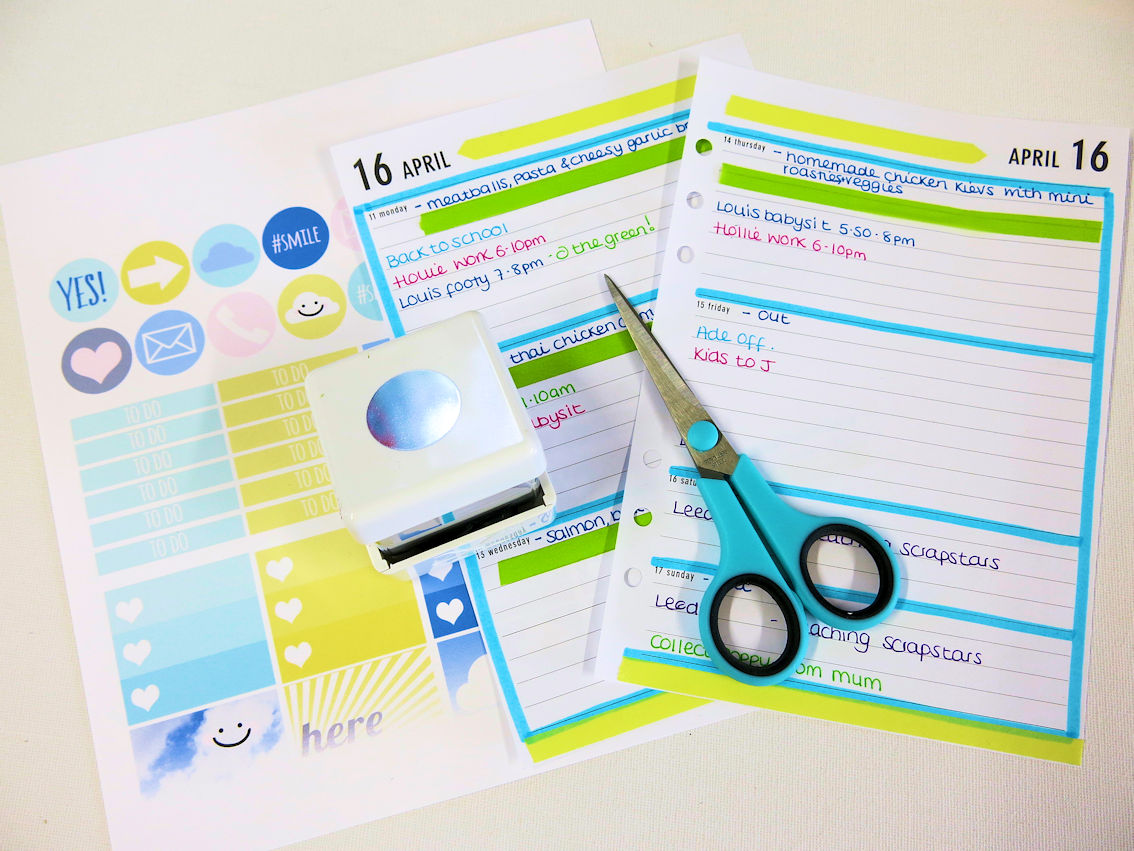
I thought it would be fun to go through a transformation process today. I’ll go through how I like to bring my planner pages to life. I do also like to buy pretty planner pages that are already decorated, but sometimes I love to use up my stash and play a little. The above double page started life as just plain pages that came in my planner, waiting to be loved.
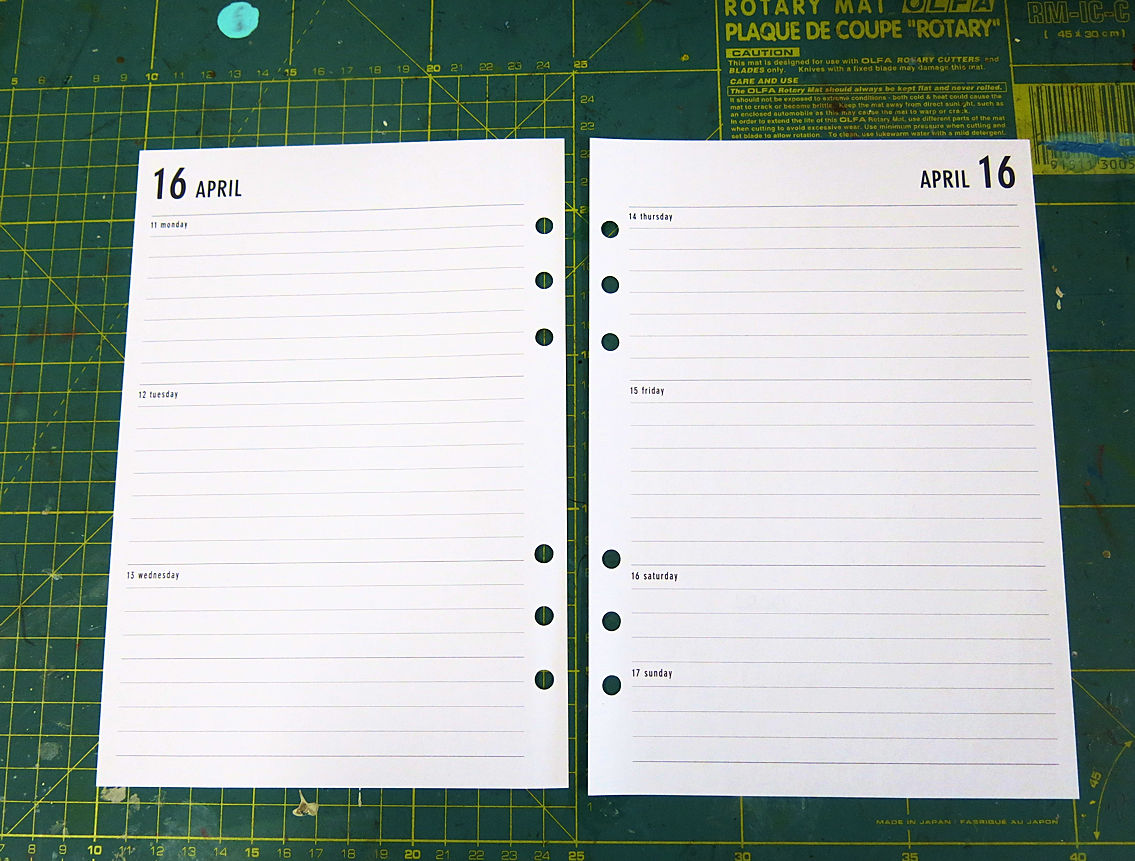
Fully functional, but not exactly pretty, eh?!
I find that by using lots of colours it helps my plans and schedule to stand out. We don’t want to miss anything after all.

Outling is always a good place to start. I like to use highlighters for this. They make the lines on my pages really stand out.
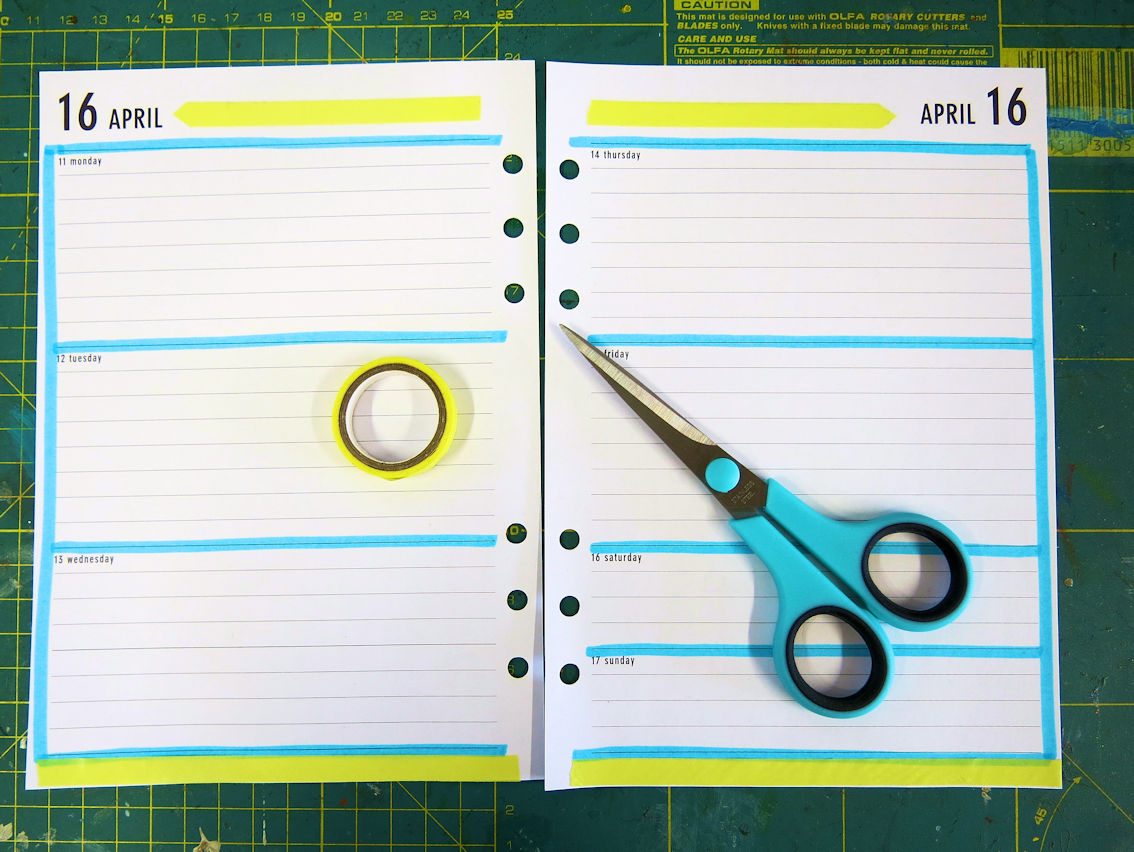
Using washi tape is another good way. I used some of the thin washi from last month’s kit. The top strips by the date, I cut in to points.
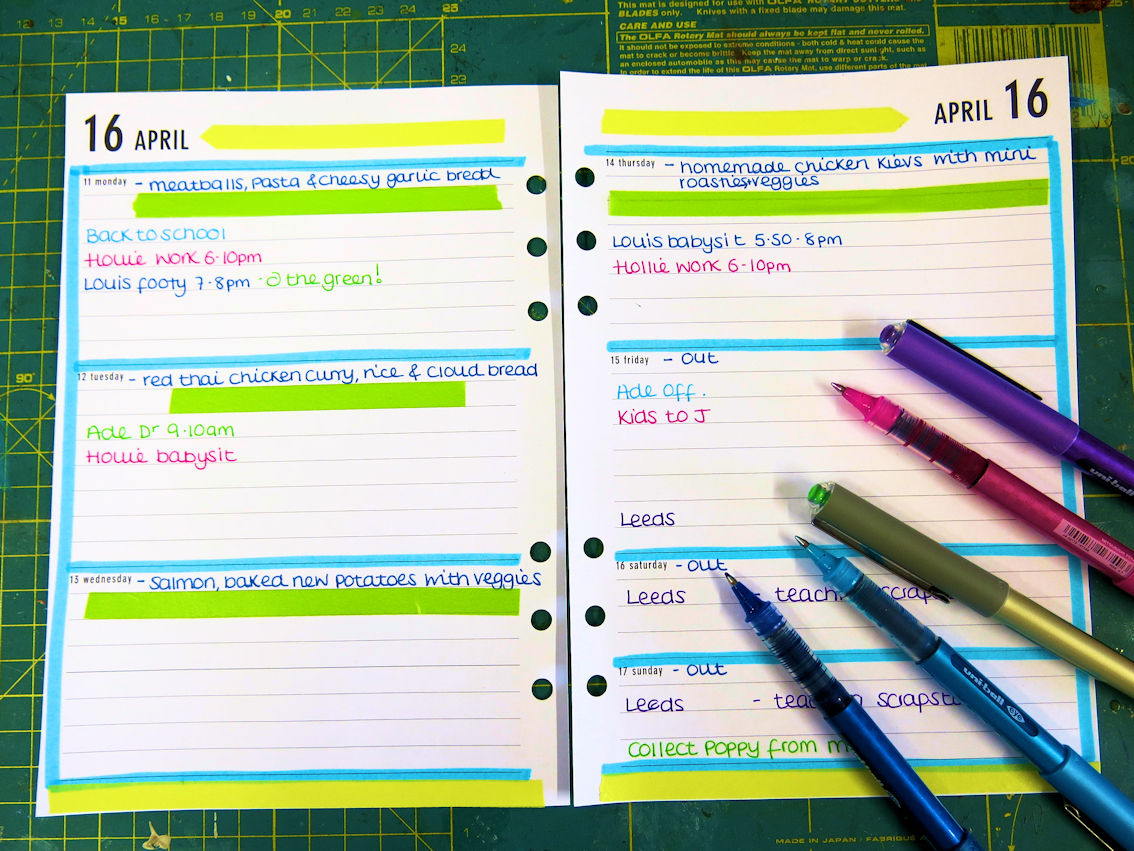
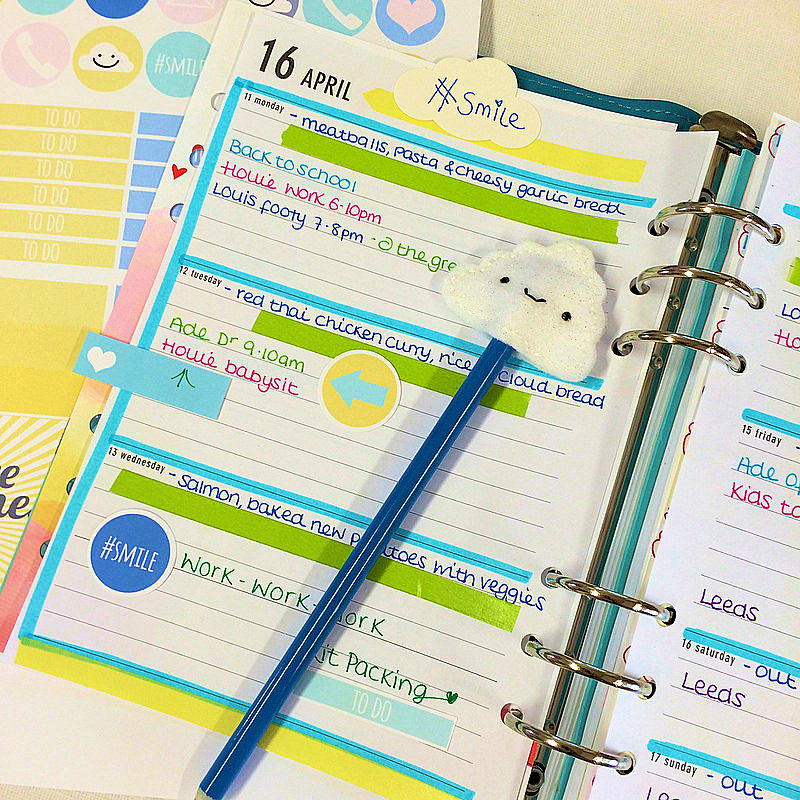
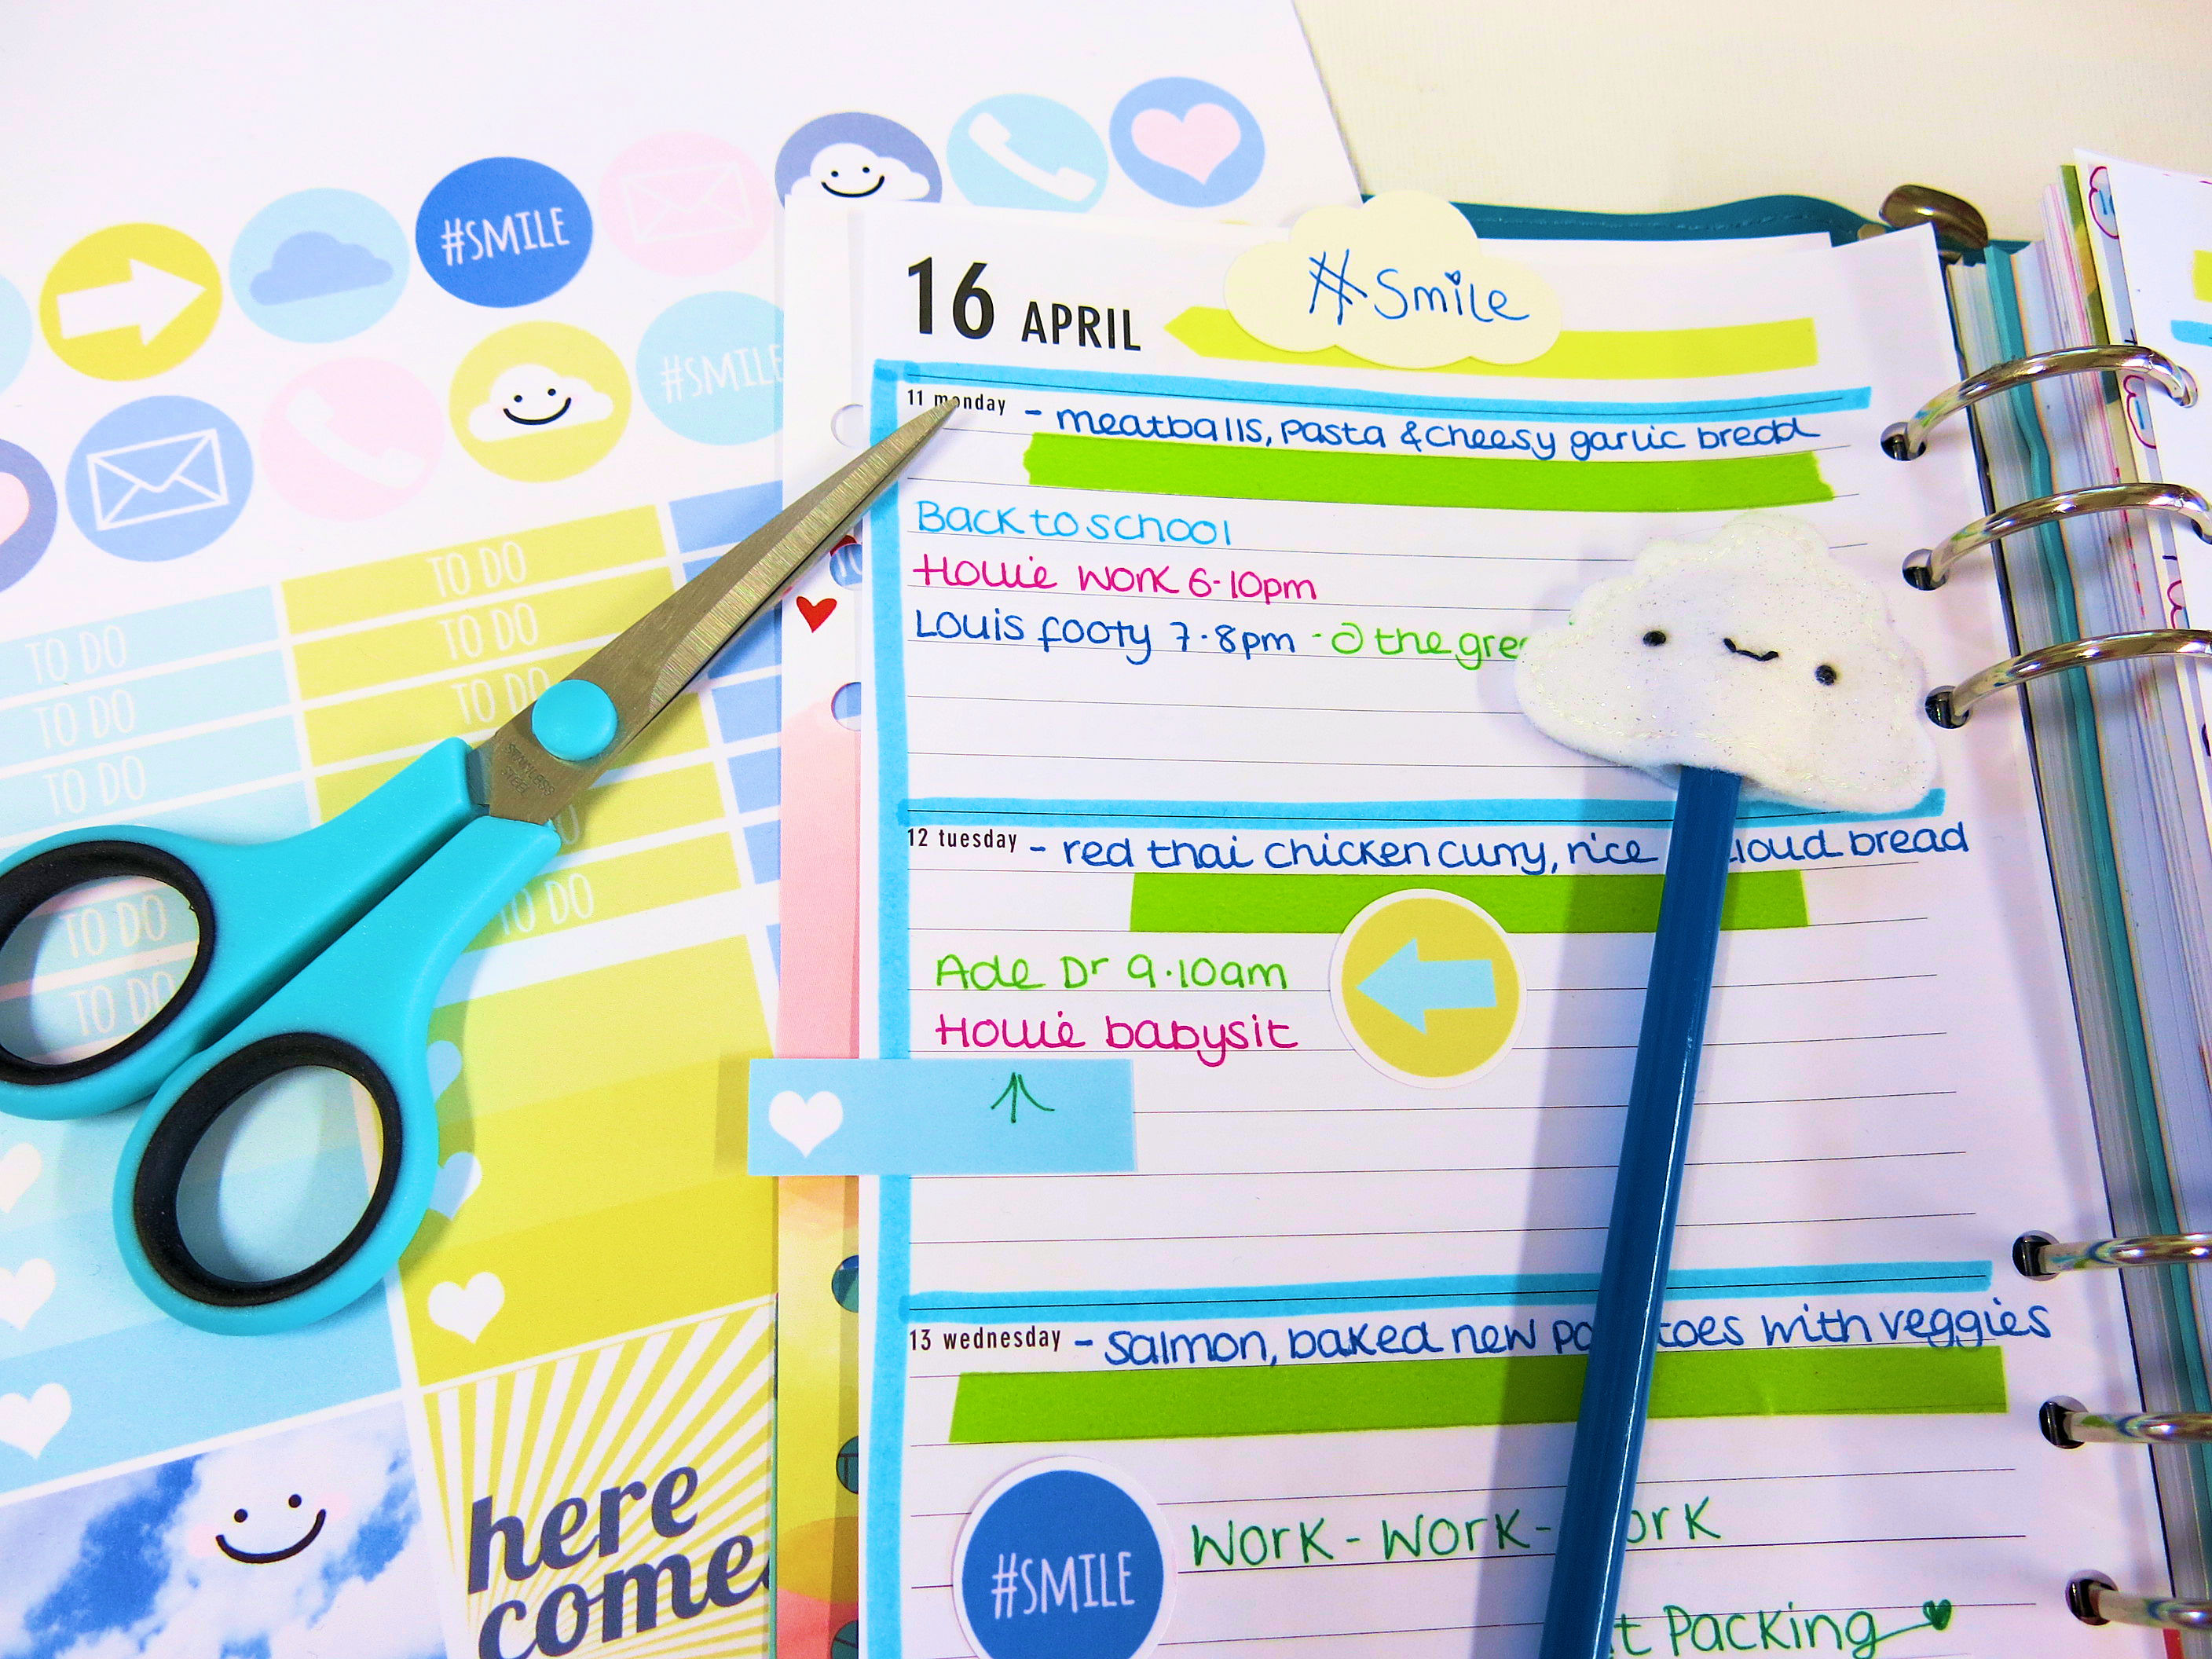
Colourful pens are a must. This really does make everything stand out. I like to use a different colours for each person in the family. Sometimes I add our weekly menu to each day like I have here too. The pages are already looking much better.
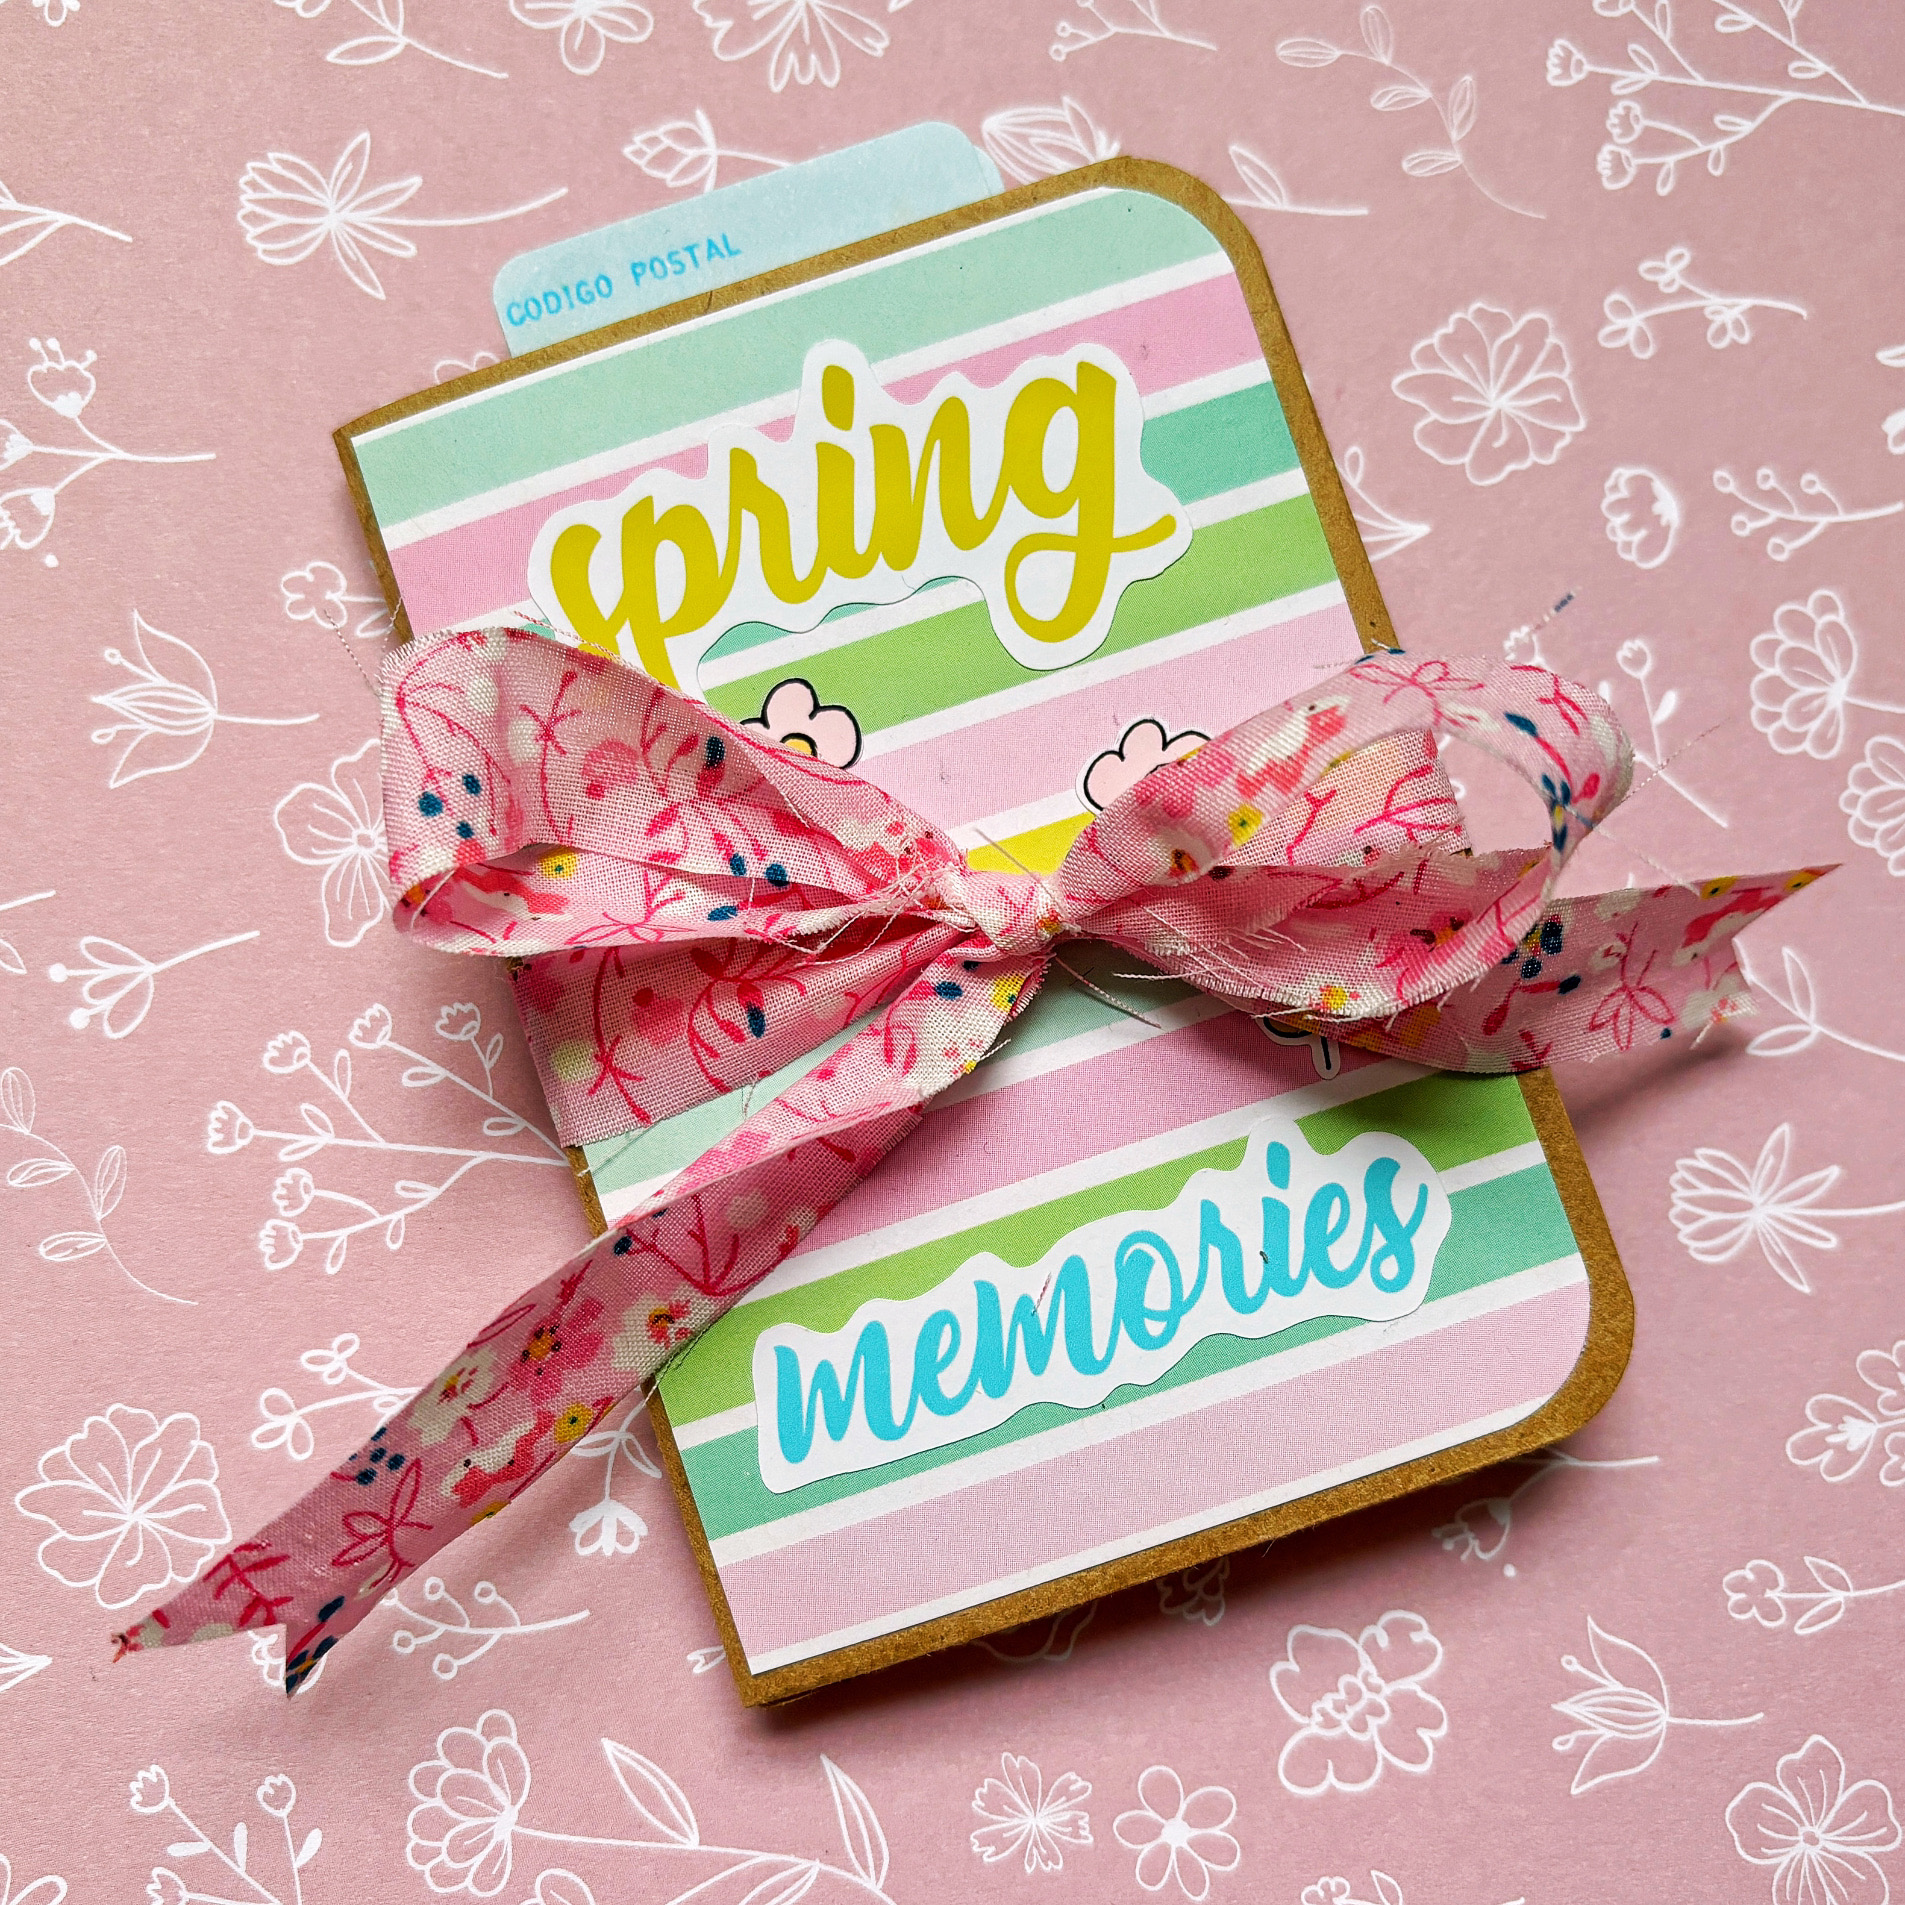
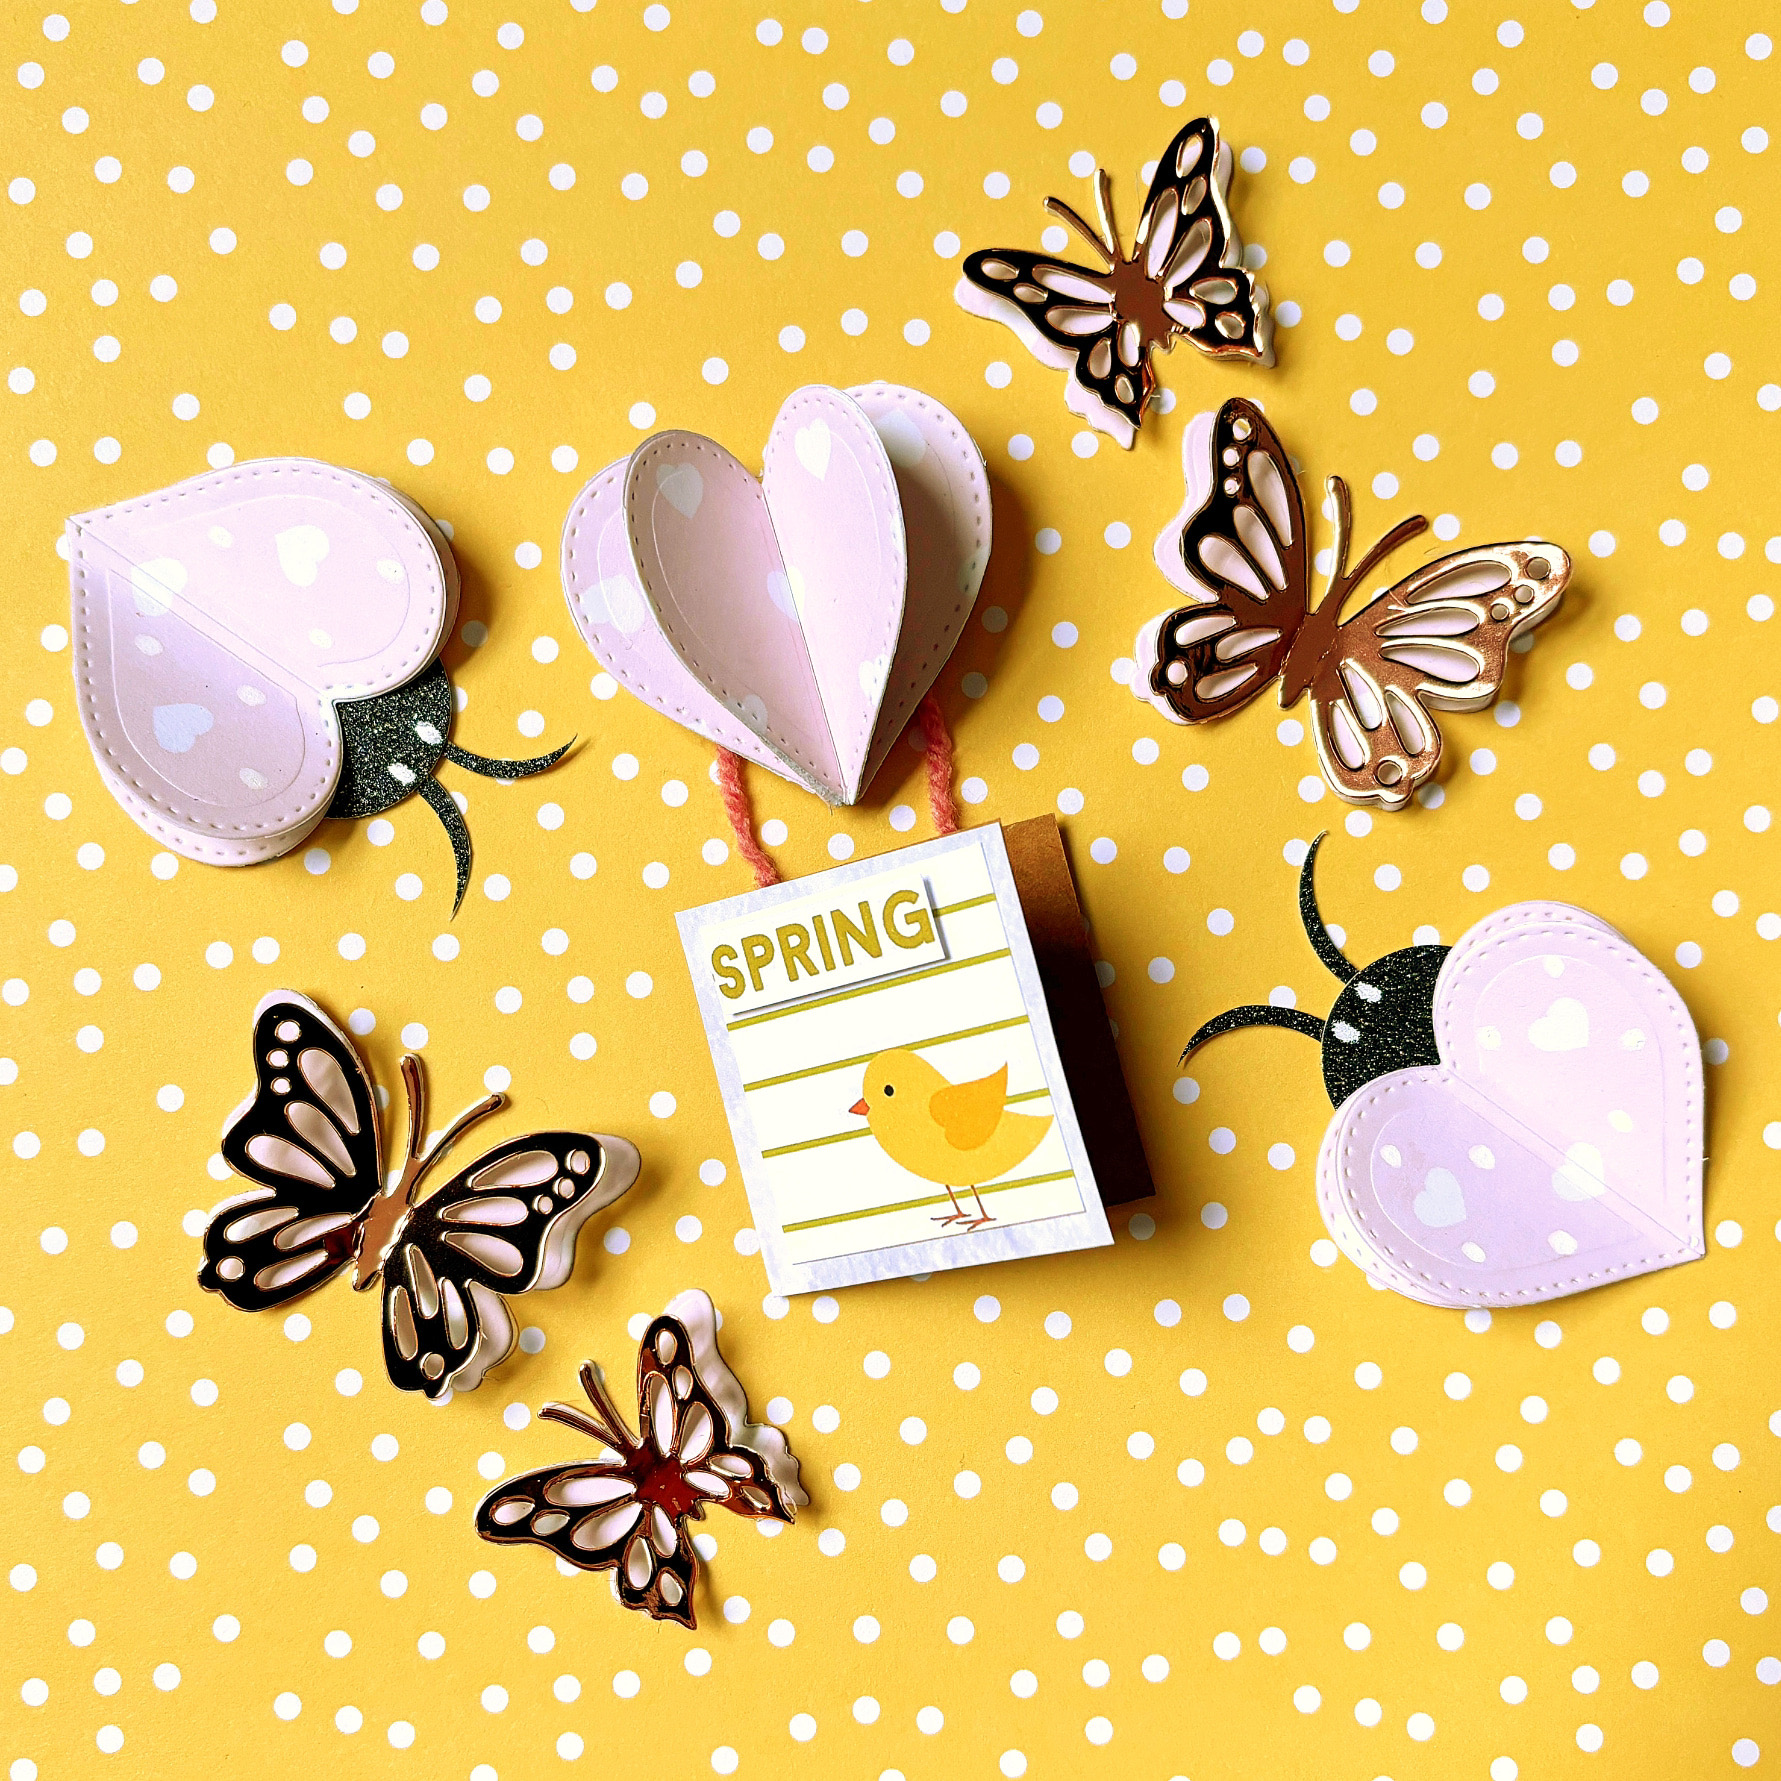
I’ve now taken the exclusive printable that comes with the April Kit. As a subscriber, you will also be able to download these for free. You will receive a special code when your April kits arrive next week.
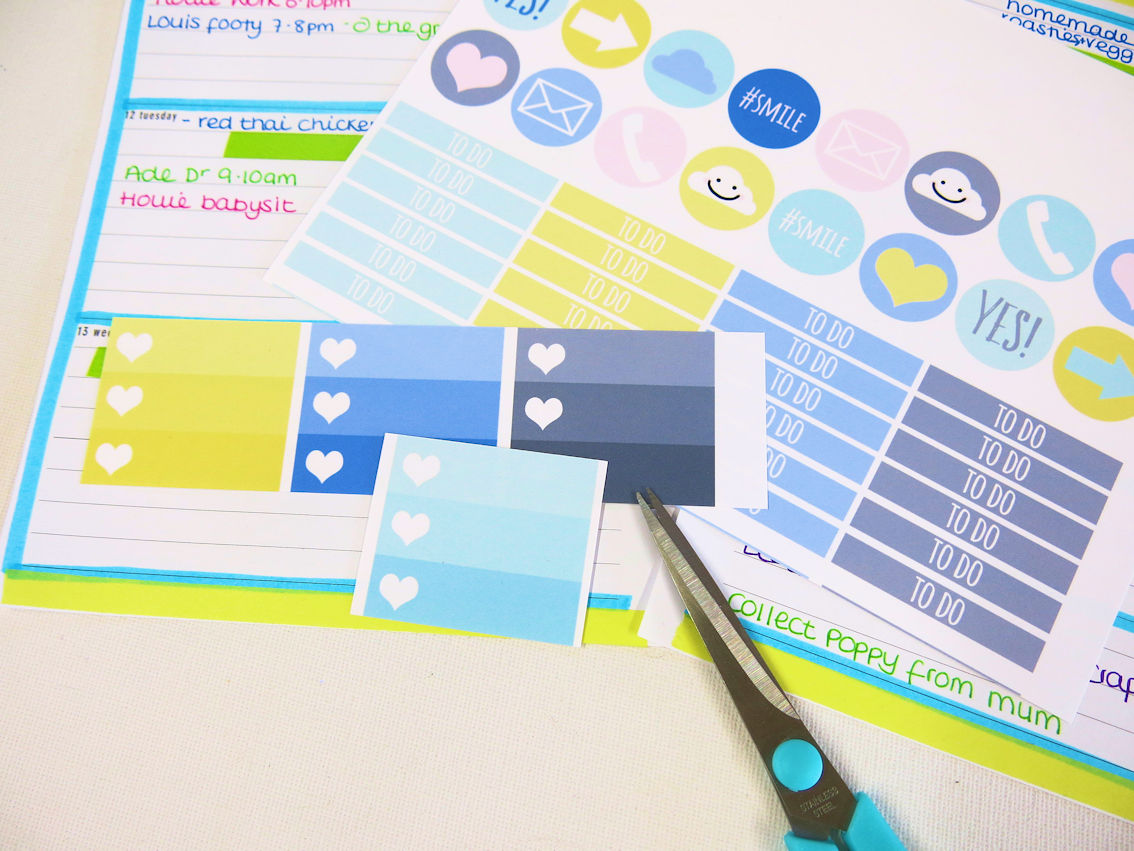
The printables are really fun to use. I love cutting all the bits and pieces out and adding to my planner pages.
I’ve used a small circle punch on the circles. I stick them down with a small amount of double sided sticky tape. This is respositionable which really suits me.

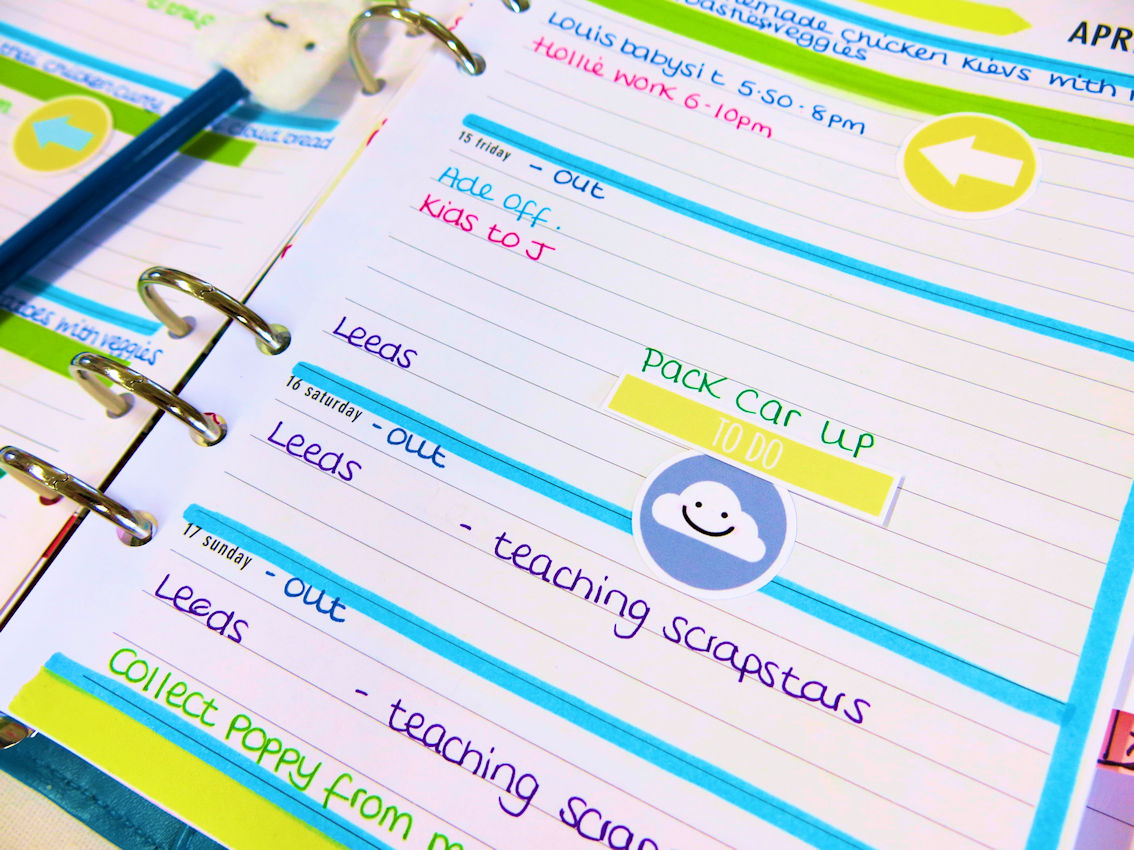
Doesn’t that make a huge difference?
My week now looks much prettier sat open on my desk and more importantly, my plans are so much easier to notice.
And in case you were wondering……yes, that cute cloud pencil is also in this month’s kit…….LOVE!!!!
Grab your April Kit here. It’s a cutie!
Leave A Comment