
I love making Zines!
They are so easy to make .
There are lots of things that you could use to create a zine .
The main thing you need is a A4 sized paper .
If you want a bigger Zine, you would need to use a bigger piece of paper.
You can use scraps of paper , stickers , colouring pens or pencils , markers , paints .
The possibilities are endless and your creativity is your only limit.
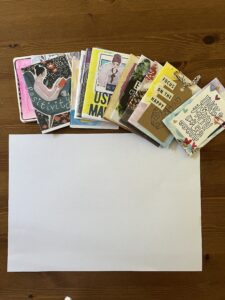
This months’s kit – In the Library , has inspired me to create a book lover themed zine.
I have used the contents to inspire me in creating the pages.
Folding and cutting the Zine
The folding and where you cut the paper , creates this mini zine without needing to sew signatures. Isn’t it clever ?
First you fold it in half lengthwise and then again on the short sides.
You then fold both of the edges towards the middle of the fold.
You should end up with 8 squares ( or rectangles ) on your paper.
Put the short sides together again and cut the middle bit .
I am probably not explaining this very well .
If I have confused you , there are lots of videos on YouTube that will guide you.
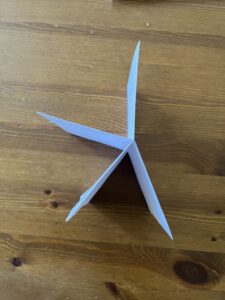
Looking from the top of the zine, it looks like it a cross.
It takes a bit of reinforcing the folds and burnishing to make sure that the pages sits nicely as pages of the zine.
Once you are happy with your pages , it’s time to create.
This is the fun bit !
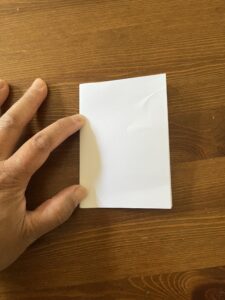
Creating the Pages
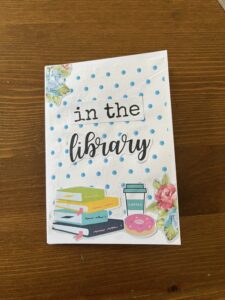
I have decided to name this zine “ in the Library” too.
It seems good to use the kit title from the description paper on the cover of the box.
I have used the flower images stuck them on the corners of the front page, and the words as my title.
As I was laying them on the paper, I felt that the words were getting lost on the background.
I have used a bit of the tissue paper that was used to wrap the kit as my background.
It has helped the words pop out a bit more and also added texture .
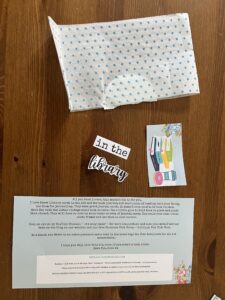
The first Page
I made this as a reading list page.
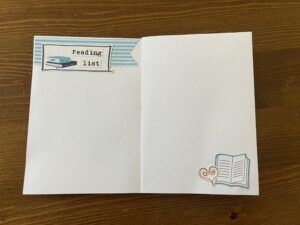
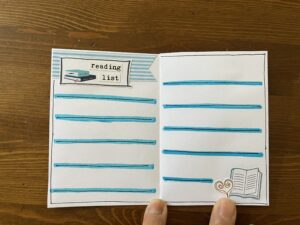
With the cut apart wash strip , I created a banner and placed it on the top corner of the pages.
I then fussy cut a text box from the wash strip sheet.
And used the “reading list “ word sticker and stuck it on the text box.
At the bottom right corner of the page , I have created a mini cluster of book and a heart.
I used a a light blue brush pen to write / draw the lines on the page.
I am not bothered that the lines are a bit wonky as this adds character to the page.
The next page
I created a quote page. I used the lined paper that was included in the kit .
As before , I created a cluster at the top left corner and the bottom right corner with stickers and a die cuts.

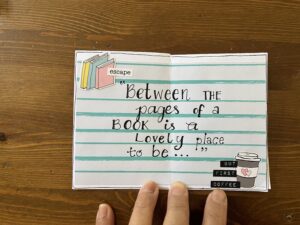
I then wrote a quote on the page.
This is a good time to practice your hand lettering / faux lettering.
The last page
I created 2 separate pages on this page .
A list page and a quote page.
For the quote page, I used the little quote card that was included on the kit zine .

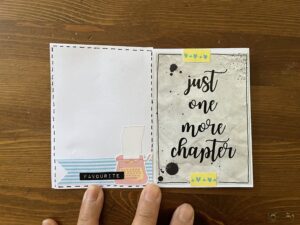
The back cover
To tie in with the front cover , I have used a bit of the tissue paper again as a back ground.
To decorate this page , I used the pocket and mini library card die cut and a sticker from the sticker sheet.
I also added a washi strip at the top and bottom of the page.
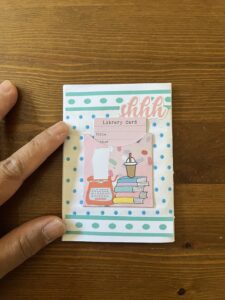
Finishing touches
To finish the pages , I doodled some straight and faux stitching lines on the pages .
I just feel that this finishes the pages by framing.
I also used some of the wash strip to decorate the quote page .
Your zine is now done ! This project does not take long – I promise !
I love how this one has turned out.
What a great addition to my zine collection!
Are you going to give this a go?
If you do , please do share it in the group and let inspire each other.
By the way, you can potentially photocopy your zine and you can swap with others! It is great fun!
‘Till next time my friends.
Have an awesome day !
Lots of crafty hugs,
Sheryll

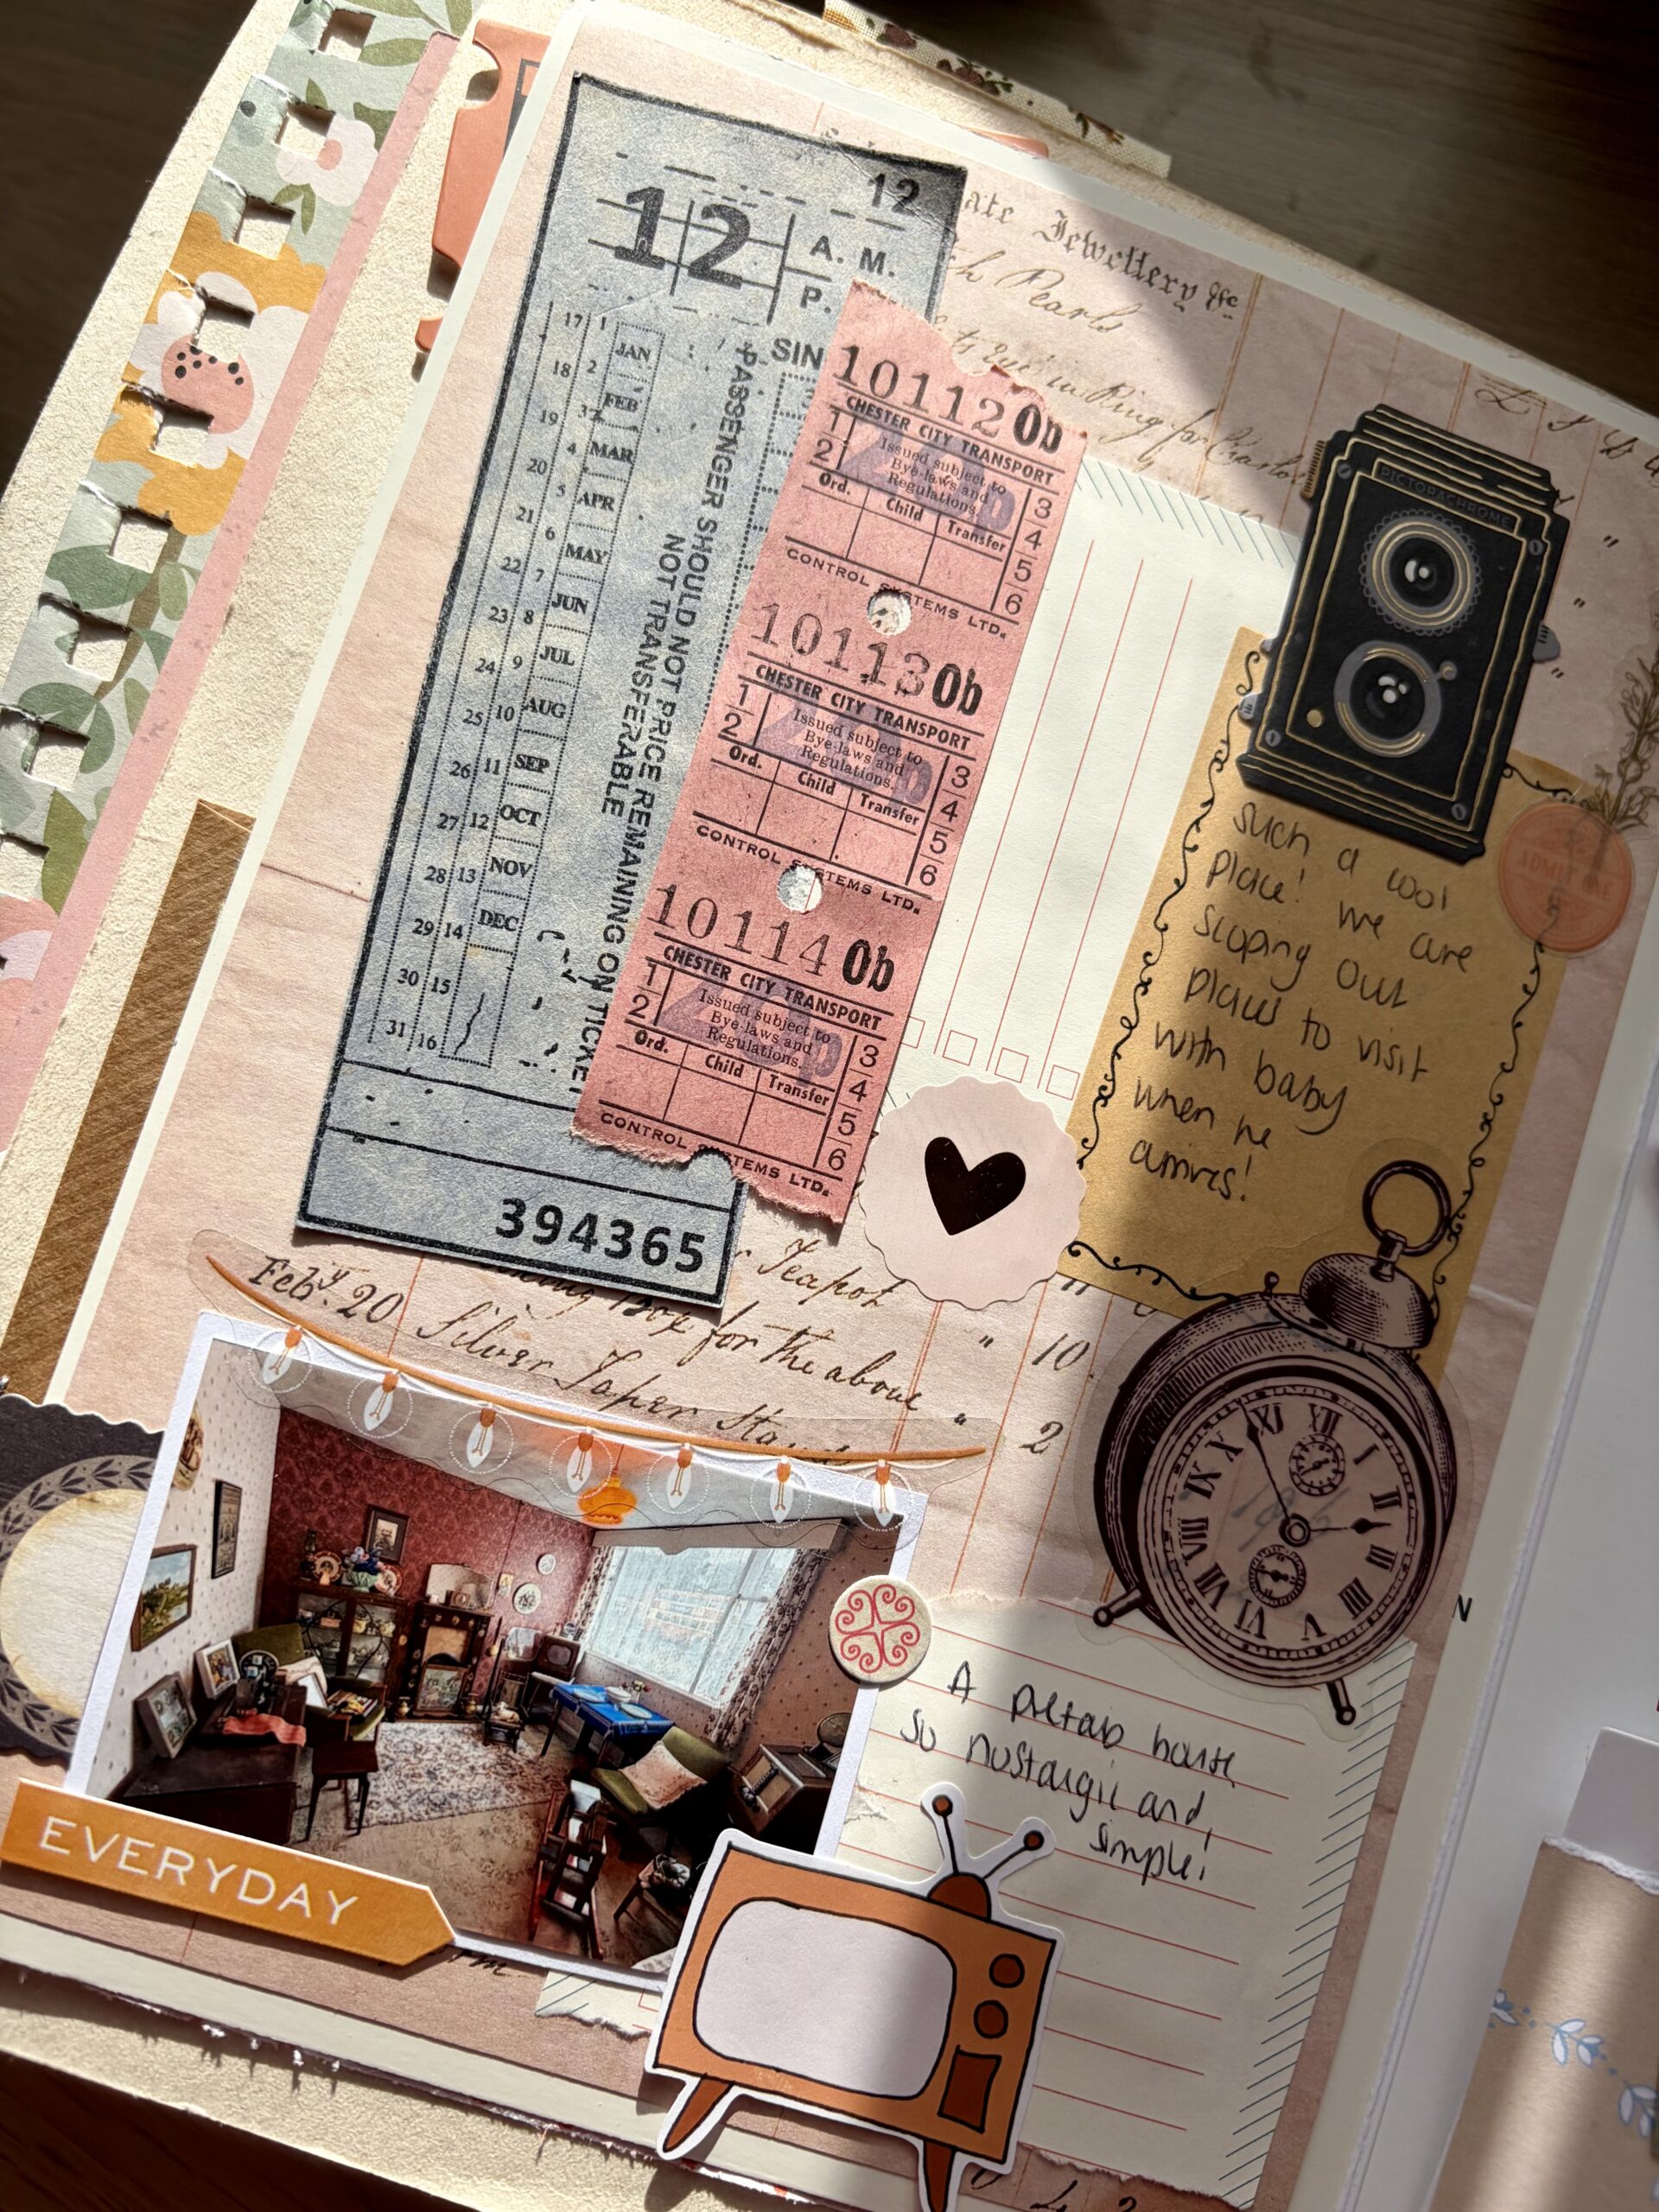
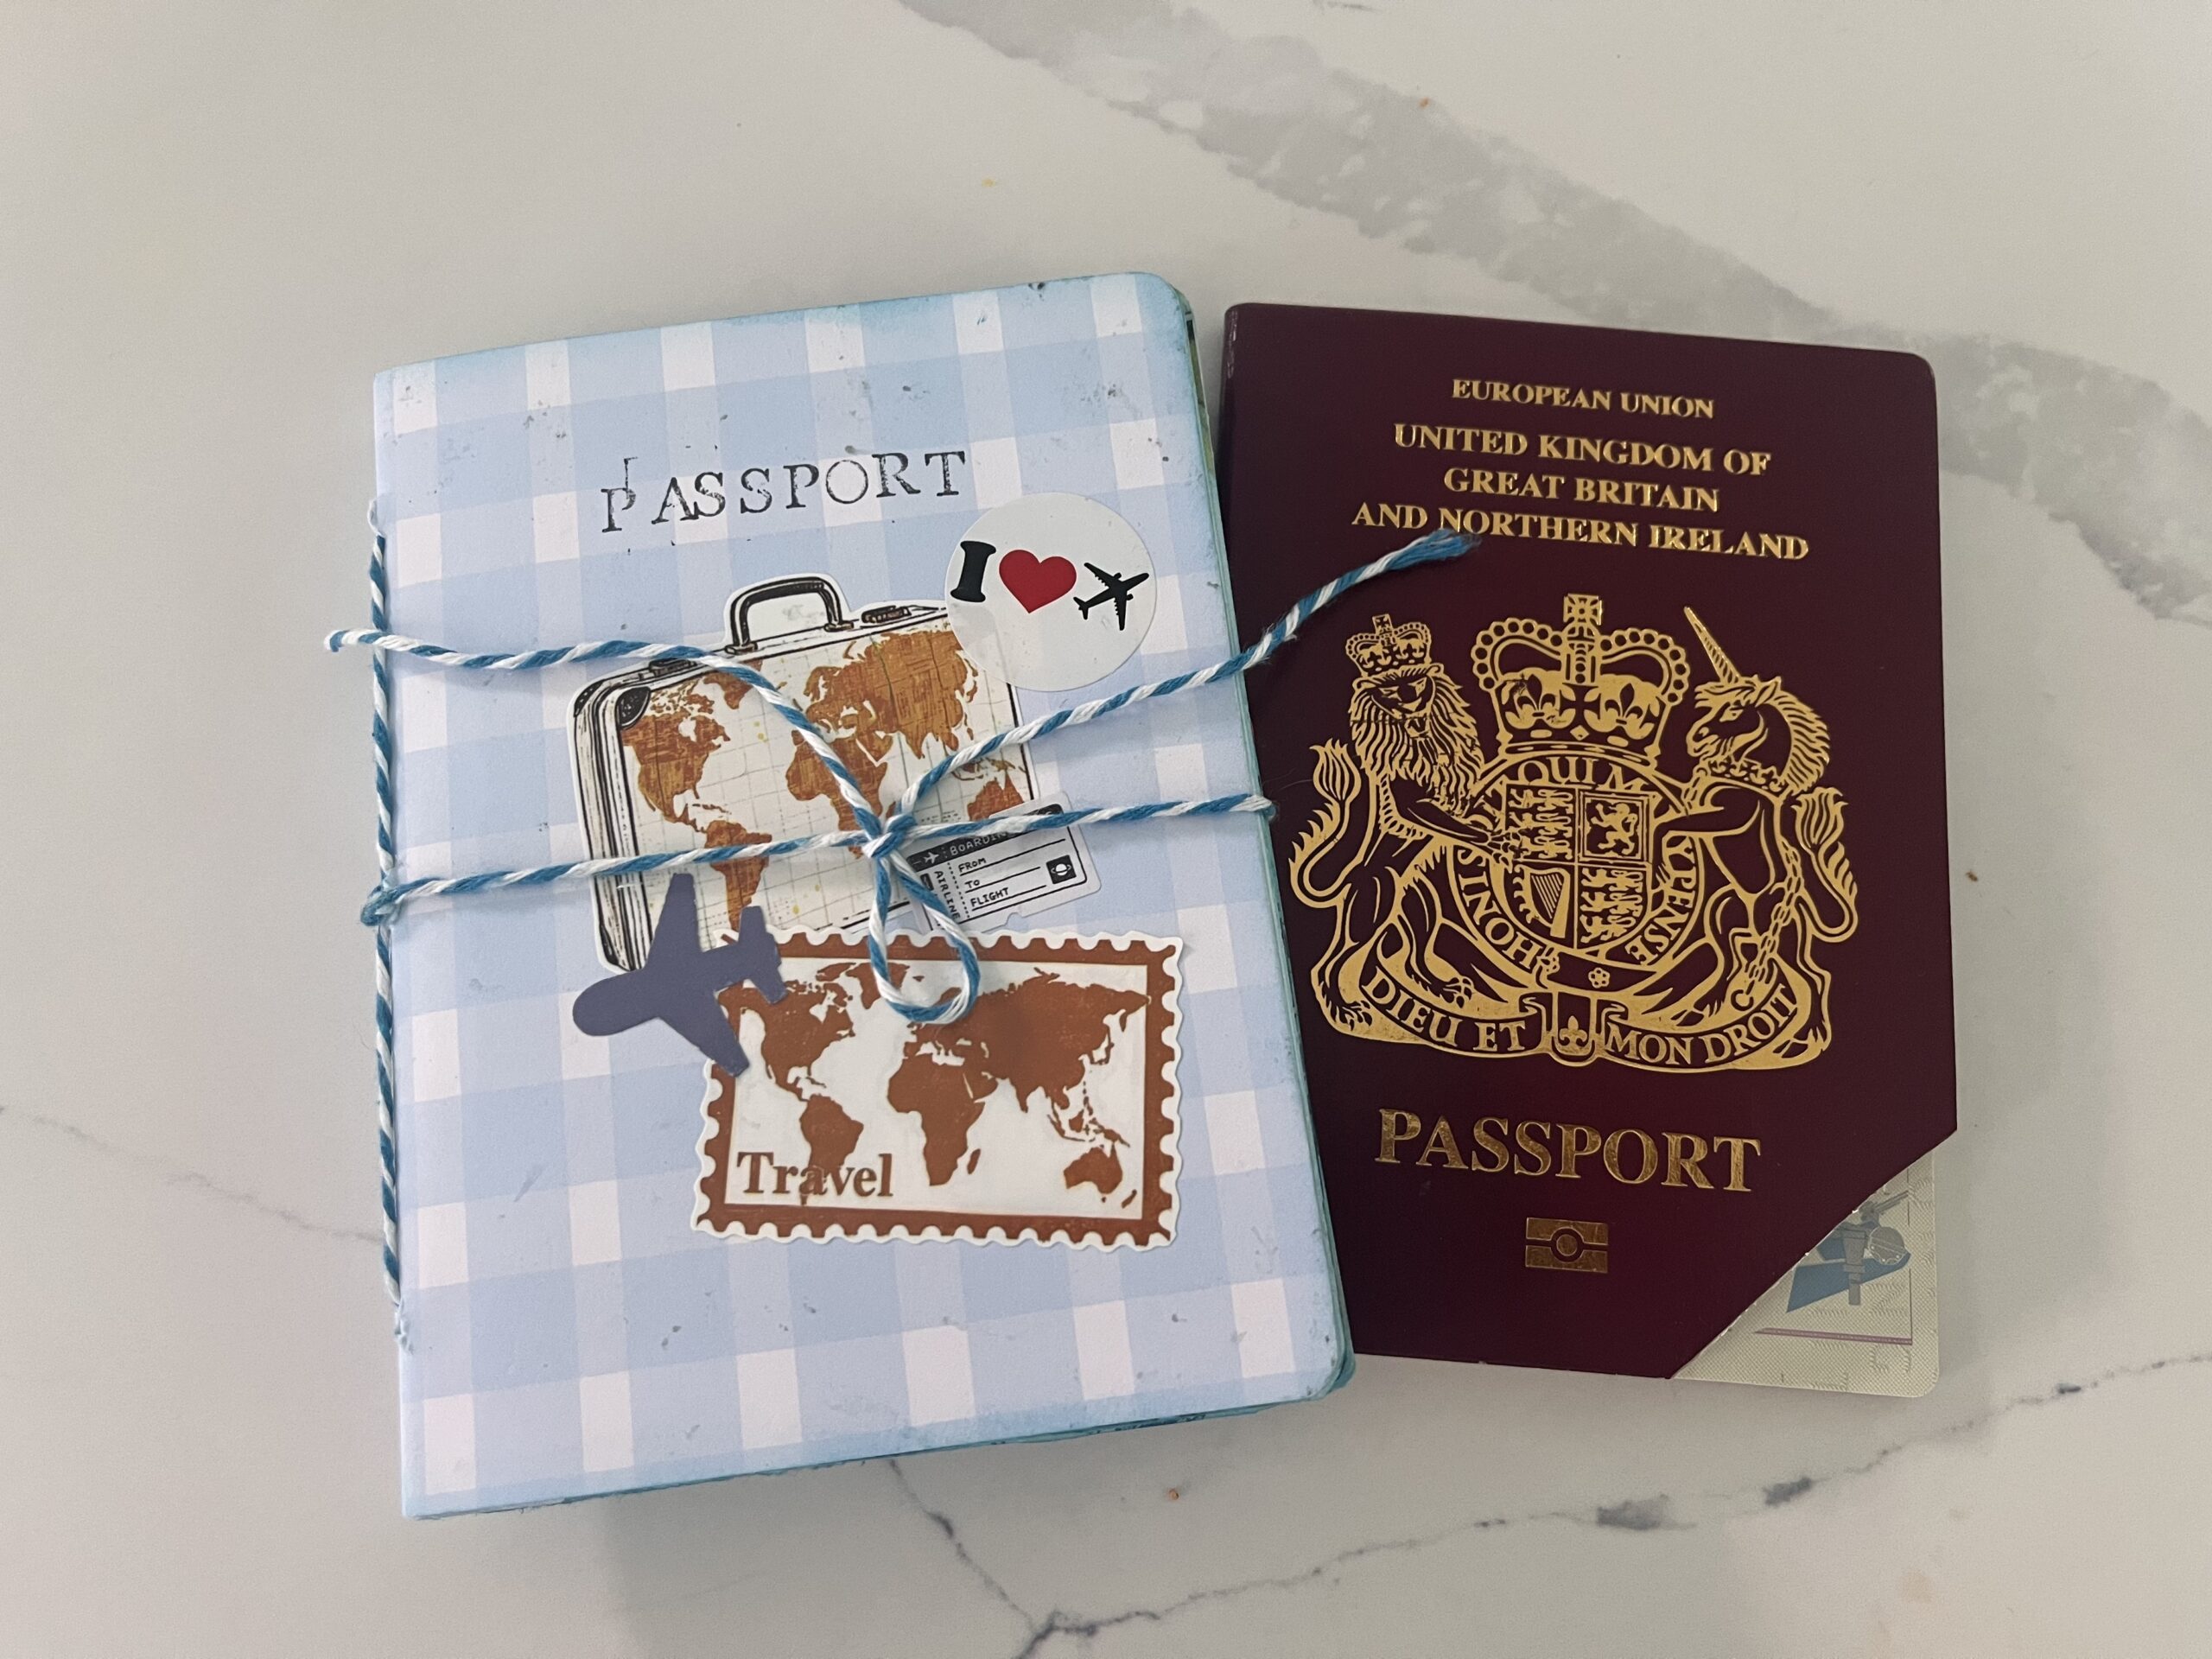
Sheryll, I love your zine and that fact that you have a collection of them. I’ve always wanted to make one. This would make a great swap. Thanks for sharing!