
Hello my craft friends! I am so sorry for this late post. It been a rather busy few weeks for me.
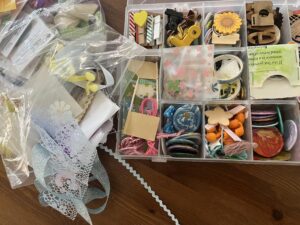
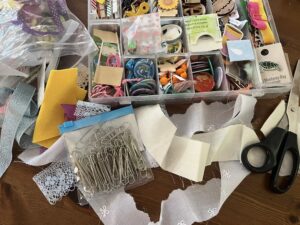
I have been tidying up my craft space and found my little box of treasures ( embellishments from kits), a bag of lace and trims and some fabric scraps.
Paperclips are one of those things that I use in my journal pages. I use them to make or decorate my pages.
What a good way to use my fabric scraps and treasures , but to create embellished paperclips?
Whilst I have not used any specific kit theme for this project , I have used items that I have saved up from past lollipopbox club kits.
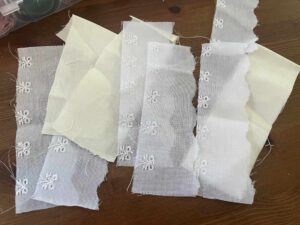
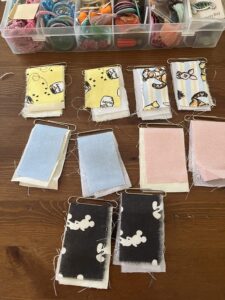
Creating the base
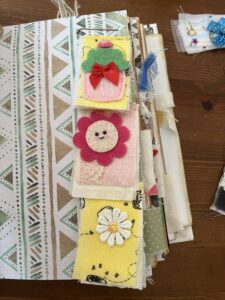
I had strips of calico that I had left from a previous project, that I wanted to use.
The width of the fabric was just perfect for the size of the paperclips I have in my stash.
So, I cut them to size to size and used them as my base. I have also cut the scrap fabric slightly smaller than the calico as I wanted to create that layer effect. I will fray the edges later on to create texture.
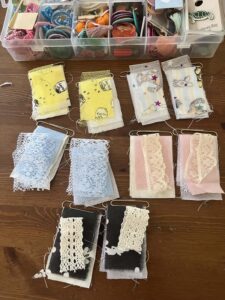
I then chose and cut lace trims to size and added this to the layers of fabric. This is where you could play with colours and mix and match and create a theme if you like.
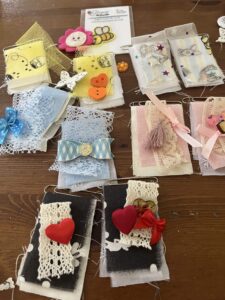
Decorating the paperclips
Once you have your fabric cluster / layers, it is time to chose the embellishment form my box of treasures to embellish. This is the fun part and you can embellish to your hearts content or embellish minimally.
You can use buttons , bows, charms, or beads. The possibilities are endless!
By the way, this project is perfect in practicing slow stitching. Slow stitching has been one of the crafts that is mindful and allows us to slow down and quiet our busy minds.
You do not need to do any fancy stitches.. Sometimes a simple running stitch would be enough.
I made sure that the stitches are hidden, so I didn’t really sew together all the layers. I lateran glued the fabric in the middle to hide my stitches,
Some of the embellishments I have sewn , and some I have glued.
If you are not a keen stitcher, going would still work. However make sure that you use either 3 in 1 glue or a hot glue gun.
Use a glue that could take the weight of the embellishment.
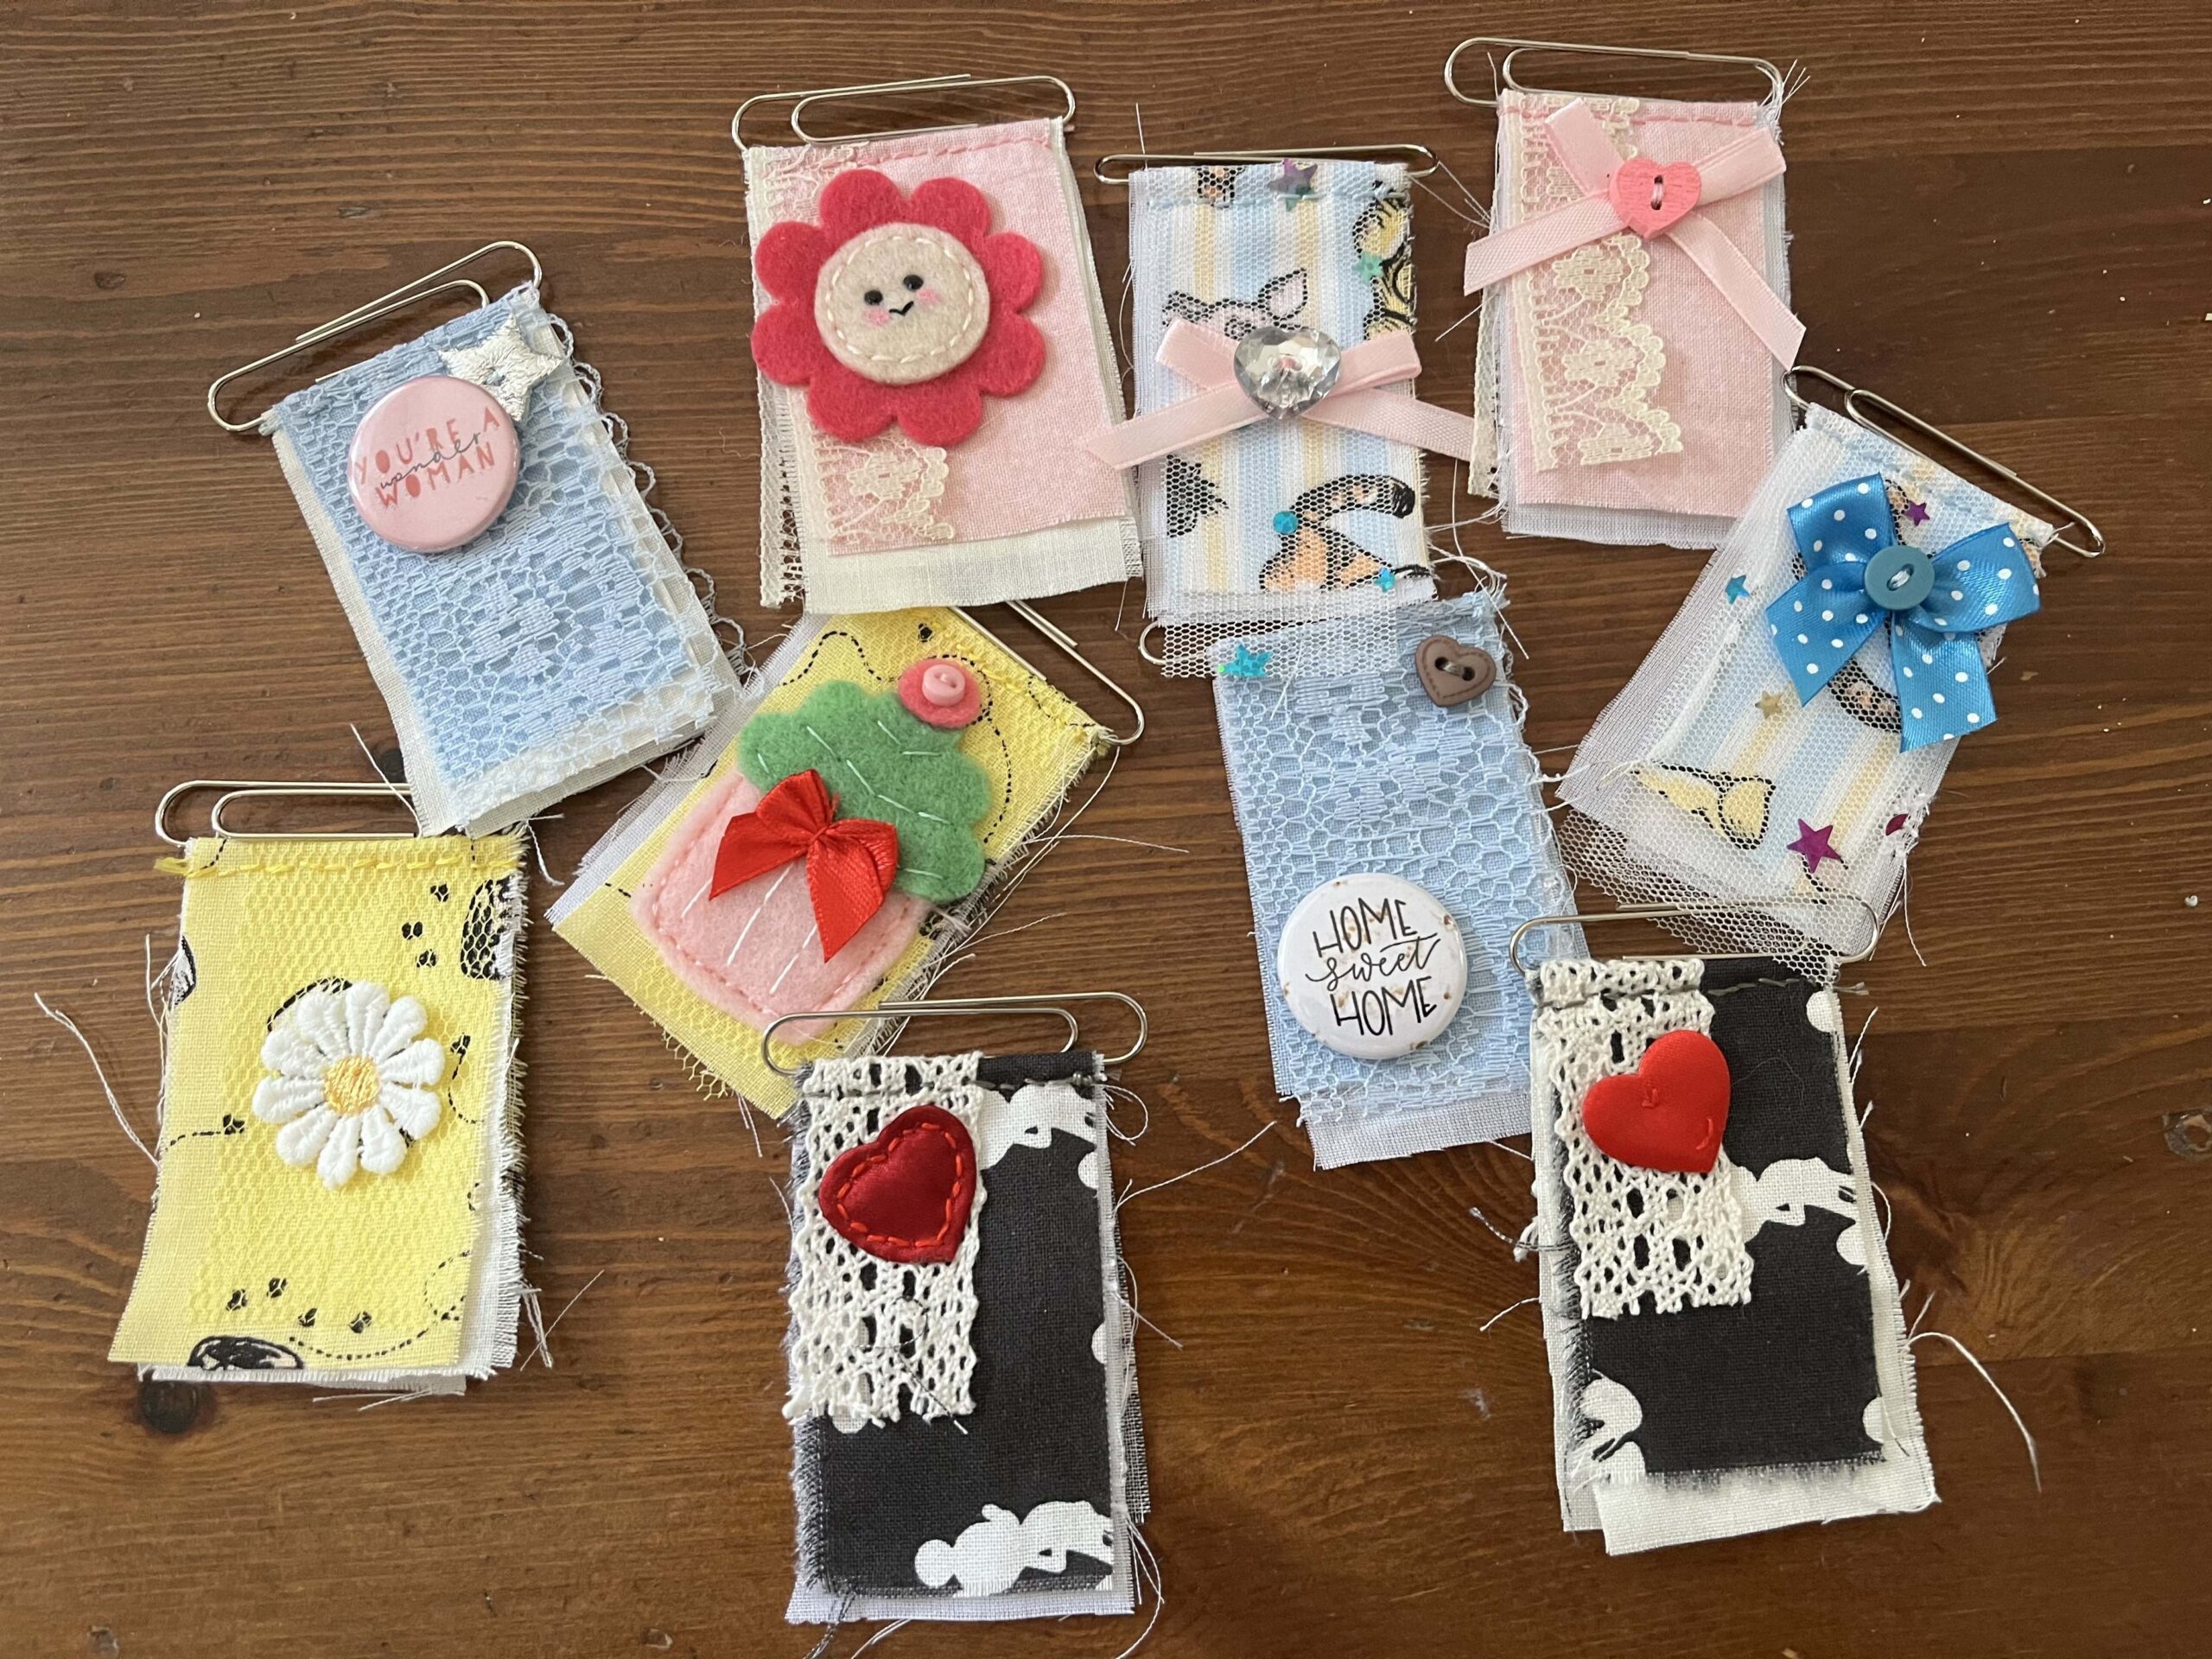
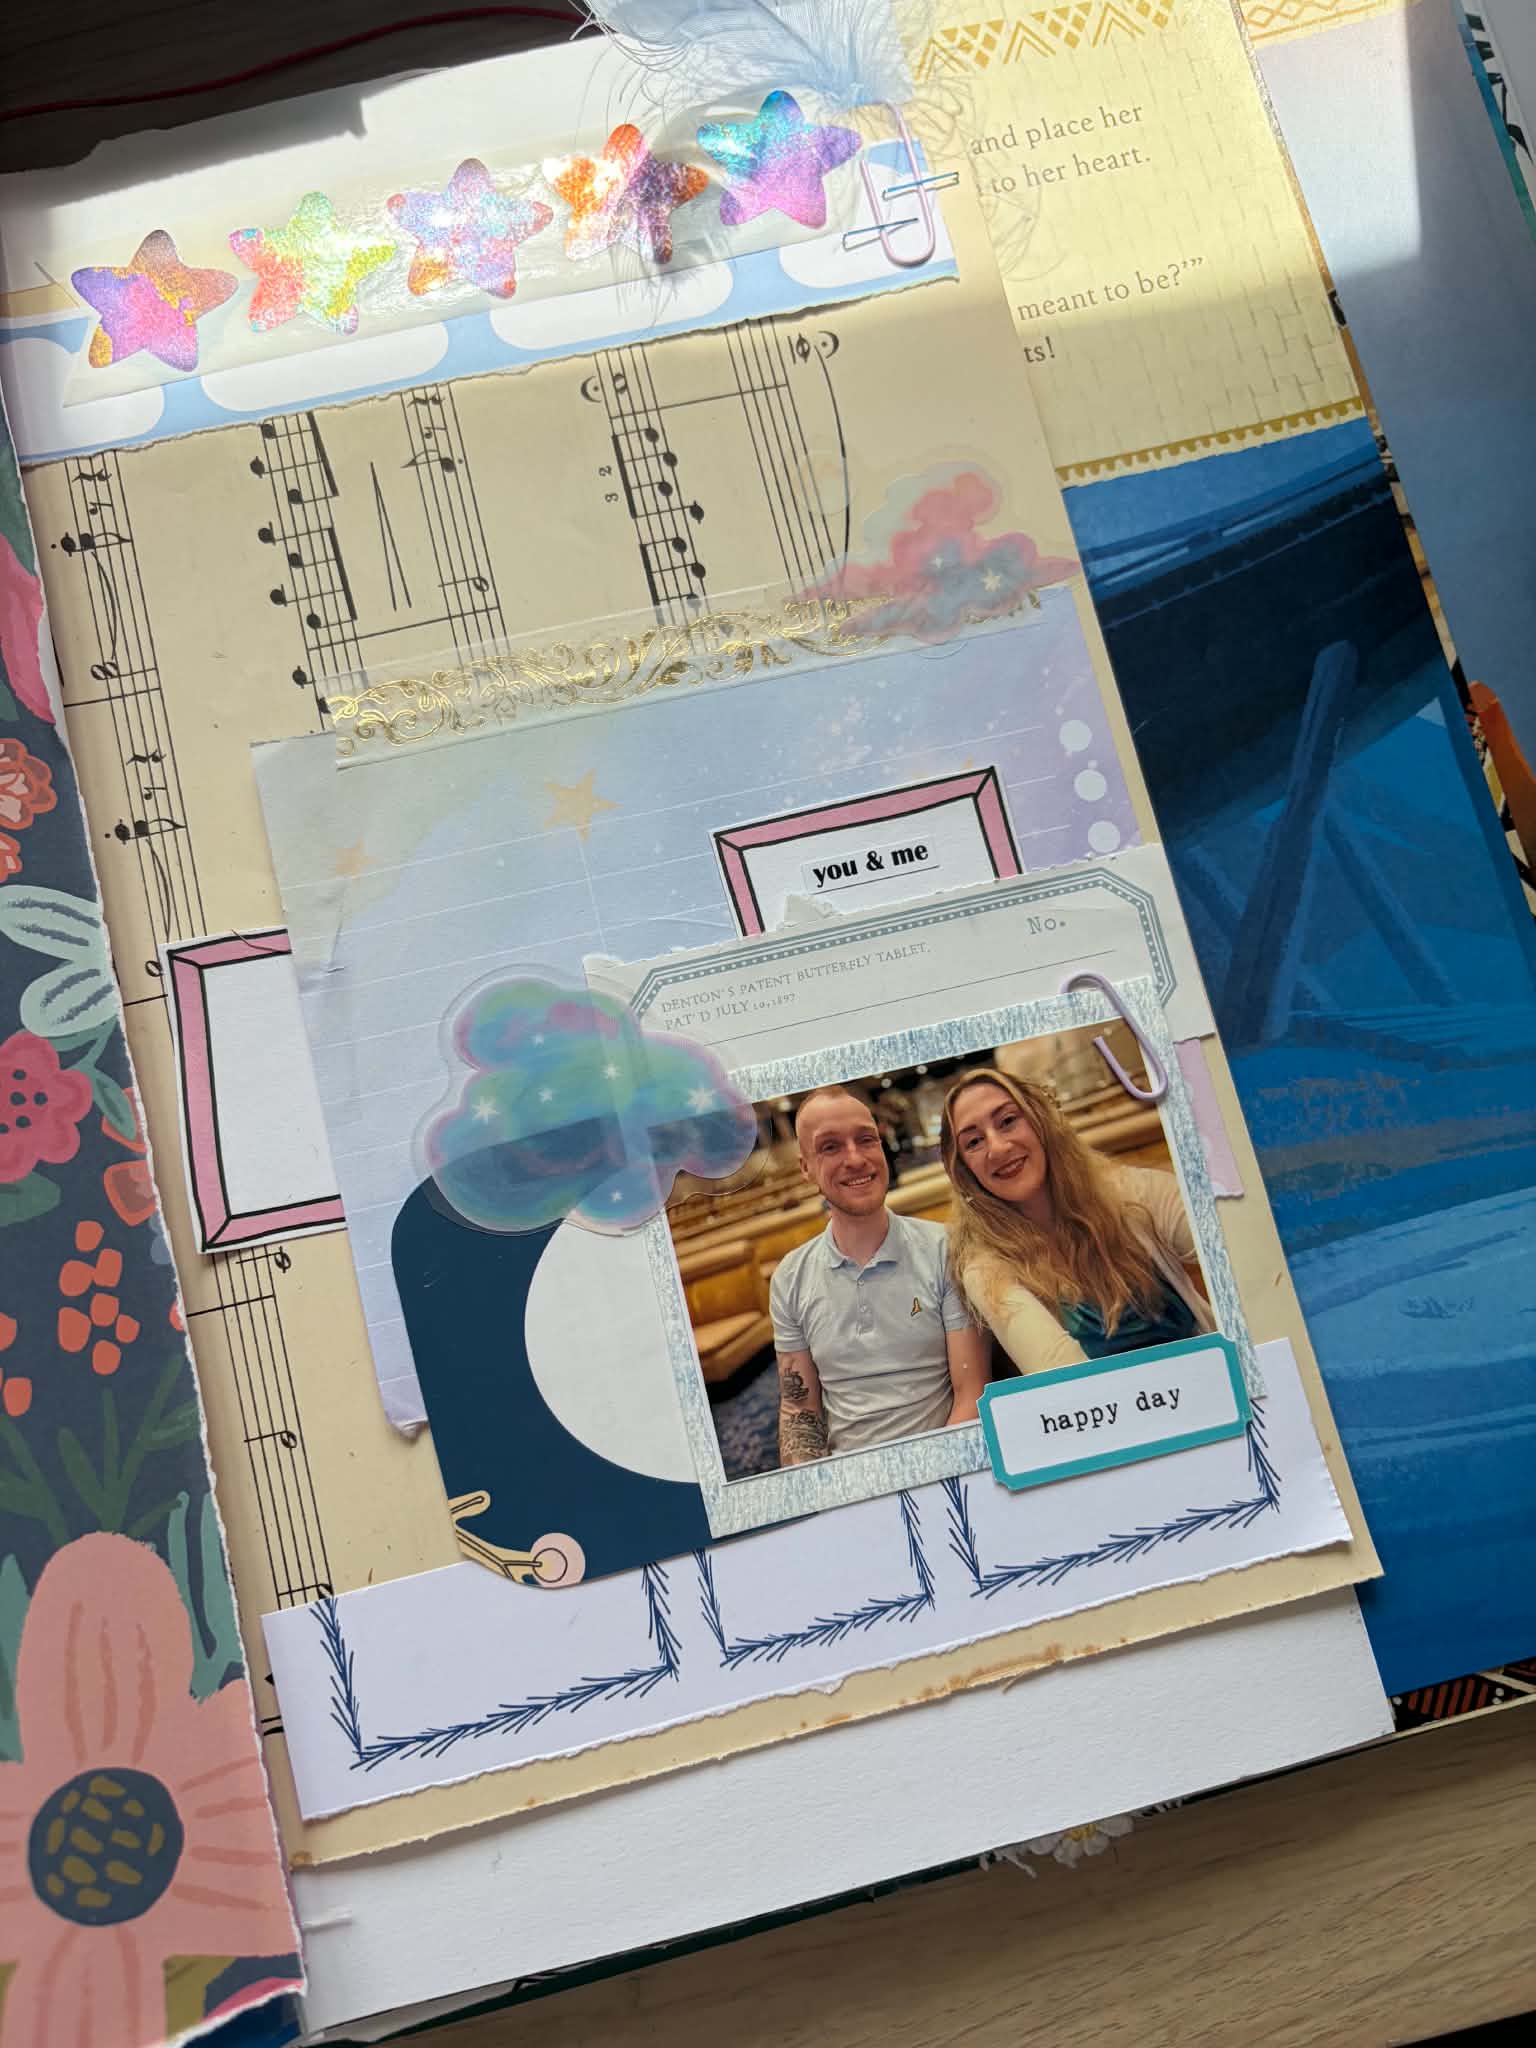
The finished paperclips
So, here is the finished paperclips ! What do you think?
I love how my paperclips have turned out. I made 2 of different variation / theme so I can use them for different journal layouts.
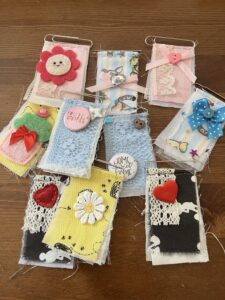
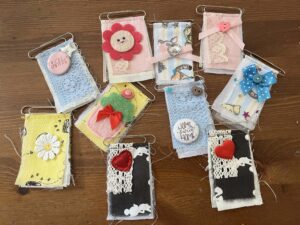
They look so cute attached to a page and they would be lovely to gift too.
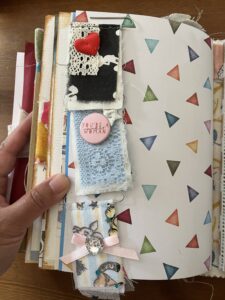
I can’t wait to use them in my journal.
I hope you like this mini project and it inspires you to create some for your journal too.
If you do make them , please do share it at the Lollipopbox club Facebook group so we can all see you beautiful paperclips.
Thank you so much for dropping by and I’ll see you on the next blogpost!
Lots of crafty hugs, Sheryll


Leave A Comment