
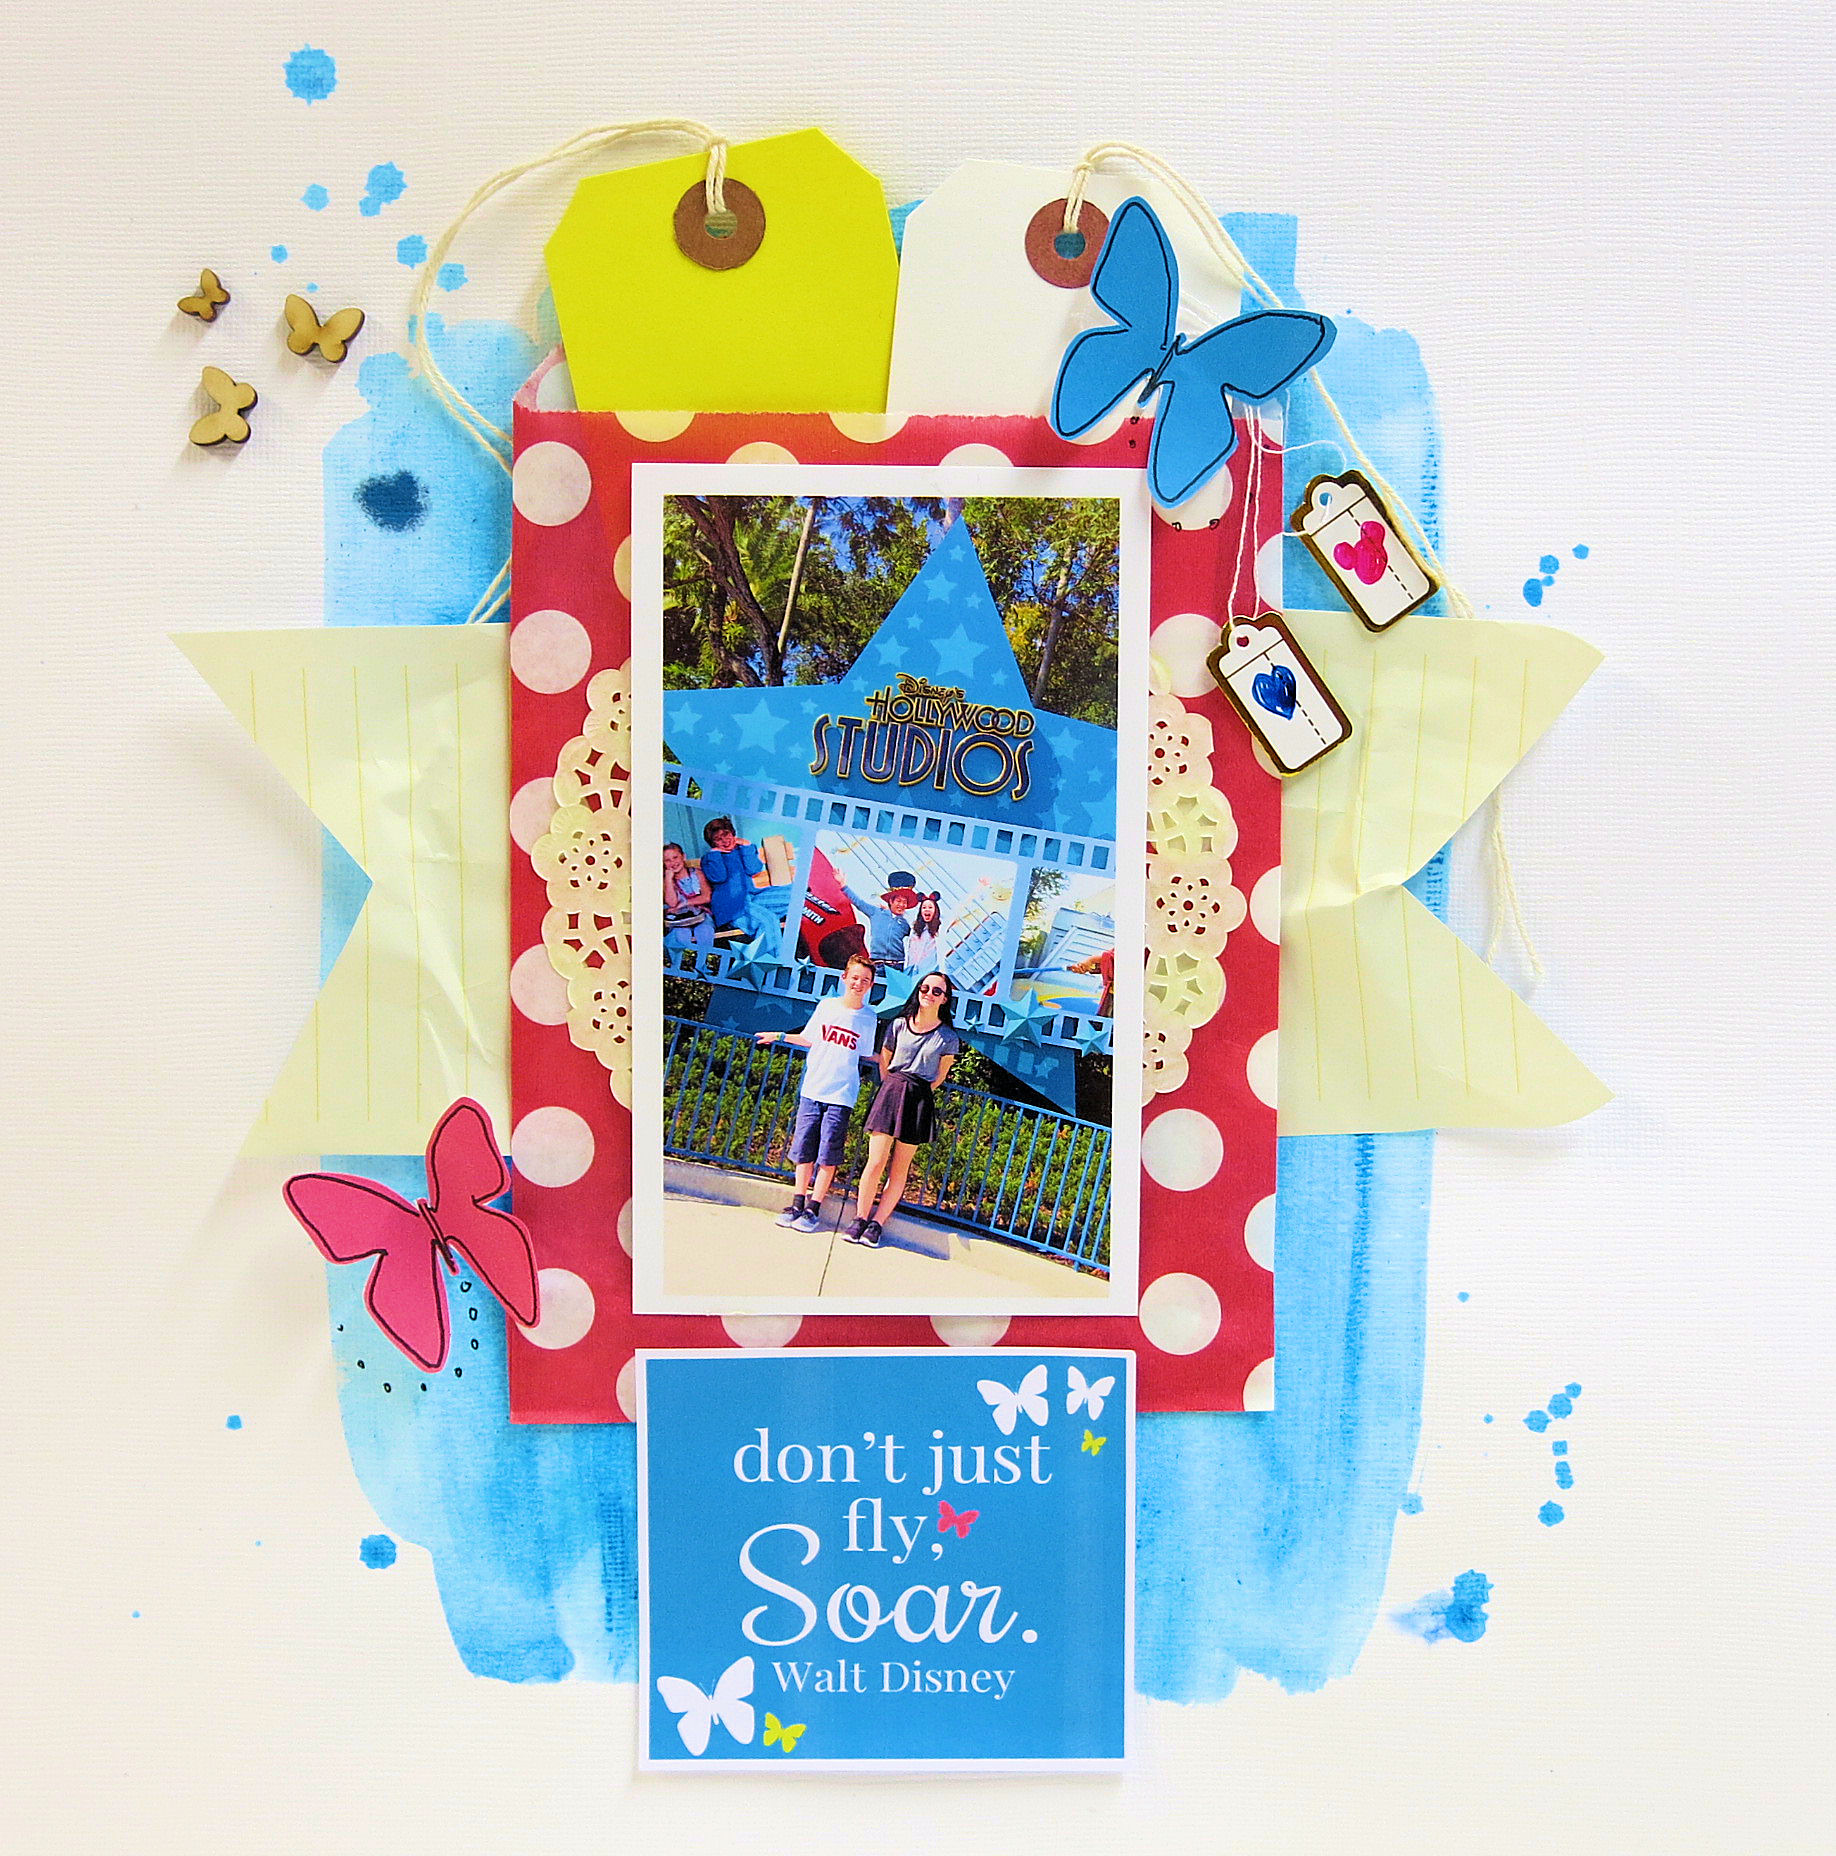
Today I am sharing some scrapbooking hidden journaling and layering tips. I’m using the new August ‘Wings ‘n’ Things’ Kit to make this page.
I really enjoy a little hidden journaling. It’s useful for a few different reasons. Sometimes you simply don’t want your journaling to be read by others. Especially if you like to share your LO’s on social media. Some things can be rather personal, so this option is an idea. Plus there are times when you are scrapbooking and the journaling is meant for the one person, so by hiding the journaling you can still create a pretty page but the journaling becomes a little secret.
There are also those that don’t enjoy journaling and don’t like their handwriting. Hidden journaling is the perfect solution here.
Then there are the times like my page today. There is no reason for my hidden journaling other than the fact that I think it looks nicer on the LO. I wanted it kept reasonably clean and crisp.
I’m going to share the process of this page now, so you can see how it came together.

I’ve started with a piece of white 12×12 cardstock and a little blue acrylic paint. It really was a little on the end of my brush. I’ve dipped it in water and painted downwards on my cardstock. Be careful not to add too much water as the cardstock will start to warp. I’ve let the paint brush drip a little. Either leave to dry or use a heat gun.
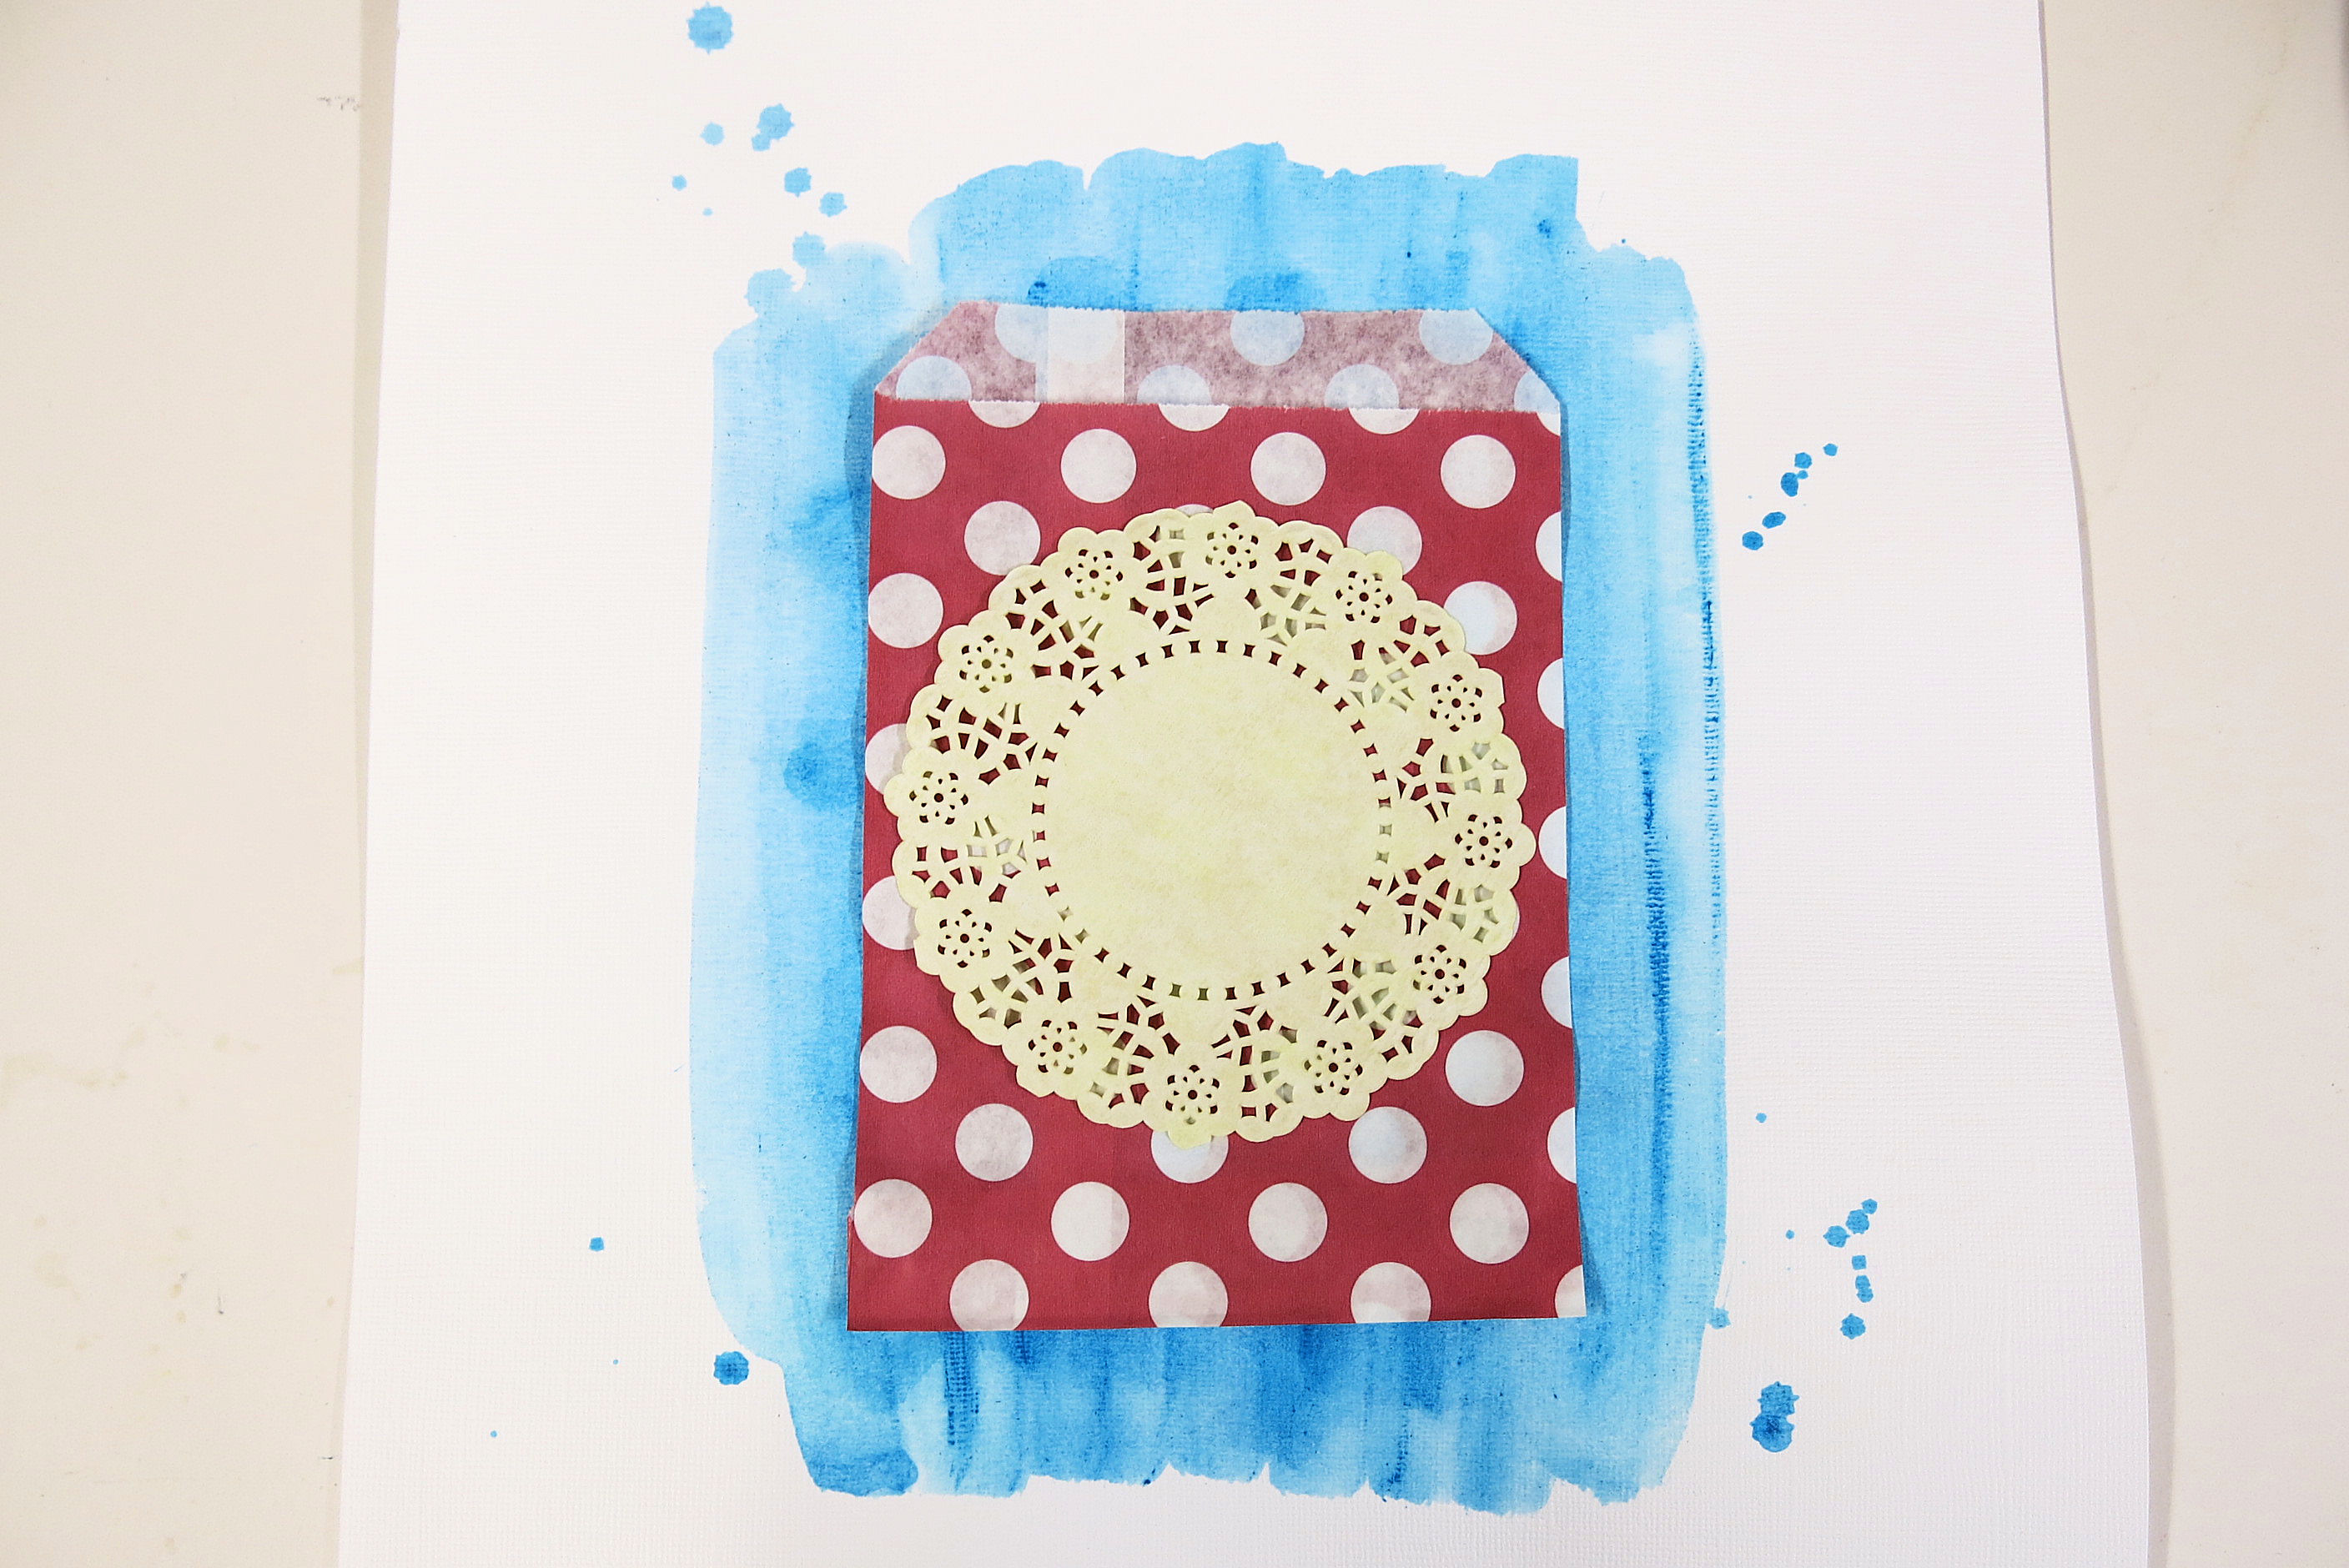
I’m using the paper bag from the kit to home my hidden journaling. Make sure you have painted enough so you can see the paint around the paper bag.
Here is a layering tip for you. Before sticking everything in place just use a strip of double sided tape in the centre of whatever you are sticking down. The main reason being that this makes layering so much easier. You can easily slot bits and pieces underneath to create layers. It also makes repositioning so much easier and it saves on tape too.

I cut up some of the pieces from this months exclusive embellishment sheet.
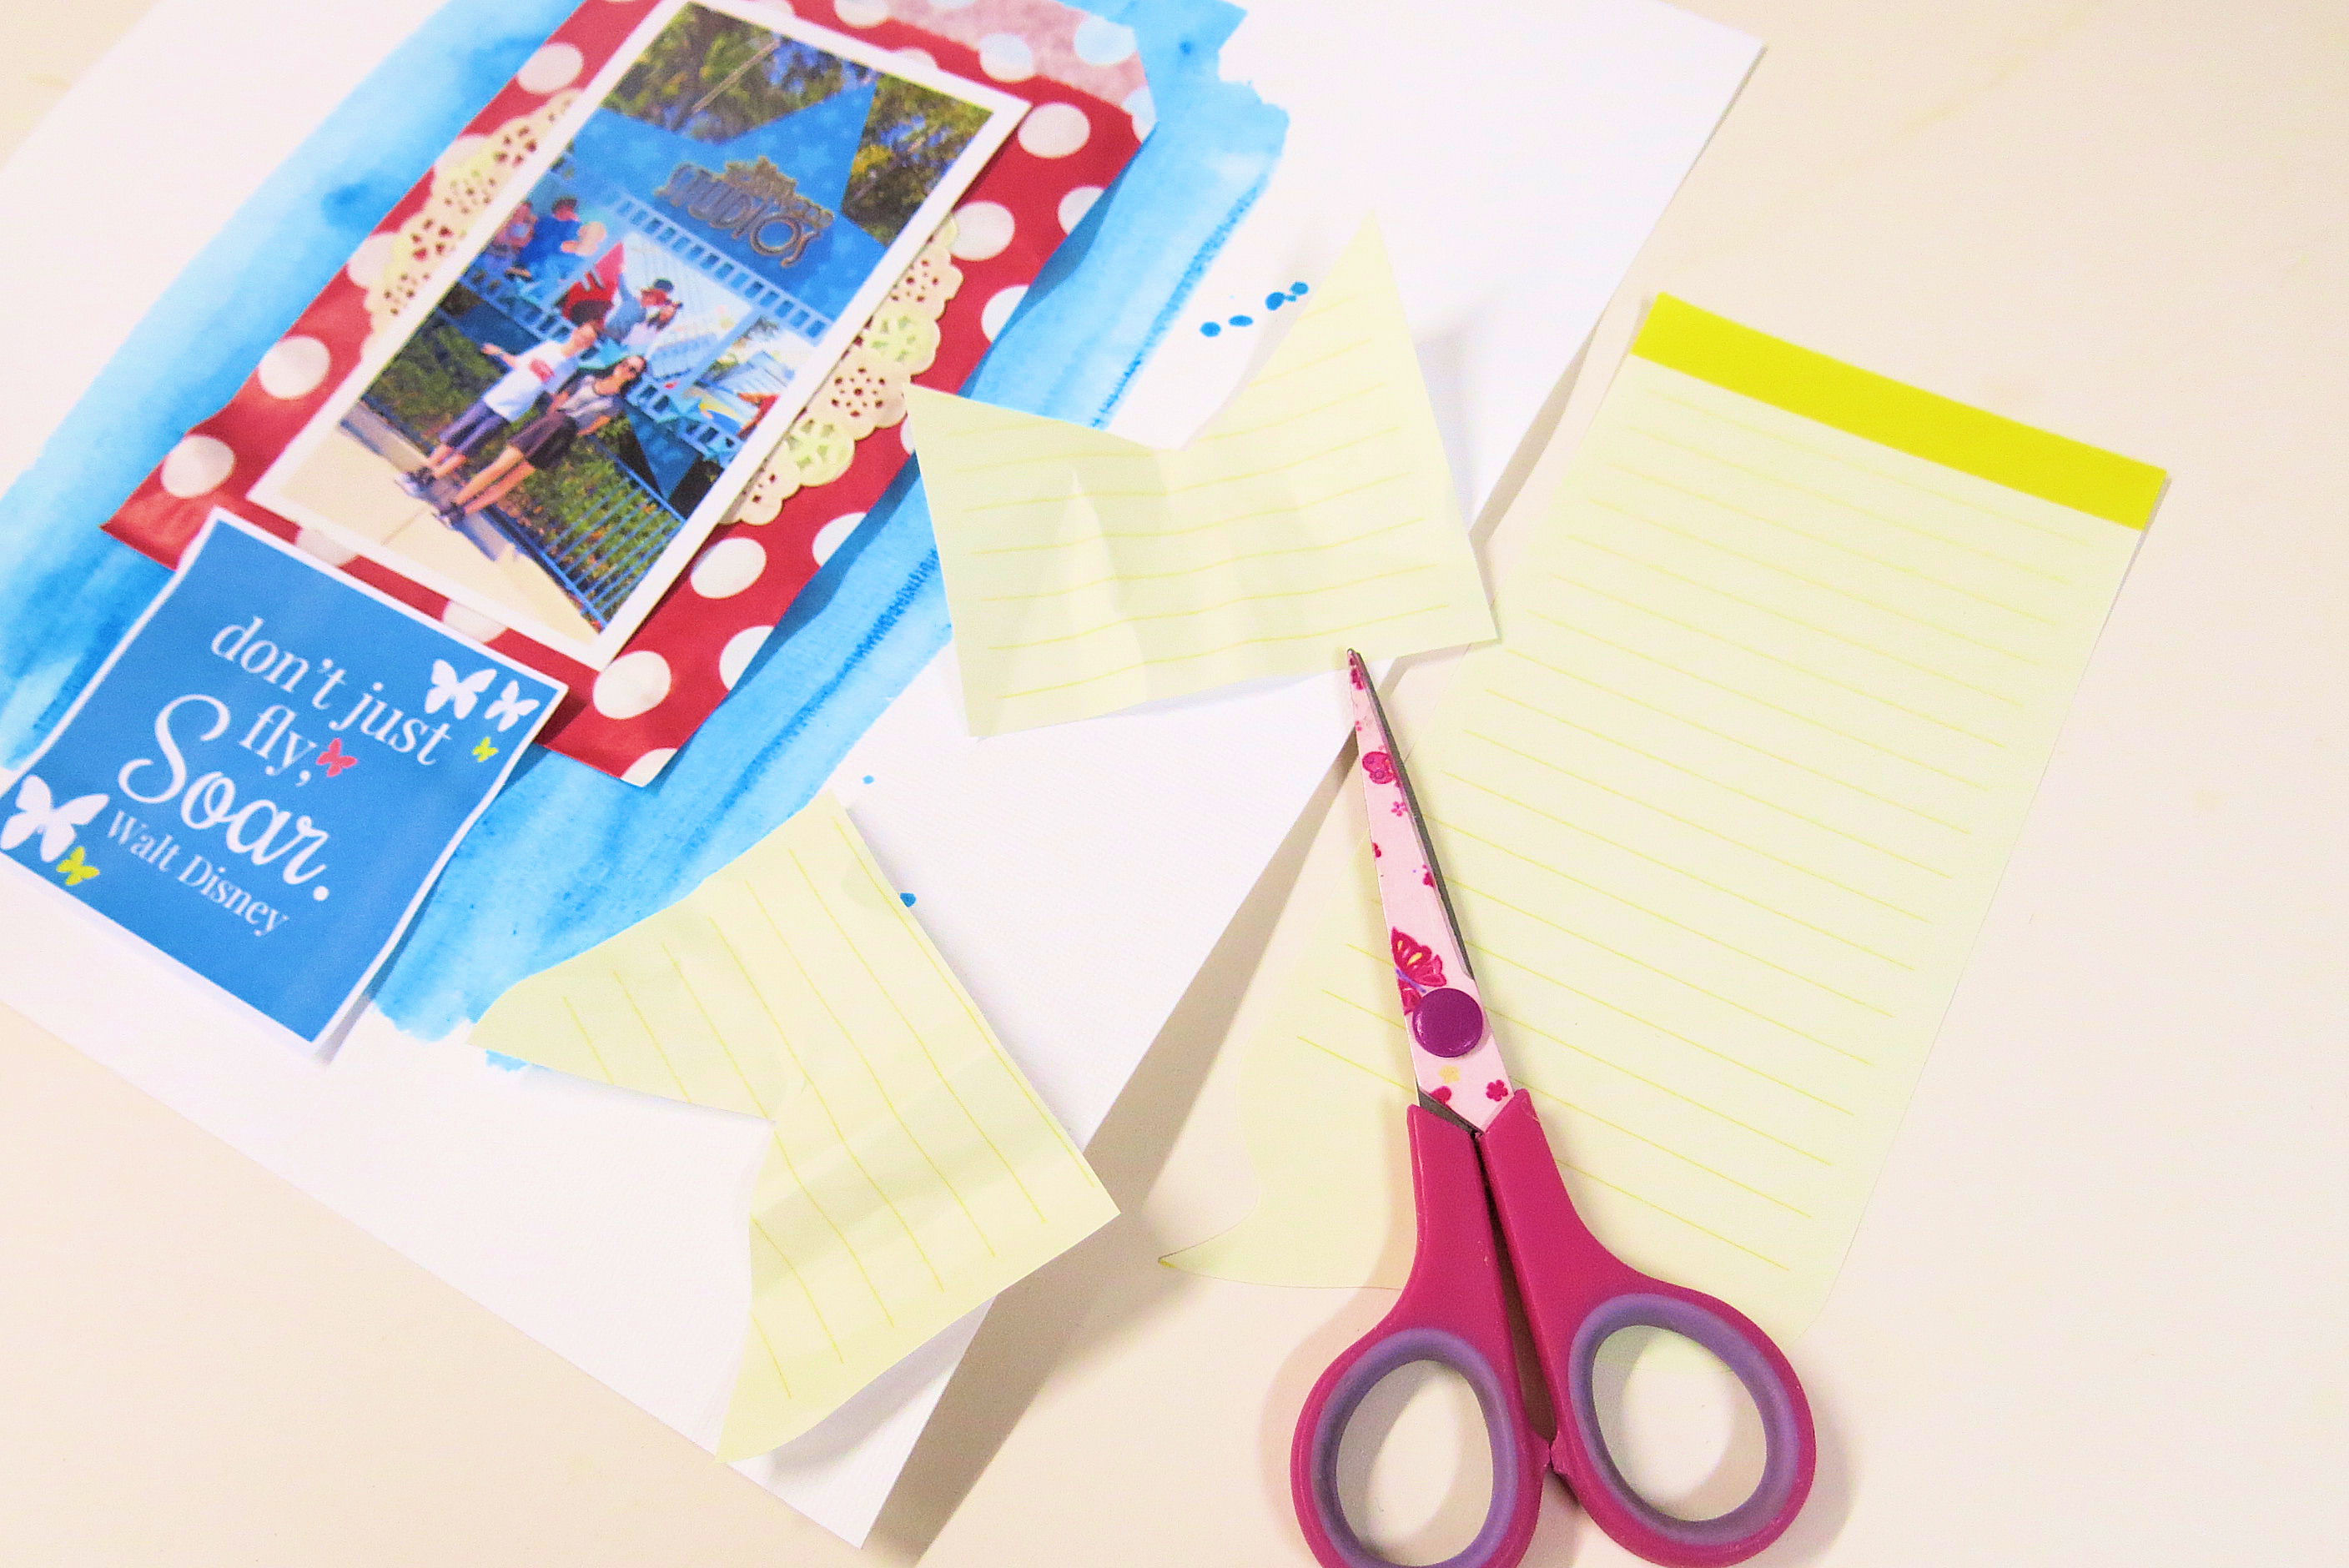
And make a banner from a piece of the note paper also in the kit. I cut two small pieces and cut triangles from each piece to make flags and then crumple in my hand.
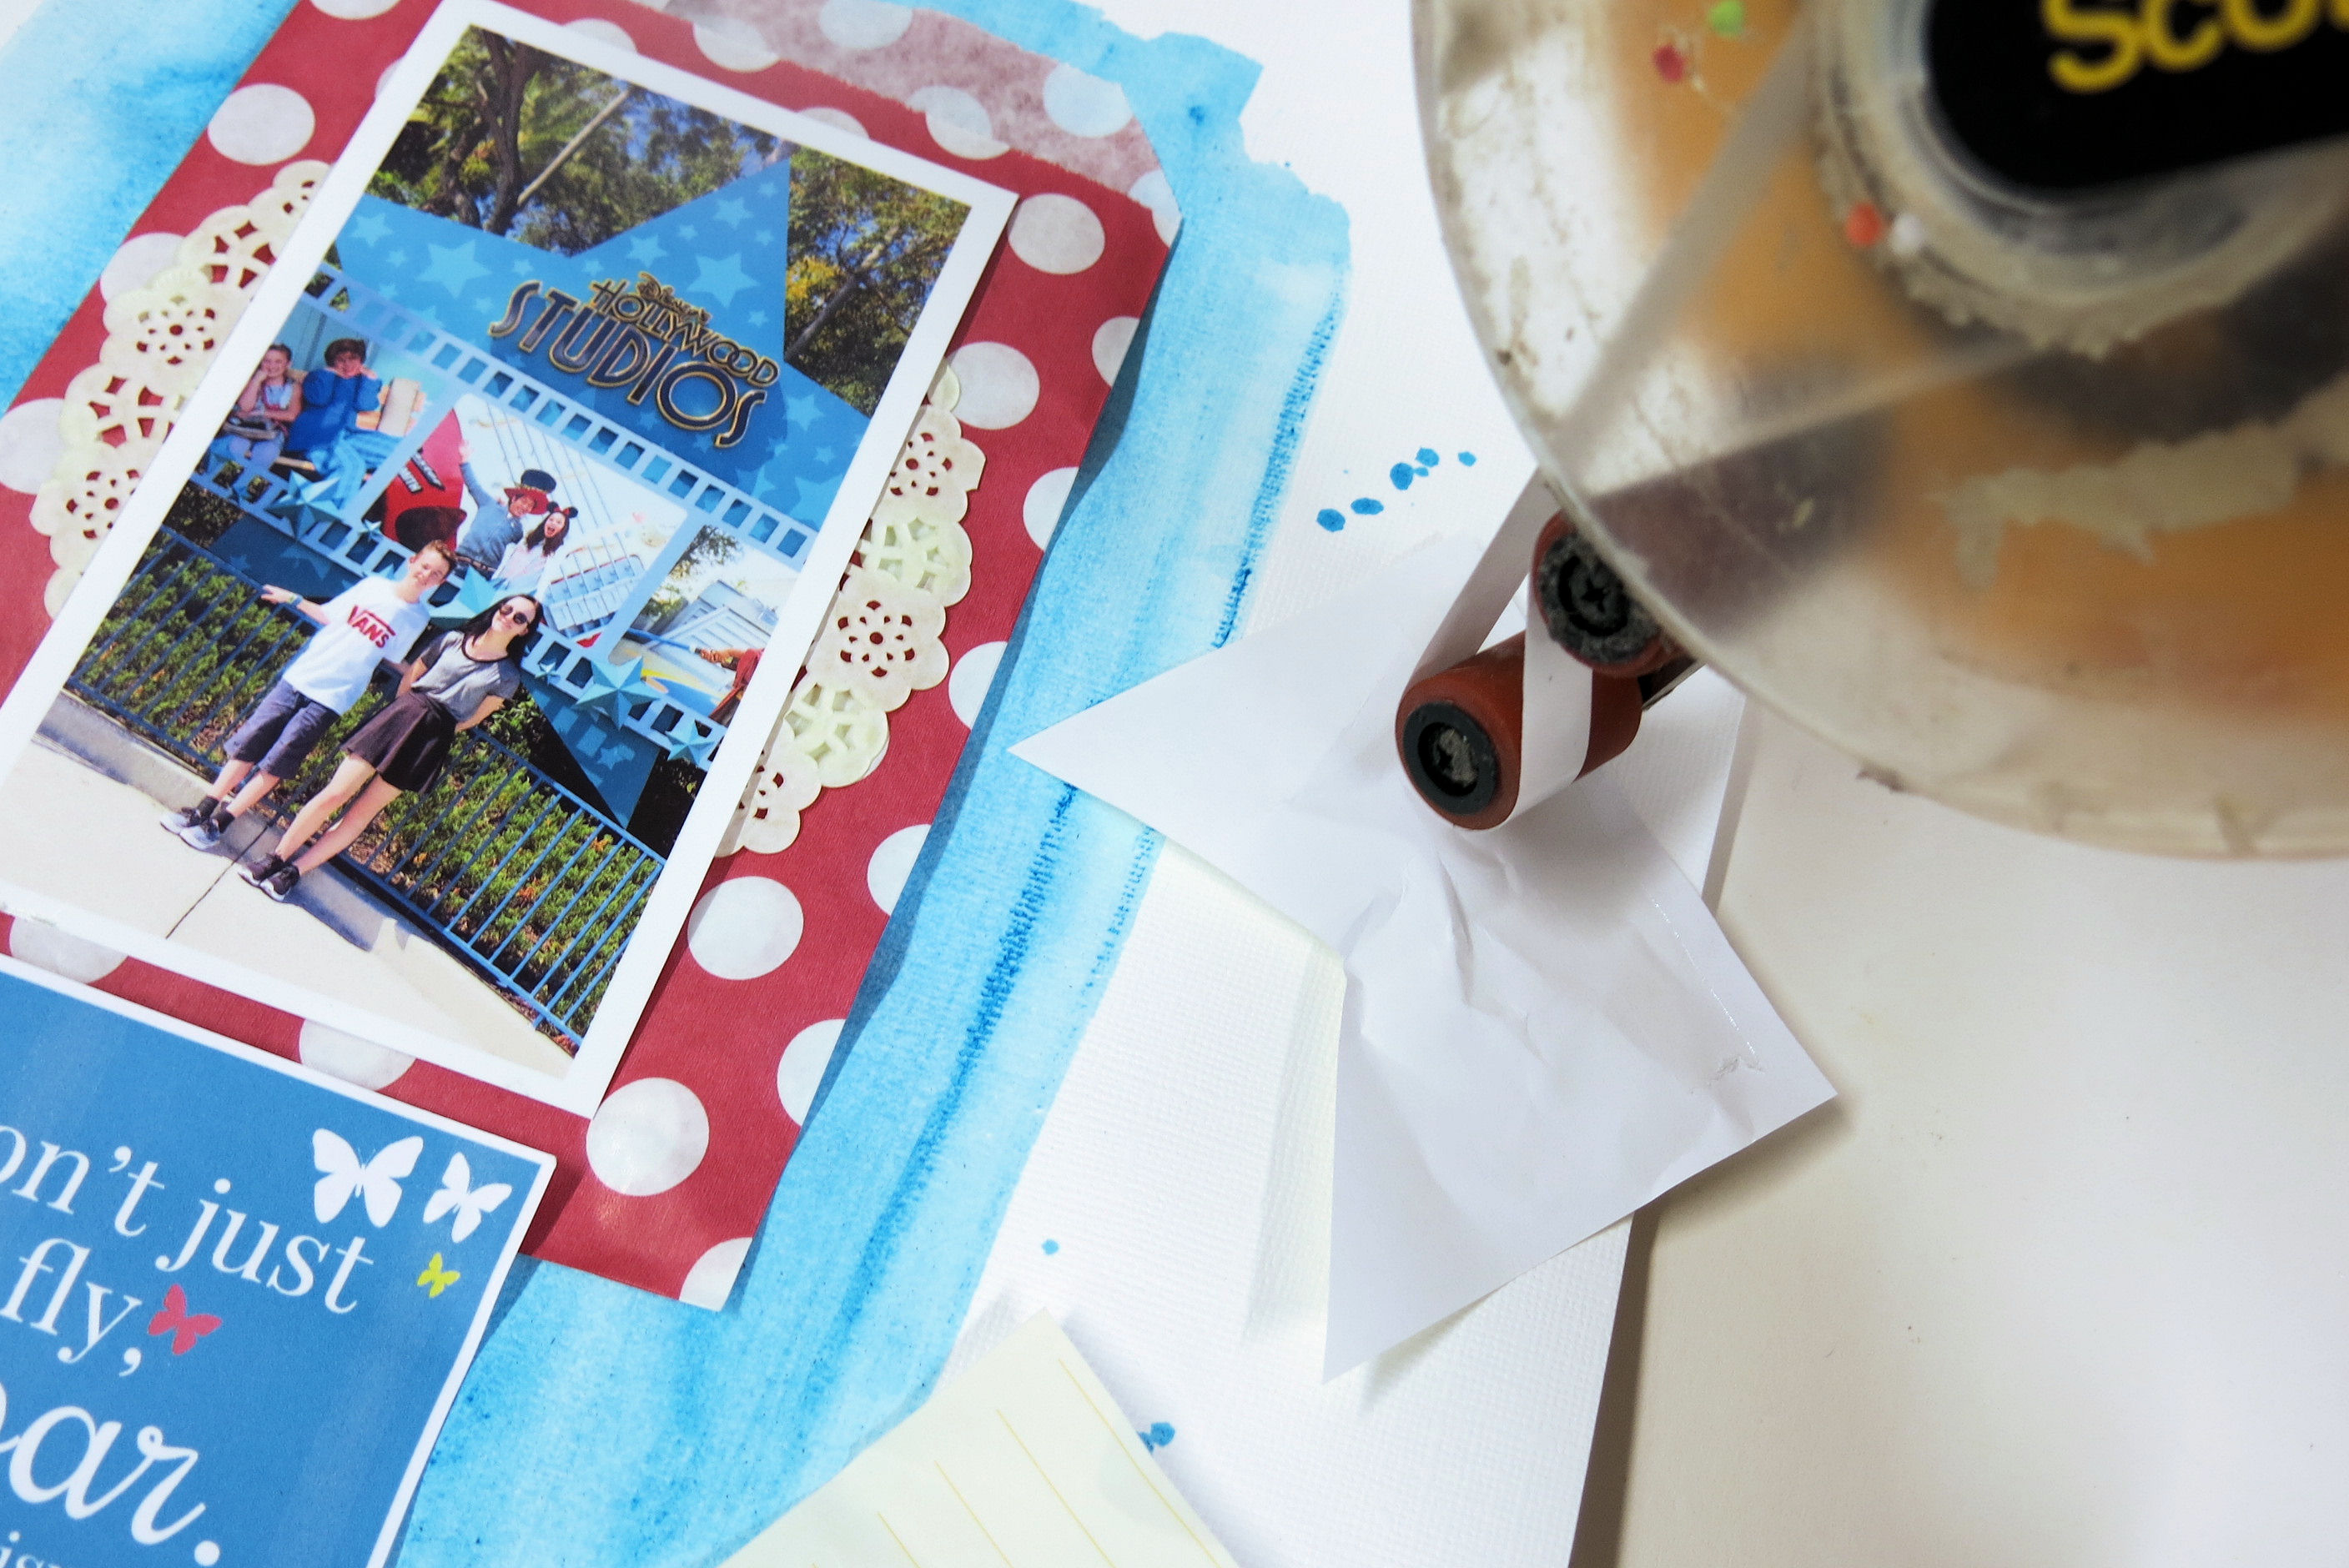
I only add tape to the straight side of the flag and then tuck under the paper bag each side. This way it’s just secured under the bag and the rest of the flag can remain crumpled.
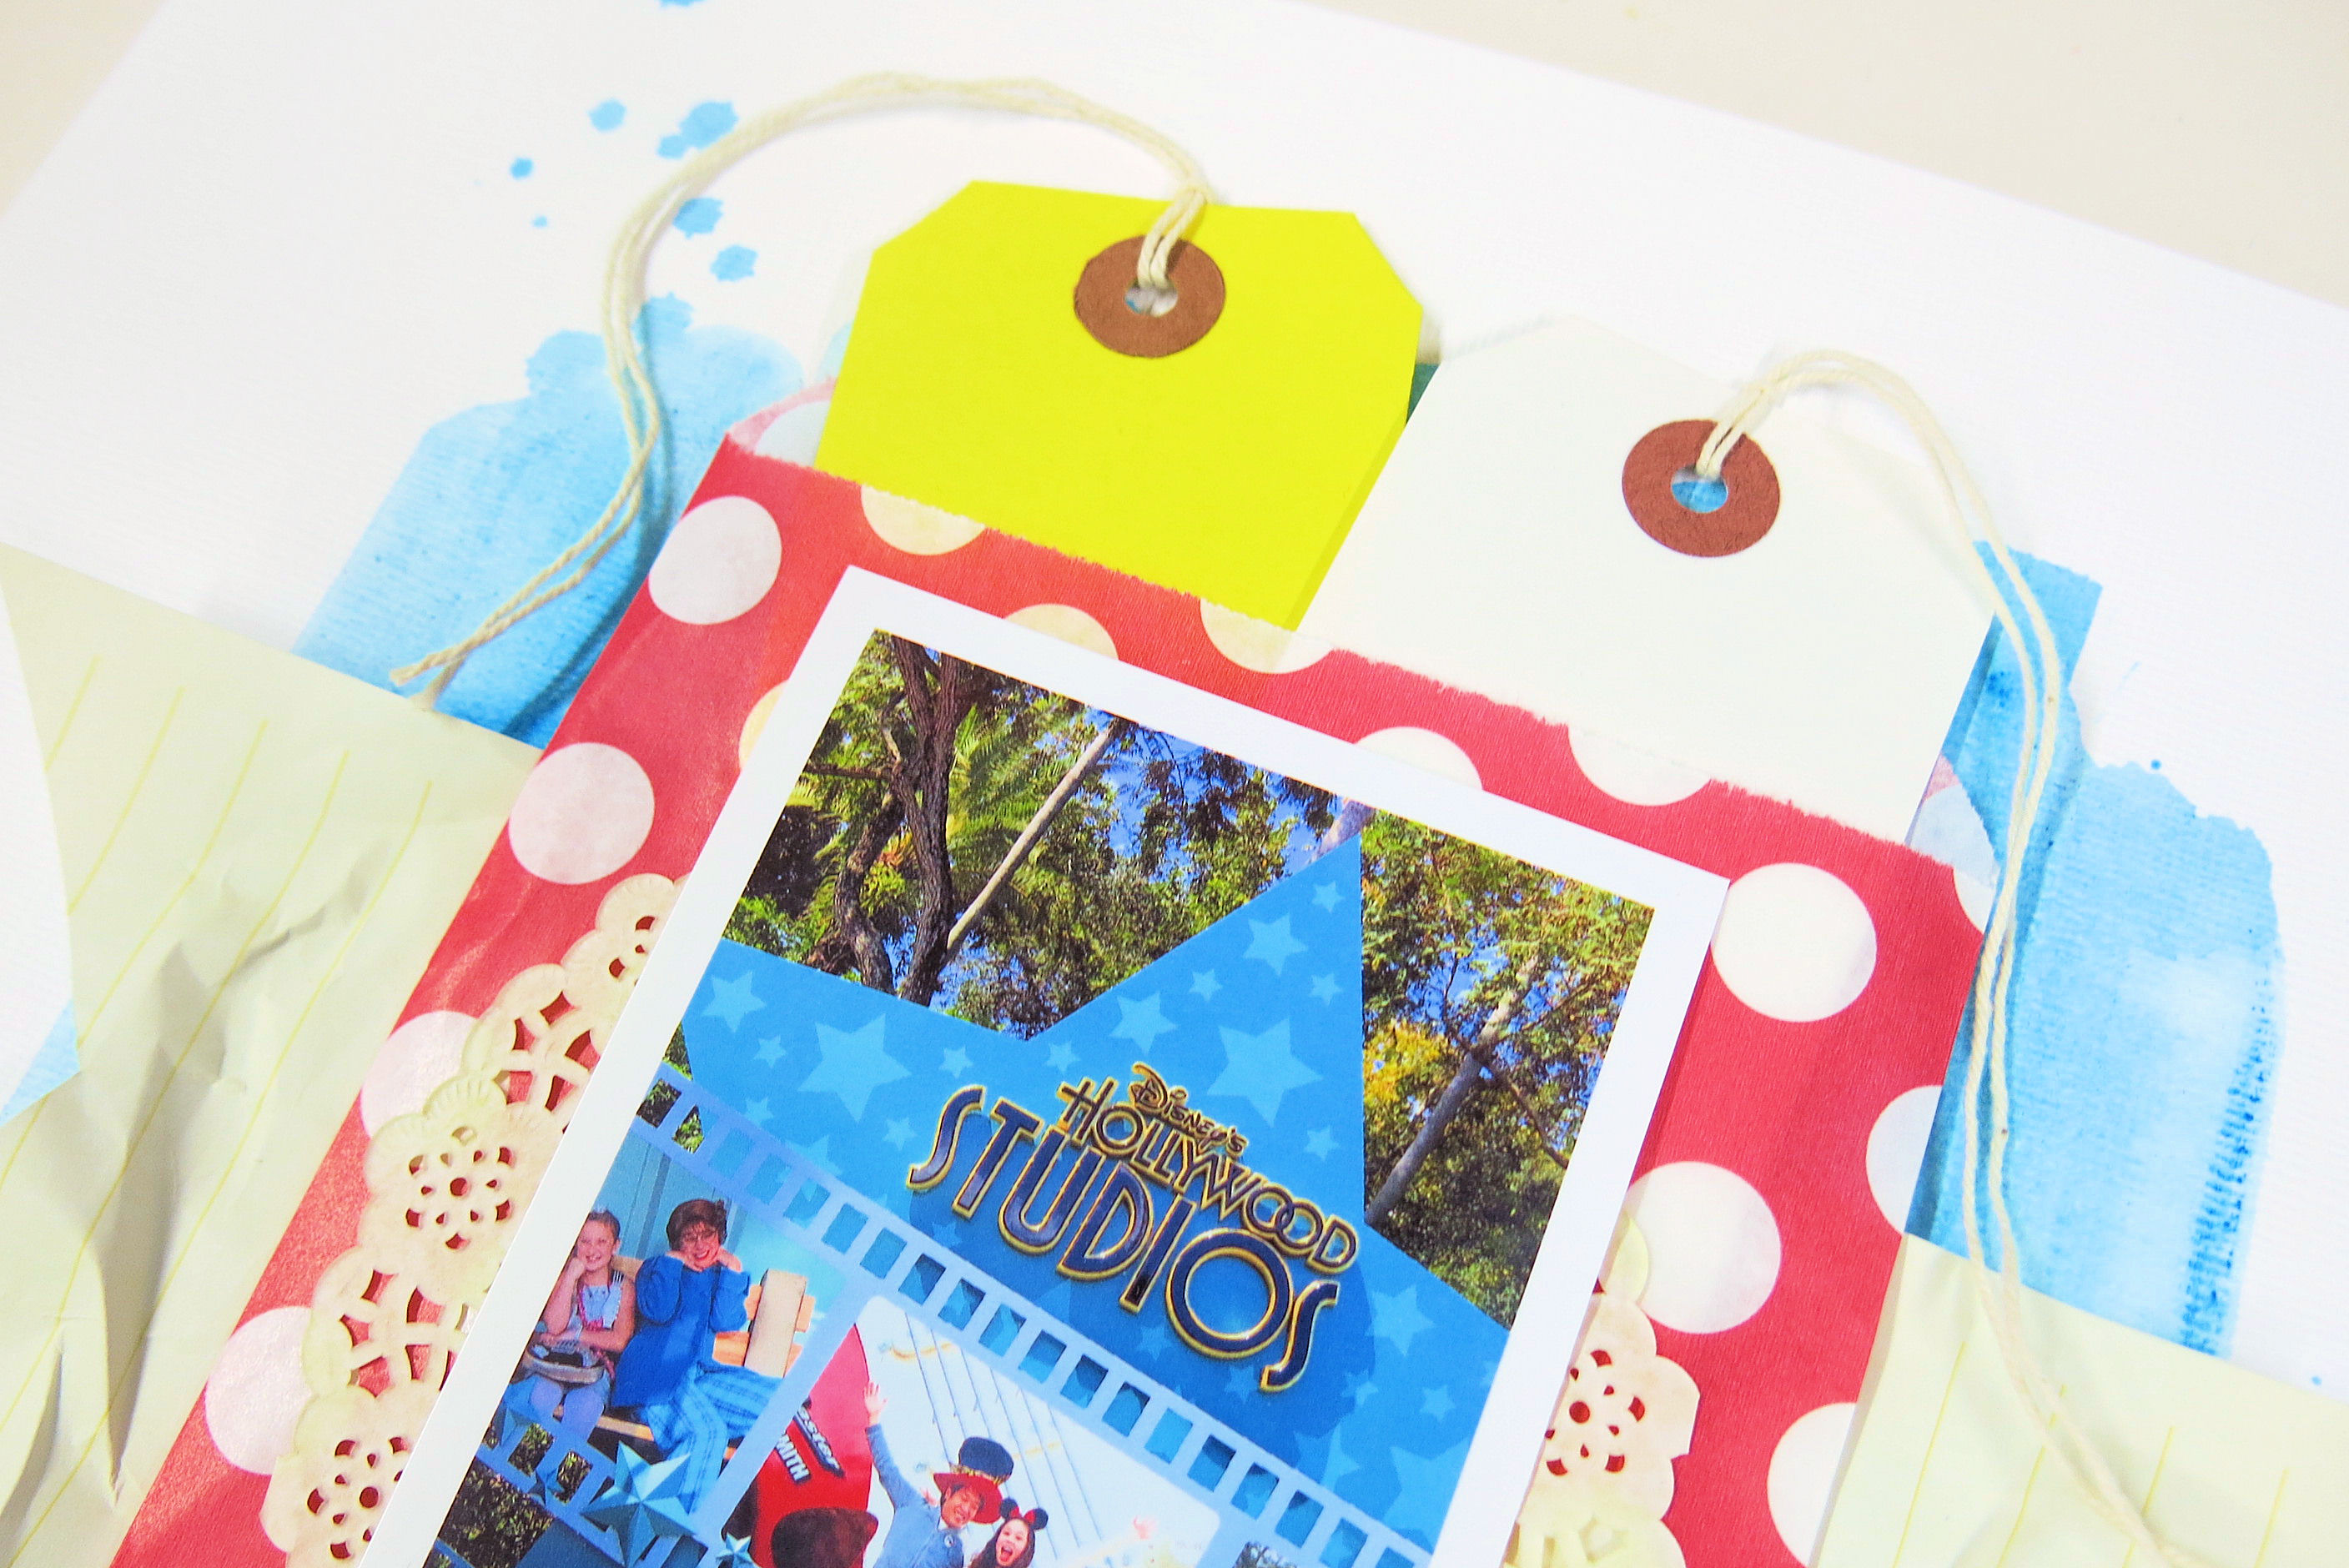
Time for the hidden journaling. I’ve taken the tags from the kit and then popped them inside the bag. You can also place additional photos or memorabilia inside the bag.

I stick the pieces that I cut from the embellishment sheet and outline the butterflies with a black pen.

A few other pieces from the kit have been added and a couple of hidden Mickeys too!

I’ve taken the inspiration for this page from a Disney Scrappers site that I’ve recently joined. I like to give myself a little challenge when I scrap. This photo just goes perfectly with this months kit colours. I do love a colour combo! You can really see how the flg/banner has a little life to it can’t you?! It looks so much nicer than just being stuck down flat.
I’d love to see what you make with your kits. Please remember to add #lollipopboxclub on instagram or @lollipopboxclub on facebook .
Thanks for joining me today . Happy Scrapping!!
(everything on this page other than the 12×12 which cardstock and the paint comes in the August kit here.)


Leave A Comment