
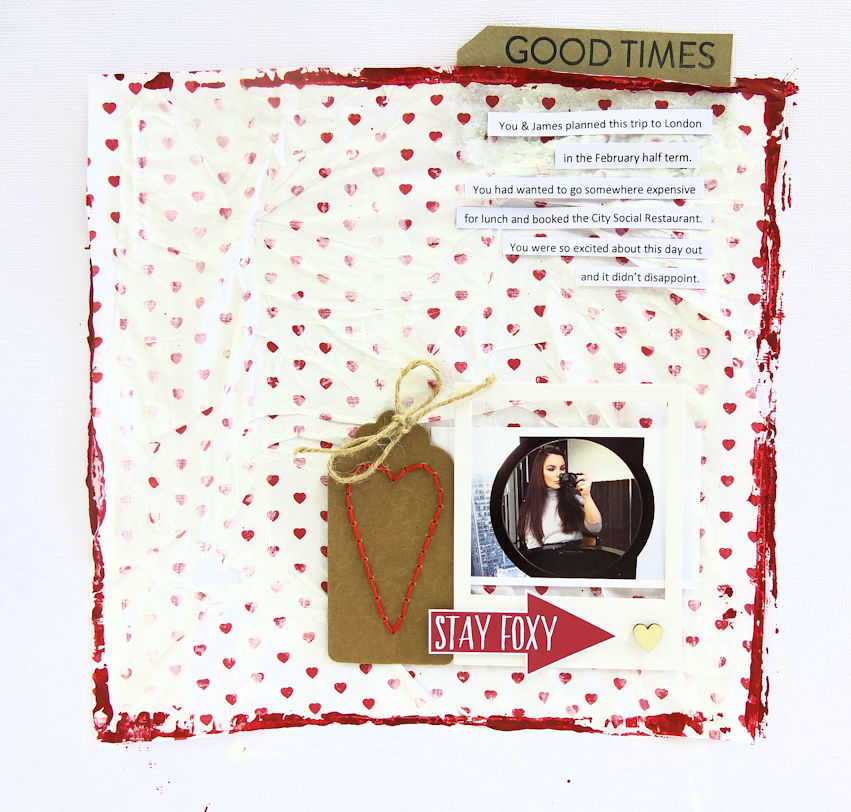
Today I am using the little DIY kit that comes in the February Kit. I have used it on this scrapbooking page above. It’s the little heart stitched tag. So today’s blog post I will go through how both were made.
Let’s start with the DIY kit.
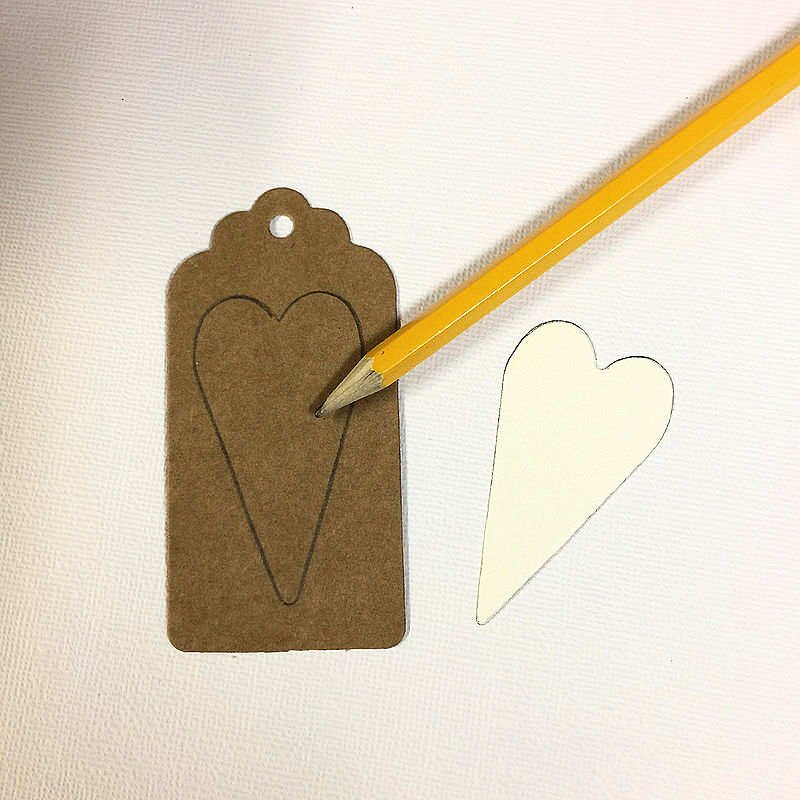
If you take the kraft tag and the heart template and pencil from your kit and draw around the template in the centre of your tag.
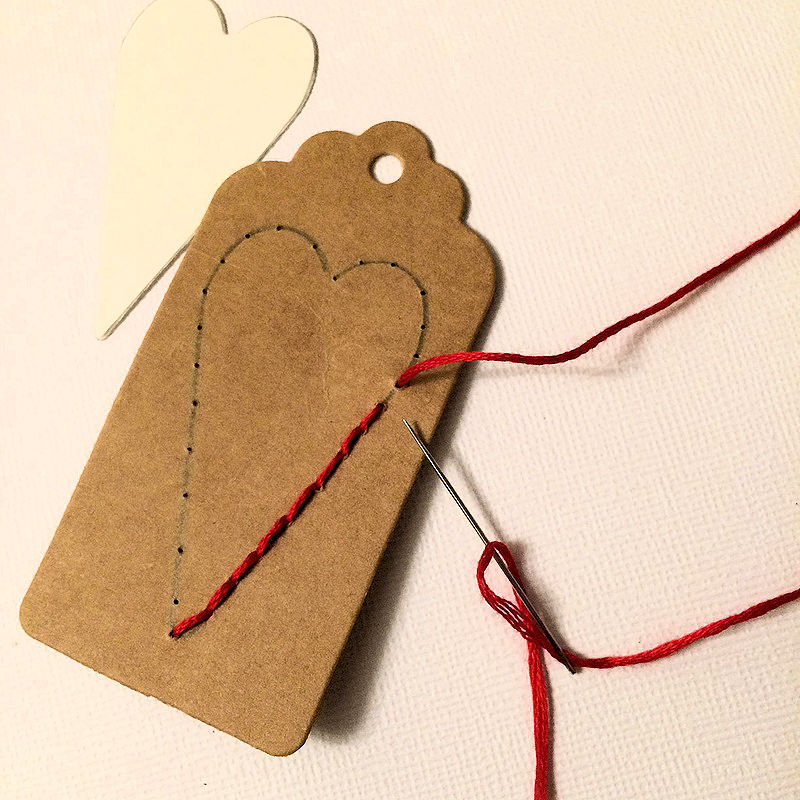
Then use something sharp to pierce you holes. I use a paper piercing tool, but you can also use a long needle or pin. Then sew along the holes using the red thread in your kit.
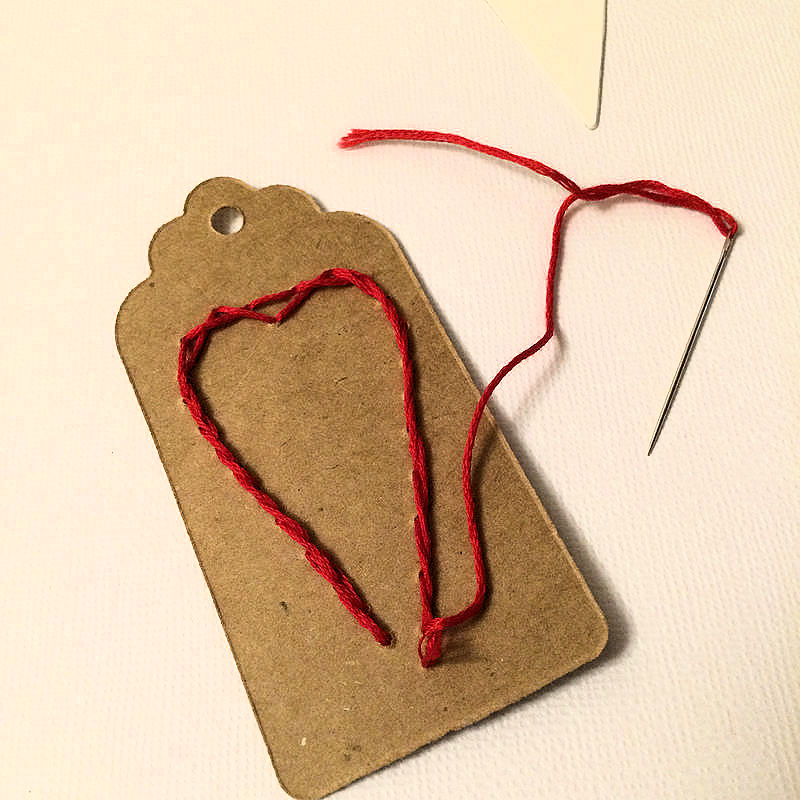
Either tie a knot at the end or I just use a piece of sticky tape.
Your tag is now ready to use on whatever project you wish. A card, a gift bag, in a frame, on your planner or like me on a scrapbooking page.
This is how I made the rest of my scrapbooking LO.
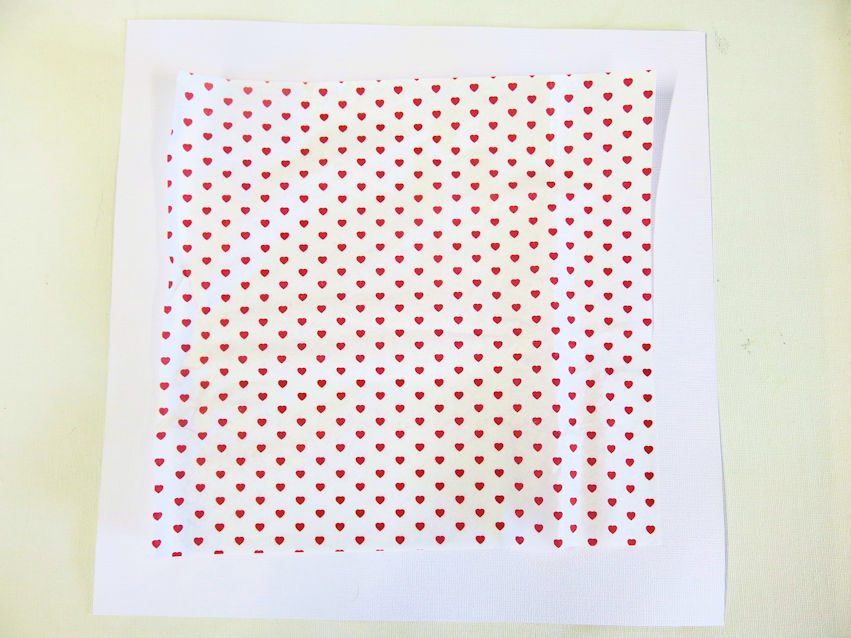
I took a piece of white 12×12 cardstock and the heart tissue paper from the packaging inside the kit. When I put these kits together I always visualize everything being used. The tissue paper gets cut to size to fit the card.
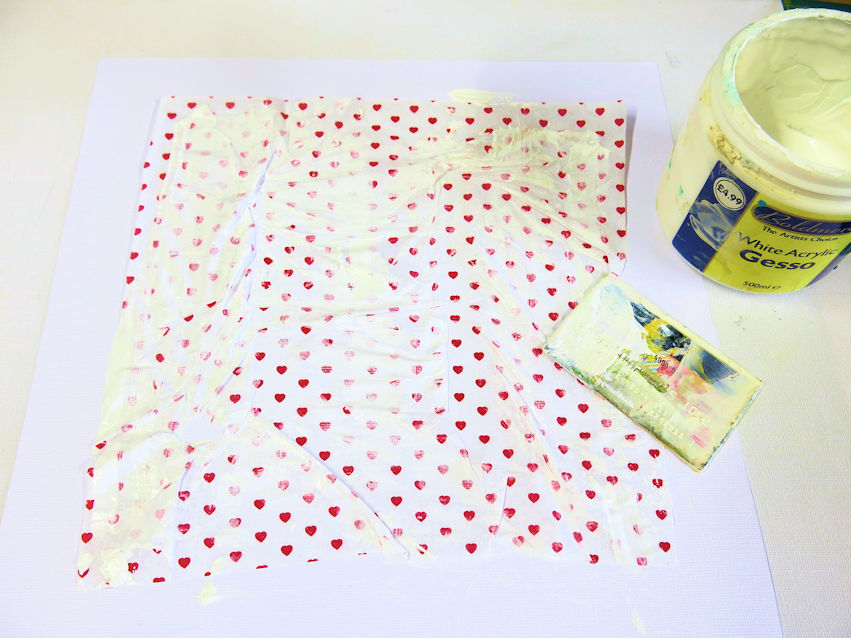
I’ve added some double sided sticky tape on the cardstock and crumpled up the tissue slightly and stick it to the page. Then taking some gesso and an old credit card, I’ve wiped over the gesso on top of the tissue.
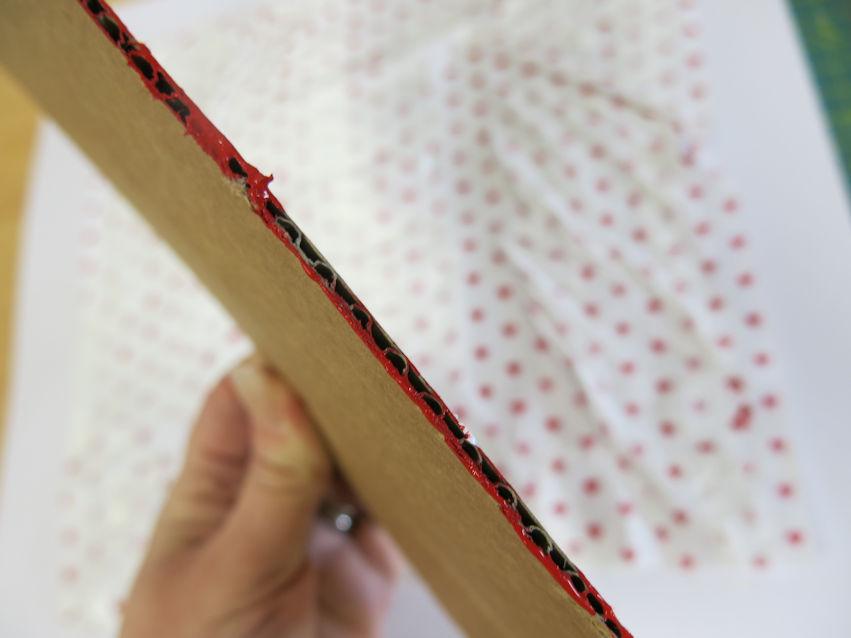
I’ve used a piece of straight cardboard with a nice thick edge for this next step. I’ve painted along the edge.
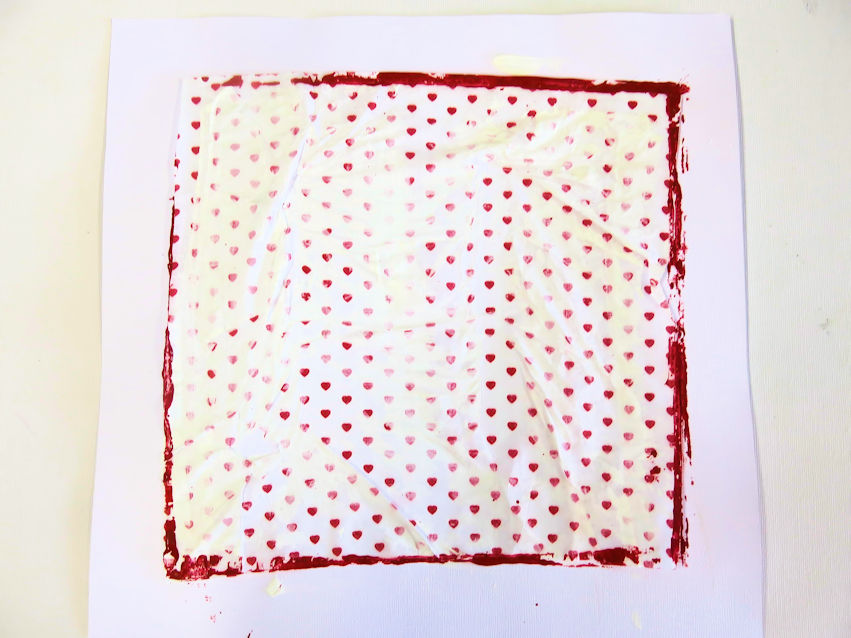
Then pressed along the edge of the tissue. This can be repeated if you don’t get a full line showing. You will be left with a lovely border now.
You can either leave to dry or use a heat gun before continuing on.
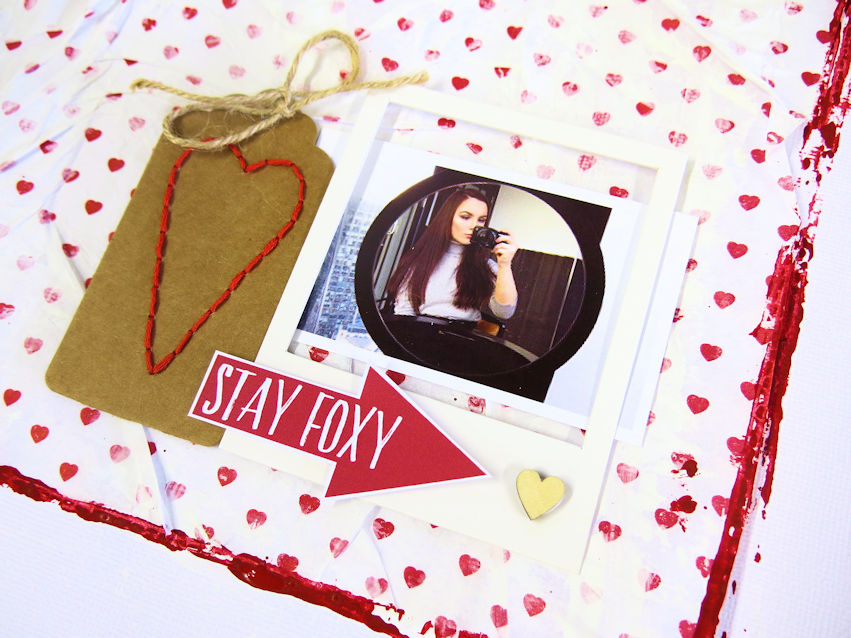
Once dry I’ve taken my photo and some bits from my kit including the tag that I’ve just sewn. The photo goes on first, then the polaroid frame which has been stuck on with 3d foam tape slong the thick bottom strip. The tag next and the embellishments from the kit.
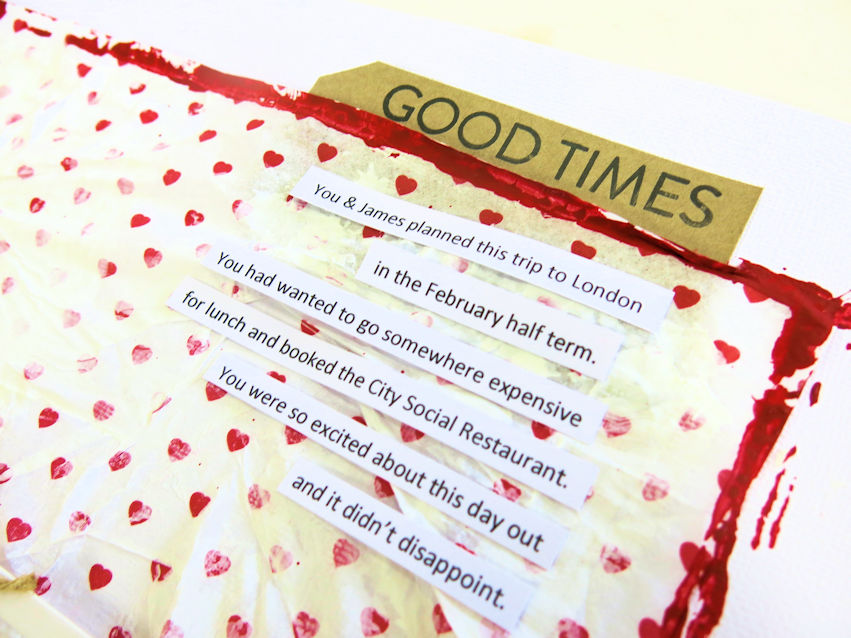
I wanted to add some journaling to my LO about my daughter’s day out, so I printed it on my pc and cut in to strips. Then I used the kraft tag from the kit that the heart shaped paper clips were attached to.
And that’s my LO finished. Quite a simple one for me, but I think the busy background makes up for it.
That just about takes us to the end of our foxy month, I hope you’ve enjoyed it. It’s been a fun month of creations for me, that’s for sure. Anything foxy makes me smile.
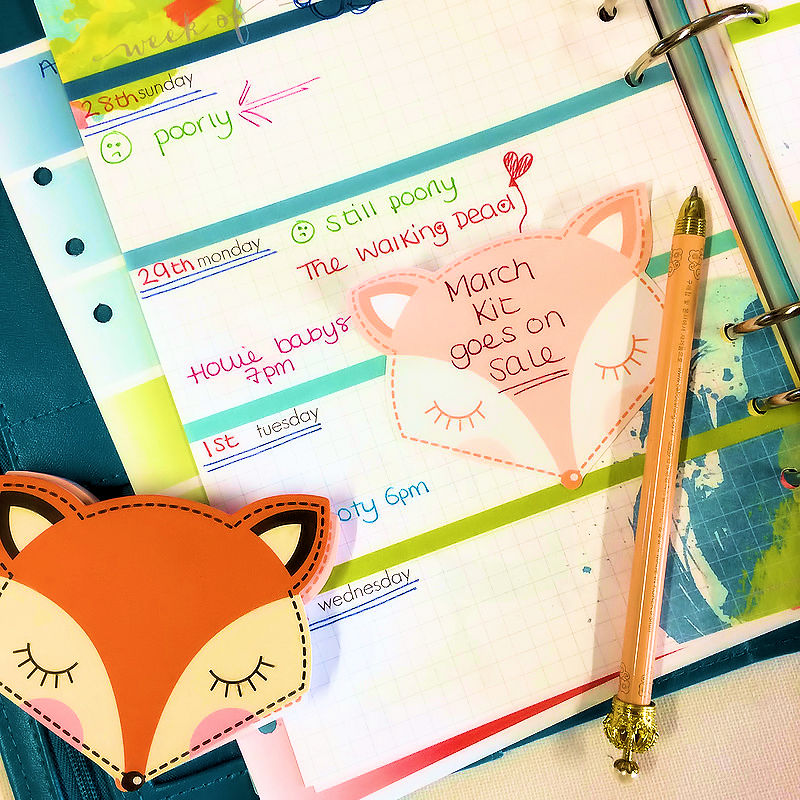
Don’t forget as it’s a short month the new March Kit goes on sale tomorrow.
The subscriptions are already on sale here, but the one off kits go one sale tomorrow at 7.30am UK, plus you will get to see lots more of this cute new kit. I can’t wait to share it with you.
xxx

Leave A Comment