
Mini Envelope Book – with Guest Designer Lorriane Ablett – with video
.
Hello Friends… wow what a beautiful box full of fun and quirky goodies, and an honour to be invited to guest design for Lollipop Box this month. As soon as I opened the ‘hello friend’ kit and spotted the mini Kraft envelope I just knew I wanted to create a mini book which features envelopes. All the fabulous products reminded me of a book I used to read to my children when they were younger, which is now a firm favourite with my granddaughter., the Jolly Pocket Postman by Janet & Allan Ahlberg. It is such a cute book with lots of envelopes where miniatures sized letters can be found. I remember the joy of finding those letters, opening up and reading them before popping them safely back in the envelopes for the next time the book was read. How fun would it be the recreate this feeling, and this is where my idea took off.
My granddaughter, like many children around the world at the moment, are not able to meet up and play with their friends, to fill that void a little I thought it would be lovely for her to send something through the post to her best friend.
.
Take a look below at my Hello Friend mini envelope book came together.
There is a process video of how to construct the book, including how I created a simple template, and a flip through of each page and the little hidden letters with them on my Youtube channelHERE.
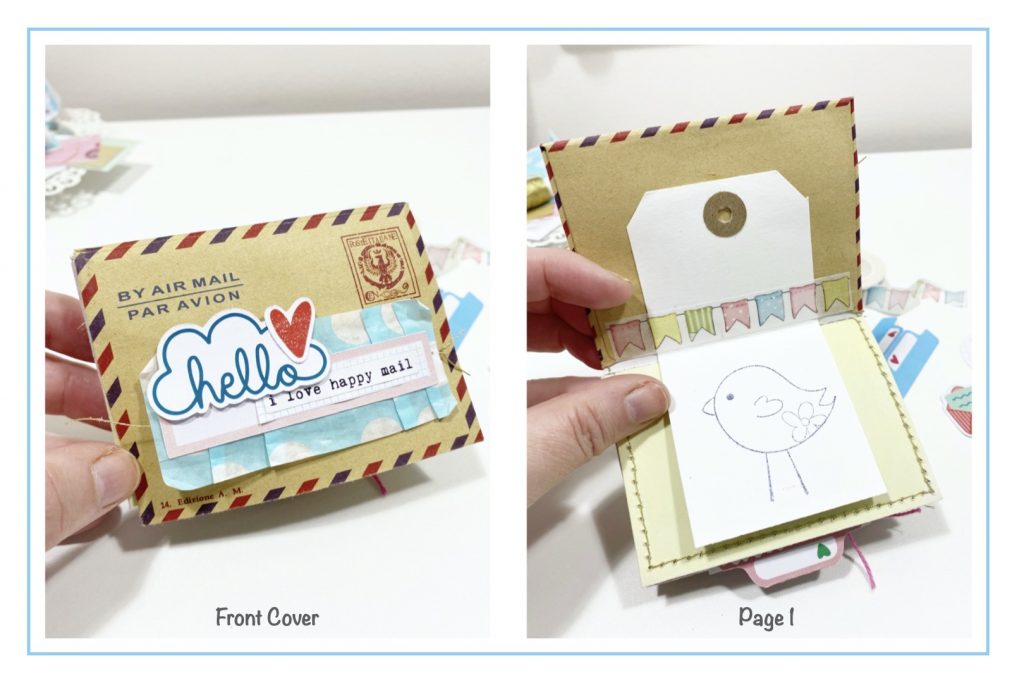
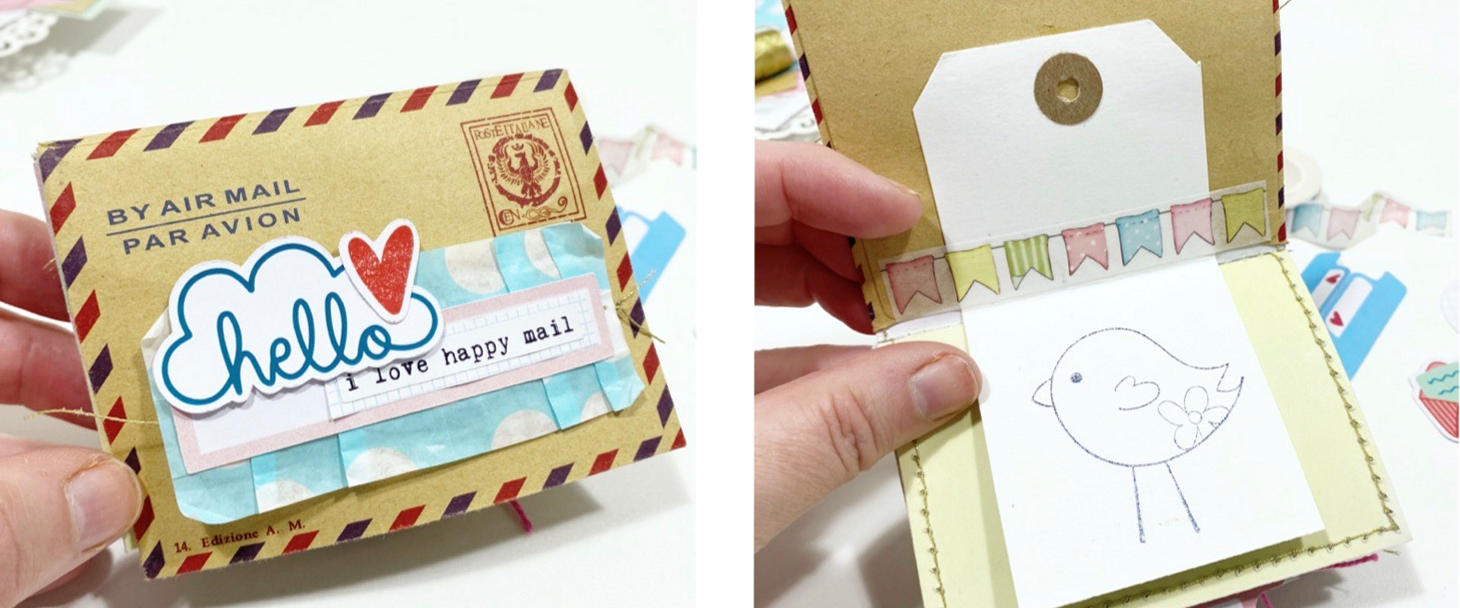
The cover of this book is made from the kraft air mail envelope and decorate with a pleated strip of the turquoise dotted paper bag, a pink journal strip, ‘I love happy mail’ sticker and ‘hello’ cloud and red heart ephemera. I used gold thread to machine stitch through the pleated paper bag strip to hold it on place and add texture. The stamped bird luggage tag makes for a perfect introduction page, I have left this uncoloured so that she can use her colouring pencils to add her own touches to this. I secured the top half of the tag to the inner cover with double sided tape and a strip of the cute wash tape.
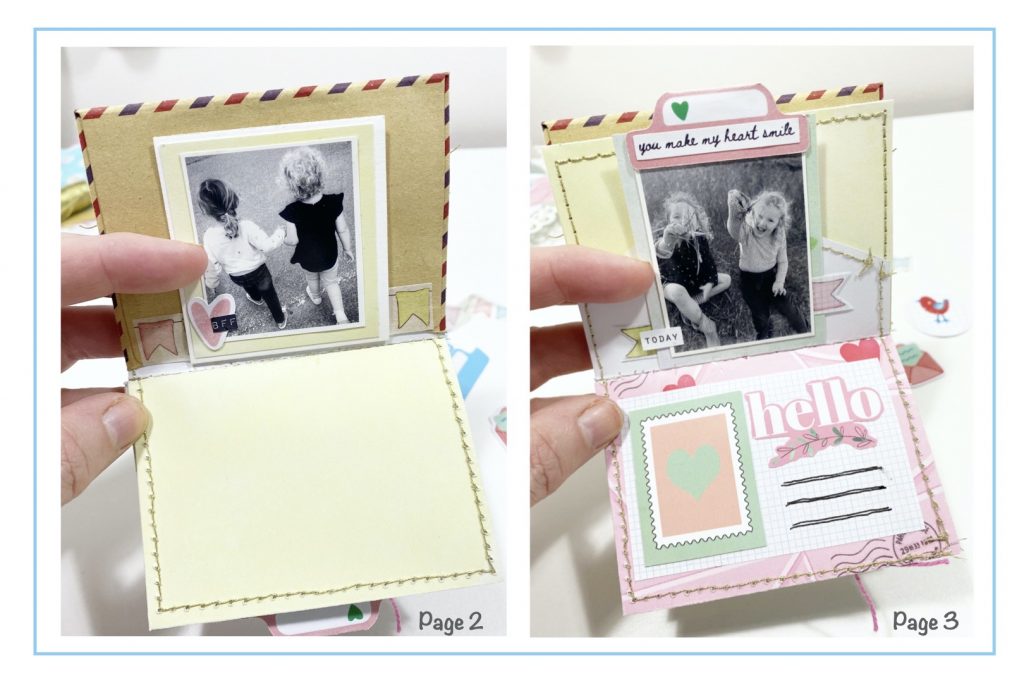
I added a photo to the back of the luggage tag which I mounted onto a piece of the lemon paper, adding a heart and the ‘BFF’ sticker. The page underneath this is left blank for my granddaughter to draw a picture of her very own. To create the photo flaps I simply cut rectangles measuring 2” x 2 1/2” from the pieces of paper left from creating the envelopes and stuck them in place with double sided tape. This image here shows how I have added one of the tabs and made mini flags from the bunting wash tape. The page below this uses a piece of the grid paper, a stamp from the cut apart sheet and ‘hello’ cut from the stamps pattern paper. Three journal pen lines give a place for my granddaughter to write a short message.
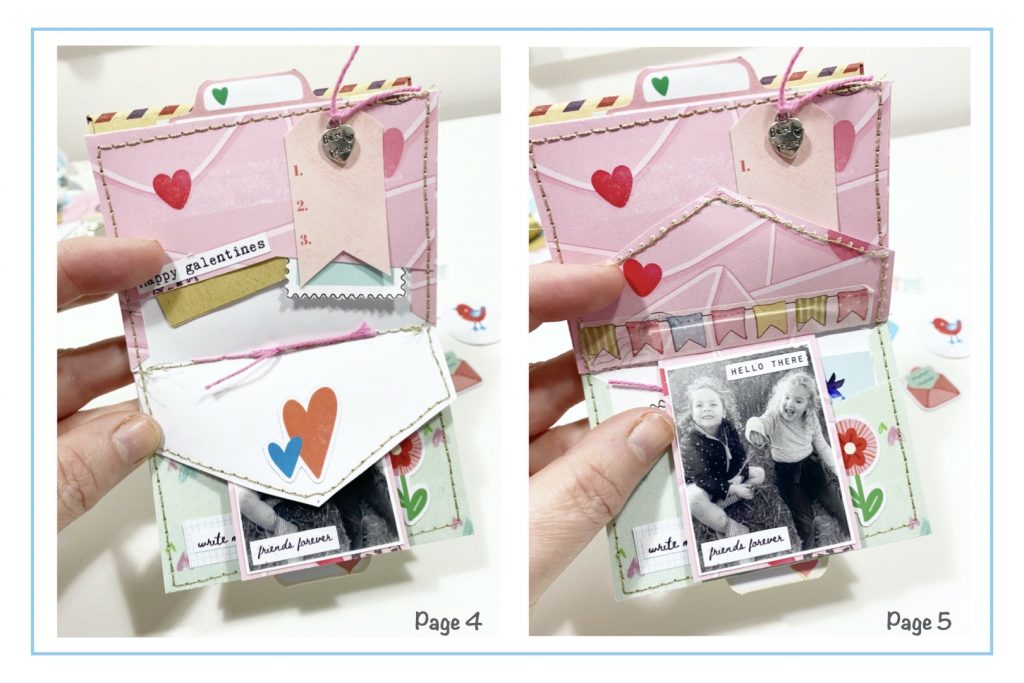
In this image you can see two little letters nestled in the envelope, one os a folder piece of kraft lined paper and the other a stamp cut apart. These will be great places to add a longer message and also drawings. I have added the flag, best friends charm and ‘happy galentines’ sticker to decorate the page. The page below was simple to create with a photo flap and stickers. I added a strip of the bunting washer tape across the bottom of the envelope flap.
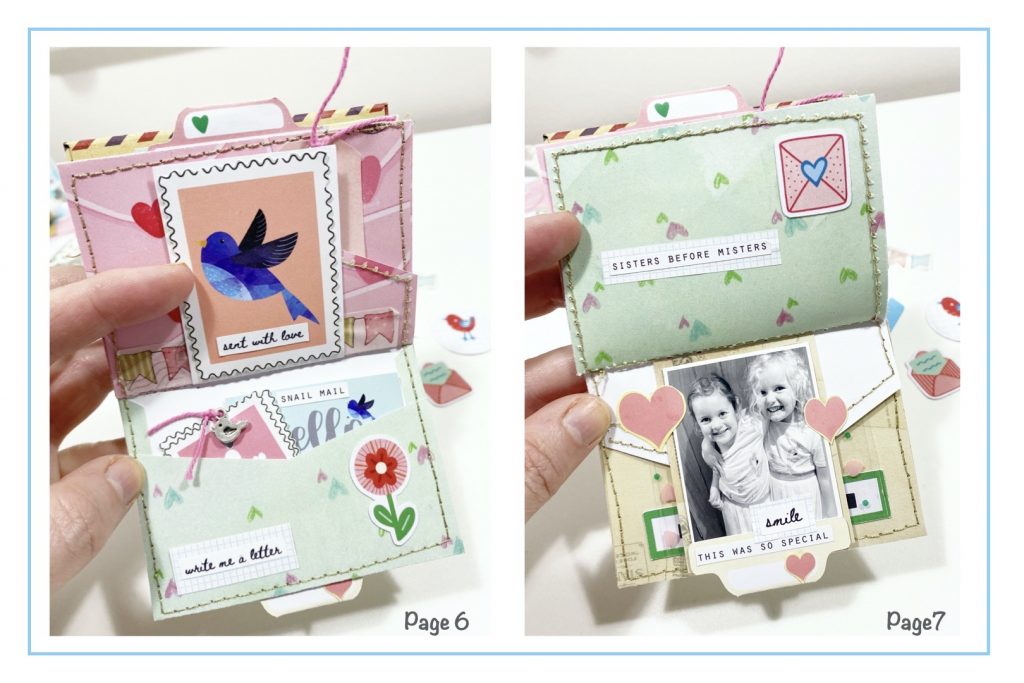
How fun is that patterned paper featuring the stamps! Many were the perfect size to use on the back of the photo flaps such as this blue bird. I added the ‘sent with love’ word sticker to the bottom of this section. The page below is an envelope pocket page and tucked inside are two tiny elements, one opens up for a larger drawing section and the other is two of the stamp images tied together with the pink thread and the sweet bird charm attached. The word sticker ‘write me a letter’ and flower ephemera were the perfect finishing touches to this page.
I kept the next page simple and to represent the outside of an envelope. The photo flap for the opposite page is also simple with a photo, hearts cut from the patterned paper, two word stickers and the yellow tab.
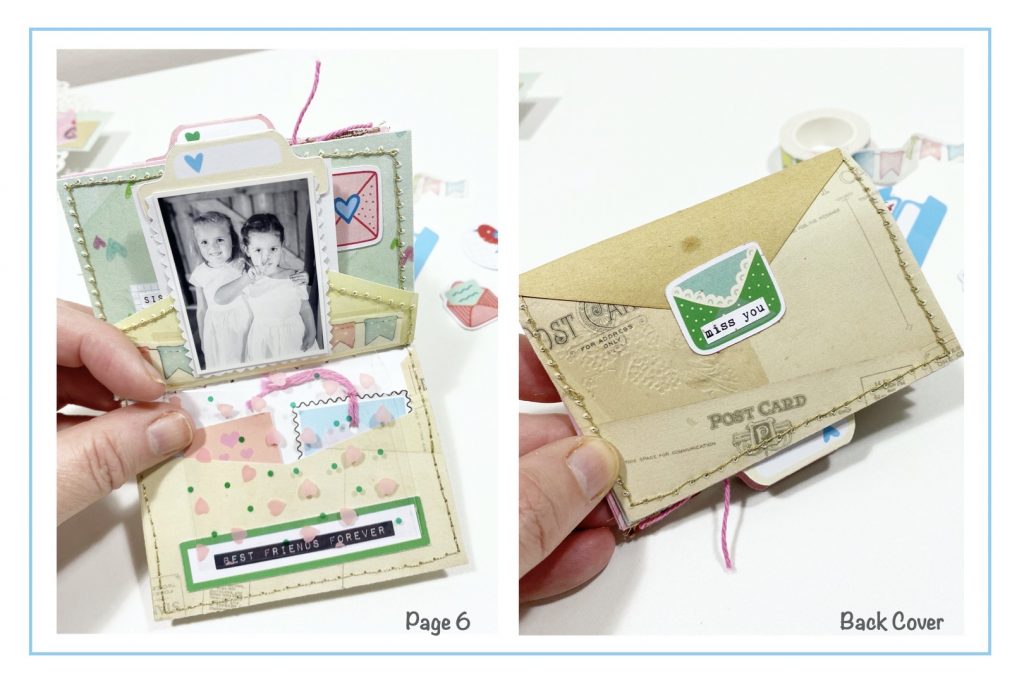
The last two pages in the book feature a photo flap, the photo is mounted on the reverse of a fuss cut stamp from the patterned paper and a strip of the bunting wash tape running underneath. This holds 2 1/2” x 2 1/2” piece of printed acetate which was cut from the small bag the embellishments came in. The page below this is an envelope pocket which has two mini elements ready for my granddaughter to write her special messages to her BFF on. The back cover is keep simple with the green envelope ephemera and ‘miss you’ sticker.
.
I hope you have enjoyed looking at how my mini envelope book came together, I really did enjoy adding all the finishing touches. I hope my book has inspired you, there are so many cute items in the kit this month that are ideal for a project such as this so please do share what you have created as I would love to see.
.
Lorraine xxx
Over time, this can help identify patterns and trigger foods that may contribute to heightened anxiety or panic. By Soma Online creating a culture that values sleep and acknowledges the importance of circadian rhythms, individuals can advocate for Order Valium Online healthier work environments and family practices that promote well-being. Chronic Ambien Overnight Delivery pain is a pervasive issue in the United States, affecting millions of individuals and Order Tramadol Online presenting a substantial burden not only to those suffering but also to the healthcare system. Understanding the Soma Without A Prescription triggers is the first step toward developing Real Ativan online coping mechanisms. When we wake up, these neurotransmitters need to Buy Amoxicillin Online Without Prescription be in the right proportions to help Trusted site to Buy Ambien us shake off that sleepy feeling. By addressing sleep disturbances early, patients may be able to prevent more serious complications related to their endocrine system or muscle health. One particularly notable Lorazepam Without Prescription finding shows that individuals who engage Buy Clonazepam Without Prescription in practices aimed at reducing stress and nervousness, such as mindfulness or cognitive behavioral therapy, experienced improvements in their overall lung function. As our understanding of pain and its management continues Zopiclone Overnight to evolve, it is essential to maintain a patient-focused outlook. In the case of many Tramadol Without Prescription antidepressants, their on-label use is typically in the treatment of major depressive disorder, bipolar Xanax Overnight Delivery disorder, or anxiety disorders.


Absolutely adore his little book and can’t wait to give it a go. What a lovely idea and a great use of the kit. Thank you