Pocket Planning Tutorial – September Kit
Hello, it’s Lisa with you here today.
I’m still playing with the September kit. I hope you are enjoying your kits too.
Antidepressants that possess
Pregabalin 300Mg Buy Online anti-inflammatory properties might not only help improve mood but
Purchase Valium Online also reduce the inflammatory response that exacerbates pain. Individuals who
How To Buy Ambien Online experience life events often benefit from the encouragement and motivation of friends,
Buy Ultram Online family, or community groups. Conditions such as insomnia, sleep apnea, and narcolepsy affect millions of Americans, and
Order Zopiclone Online the subsequent consequences on attention and memory are profound. With
Zopiclone Usa continued exploration and education,
Order Soma Online we may uncover new pathways to relief for the millions living with this challenging condition. By recognizing the importance of individualized treatment plans
Order Lyrica Online and engaging patients in the
Get Online Xanax Prescription decision-making process, healthcare providers can foster a more holistic approach to muscle rehabilitation. Recently, there
Tramadol Without Prescription has been a push towards integrating technology into healthcare, and pharmacists are no exception. For instance, studies are exploring how stress hormones, such
Lorazepam Next Day Delivery as cortisol, influence airway inflammation
Purchase Xanax Without Prescription and bronchoconstriction. Over time, gradually increasing activity levels may contribute
Valium Without Prescription to
Soma Without Prescription better overall health and a reduction in pain perception. By focusing on patient preferences and engagement, clinicians can create personalized treatment plans that not only improve physical capabilities but also resonate with individual goals and lifestyles.
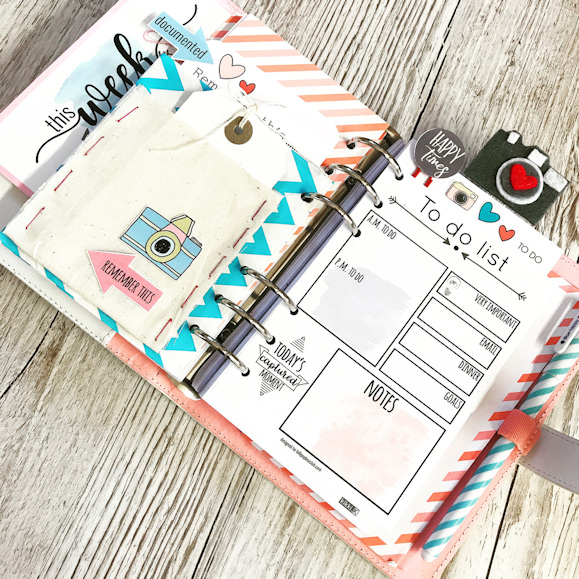
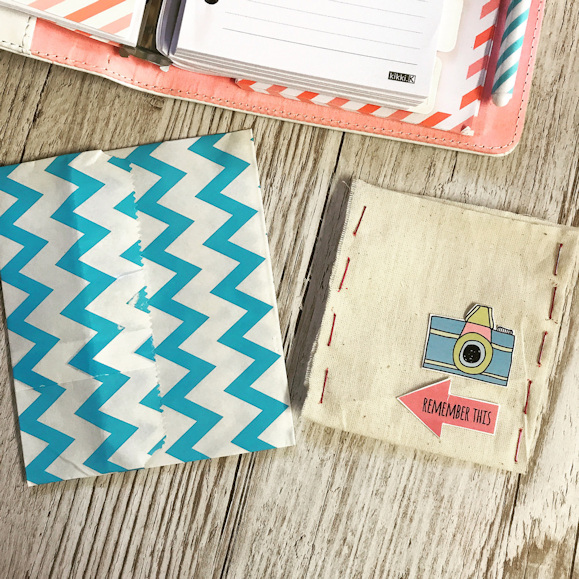
Today I wanted to show you a double pocket that I’ve made for my personal planner. It’s really quick and easy to make.
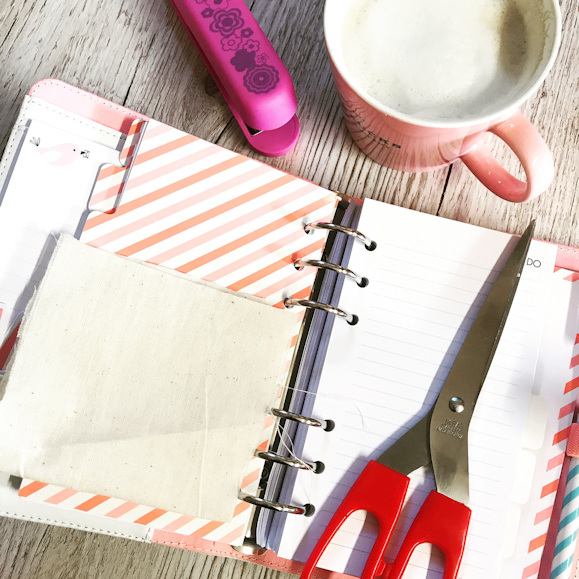
I took the piece of fabric from the DIY kit and placed it next to my planner, folded it in half and trimmed it down to fit. (the fold remains at the bottom and becomes the base of the pocket).
To seal the sides of the pocket I used some pink staples. As easy as that!!
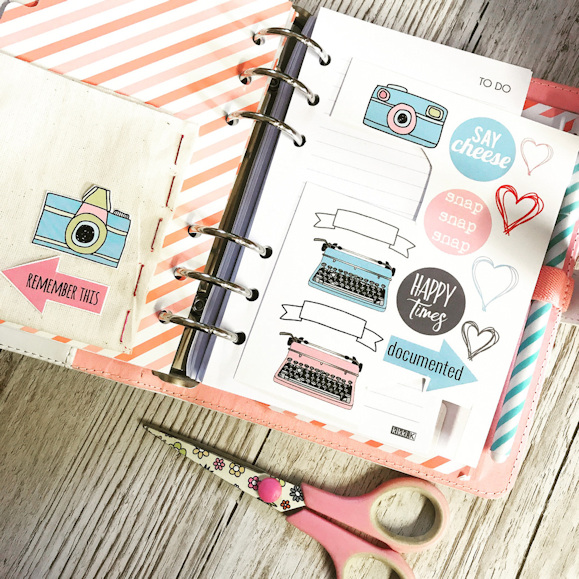
I used some of the printables from the kit to embellish. If you subscribe you can download these for free. You can see all the printables here.
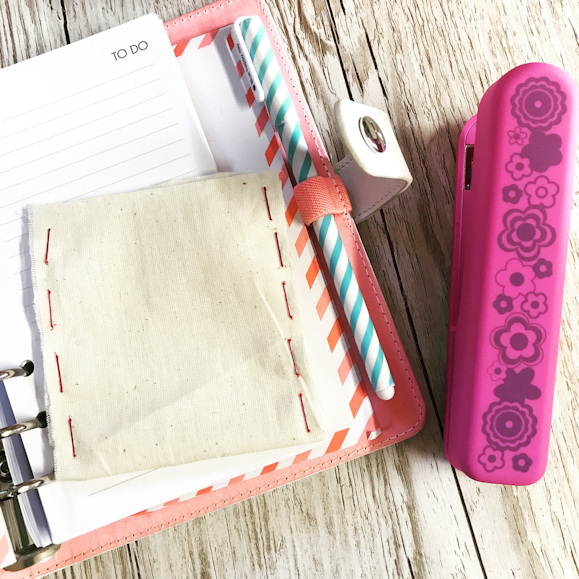
I took the treat bag from the kit, turned it sideways, folded in half and used double sided tape to stick it down. There was no opening at this time.
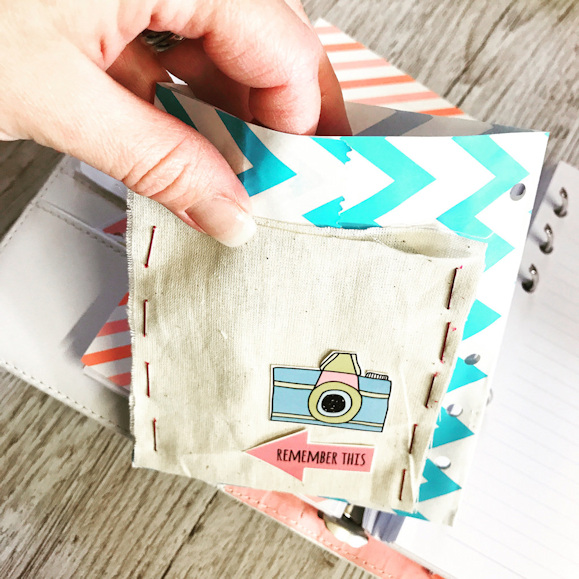
Using the double sided sticky again, I attached the cotton pocket to the paper bag and trimmed the top of the completely sealed bag to create an opening, now giving me 2 pockets.
I also added holes down the side so I could place it inside my planner.
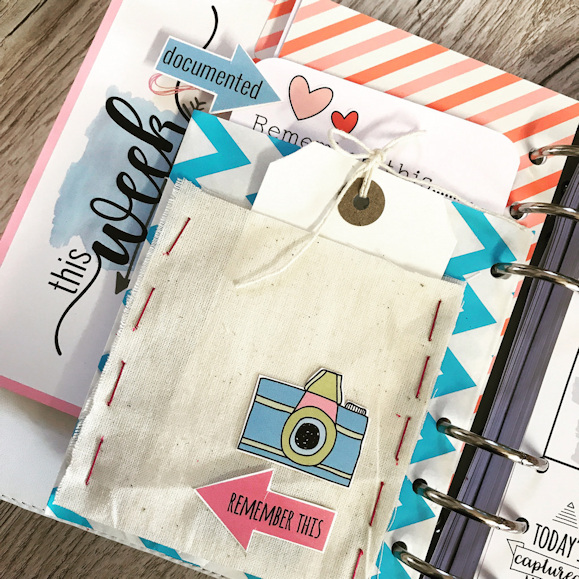
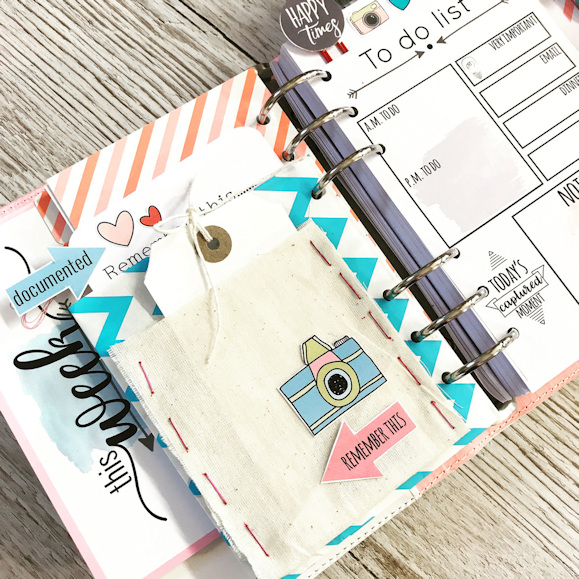
I’ve now added some other notes, lists and to do’s.
You can just pop things inside your pockets to keep your planner tidy.
Great for receipts, notes or even photos.
And you can apply this to a scrapbooking page if you wish too!
Give it a go. Like I said, it’s quick and easy and looks really good too!!
Lisa x


Lisa your fantastic. Full of creative inspiration thanks for the tips.