
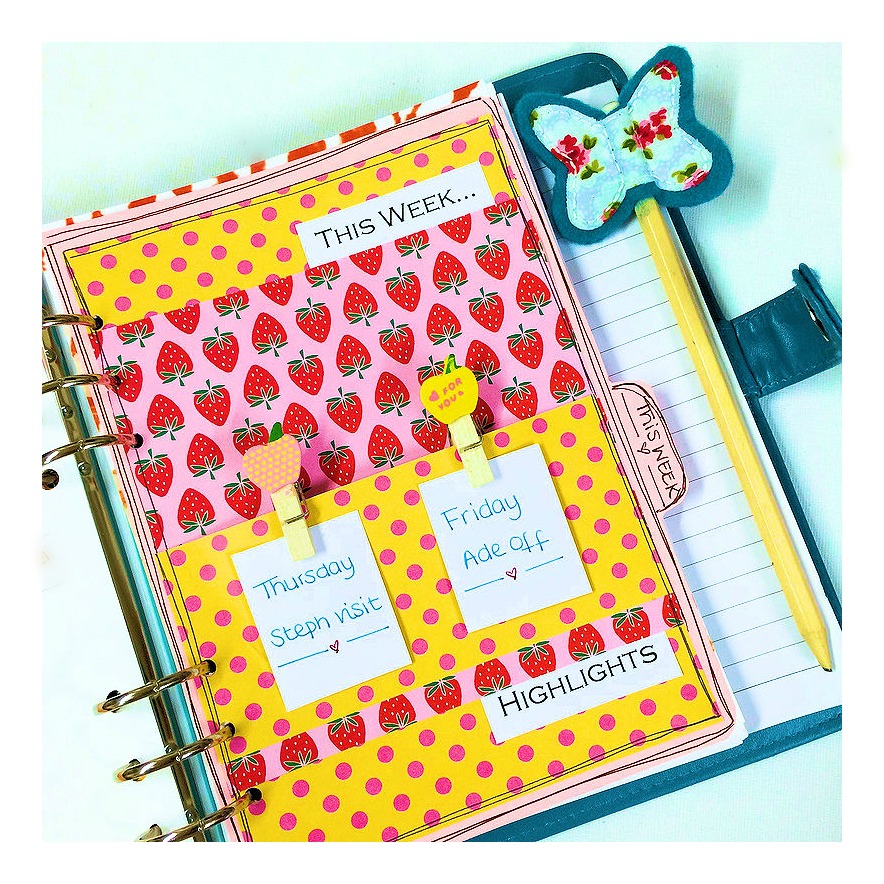
Today I have my lovely ‘Feelin’ Fruity’ kit and I’m going to be making a funky fruity dashboard for my planner.
This acts as a separator to my other pages. It has a tab which is labeled so it’s easy to find this particular page. I’m using mine to go infront of the current weeks pages. This will now make it easy for me to find each week. I have also added a couple of little notes which I can change each to add the highlights of my week. It’s always good to have things to look forward to, isn’t it?!
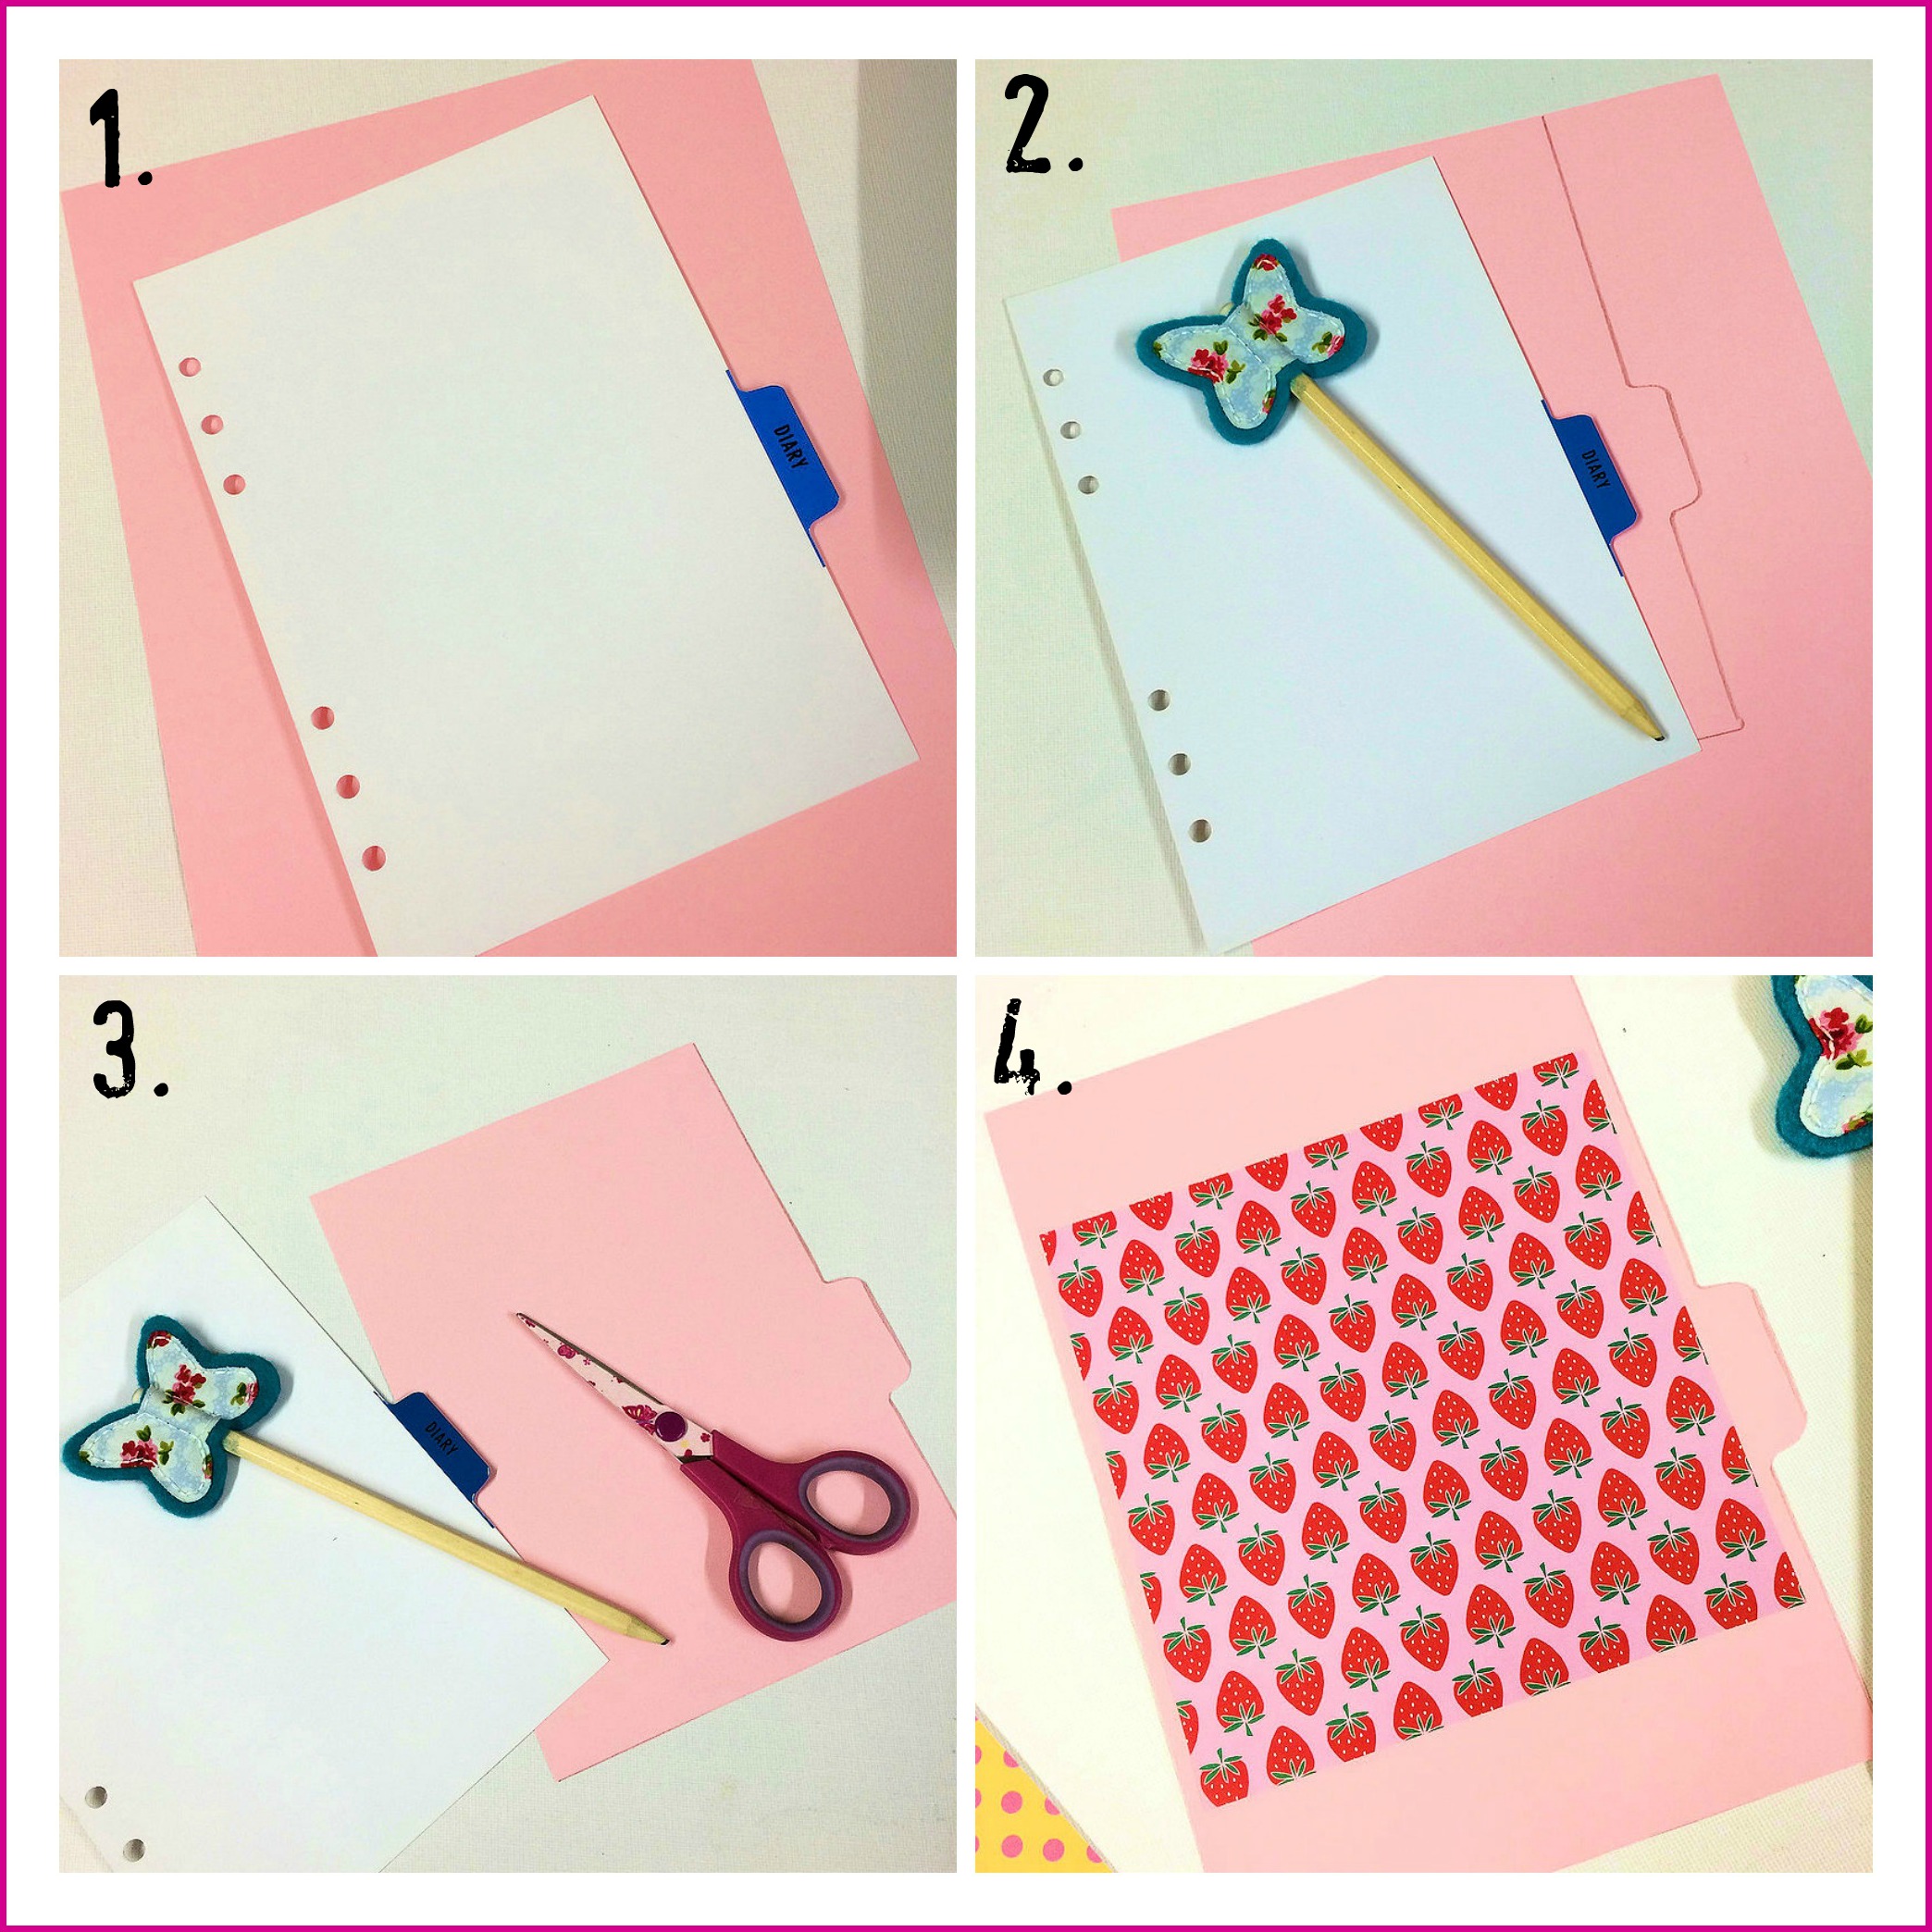
1. I started by taking a piece of coloured A4 card and I used a dashboard from my planner as my template.
2. Draw around the template.
3. Cut out.
4. Take a piece of the fruity paper from your kit and stick in the middle of your dashboard. Mine is a larger A5 planner, you can trim your’s down if need be depending on the size of your planner.
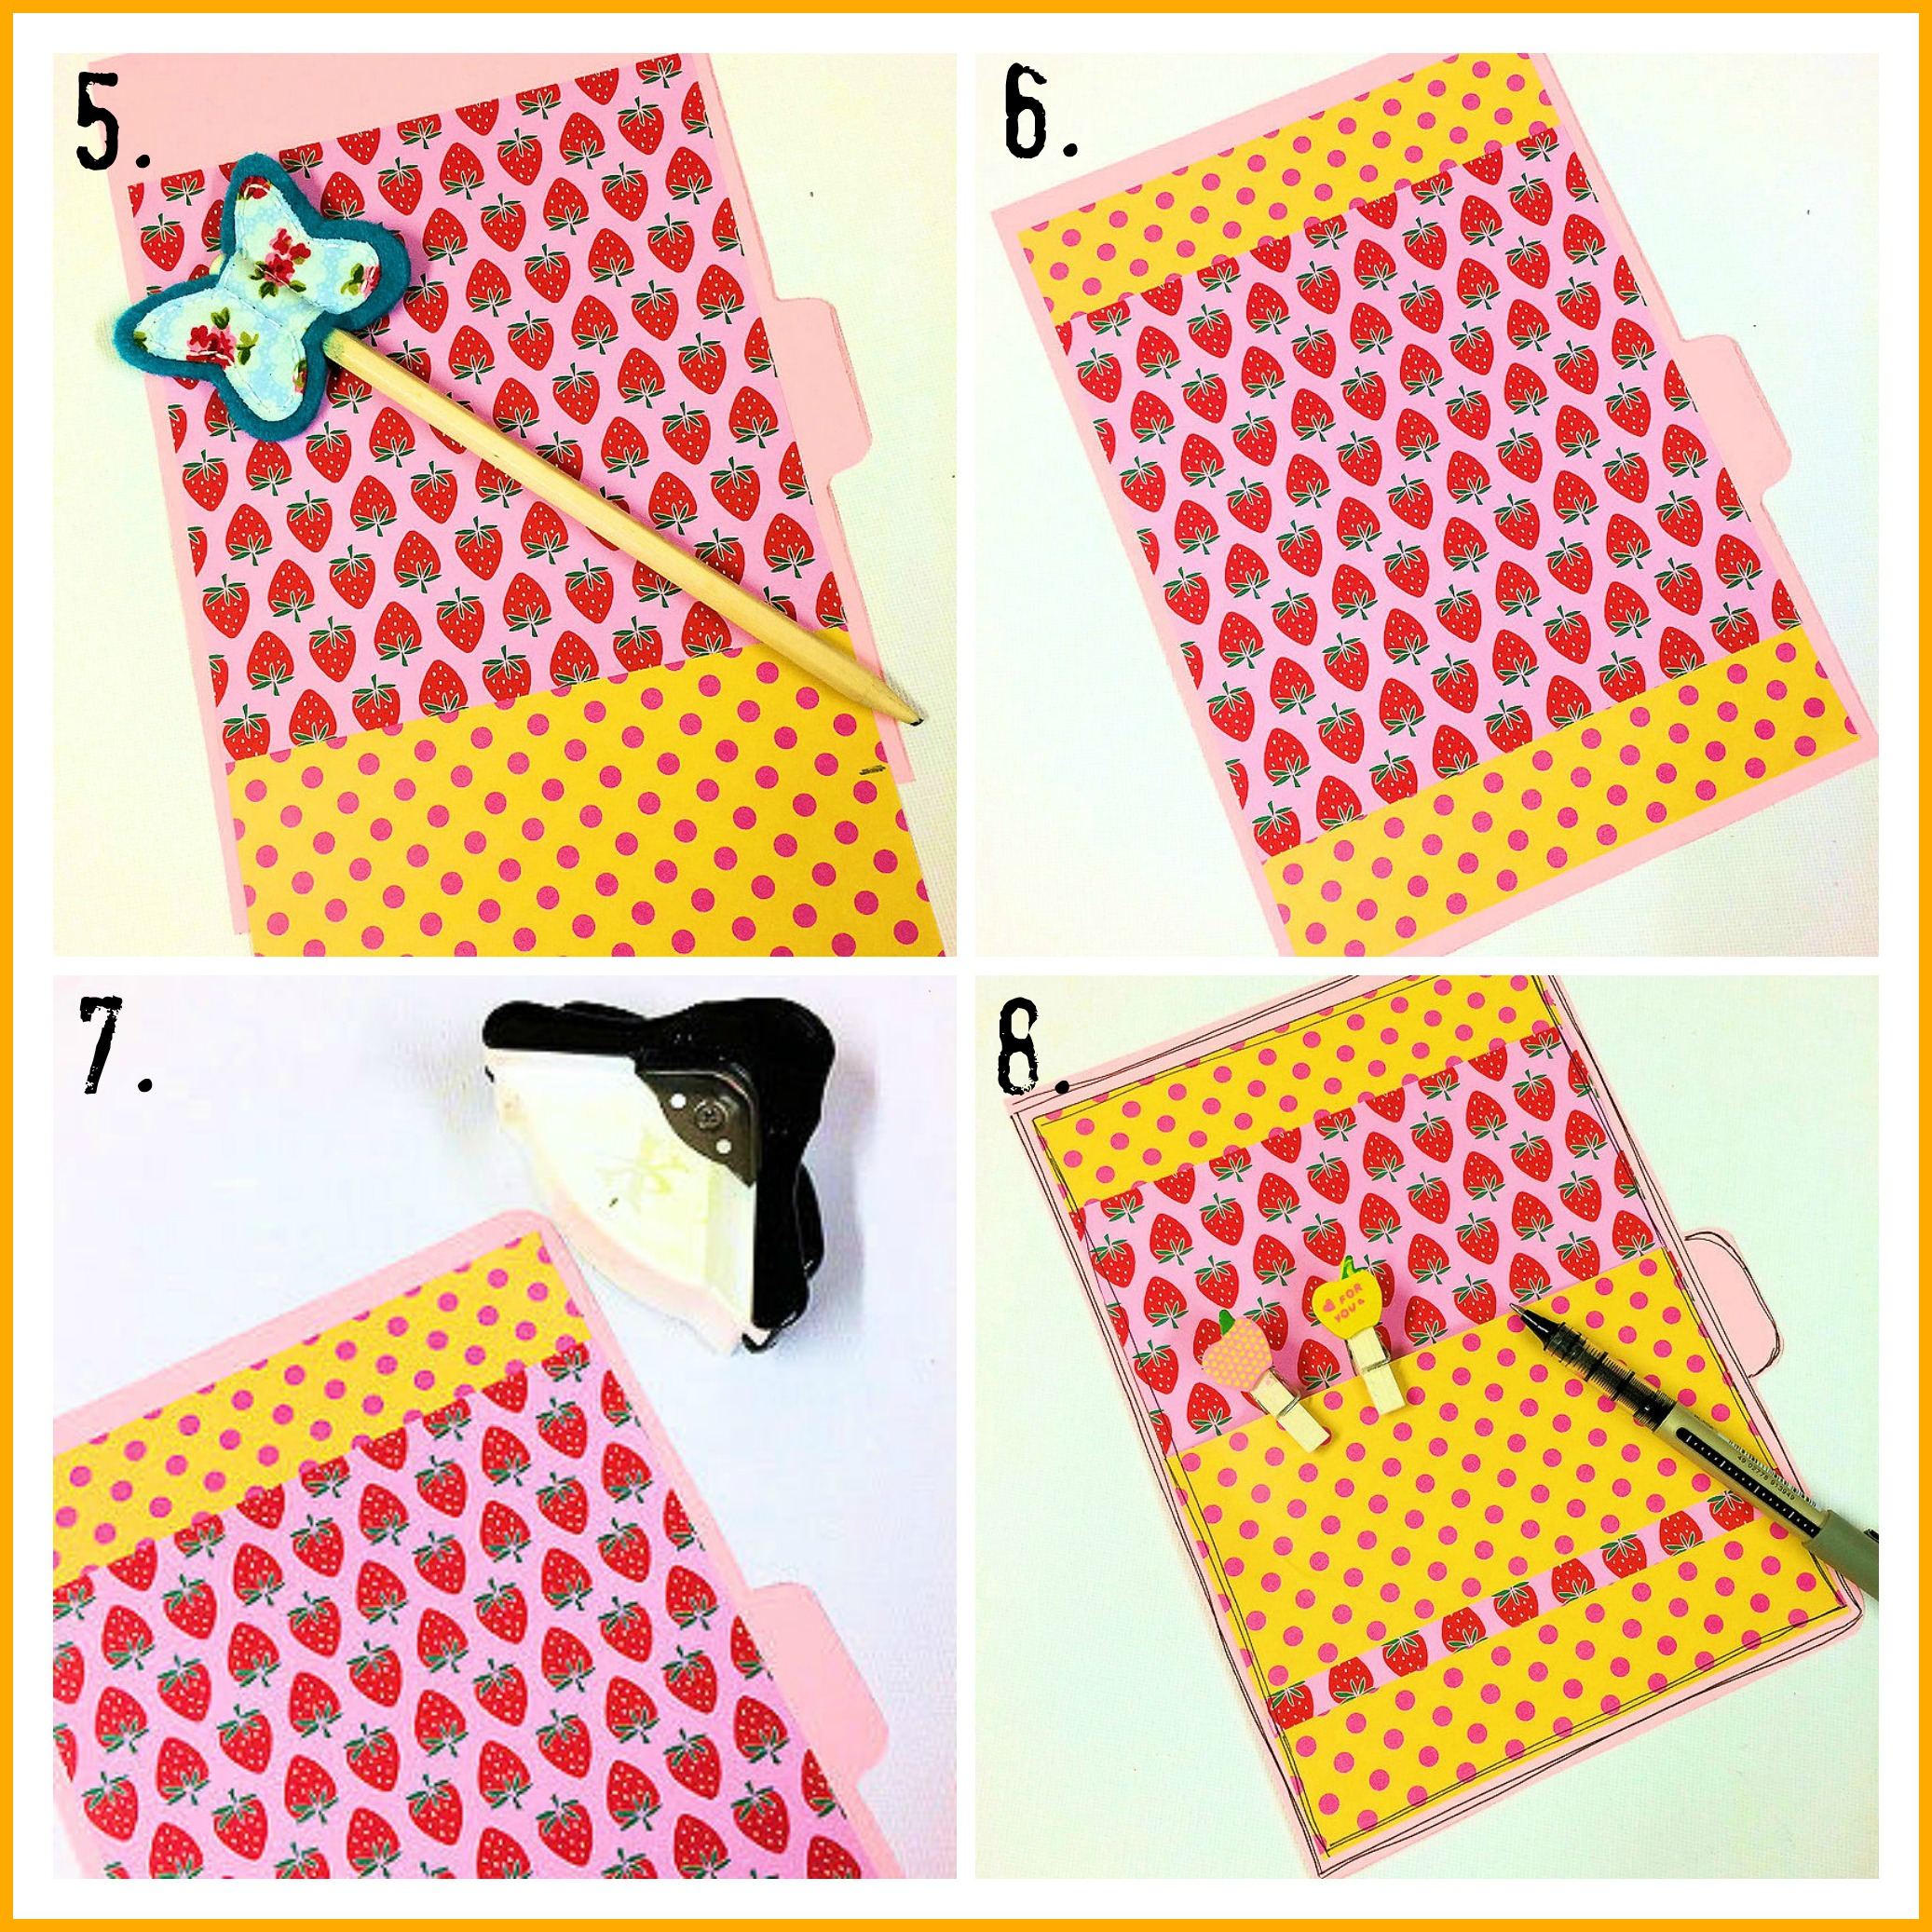
5. I’ve marked off when to cut my 2nd piece of paper from the kit.
6. The 2 strips of paper have been cut and stuck in place **tip** I didn’t stick the fruity paper down at the ends so I could slide the spotty paper underneath for a neater finish. The ends can then be stuck down.
7. I used a corner punch to round off my corners.
8. I then doodled around the edges. I also stuck a wide strip down across the centre. I left the top side without any adhesive so that I could attach the pegs from the kit.
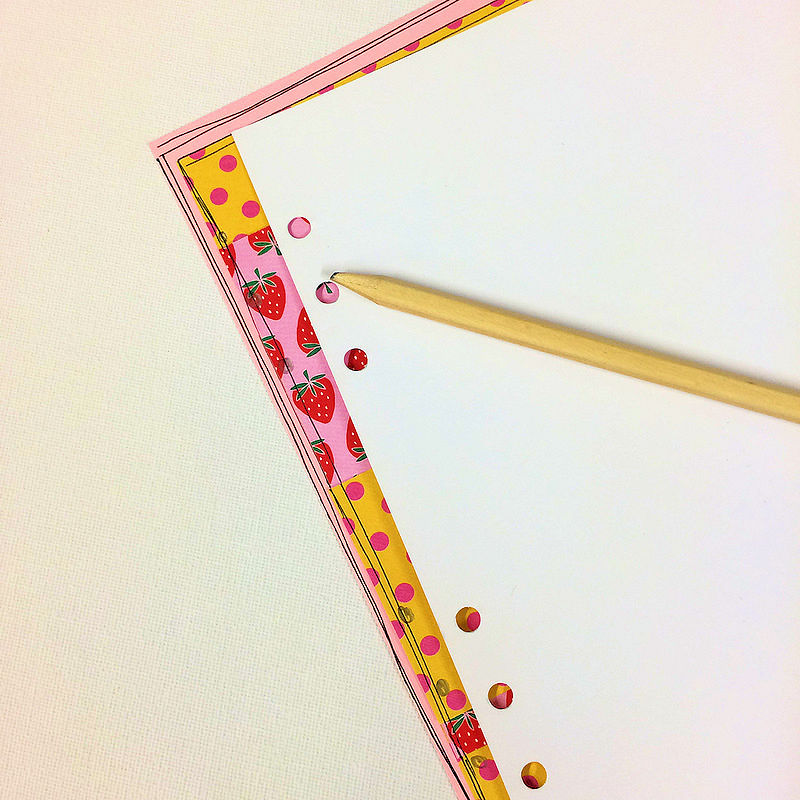
Using my original template, I lined up the 2 dashboards and marked off where I would need to punch the holes. This way I know it will line up nicely with my planner.
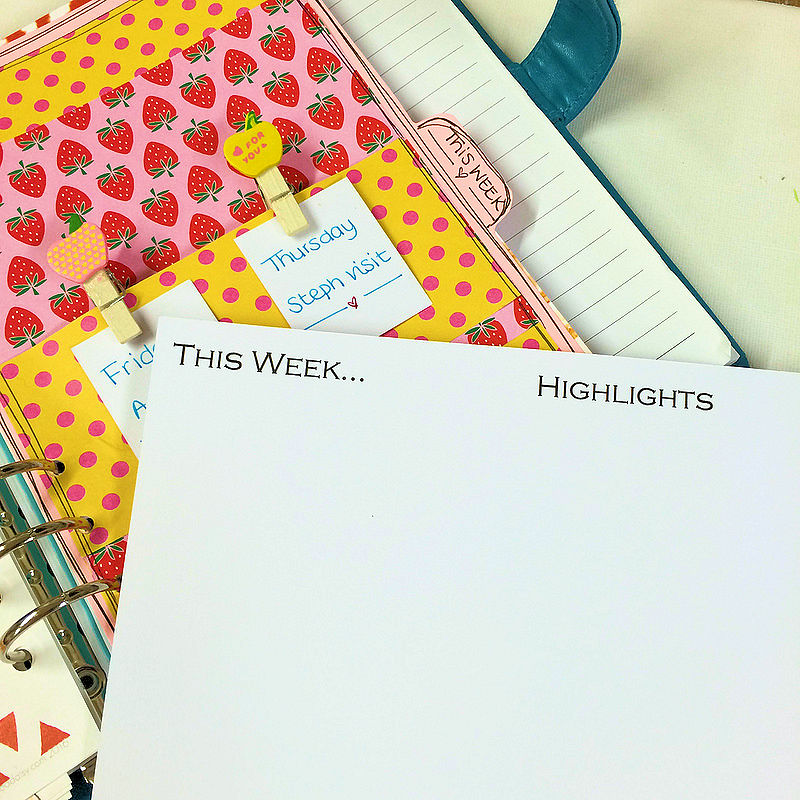
I wrote ‘This Week’ on my dashboard tab and printed off the wording on my pc which I then cut into strips and stuck on the dashboard.
The dashboard is now ready to go in my planner. It’s so funky, I just love it!! I love those fun colour combos and I know this will make me smile every time I open my planner.
Have fun making your planner funky with your kit ladies!!!


Leave A Comment