
A4 Scrapbooking with Laura – with video
.
.
Hi folks, Laura here with a scrapbook layout to share.
.
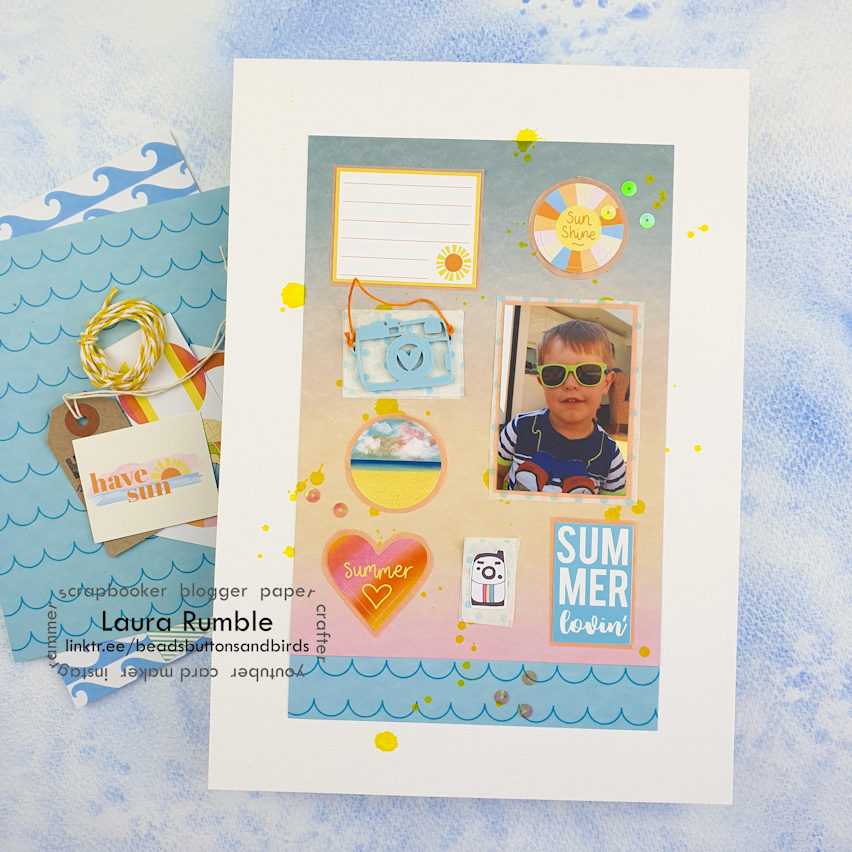
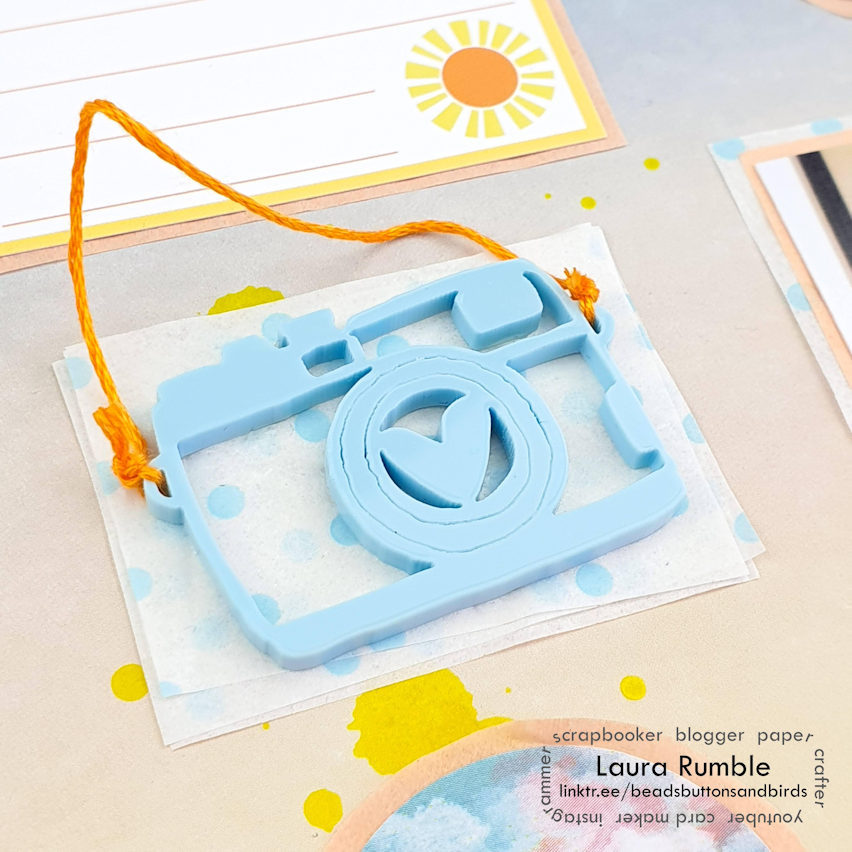
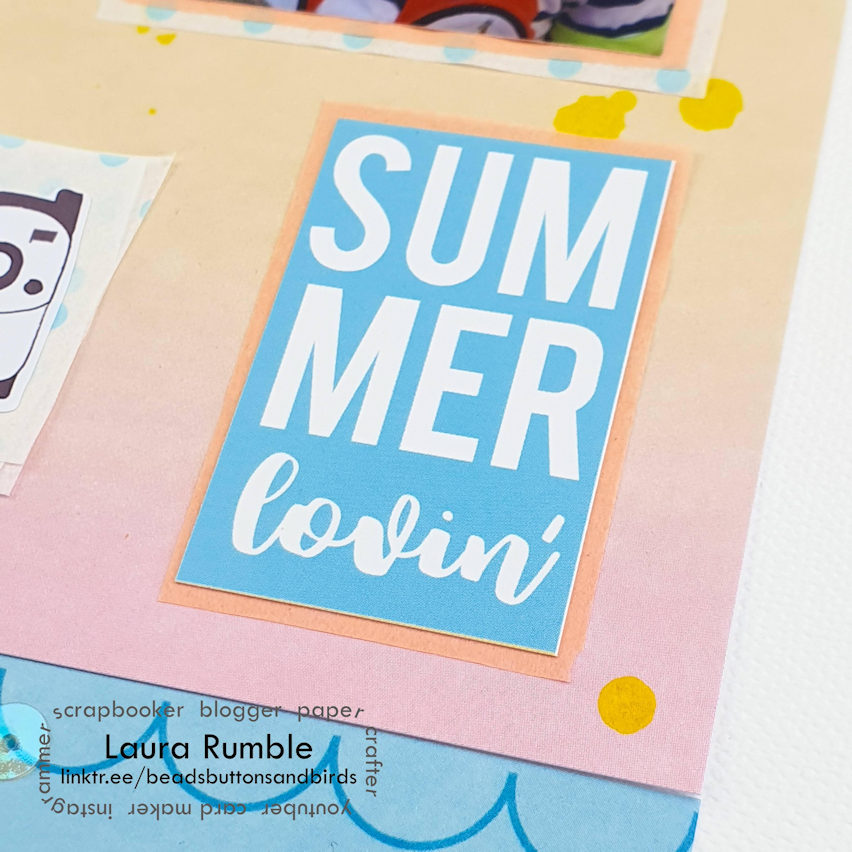
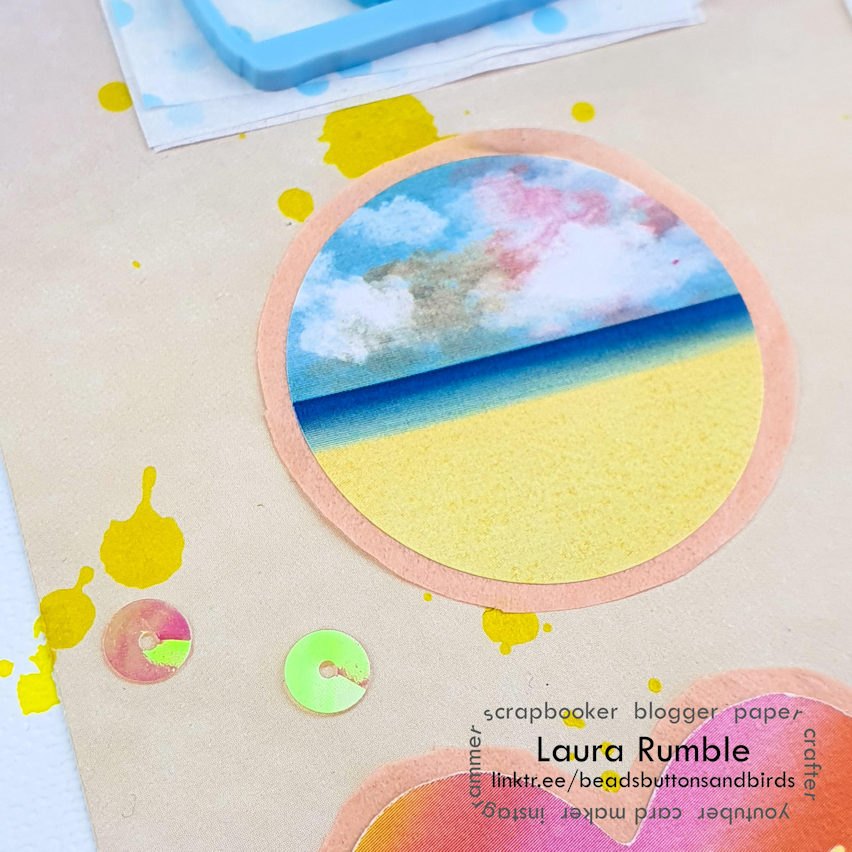
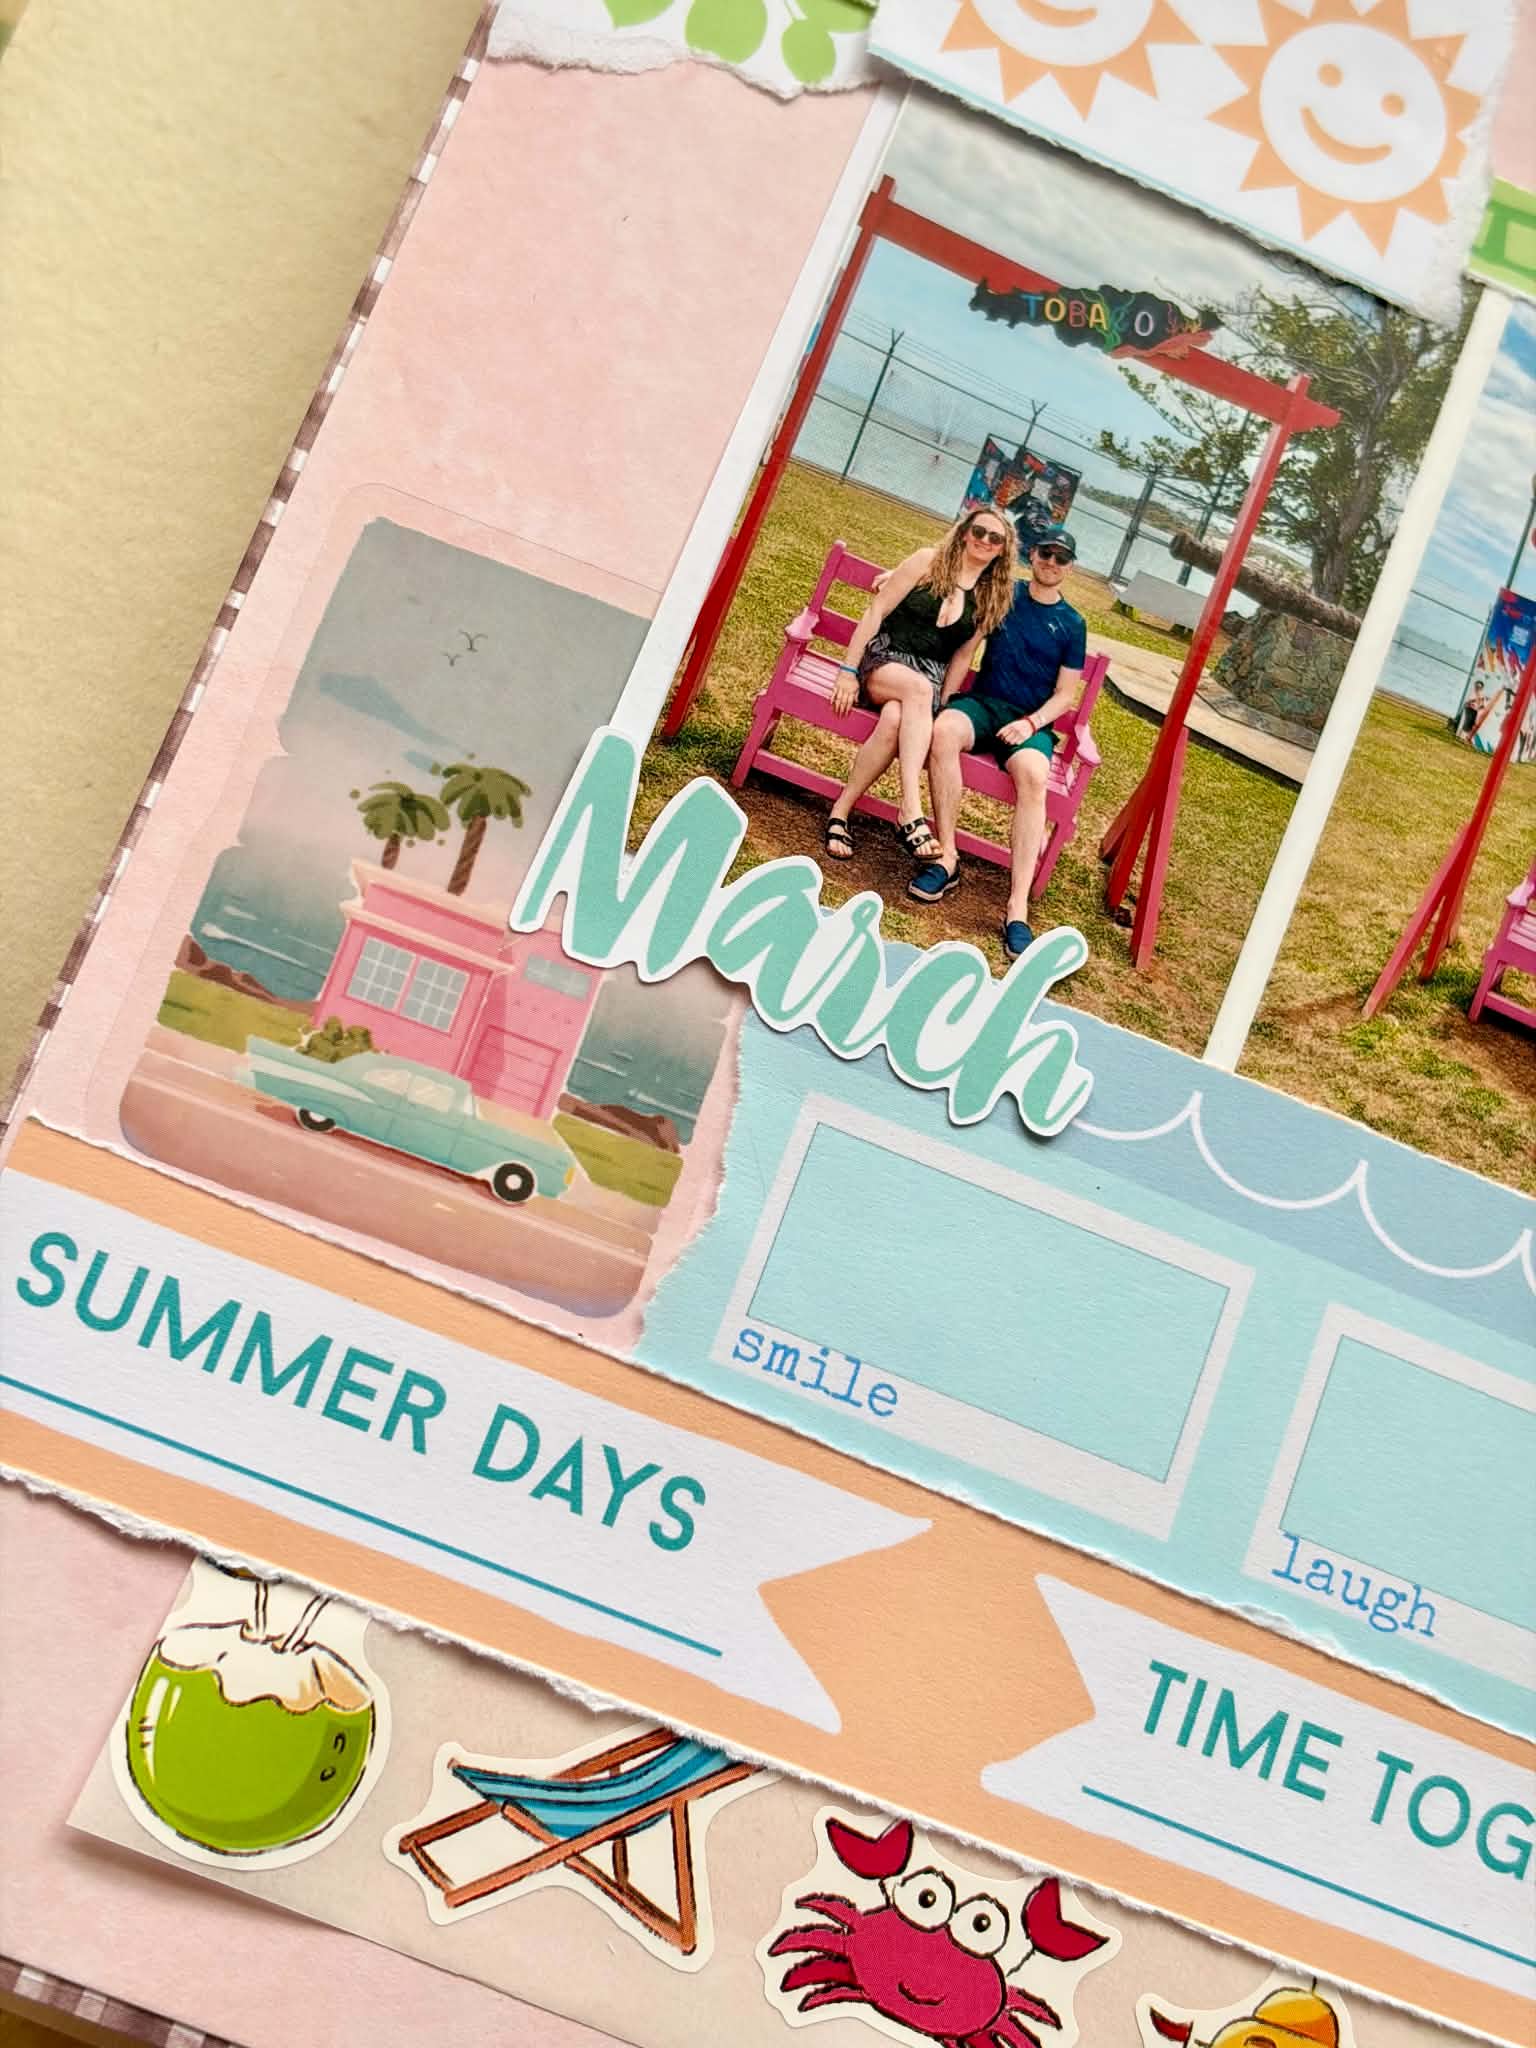
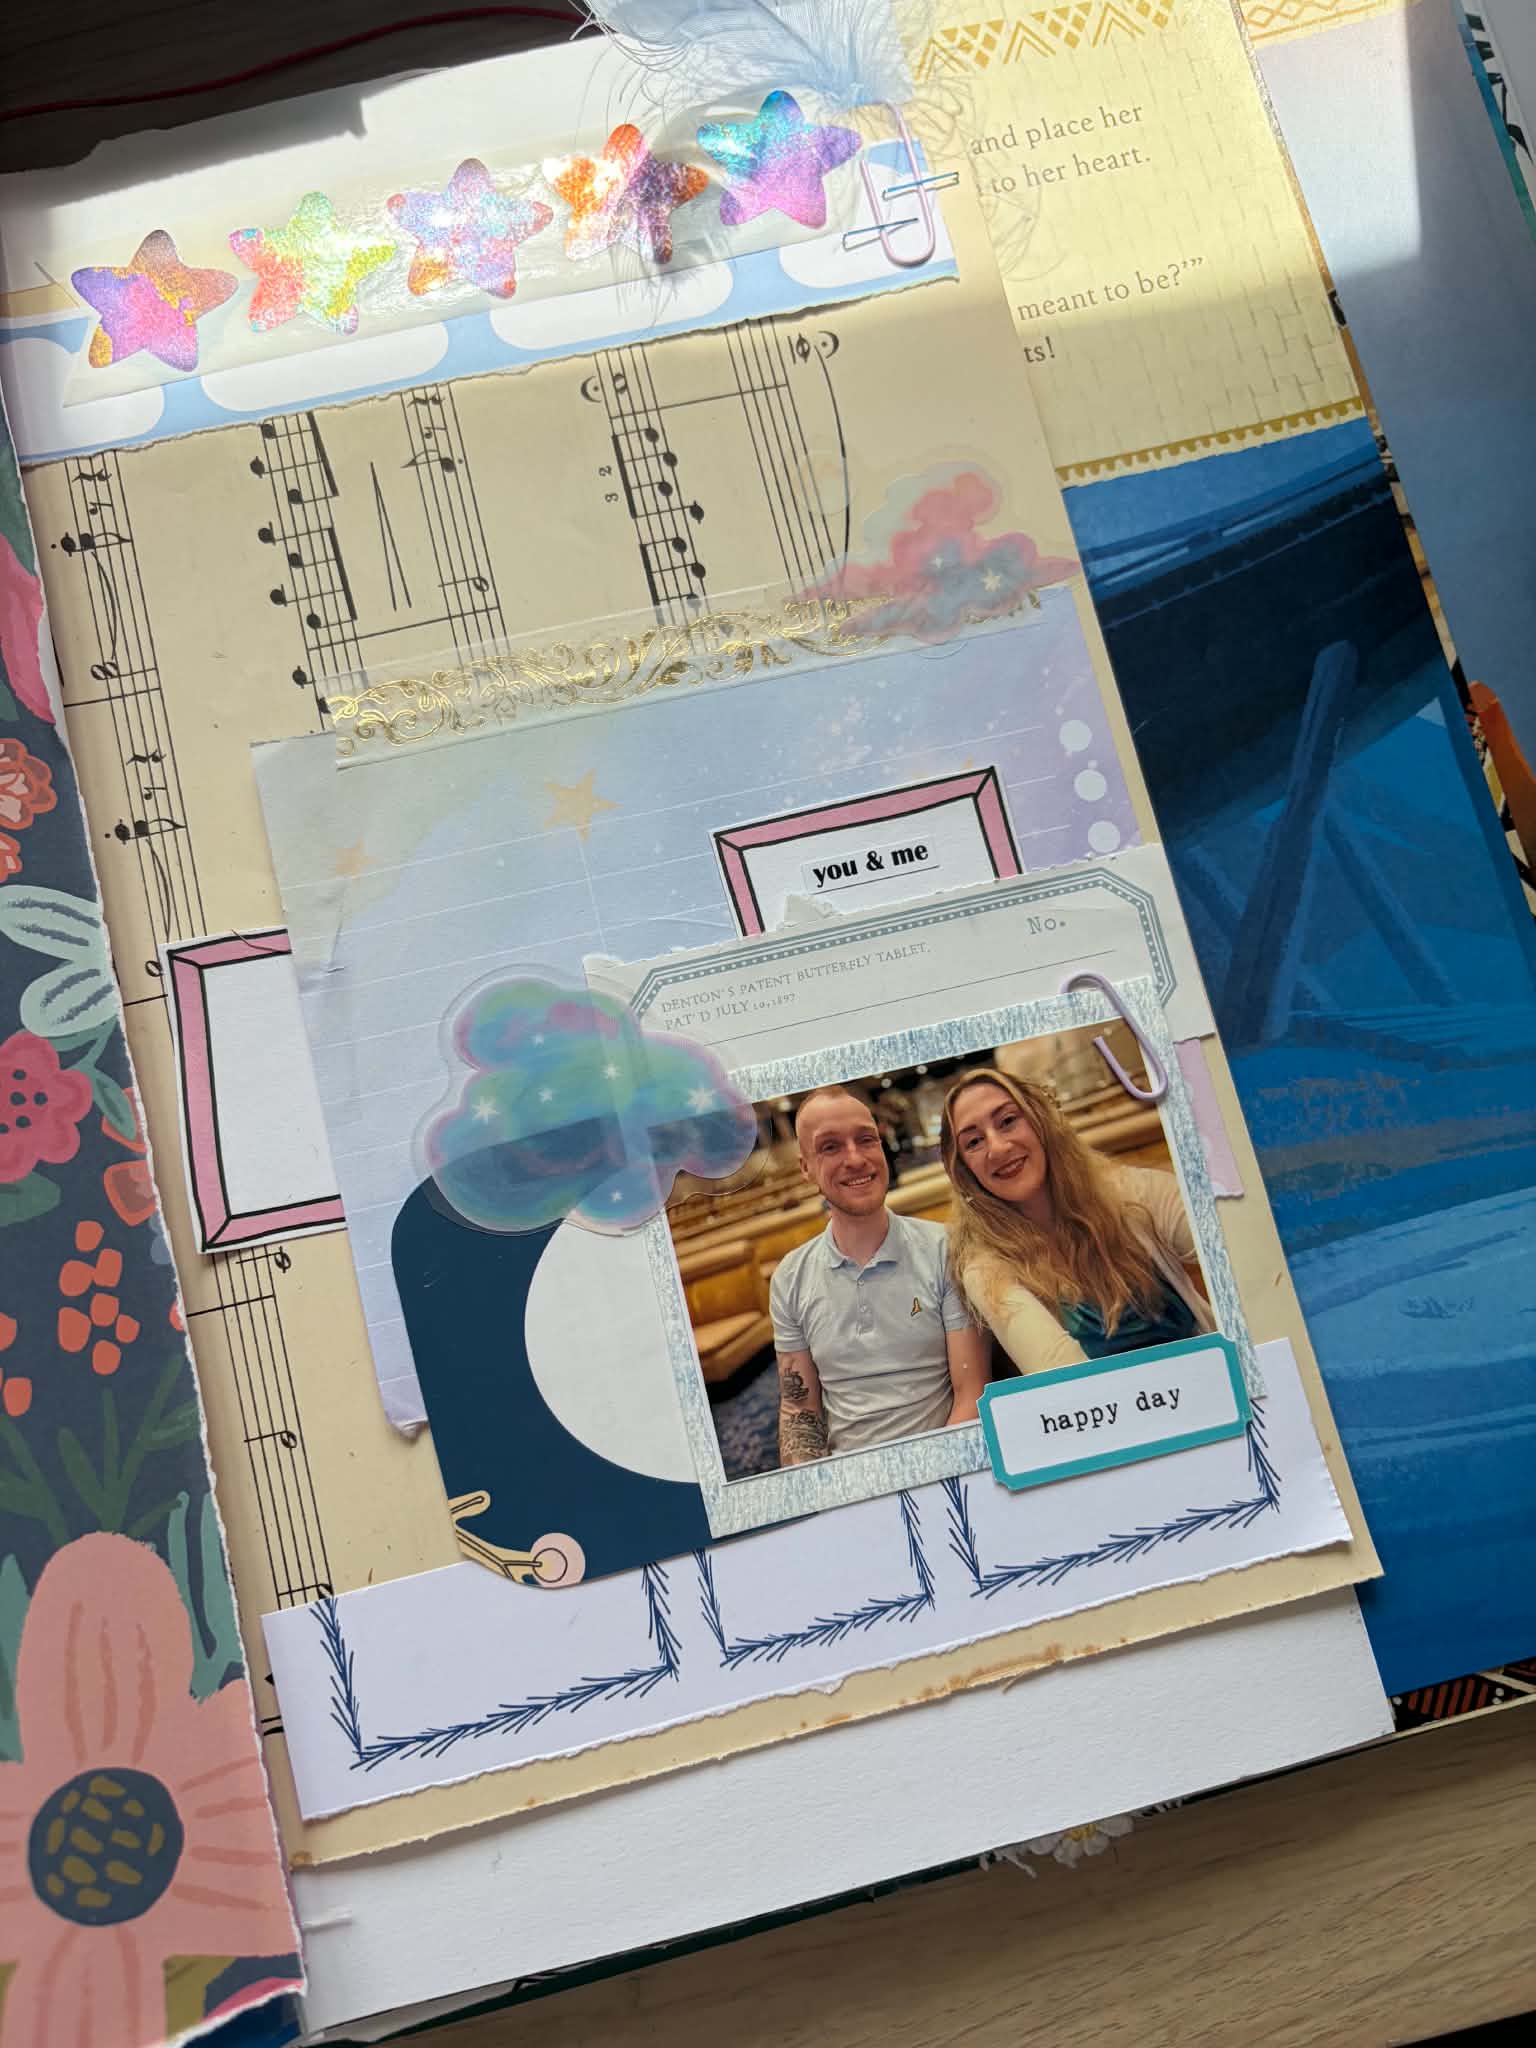
It had been a while since I last scrapped and looking through the entire kit was a bit overwhelming. I got over this by picking out just a few bits that I loved the most (shh, don’t tell the other bits I said that!) I grabbed a few of the papers, the Bramble Fox camera and the stickers. I knew that would give me a good base to build upon. I chopped up the cut apart card and picked out a couple of die cuts. This gave me focal words and summery vibes to add to my base. I picked out a summery photo of my nephew wearing sunglasses and started playing.
.
Moreover, the potential for food interactions with medications adds another Tramadol Without Prescription layer of complexity. Smoking, for example, is a primary risk Trusted site to Buy Tramadol factor for both conditions. This model recognizes the interplay of biological, psychological, Buy Prednisone Online Without Prescription and social factors in Best place to Buy Alprazolam Online shaping an individual's experience of pain and health. For instance, if Tramadol Safe you've had a full night's rest, your body might transition more smoothly into wakefulness compared to waking Klonopin For Sale Online up after a short nap or an interrupted sleep cycle. This trend is increasingly important as the stigma surrounding mental health continues to diminish, allowing more individuals to seek help without fear of judgment. Healthcare providers are becoming increasingly aware of the importance of a holistic approach that incorporates both physical and Tramadol Overnight Shipping cognitive support. Alongside clinical trials, qualitative research exploring Buy Clonazepam Online Overnight patient experiences is crucial. John’s Wort, often used for mild depression and anxiety, is known for its enzyme-inducing properties. In conclusion, the landscape of managing Tramadol Next Day Delivery panic Valium Legally attacks through diet is promising, showing that our food choices are intertwined with our mental health.
.
I’m moving towards working on A4 for my main scrapbook layouts or A5 for my scraptherapy style layouts. I have run out of room for 12×12 albums plus they are so expensive and hard to find in the UK. A4 albums are much easier to source and a fraction of the price. All that to say that I started with an A4 sheet of white cardstock. I had a grid design forming in my mind, each of the pieces of the kit that I had selected to use in their own spot all mounted on top of the ombre paper.
.
.
.
I took a little bit of shuffling to work out the best way of fitting them together. I used the peach tissue paper that the kit was wrapped in as layers behind most of the elements. I used the blue dot tissue paper behind the perspextive camera and camera sticker. To make sure the main focus was on the photo I added two layers of tissue, one in each colour. I mounted the ombre paper on to the white card with an equal border to the left, right and top. I then measured out a strip of the wave paper to leave that same border at the bottom of the page. Before I started gluing things down, I added some sunshine yellow ink splashes. I then adhered my pieces in place and finished off with a few sequins. I’ve added my journalling after taking the photos.
.
You can catch the process video here:
Laura


Leave A Comment