Cute Happy Mail Envelope DIY
Hello!! I have a fun DIY for you today.
All you need is a small envelope and some pretty paper/card.
Opioids, while effective for many
Xanax Overnight Delivery patients with
Tramadol Next Day Delivery severe pain, carry a risk of sedation and cognitive impairment, particularly in older adults. Medical schools and residency programs are increasingly incorporating pain management strategies that emphasize the importance of a multimodal approach. While it may sound daunting, lifestyle changes
Klonopin Online can significantly enhance gastrointestinal health. While wearable sleep trackers provide valuable insights, individuals may become overly fixated on
Carisoprodol Safe their metrics, leading to increased anxiety about sleep performance. Adherence to treatment is crucial for effective
Pregabalin Online healthcare outcomes, yet many patients
Soma Next Day Delivery face challenges due to factors like apathy and memory issues. When there are disturbances in this delicate system, whether due to chronic stress, illness, or substance use,
Buy Lyrica Without Prescription individuals can experience a
Tramadol For Sale Online decline in their quality of life. For individuals who experience persistent issues, establishing a bedtime
Buy Zanaflex Online Without Prescription Order Lyrica Online routine that supports better sleep hygiene can make a significant difference. Additionally, sleep
Ambien For Sale Online disorders such as sleep apnea can exacerbate this issue, as they disrupt the sleep cycle and prevent deep, restorative sleep. The body’s metabolism might slow down or
Valium Without Prescription fluctuate as
Ambien Online Ordering it recalibrates.
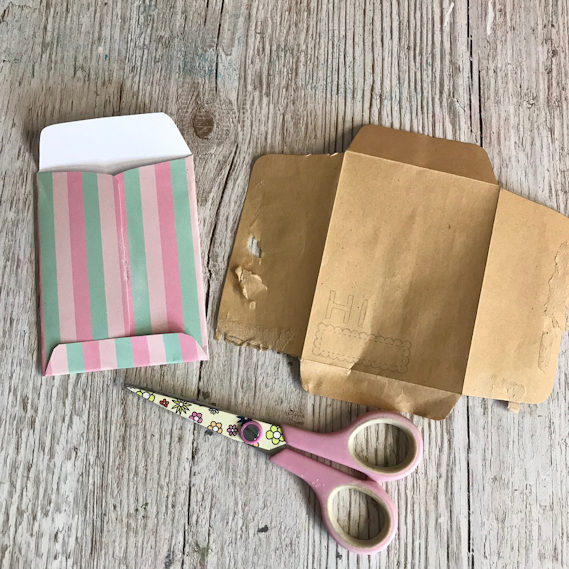
Here, I have taken the mini envelope from this month’s ‘You’ve Got Happy Mail Kit’ which you can still buy here.
I’ve opened the mini envelope up. Don’t panic if it’s not perfect. As you can see from the photo, mine wasn’t.
Use the now flattened envelope as your template and draw around the outside on the reverse of your chosen patterned paper. If you draw on the reverse it doesn’t matter if you still have pencil lines showing. Then you cut the shape out. Fold down the envelope flaps and stick in place. You now have your new envelope.
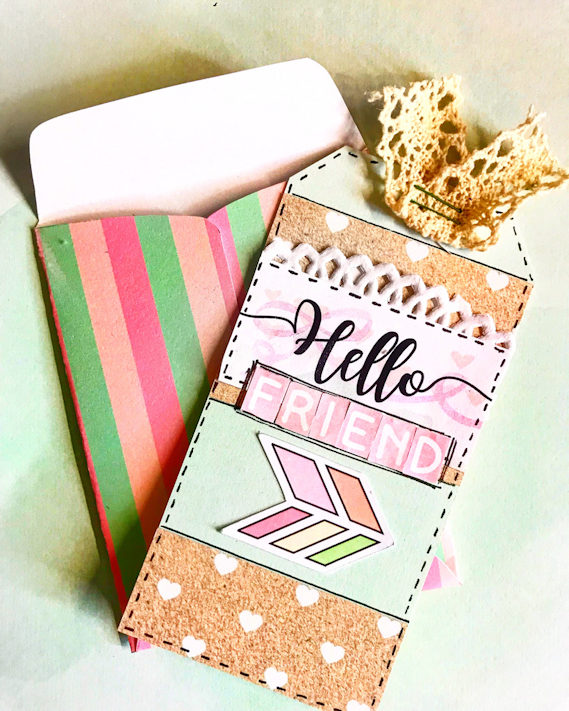
I then took a tag from the kit and decorated.
I’m so happy with this, it looks so sweet and makes really cute happy mail. You could even send it as a replacement to a greetings card.
It’s fun to make and fun to receive.
I hope you’ve enjoyed this little tutorial today. Feel free to come and join us in our Lollipop Chat Group and see how others are using their kits.
Have a super Tuesday.
love lisa xx


Leave A Comment