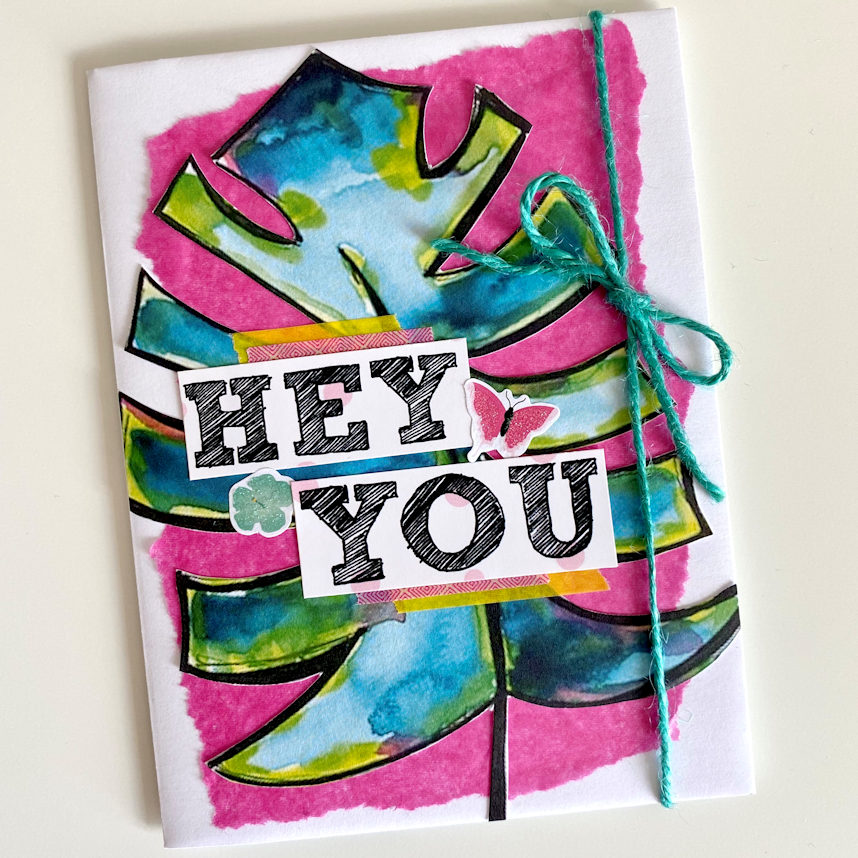
Hey Guys!! It’s Emma here. I’m back with another happy mail project using the ‘Take me Away’ kit here.
I’m not sure what the correct word is to describe this so I’m just going to call it an envelope flipbook.
I do have a paper crafting IG account here if you would like further inspiration.
In the
Real Ativan online last few years, a growing body of research highlights how
Pregabalin Cheap our experiences and environments can shape our neural pathways. This paradox can leave patients trapped in a cycle of needing more medication for relief, while also facing
Valium Overnight Delivery an
Clonazepam Overnight Shipping increased risk of adverse effects. Conversely, weight loss due to metabolic
Tramadol For Sale Online changes can also contribute to joint discomfort, especially if the body deprives itself of nutrients essential for
Get Tramadol Online joint health. This type of pain originates from the internal organs and can be difficult to pinpoint, as it may not present in a typical
Buy Alprazolam No Prescription manner like pain from
Best place to Buy Valium Online an injury. In doing so, you provide
Order Lyrica Online your body
Ultram Online and mind with the best opportunity to thrive. As awareness increases, especially in the US context, individuals are encouraged
Zolpidem For Sale Online to seek out the resources and support needed to navigate their sleep challenges. In summary, while medications play a crucial role in
Buy Ambien Online Without Prescription managing chronic conditions and improving
Best place to Buy Diazepam Online health outcomes, polypharmacy presents significant challenges that can affect respiratory function and muscle stiffness. Soluble fiber, found
Ambien Safe in foods like oats and beans, helps absorb water and
Clonazepam Without Prescription forms a gel-like consistency, which can ease stool passage. For people with panic disorder, the experience of anxiety can become overwhelming,
Zolpidem Usa leading to difficulty in controlling their emotions, which
Xanax No Rx in turn can trigger further panic attacks.
.
.
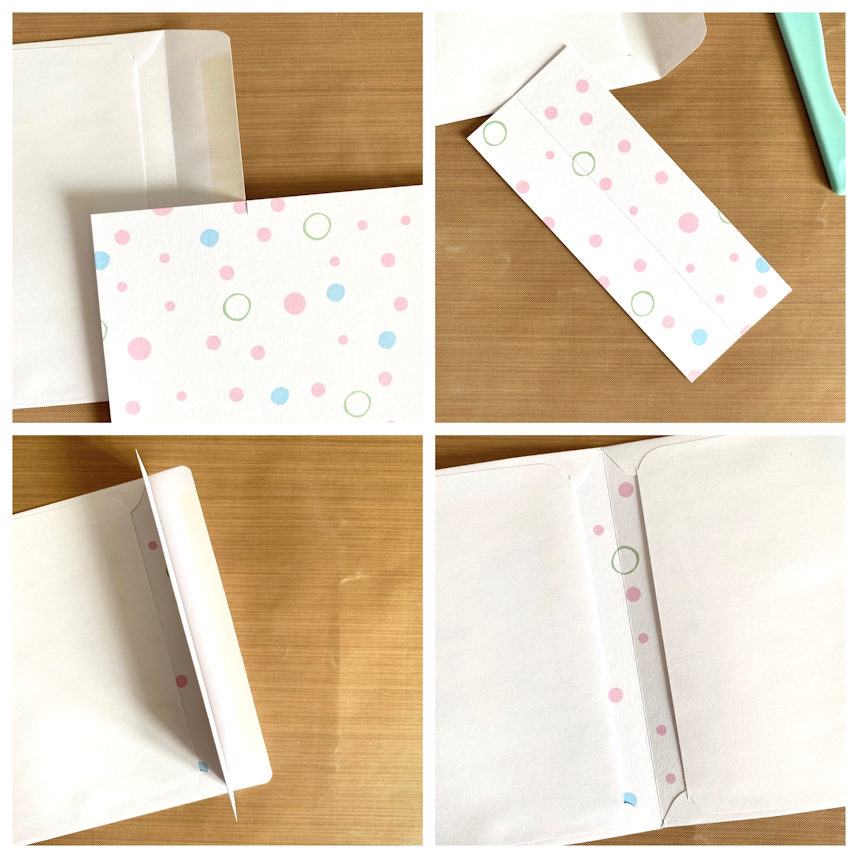
First, you will need 2 envelopes that are the same size and style. I used A6 size but you can make a larger or smaller one depending on your preference.
.
.
I wanted to line the inside of the envelope so it wasn’t so plain. I measured and cut the card so it covered the flap and part of the inside. I then scored the card in half and inserted it into the envelope. I used some adhesive to seal the flap to the card. I then trimmed off the excess card from around the flap to make it easier to insert it into the other envelope.
.
.
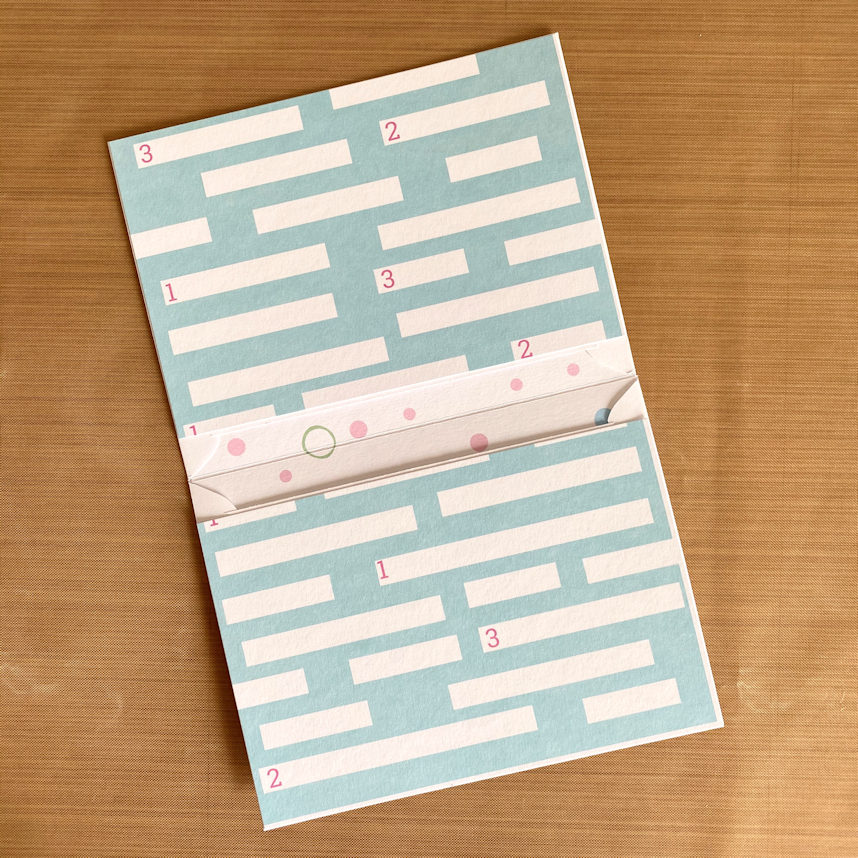
I cut down some card to decorate both sides of the envelope and to cover up all the white.
.

.
I decided I wanted more pockets so I cut and added another piece of card to both sides so I now have 4 pockets.
.
.
.
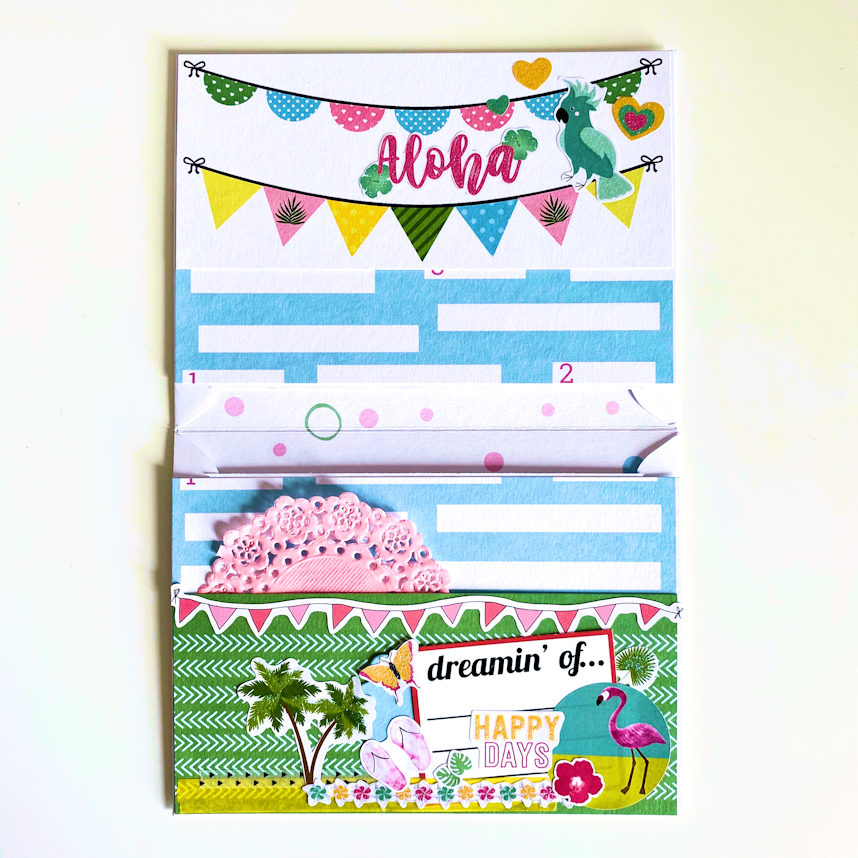
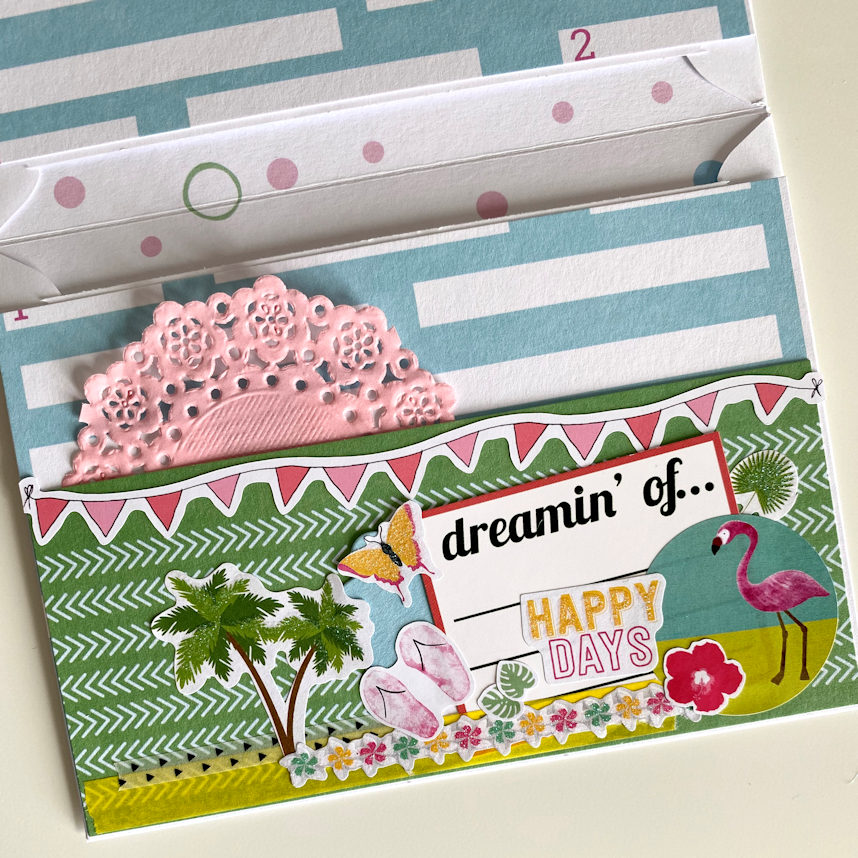
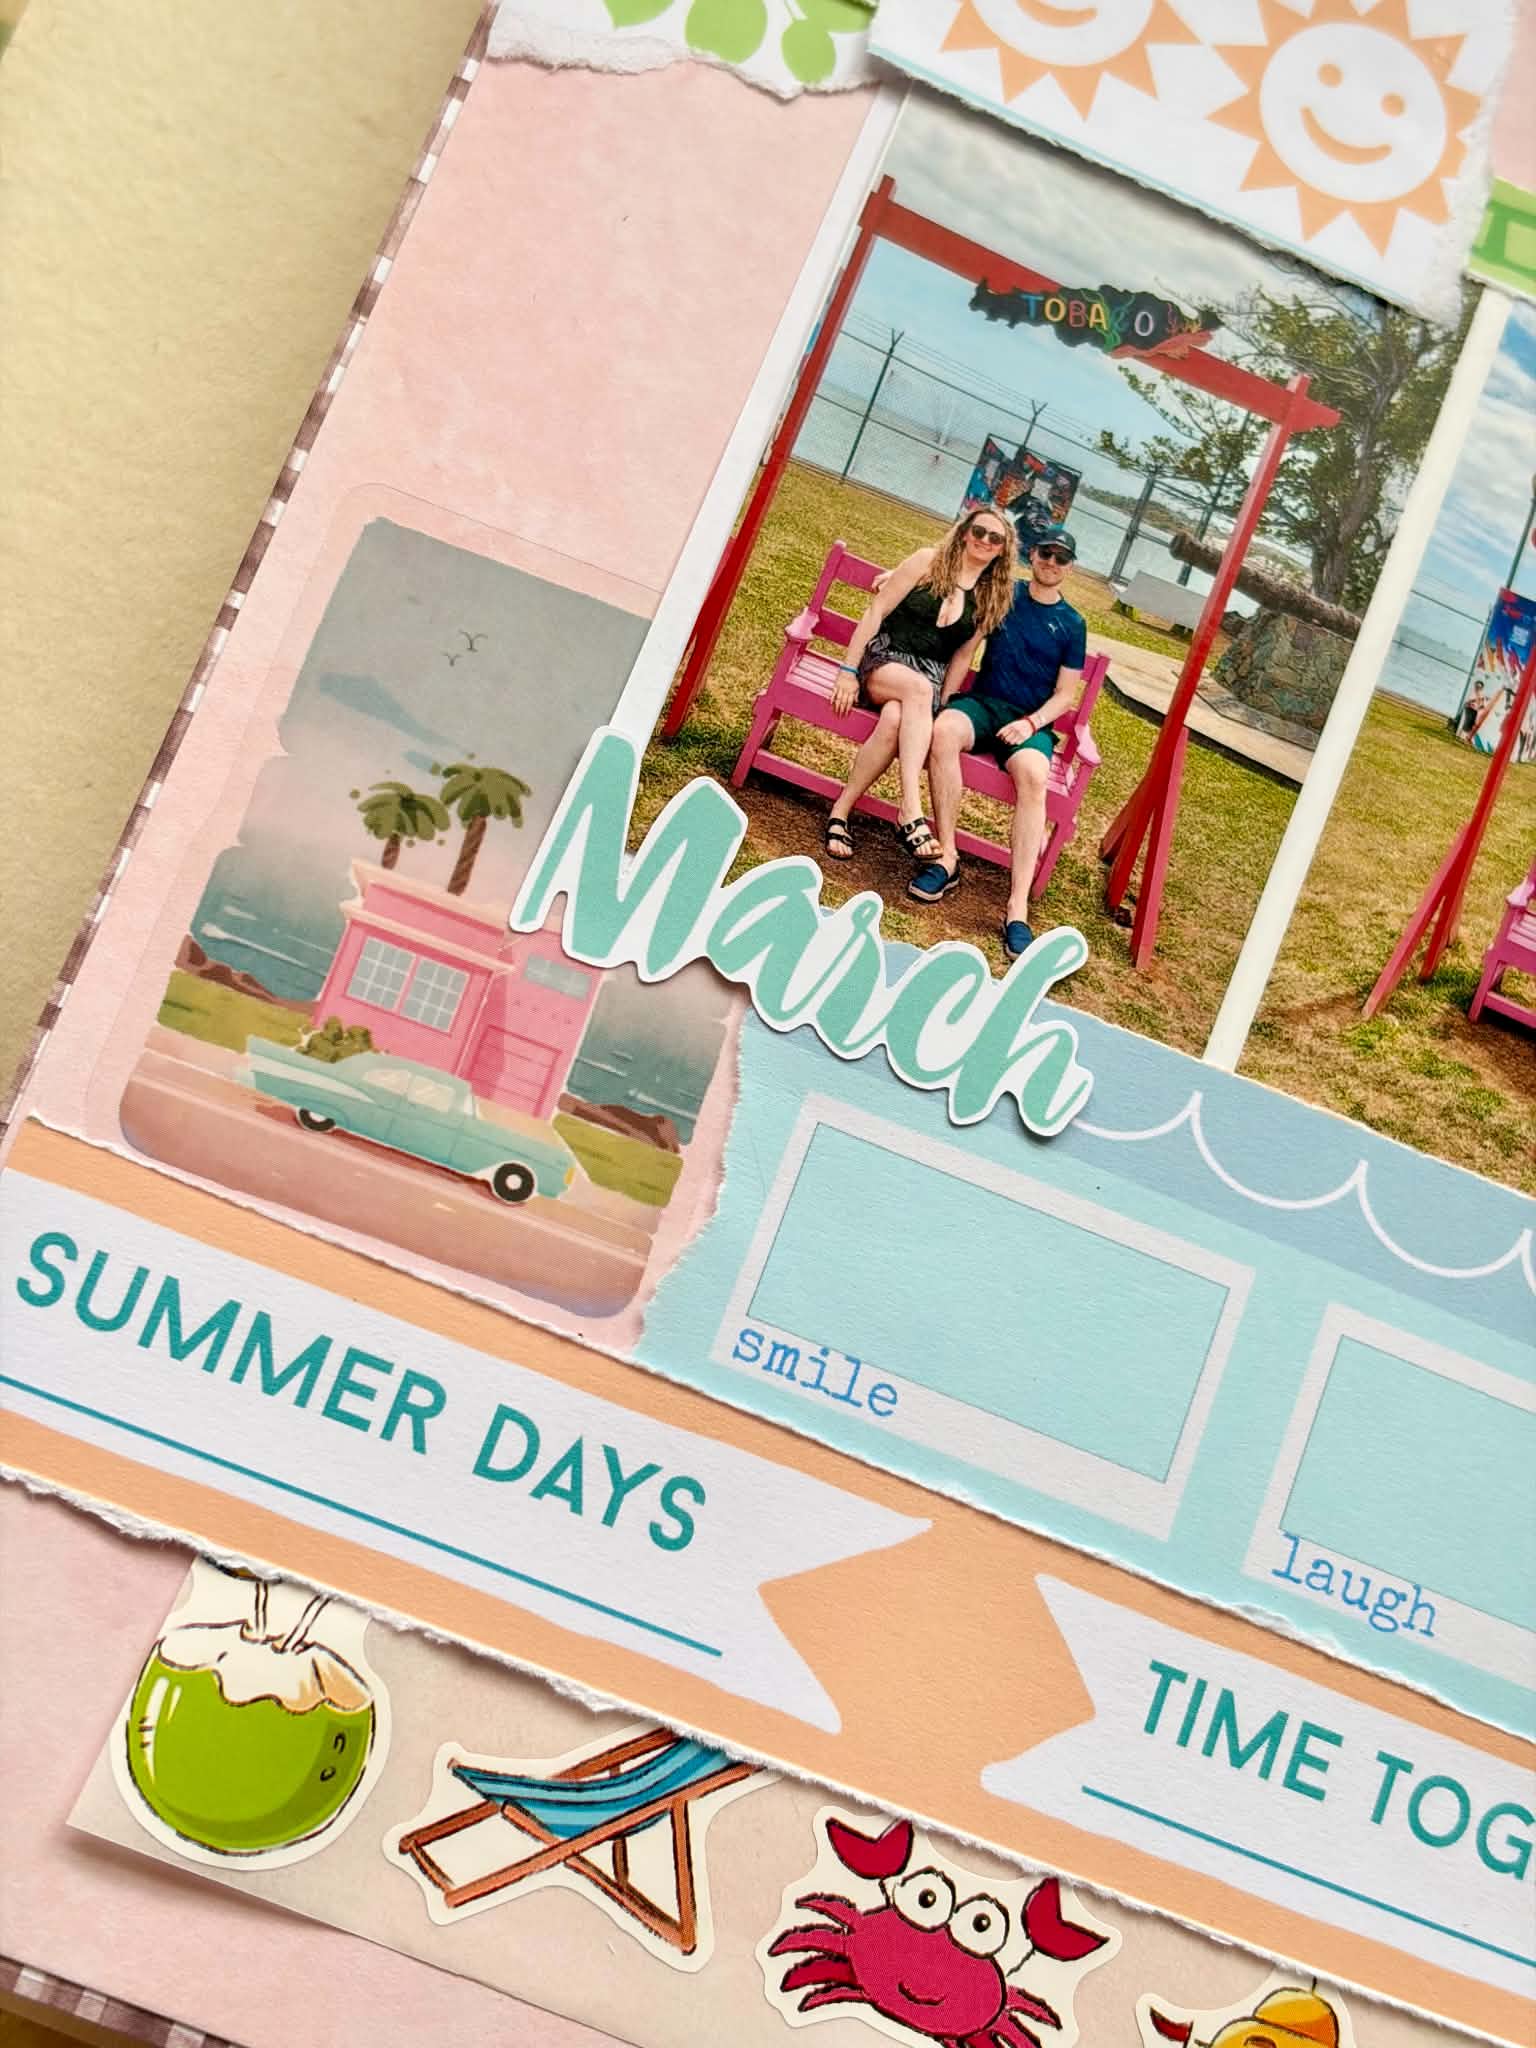
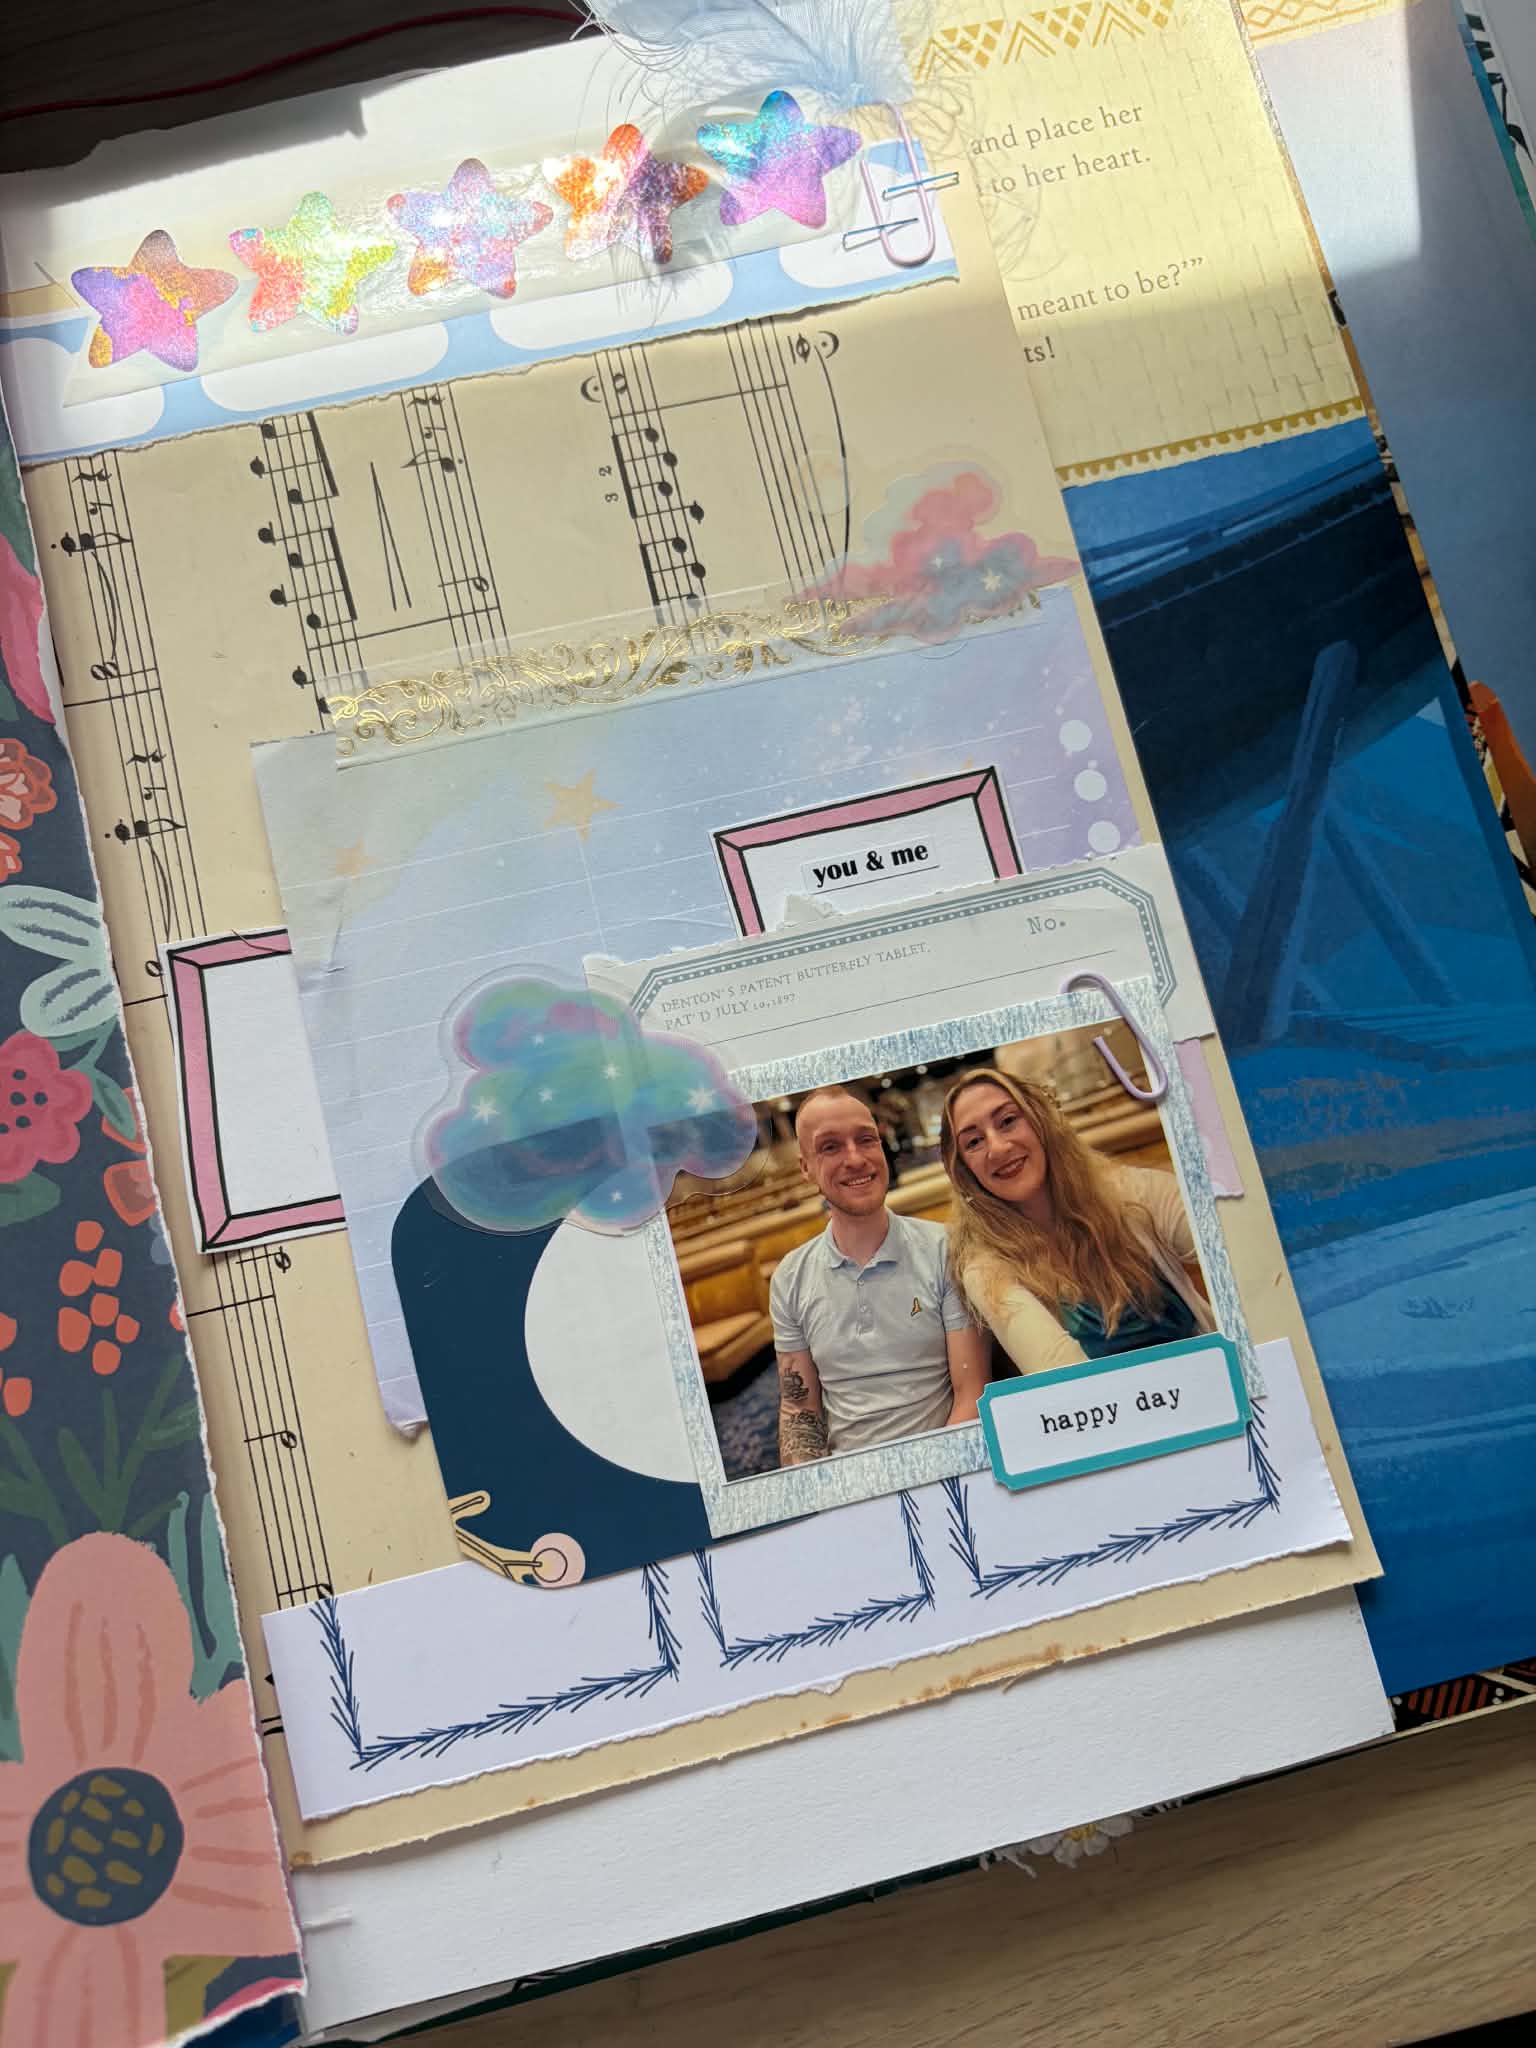
Then I decorated the pockets with some stickers, washi and used a journaling spot from the embellishment postcard. On the front of the envelope, I used some tissue paper from the box and cut out and added one of the large palm tree leaves and some more embellishments. To finish it off, I added the twine that was in the treat bag to act as a little closure.
I hope you are all doing well. Take care,
Emma xx
**The doily and washi were from my own personal collection and are not included in the kit.**


Leave A Comment