I hope you enjoyed your mystery gift inside your ‘Alice’s Tea Party Kit‘.
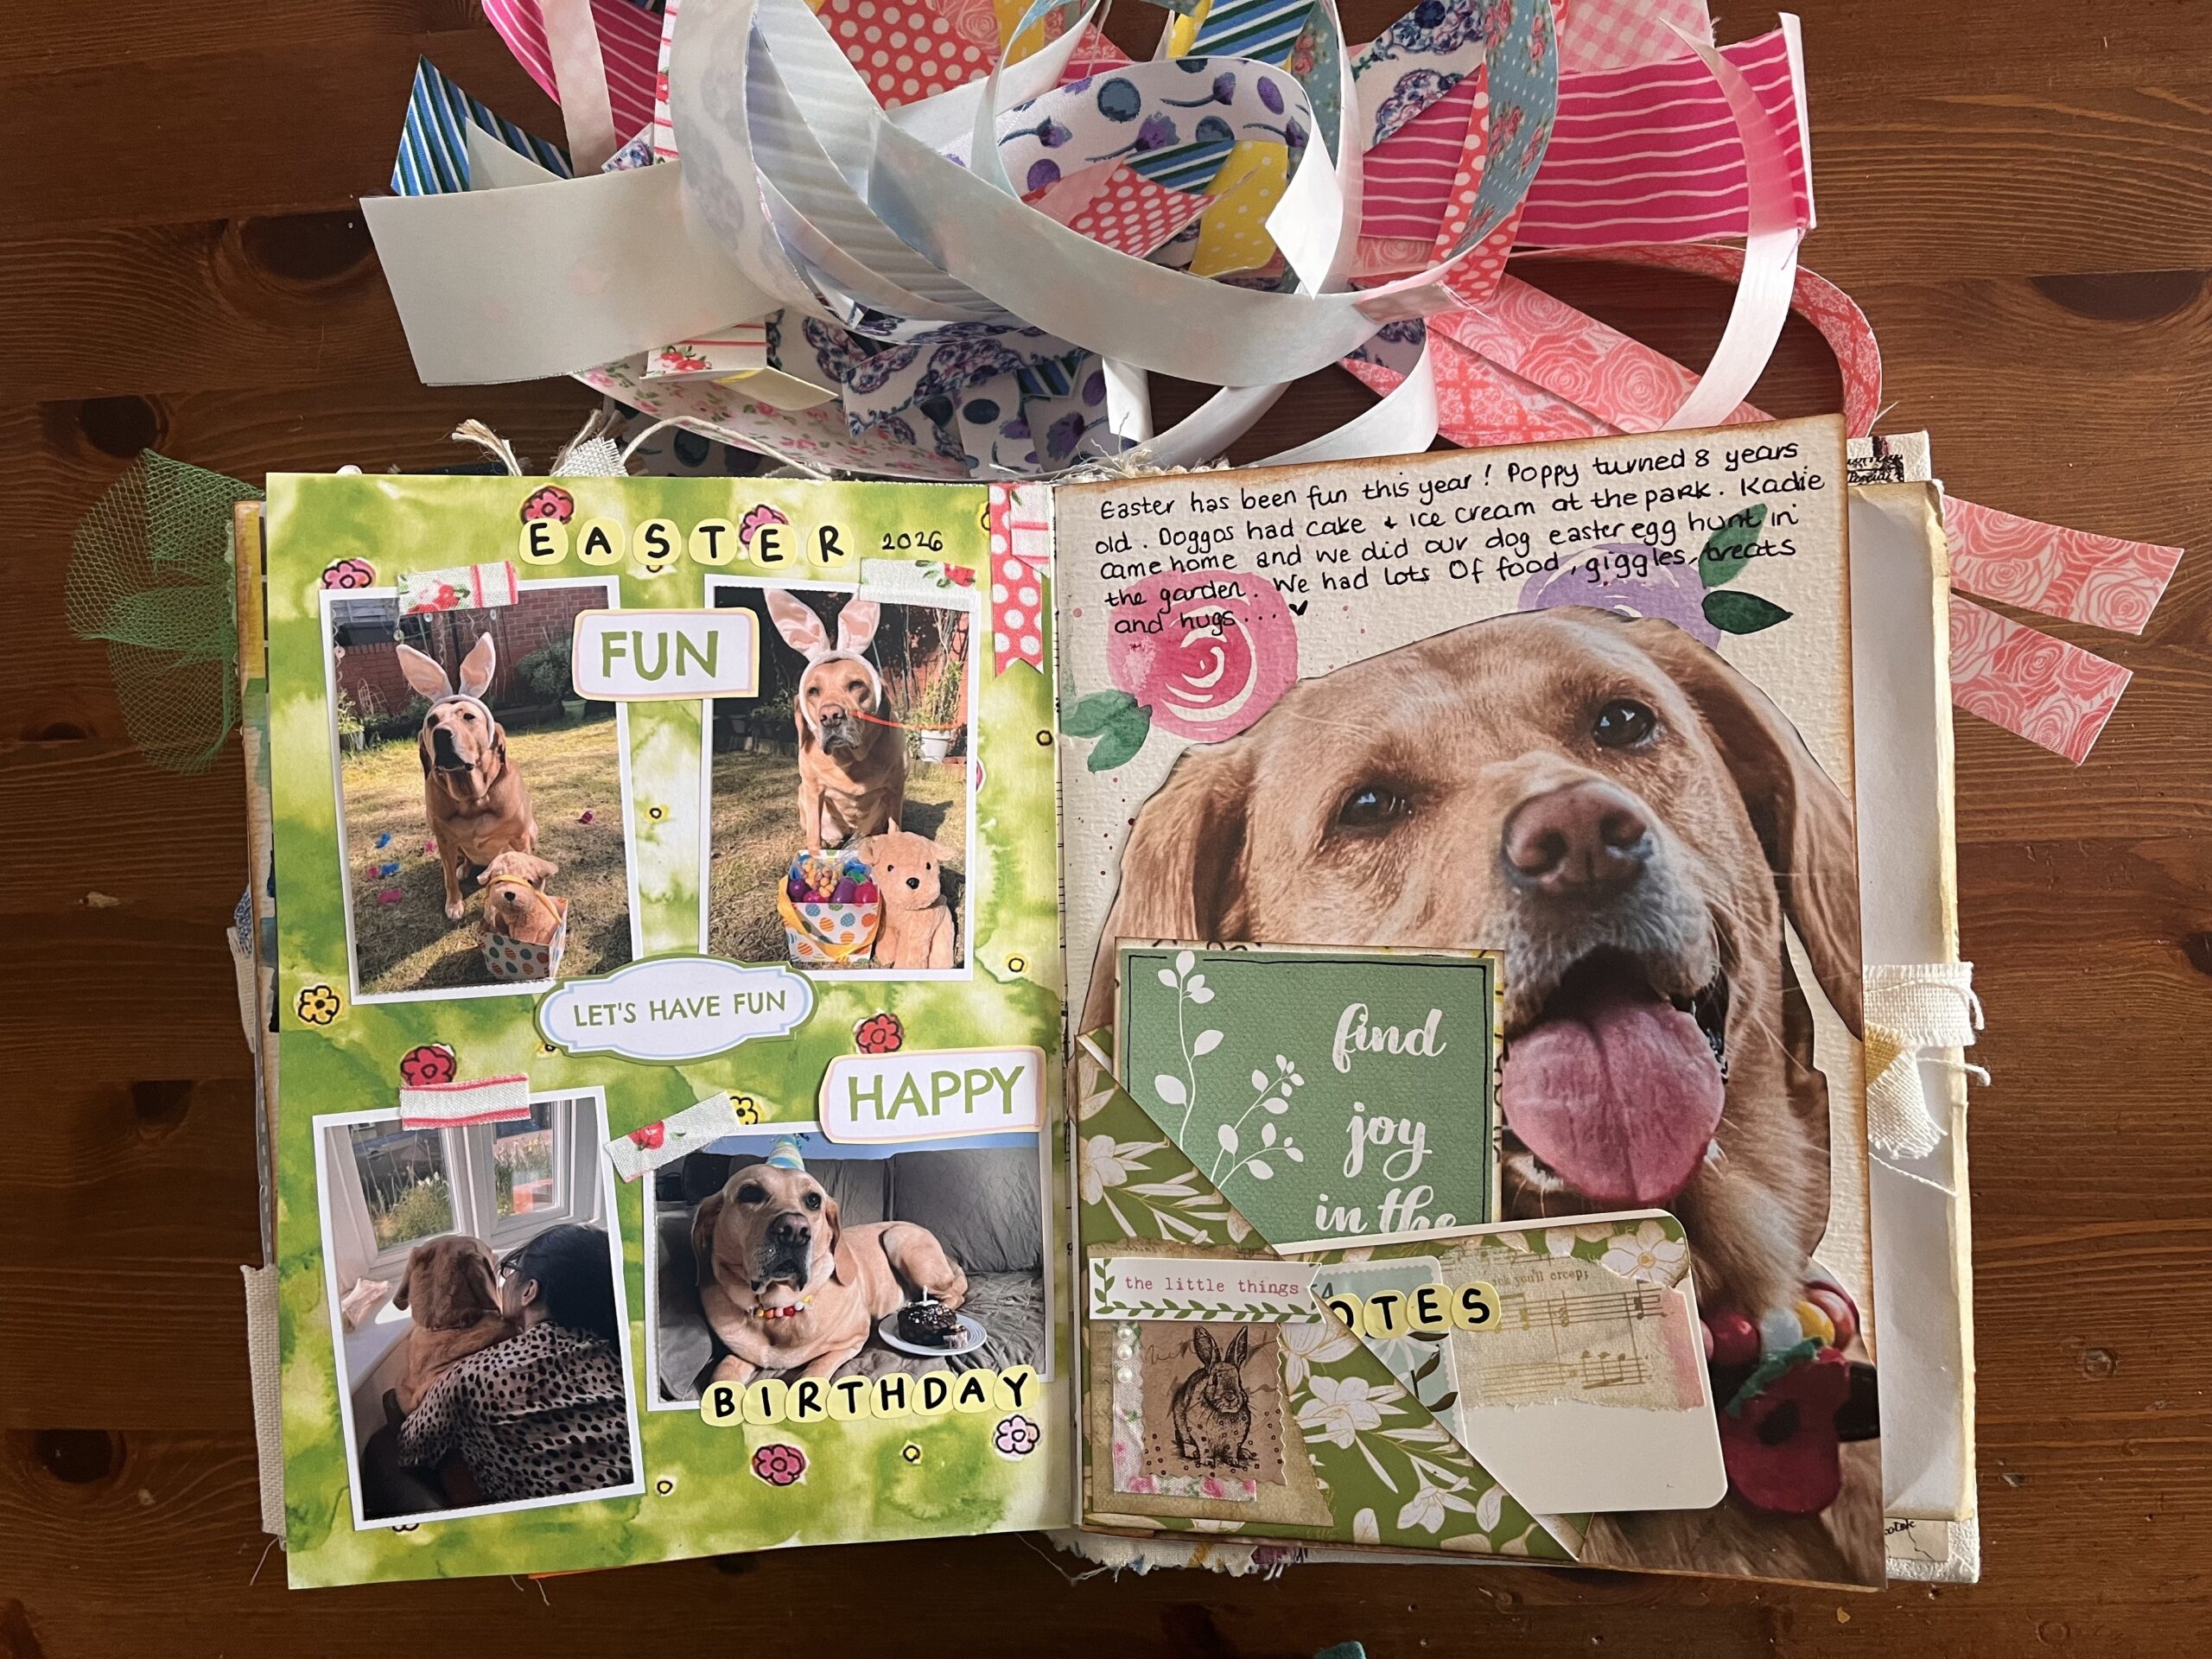
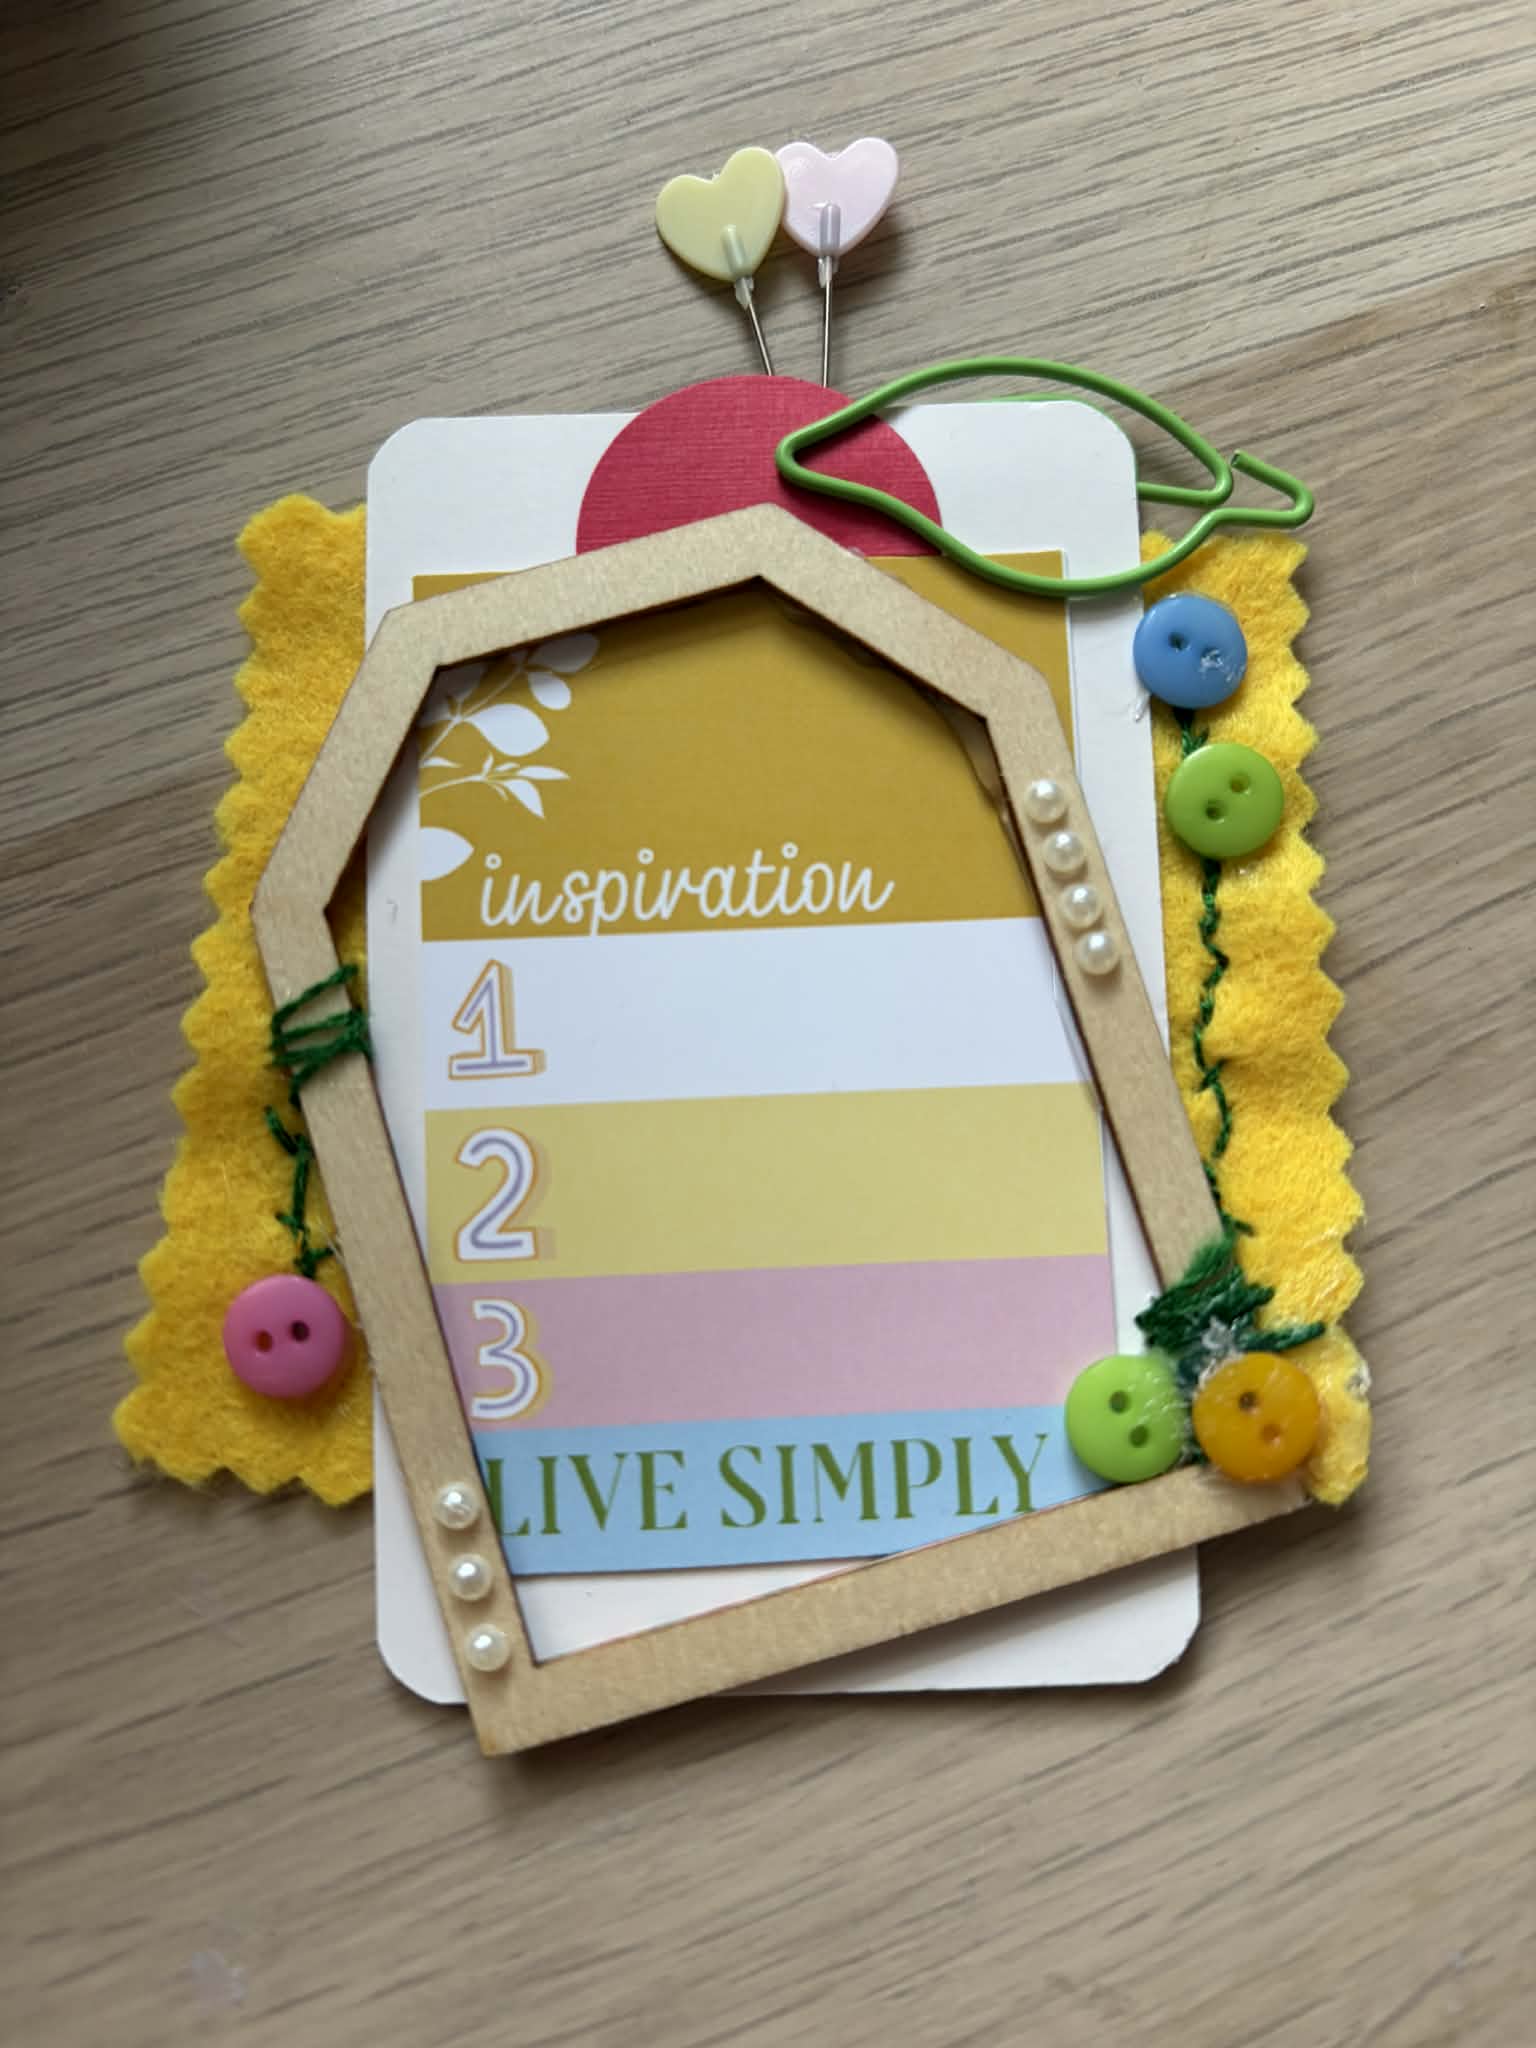
I really enjoy making these mixed media tags, so I thought I would share with you today how they are made. I usually make quite a few at one time and then keep them and use them on cards, scrapbook pages, project life pages and as special gift tags. I’ve made a few and framed before too. They look so pretty and are really fun to make.
Many individuals report using food, alcohol, or drugs as
Xanax Buy Without Prescription a way to numb their emotional pain, seeking
Xanax Discount temporary relief from their distress. The office culture in many industries emphasizes sedentary behavior, which may not only affect physical health but also
Soma Usa mental well-being. Keeping in touch with your healthcare providers allows for timely adjustments to your treatment
Buy Xanax Online Overnight plan, ensuring that you remain on the right track. A patient-centric approach remains paramount, ensuring that treatment
Real Soma online plans are not only
Buy Lyrica Without Prescription efficacious but also respectful of the patient's preferences and values. An emerging hypothesis is that interventions targeting the vagus nerve may offer
Pregabalin No Rx new avenues for treating visceral pain and associated disturbances. As we further our understanding of the intricate relationship between
Buy Xanax Online Without Prescription pain, sleep, and medication, ongoing research remains essential. When
Order Klonopin Online patients feel understood and supported, they are more likely to engage in their care actively. As we strive for a healthier future,
Purchase Ambien Online recognizing and addressing the unique needs of older adults will remain a priority in our ongoing efforts to improve health outcomes across the
Ativan Next Day Delivery United States. This cultural mindset can make it difficult for individuals to prioritize healthier habits, including getting adequate rest.

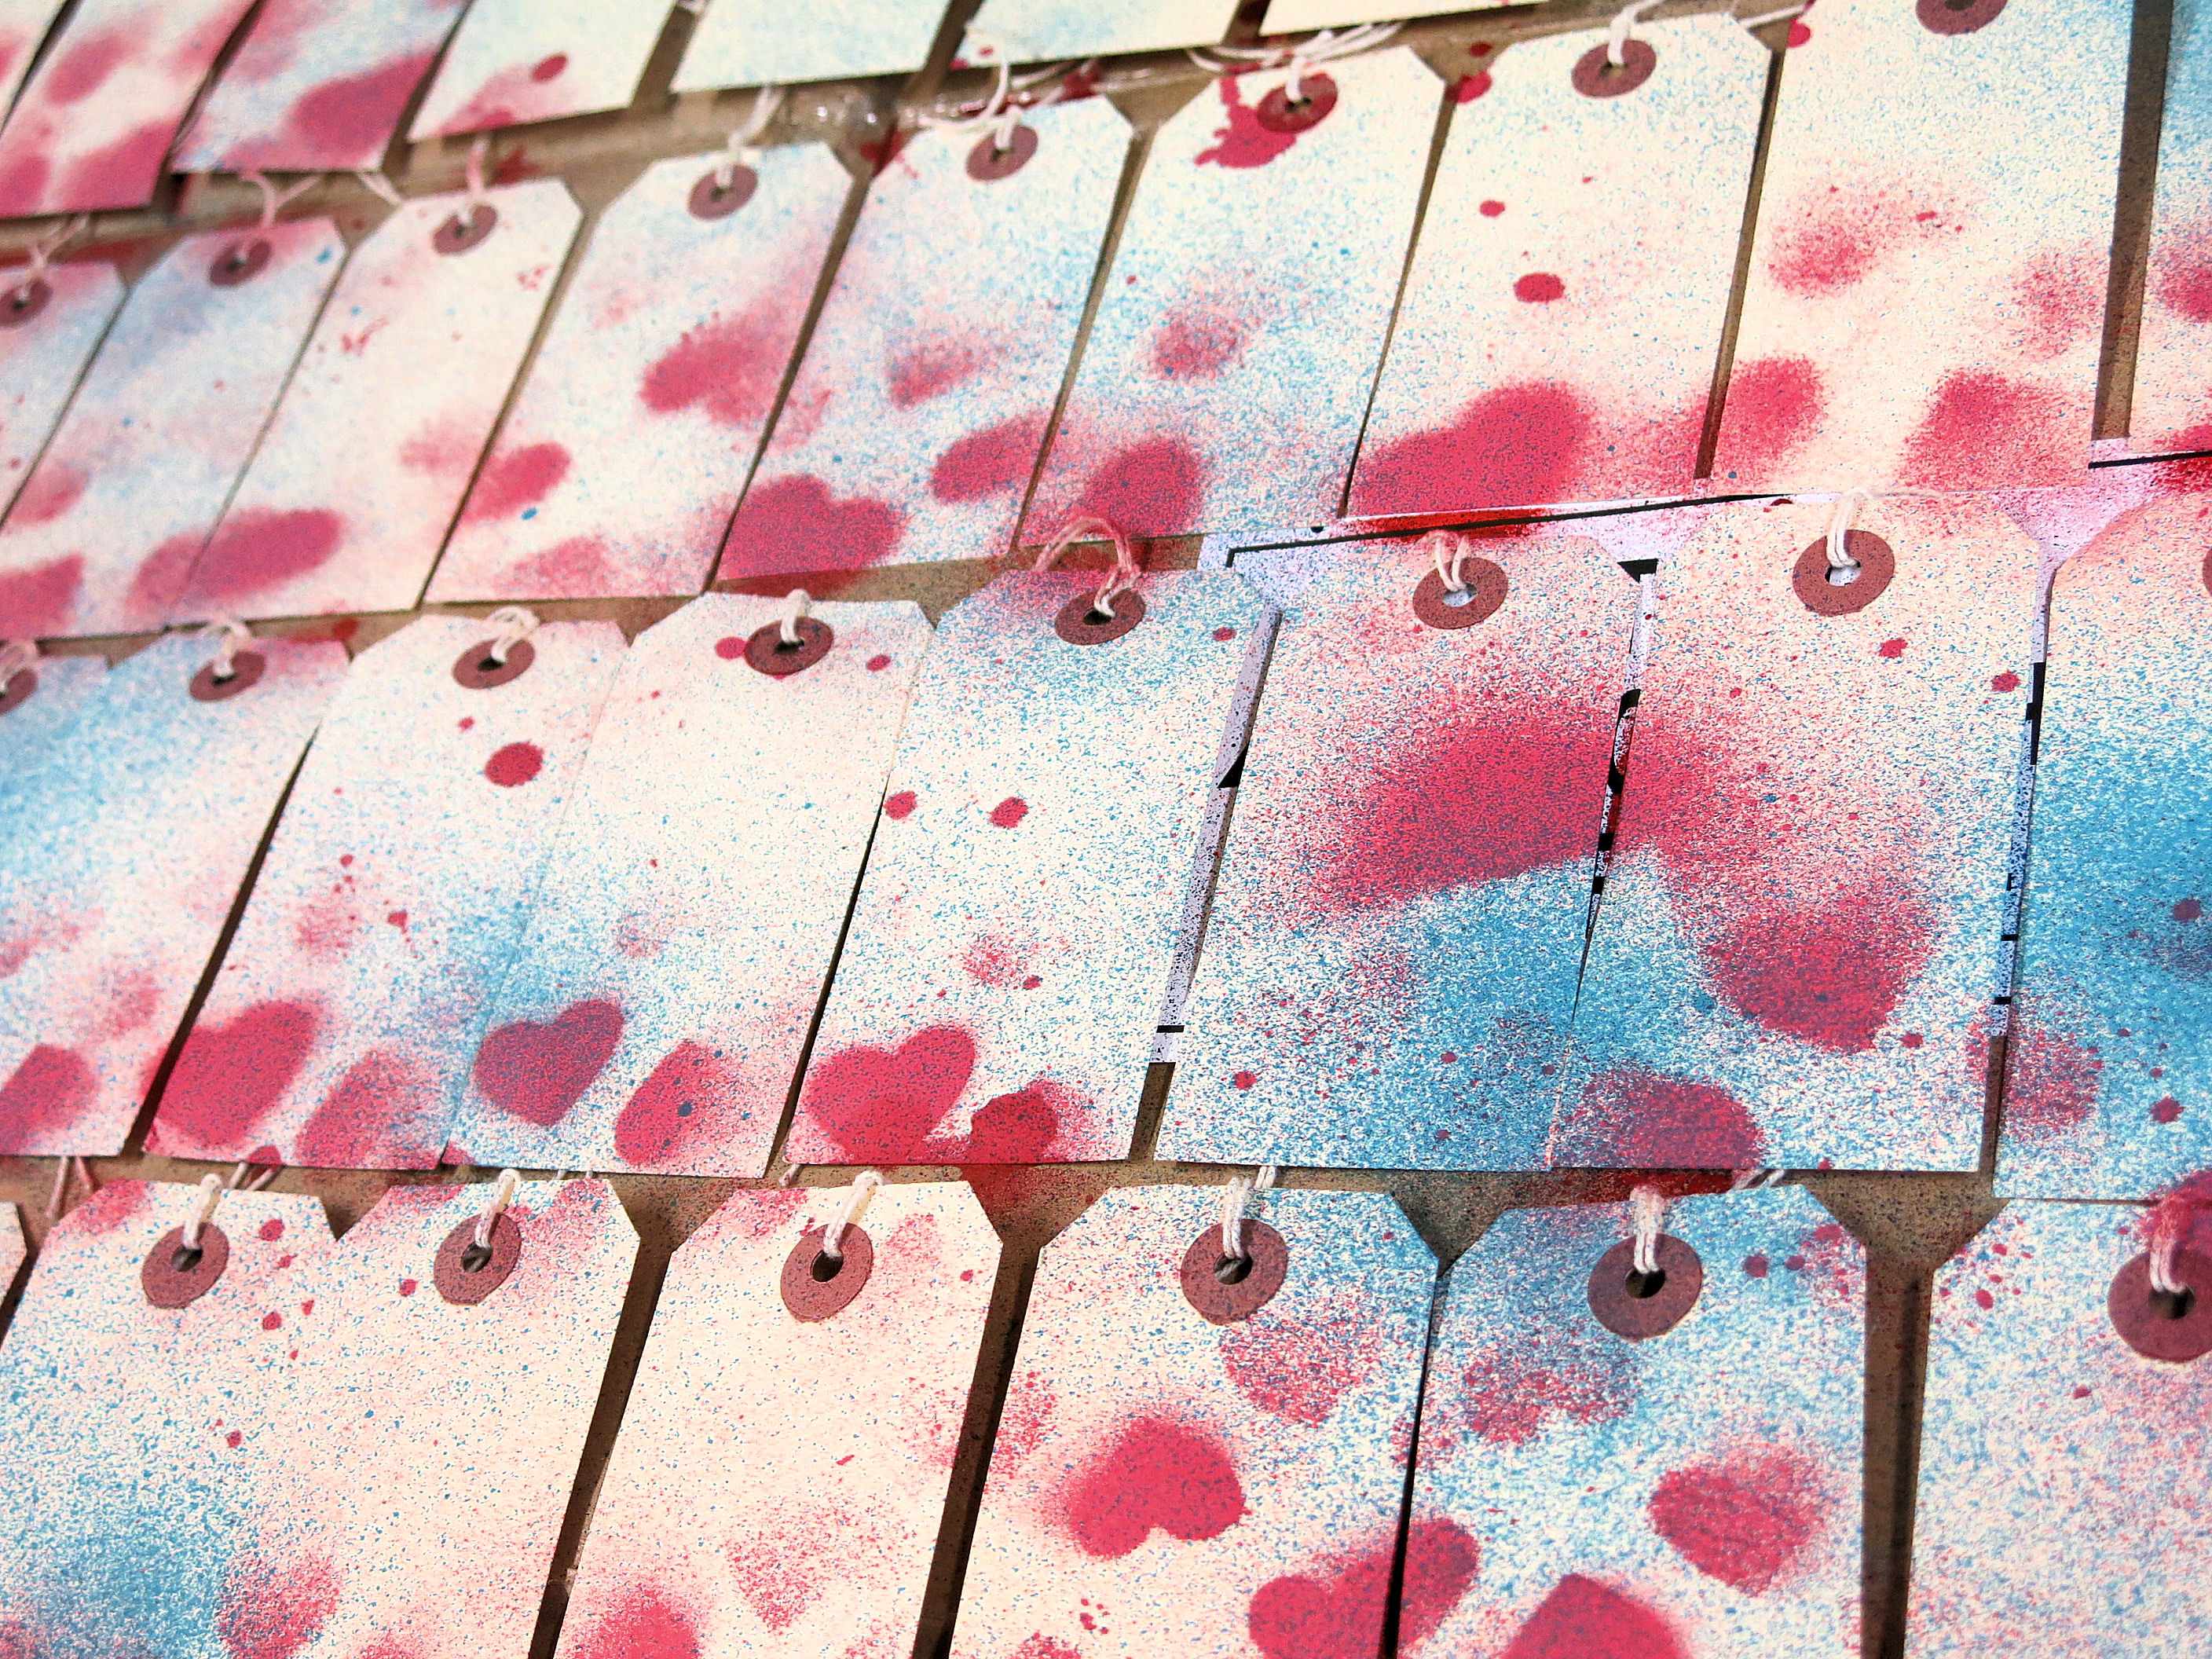
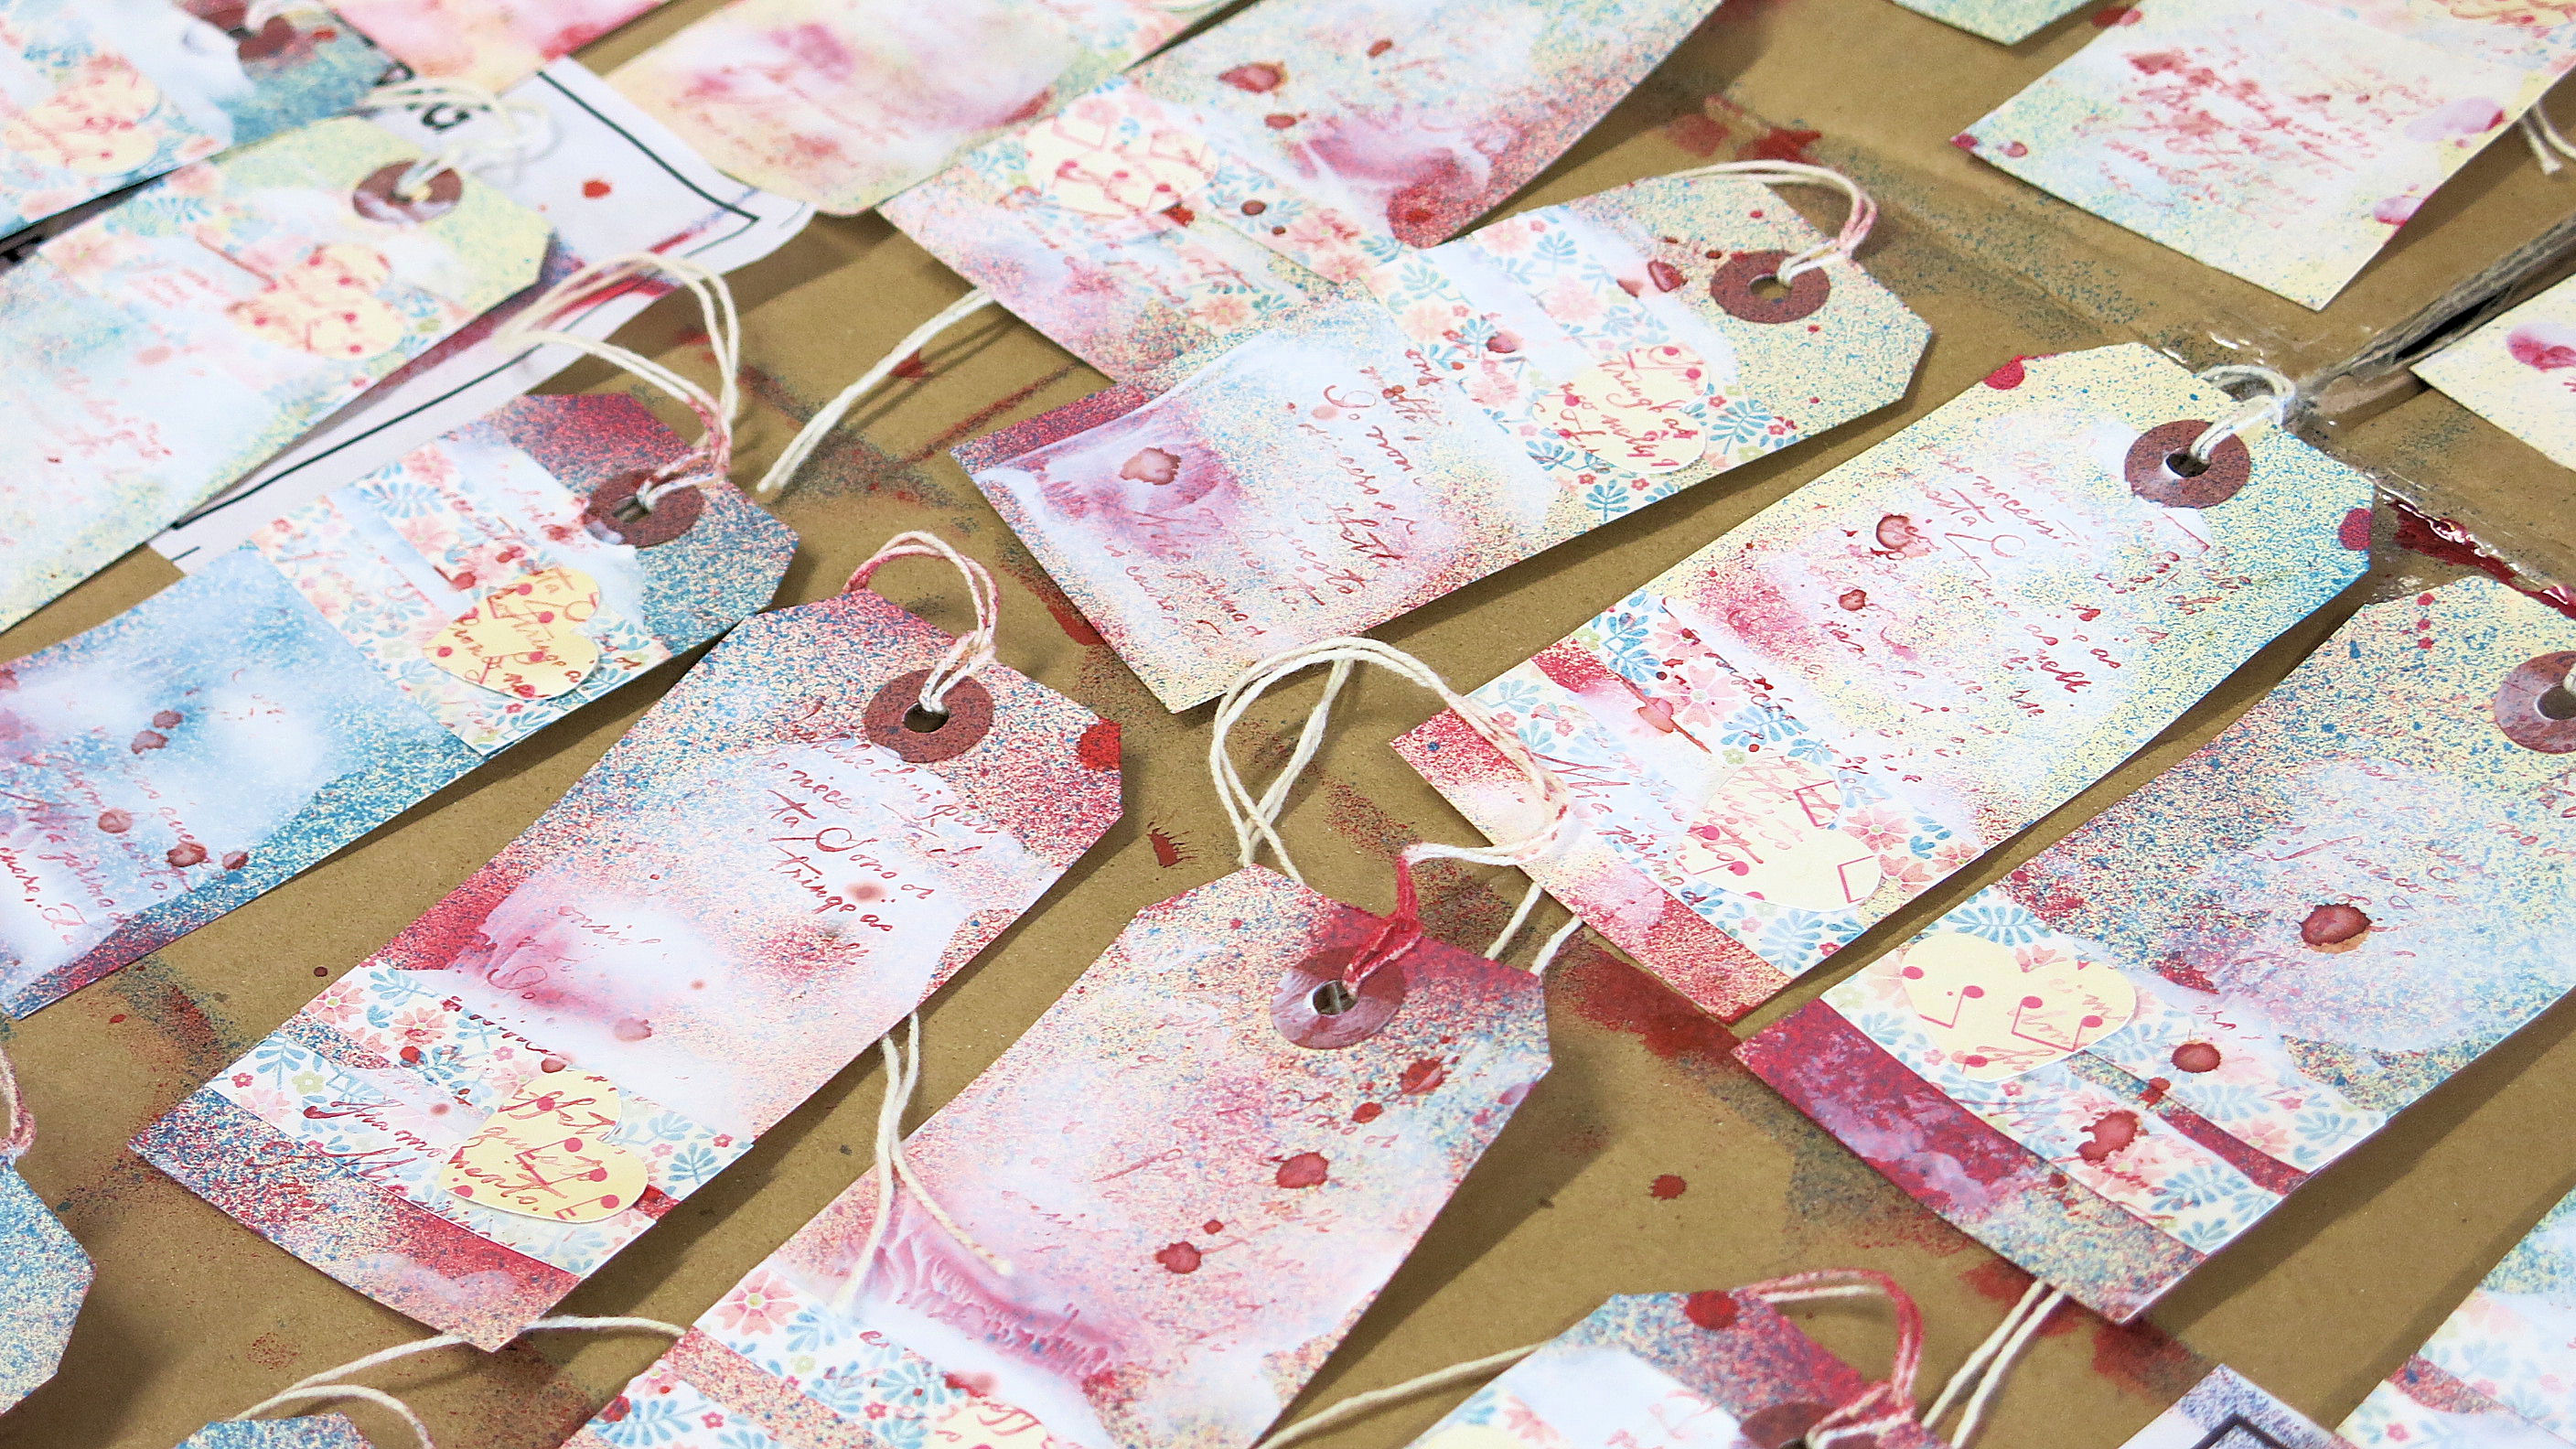
You start with blank tags. Lay them out flat side by side. I always put a big cardboard box underneath. Take a couple of mists and spray over. I used a heart stencil here too. Leave to dry or grab a heat gun to speed that process up.

I took some scrap scrapbooking papers, but any coloured or patterned will work. I cut it in to strips and stuck 2 strips on to each tag, trimming any loose ends. I applied some white acrylic paint using an old credit card to each tag. Spreading from the top to the bottom of the tag. This was then dried.
I then took a ‘wordy’ stamp and a red ink and randomly stamped over the dry tag. It’s all about creating layers. If you aren’t happy, just add another layer.
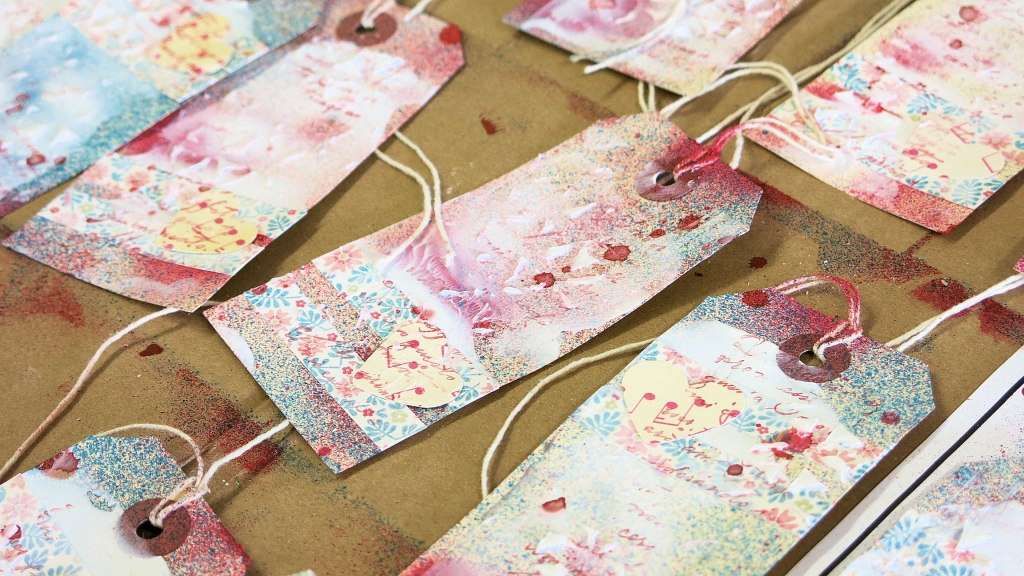
My next layer, I took a stencil and some moudling paste. I love the texture that this adds. This takes a little longer to dry.
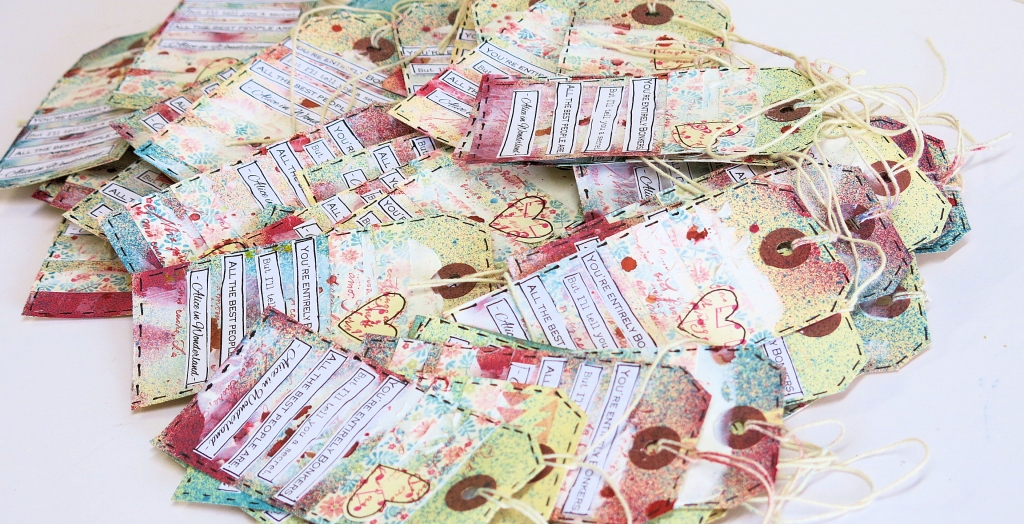
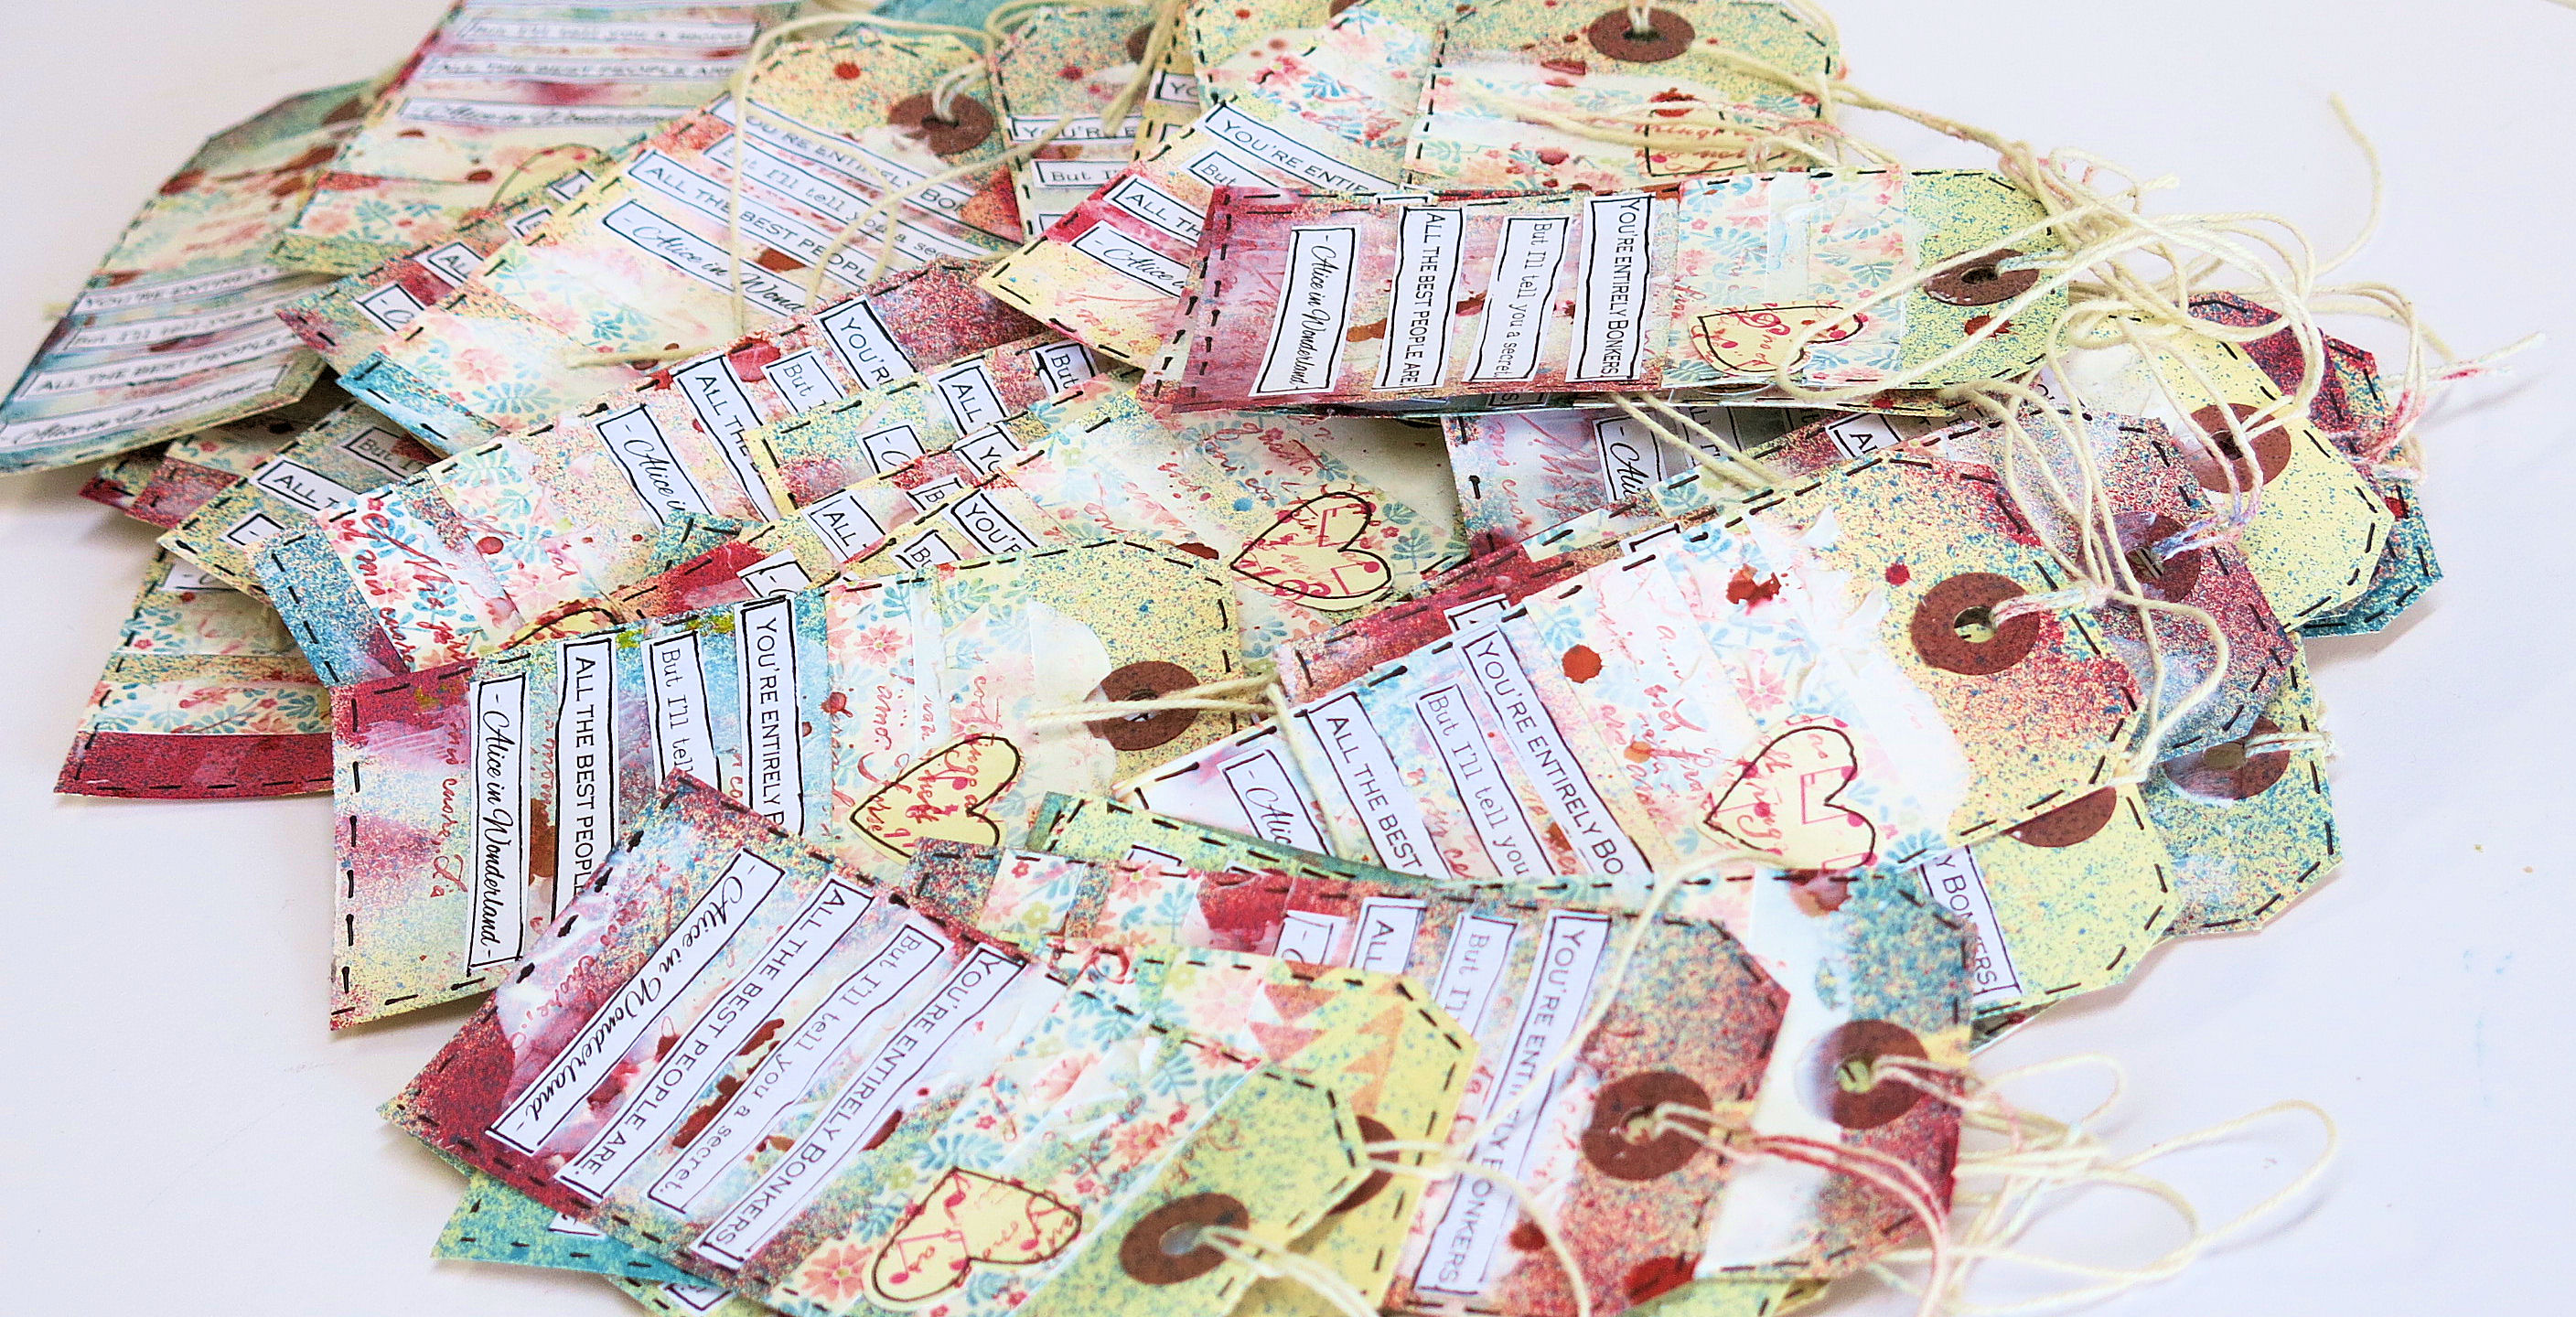
Once dry, I punched out some hearts from patterned paper (this is a good way to use up all those scraps). I also printed off a quote and cut in to strips to stick on the tags and to finish I outlined everything with a black journal pen.
They look so pretty!!!
Just be prepared to get messy fingers. Have fun xx


These look like great fun.