
Hey lovely Peeps! I hope you are all doing well.
Have you heard or tried Grid journaling ?
I did a free mini class ages ago about Grid journaling and I am hooked ! For me its art journaling in little chunks and you create little layouts using the same colour scheme or theme.
The colour scheme from the Rustic Garden kit is so beautiful and I thought it would be a lovely theme for a grid journal page.
I used brush pens and ink pad colours that is close to the colour theme of the kit.
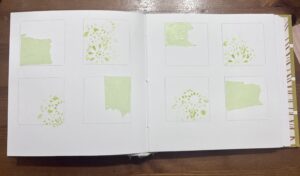
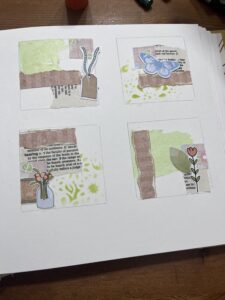
Creating the squares and base layer
I used a square post it note as my template to draw out my squares or grids with a pencil.
You can make your grids or squares however size you like it. Be sure to have a few squares per page – remember its grid journaling.
I then used some of the tissue paper that was used to wrap the kit and just tore little pieces and stuck them with a glue stick. Stick them randomly and don’t worry about placements. You don’t even have to stick them on every single box.
I also used a floral stencil and used a light green ink to stencil the image into the squares. Again , I did this randomly and I didn’t stencil on every single box.
I then tore pieces of old dictionary paper and stuck them again randomly in the squares. The dictionary book page just give that contrast to a very green page.
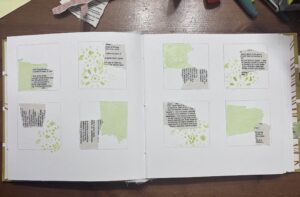
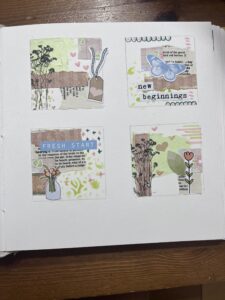
Adding more contrast and texture
We need to add more contrast and colour, so this is where the kit papers comes really handy and will start to set off the theme for the grids. I again tore ( and cut ) bits and pieces and inked the edges of the torn elements. I again glued them randomly in the squares.

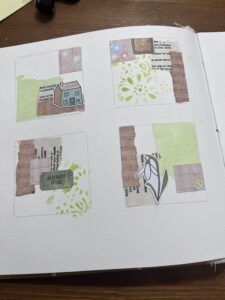
Focal point / Embellishment
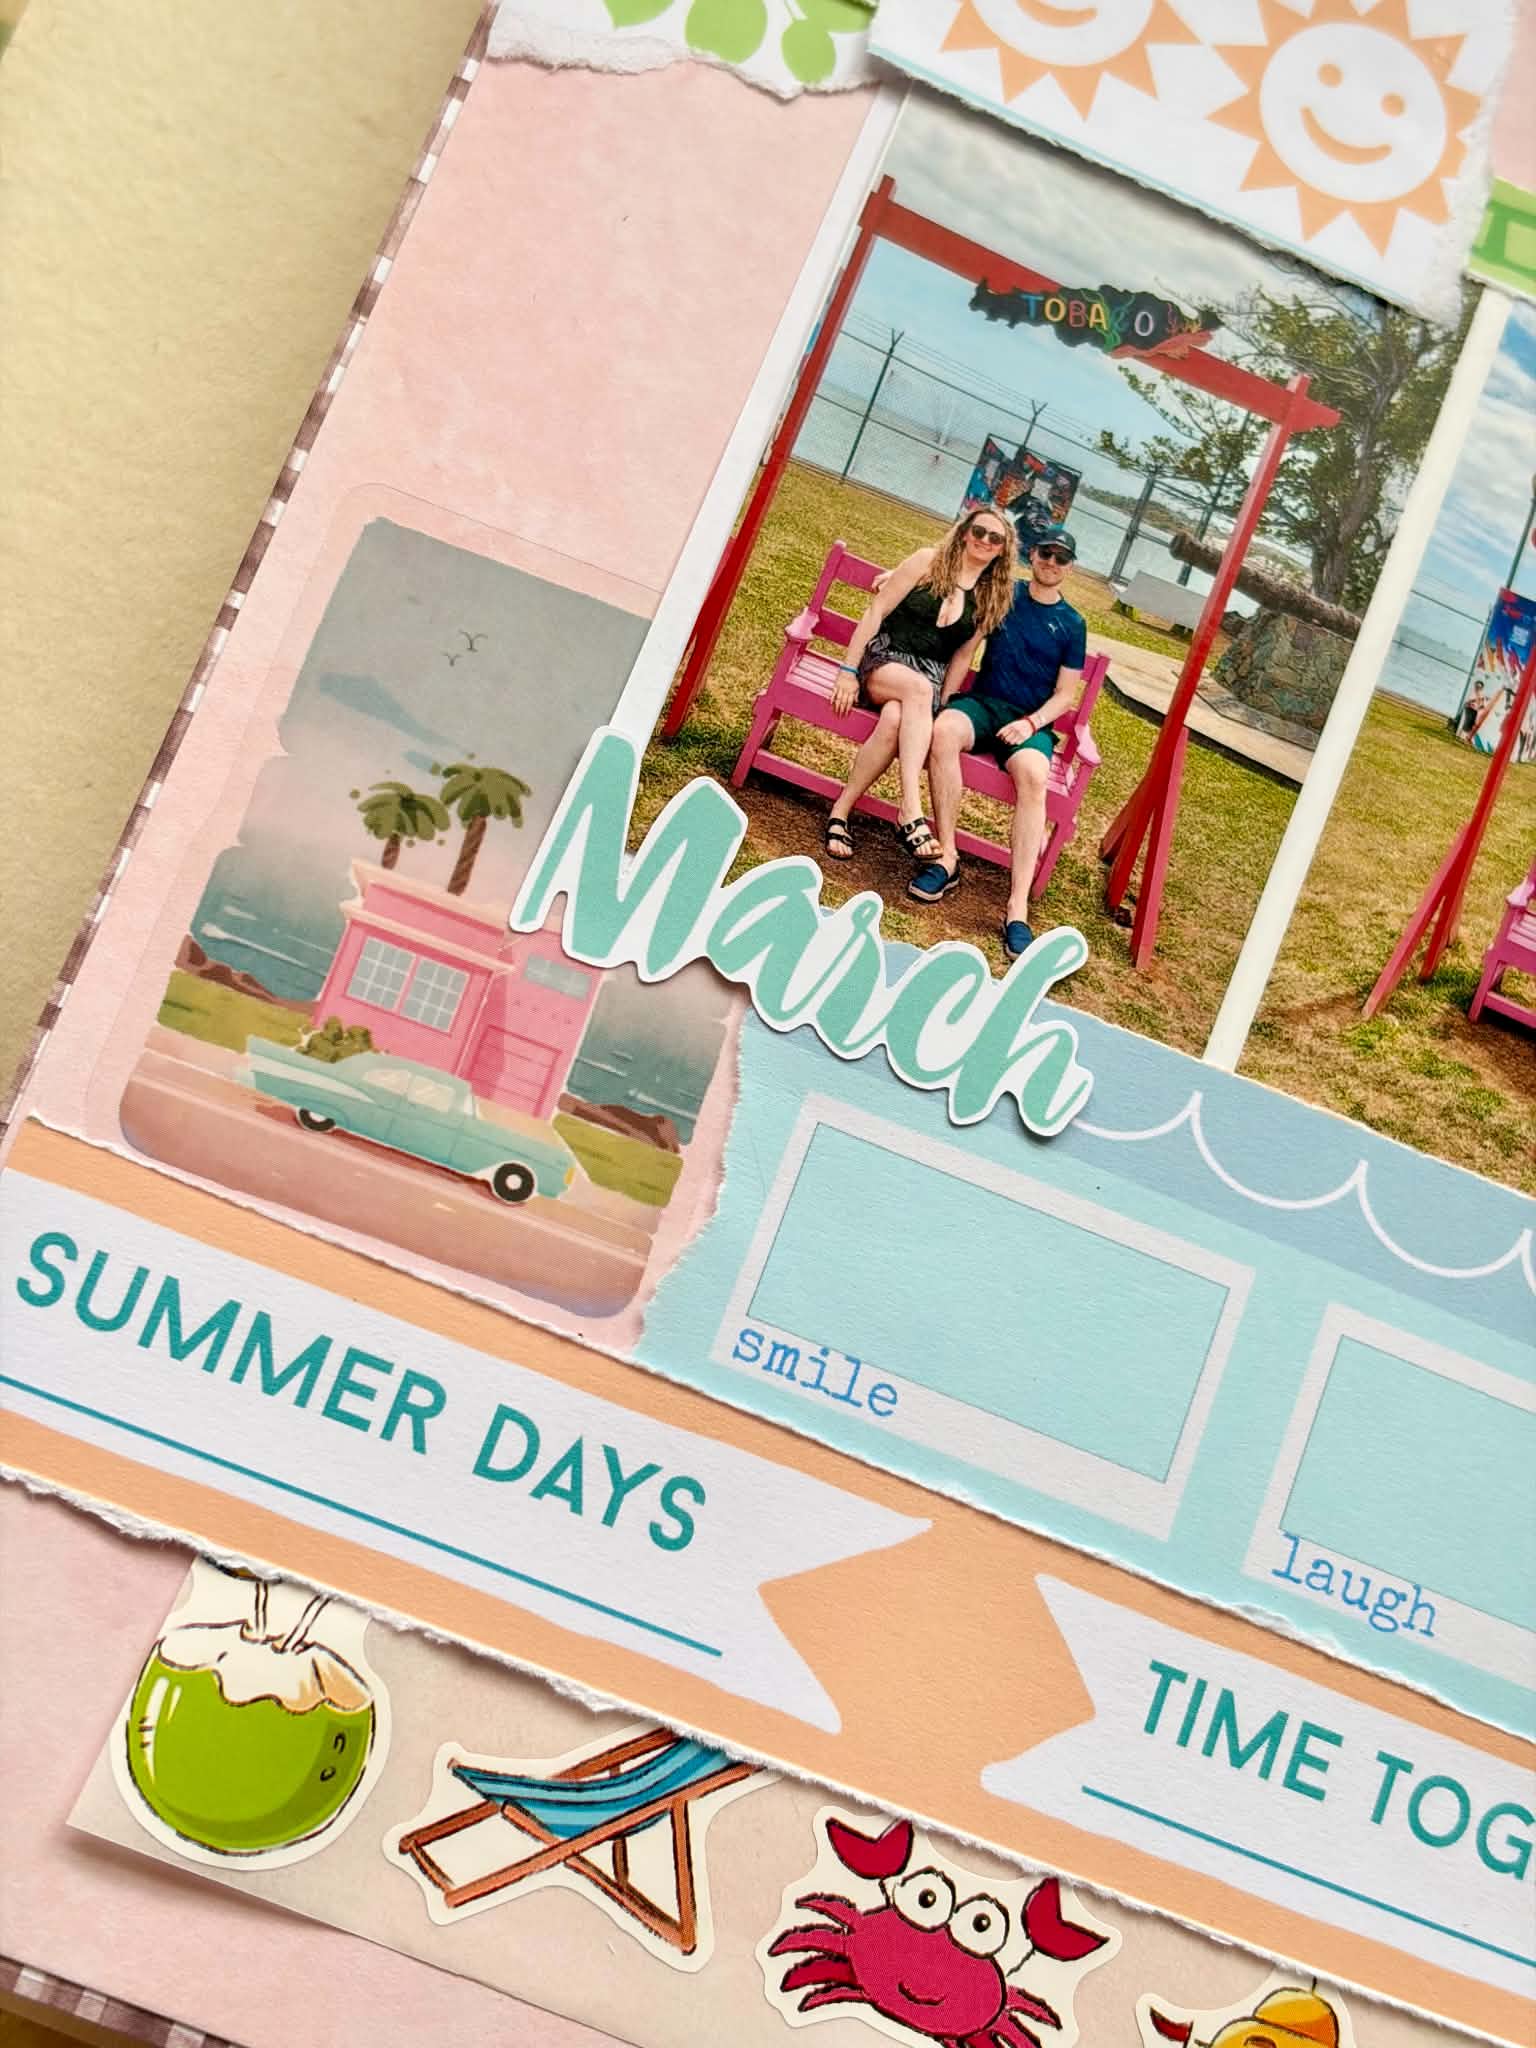
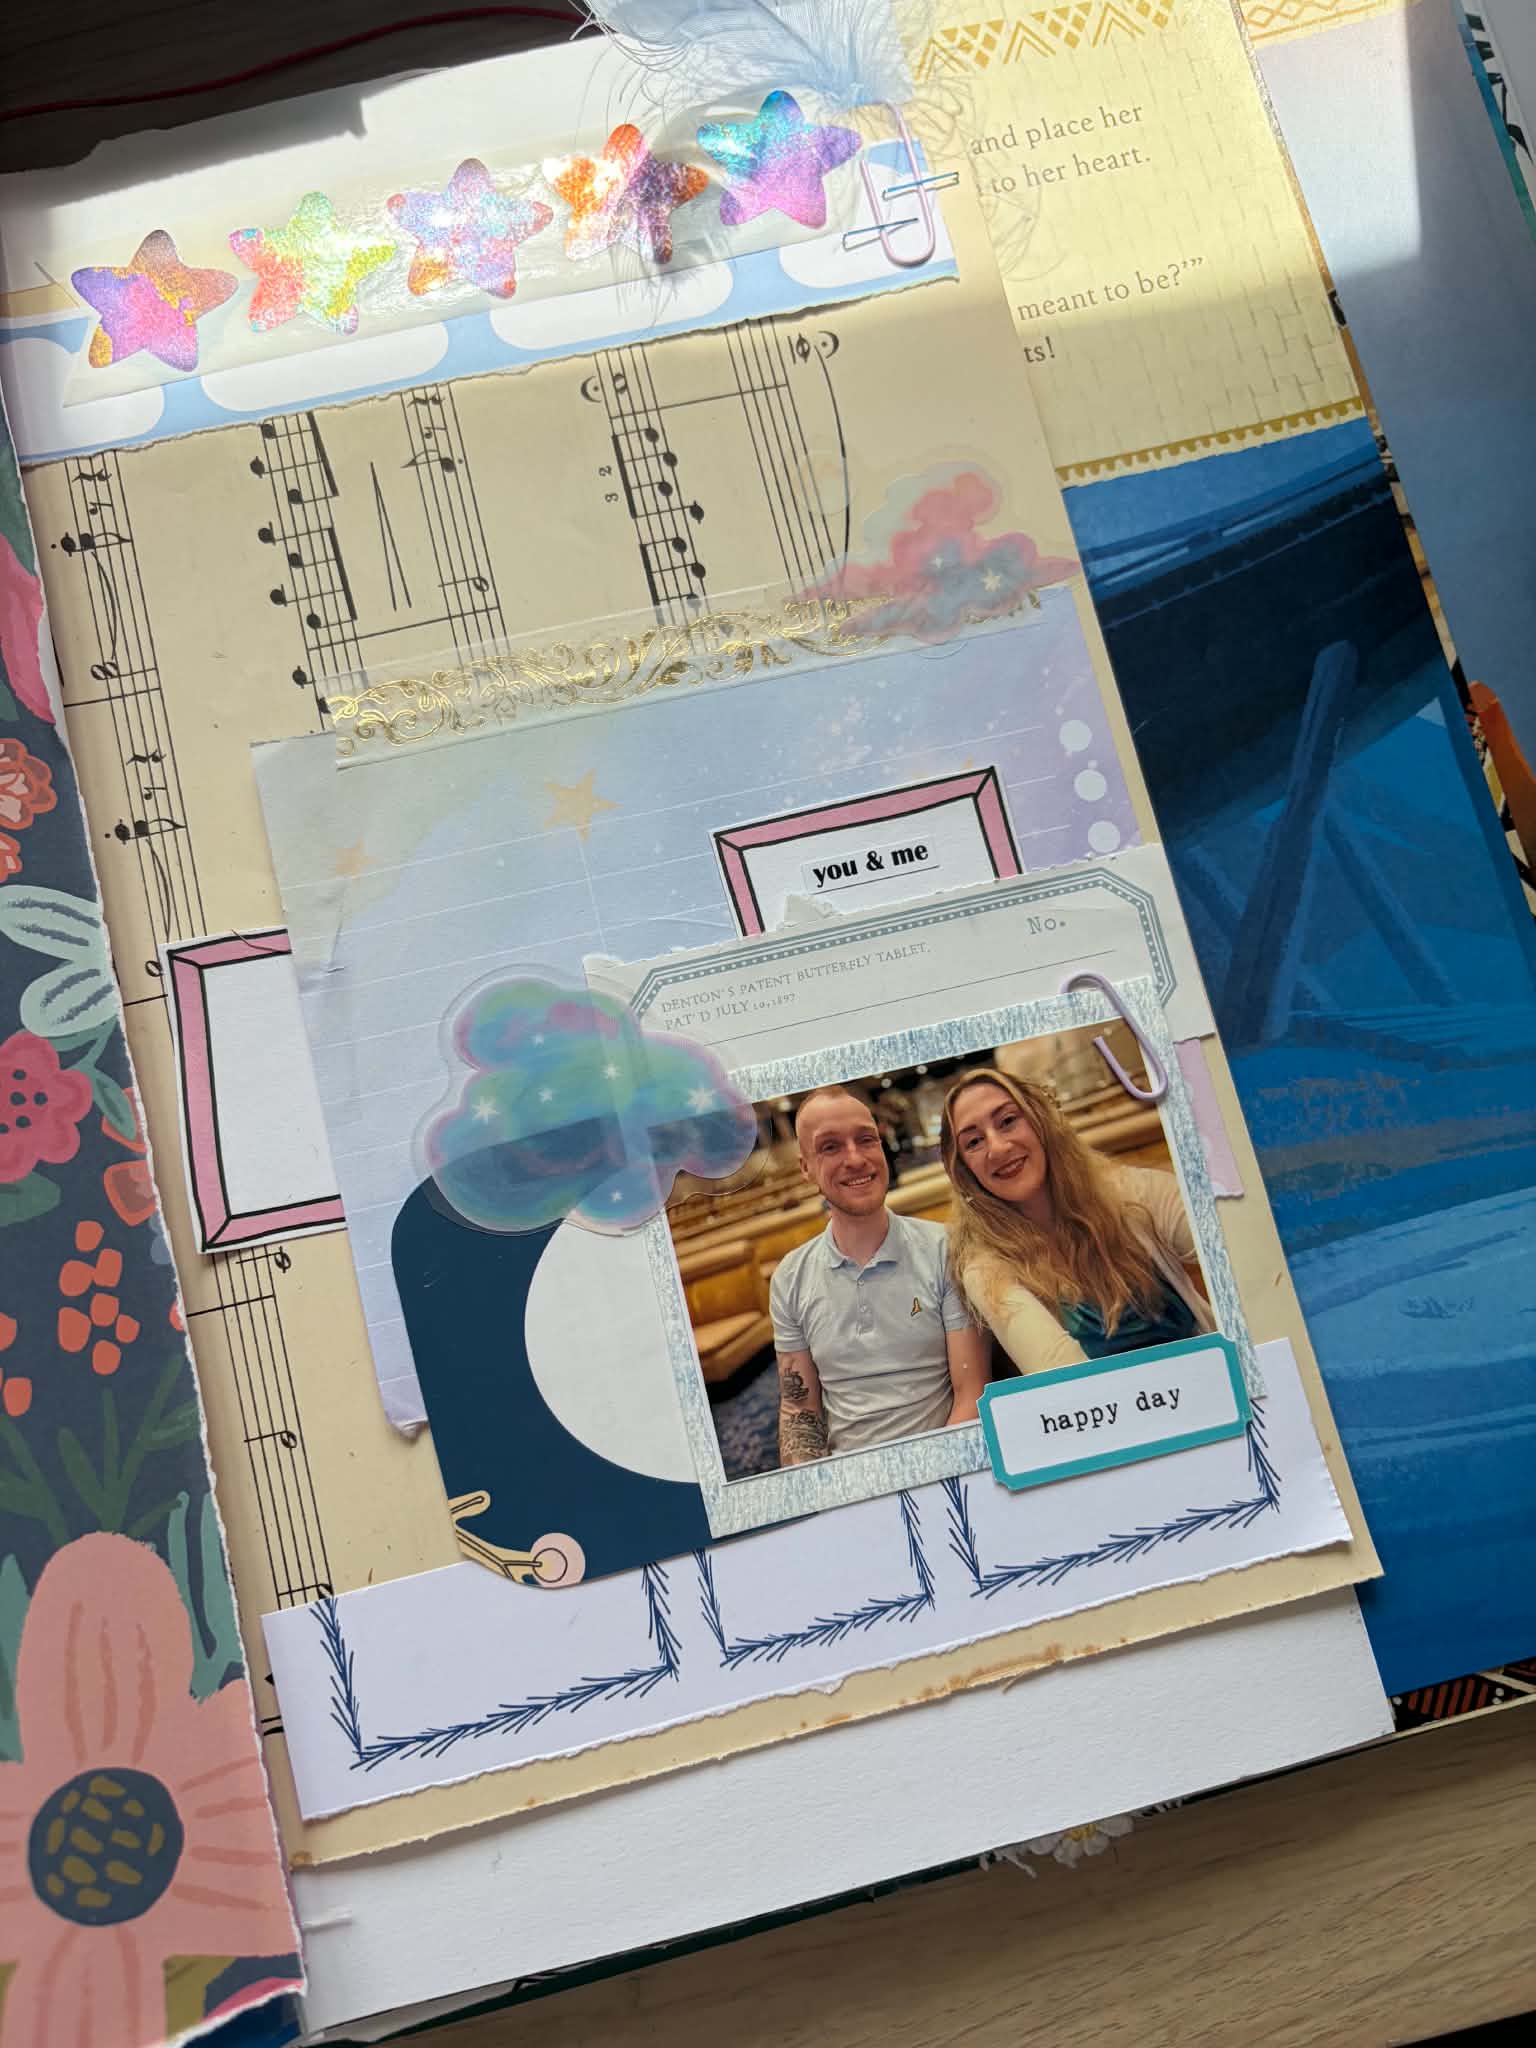
Now, let’s add focal points and liven the grid a bit more . This time I have used some of the die cuts and stickers from the kit.
Finishing touches – doodles and mark making
So , now we need to start filing the little gaps with doodles or mark making. I used brush pens that is similar to the colour scheme of the ink pad colour that I have used . Again be random with your doodle and marks. Try to use two colours together too.
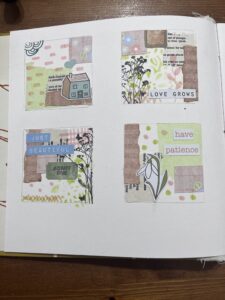
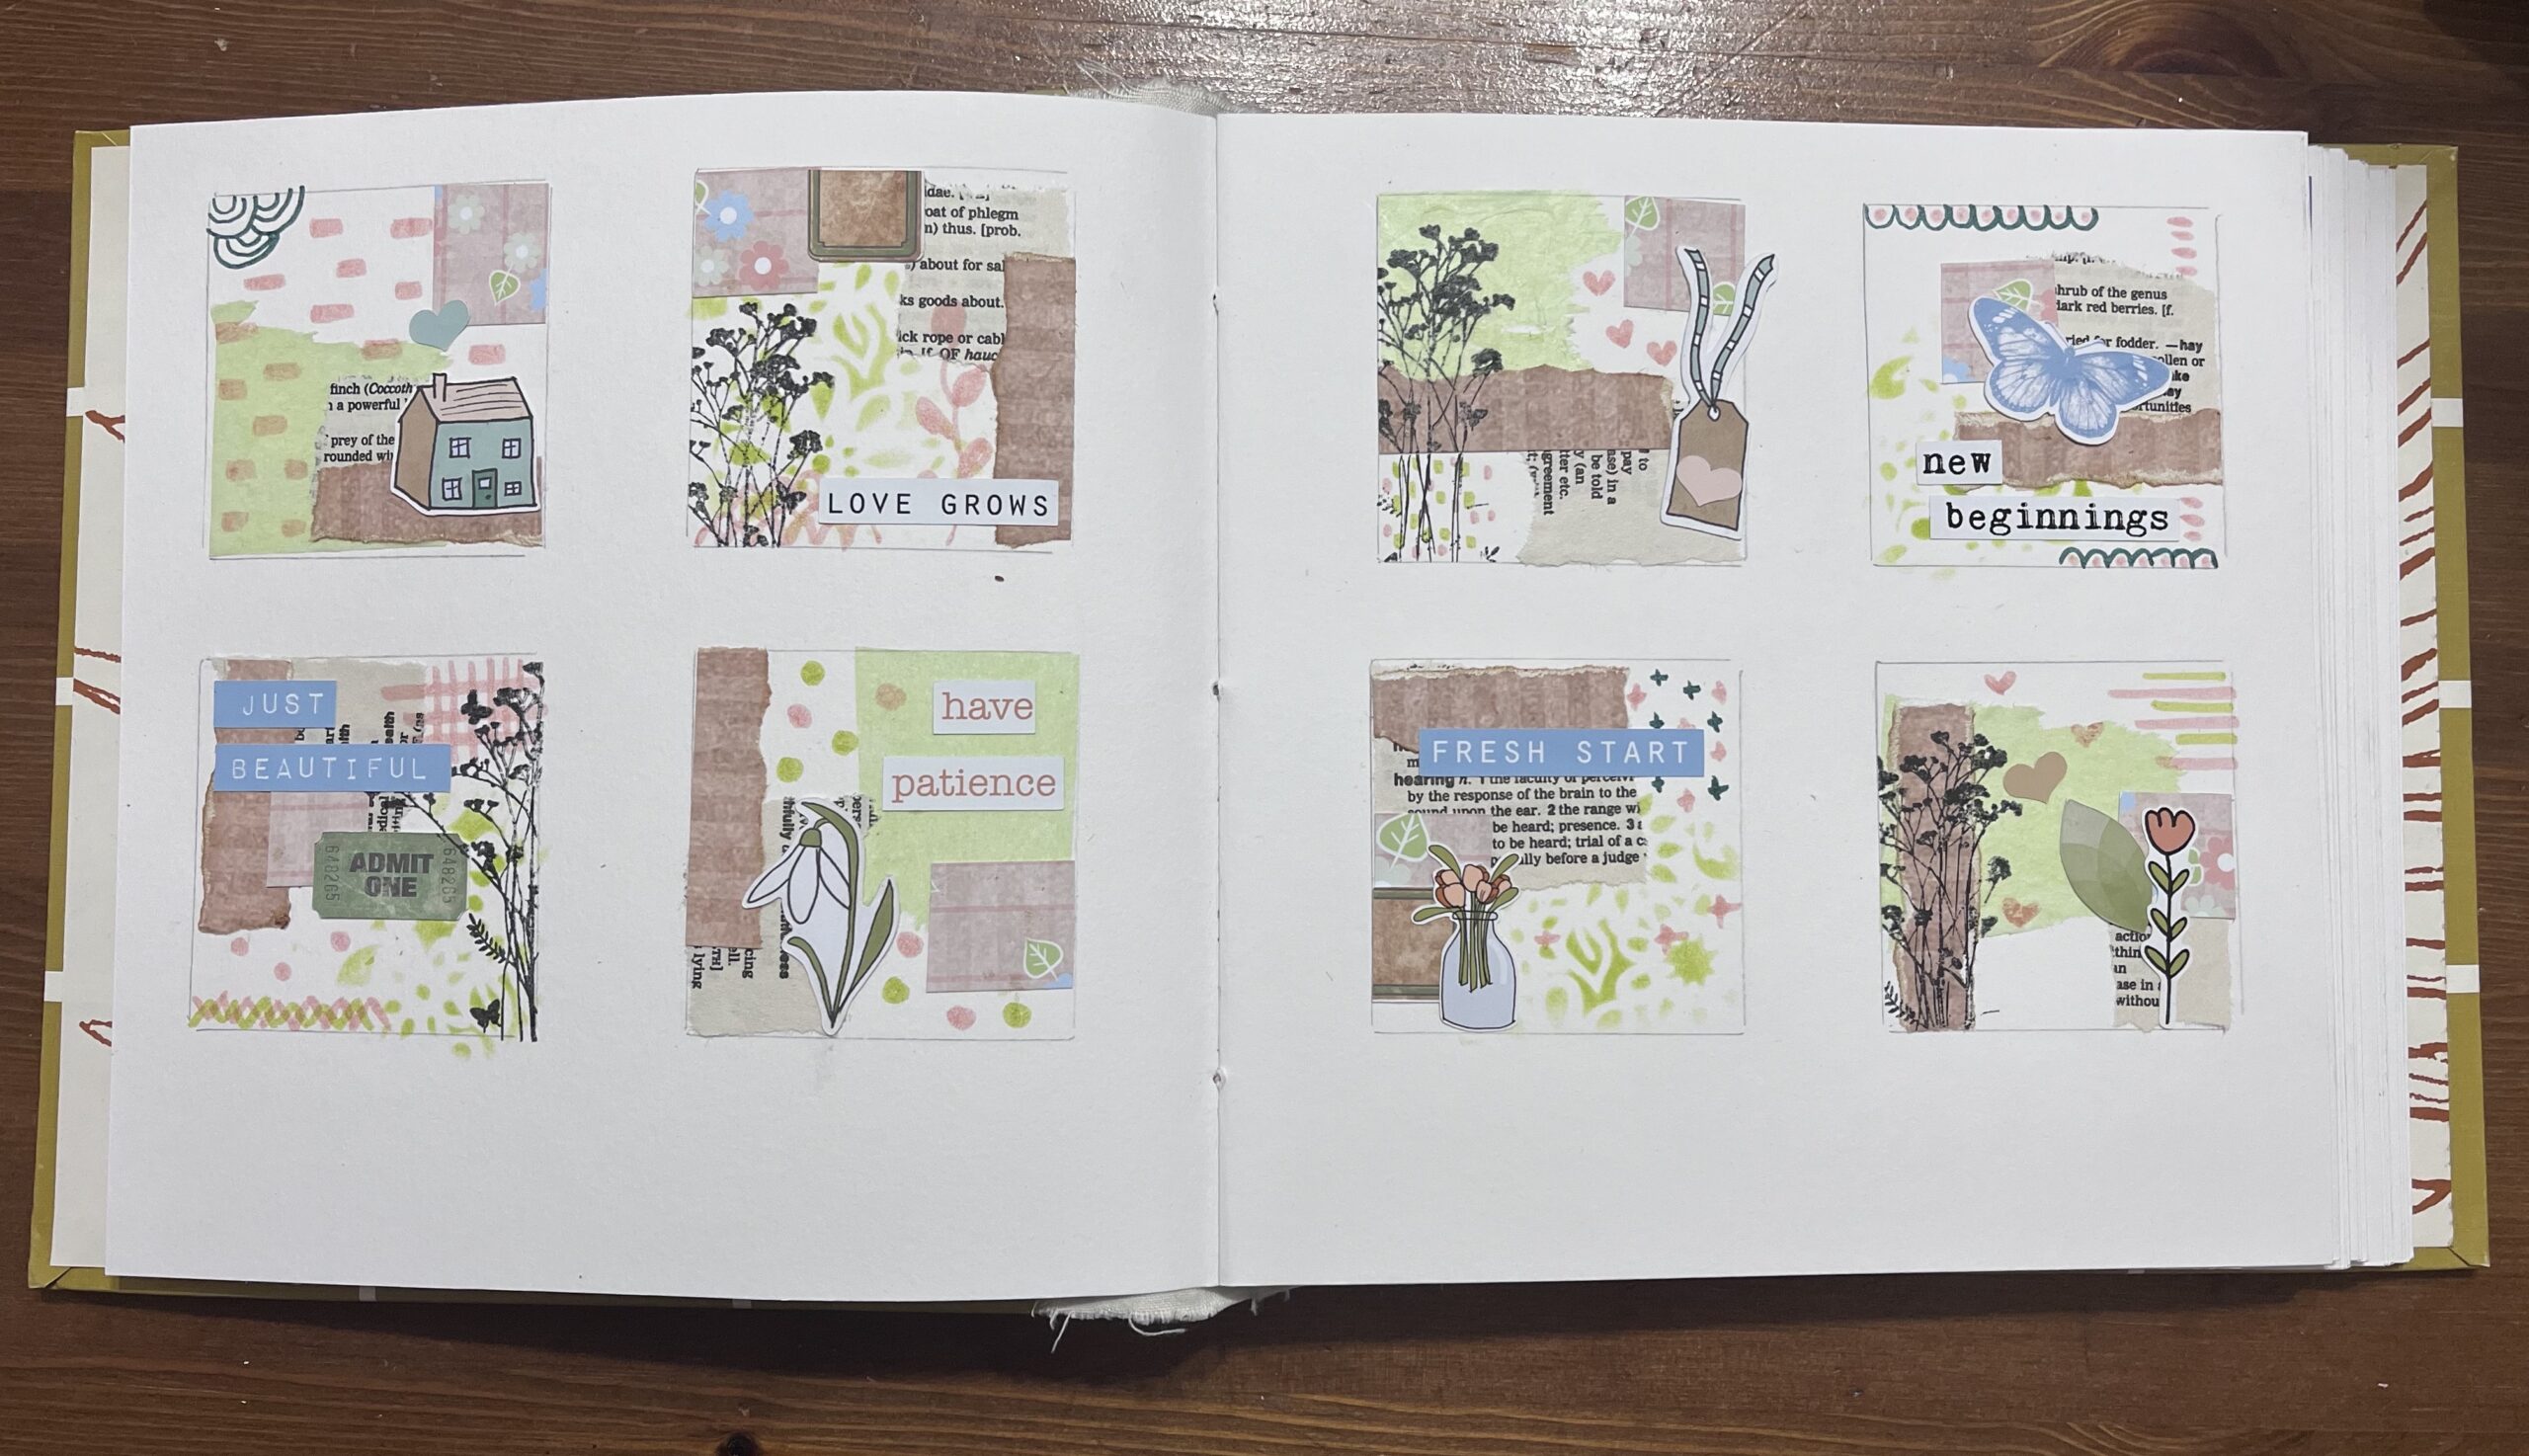
Once you are happy with your grids, you can put in your finishing touches. You can either stamp with a black ink , go over the grid pencil marks with a black pen , or stick some word stickers . I did stamping with a botanical images on some of the grids and then used the word stickers that was included in the kit
The whole process does not take long , and I enjoyed every single minute of it . Look at those colours ! I just love it!
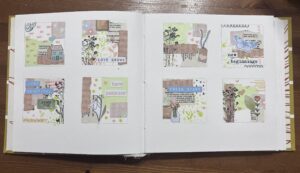
You can create different themes, so the possibilities are endless!
Will you give this a go ? If you do , please do share them on the Lollipop box club Facebook group so that we can see what you have created and lets inspire each other.
Wishing you all a lovely week and sending you all a big crafty hug.
Love
Sheryll


Leave A Comment