
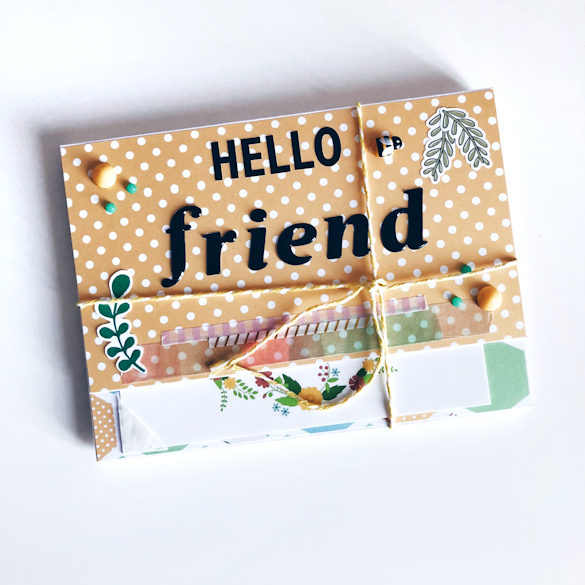
Lollipop Love – Emma and her Happy Mail Flipbook
Hello! My name is Emma and I am 34 years old (35 in August – eek!!) I live with my husband Dan and two cats, named Costa and Starbuck, in Bristol which is in the south west of the UK.
I am quite new to paper crafting but have been into planning for well over a year now. Feel free to check out my paper crafting Instagram account: https://www.instagram.com/
I am so lucky and happy to be chosen as the Lollipop Love this month and I really hope you enjoy learning about how I made this flipbook for one of my lovely penpals.
Supplies:
Lollipop Box
Three 5×7 Card Blanks
Paper Trimmer
Scoring Board
Adhesive
Any extra supplies e.g. washi, enamel dots, alphas
Goodies to include in the flipbook
Process:
Step 1
You will need three 5×7 card blanks. This size works really well with the Lollipop Box papers, but you can use any size you like. Keep two card blanks 5×7 and trim the third card blank in half down the crease line. (If you are using a 6×6 paper pad, for example, you will need to trim your card blank from 7” to 6” so that the paper fits.)
Step 2
With the card blank that you trimmed in half, create a score line along the shorter side of each half. Score each half 2” away from the edge. These will become the side parts of the flip book and will overlap in the middle.
Step 3
Now you need to score the other two card blanks. Score the first one parallel to the centre line, 1/4” away from the centre line. This will be the bottom of the flip book. Score the second one parallel to the centre line, 3/8” away from the centre line. This will be the top of the flip book.
Step 4
Fold along all the score lines to make sure they fold easily.
Step 5
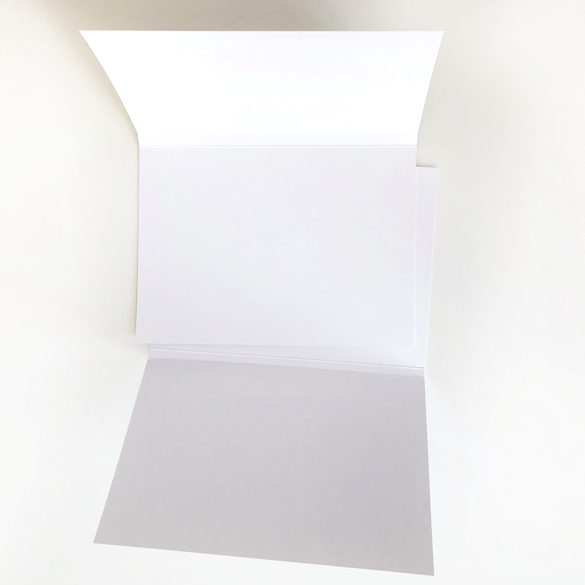
Assemble your flipbook by placing the bottom of the book on the table in front of you, with the larger rectangle facing away from you. Take the top of the flipbook and stick the matching rectangle on top of the larger rectangle of the bottom.
Step 6
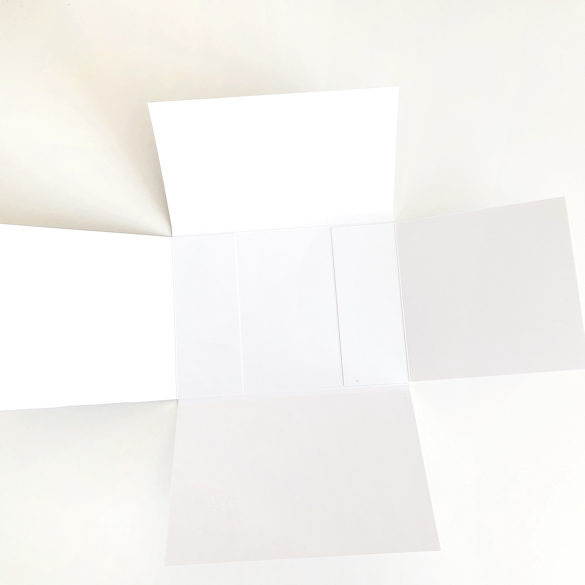
Add the two side halves to the middle of the flipbook, with the smaller rectangles of each half stuck to the centre of the book. Make sure to match the score lines up with the edge of the card, forming a “plus” sign. You may want to trim some of the top if you want a smaller flap.
Step 7
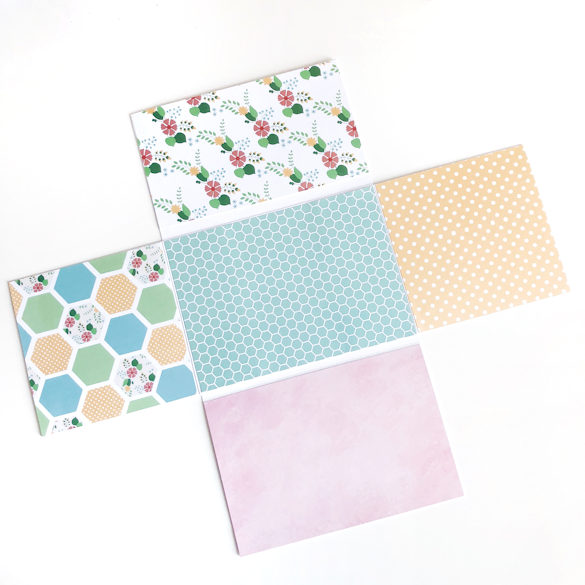
You should now have a flipbook with five parts. Cut all Lollipop paper to size and use adhesive to fix to the card blanks.
Step 8
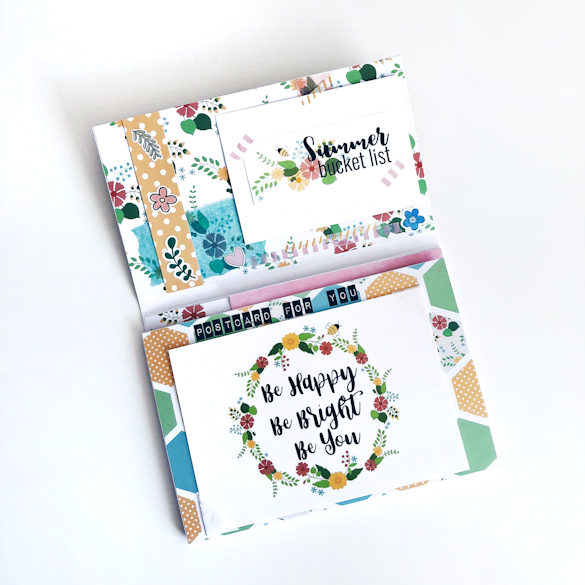
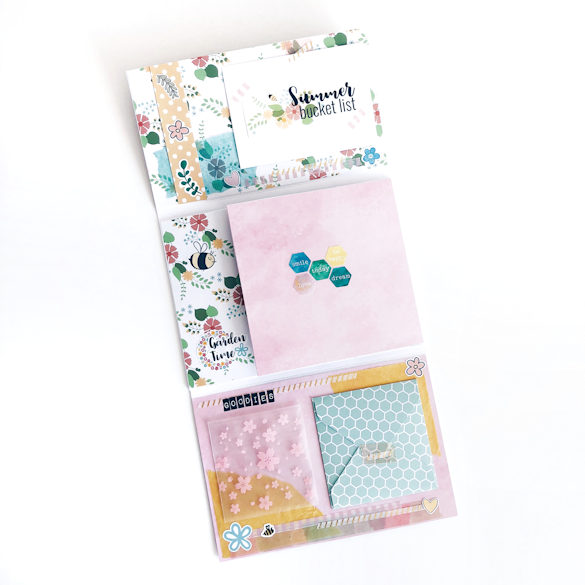
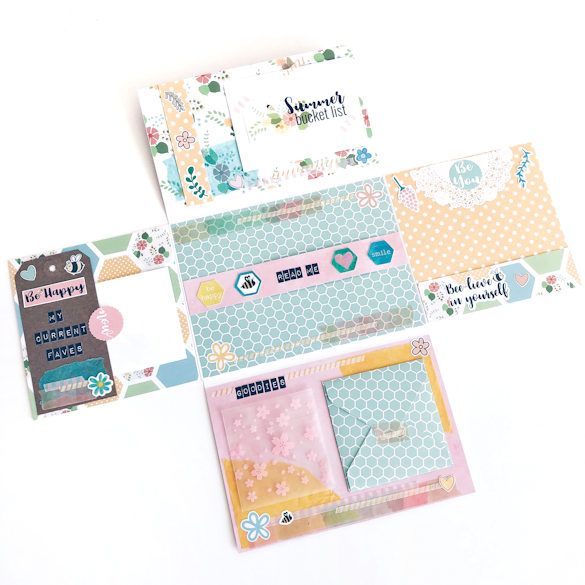
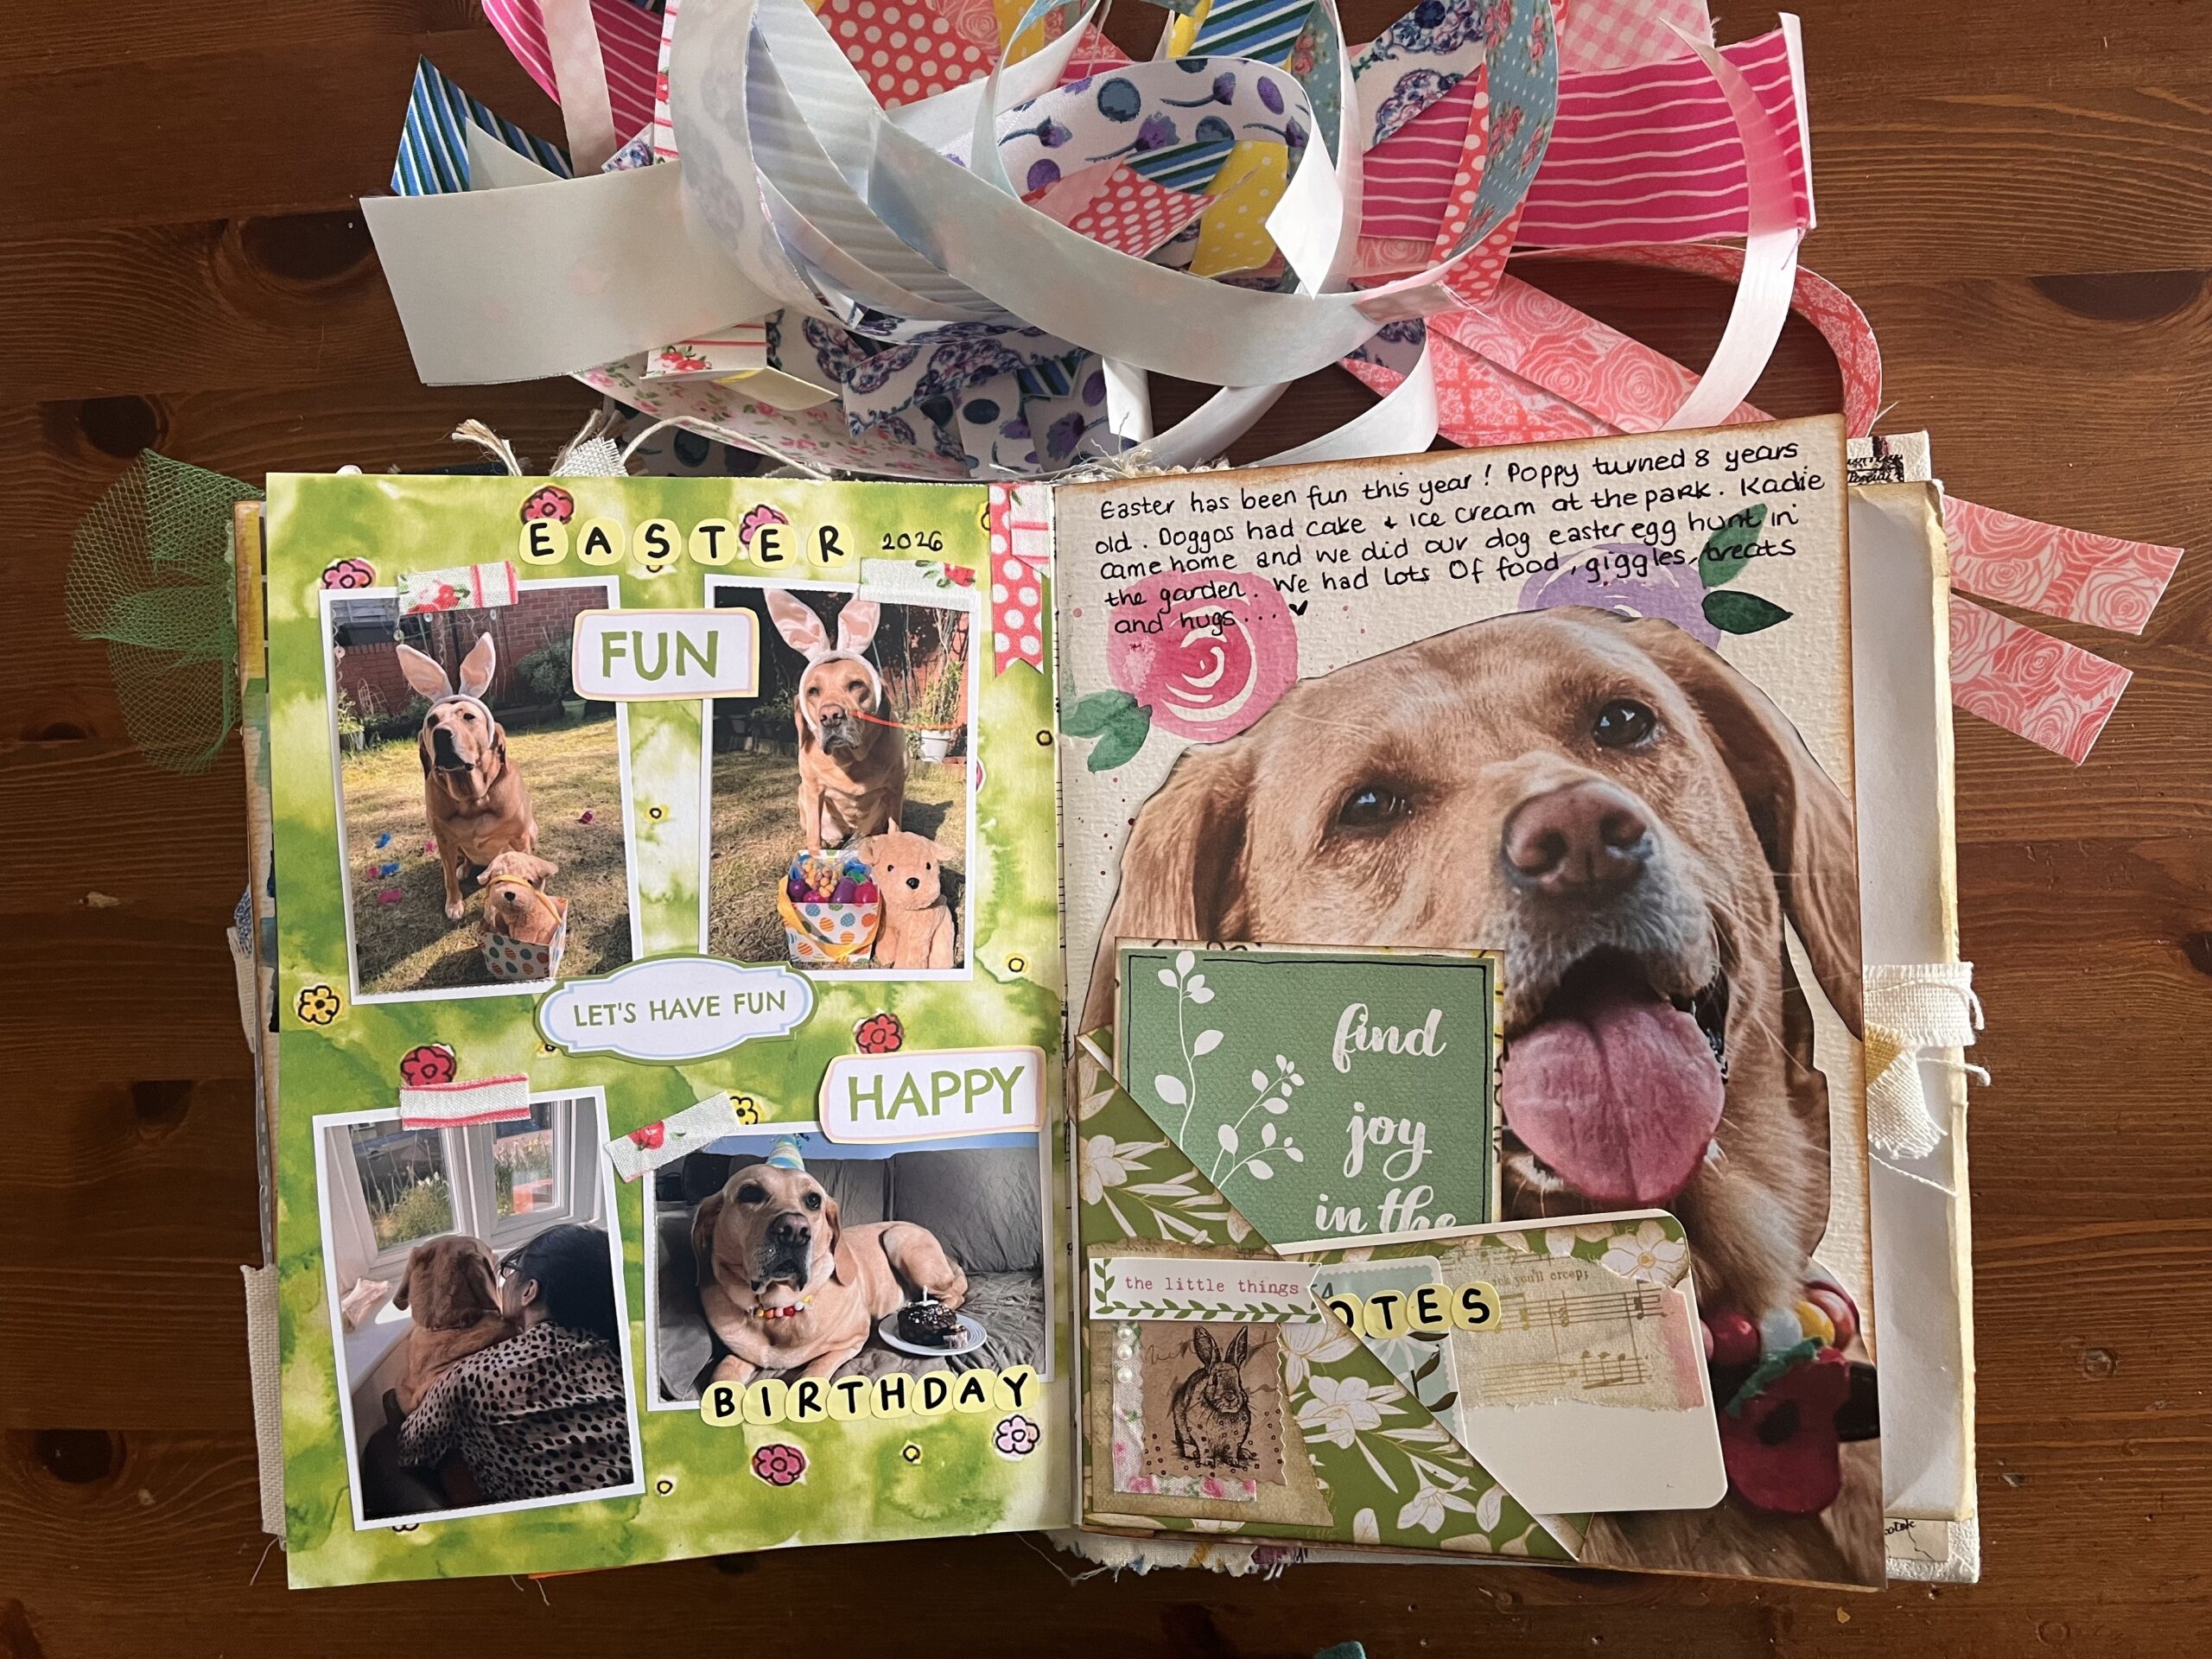
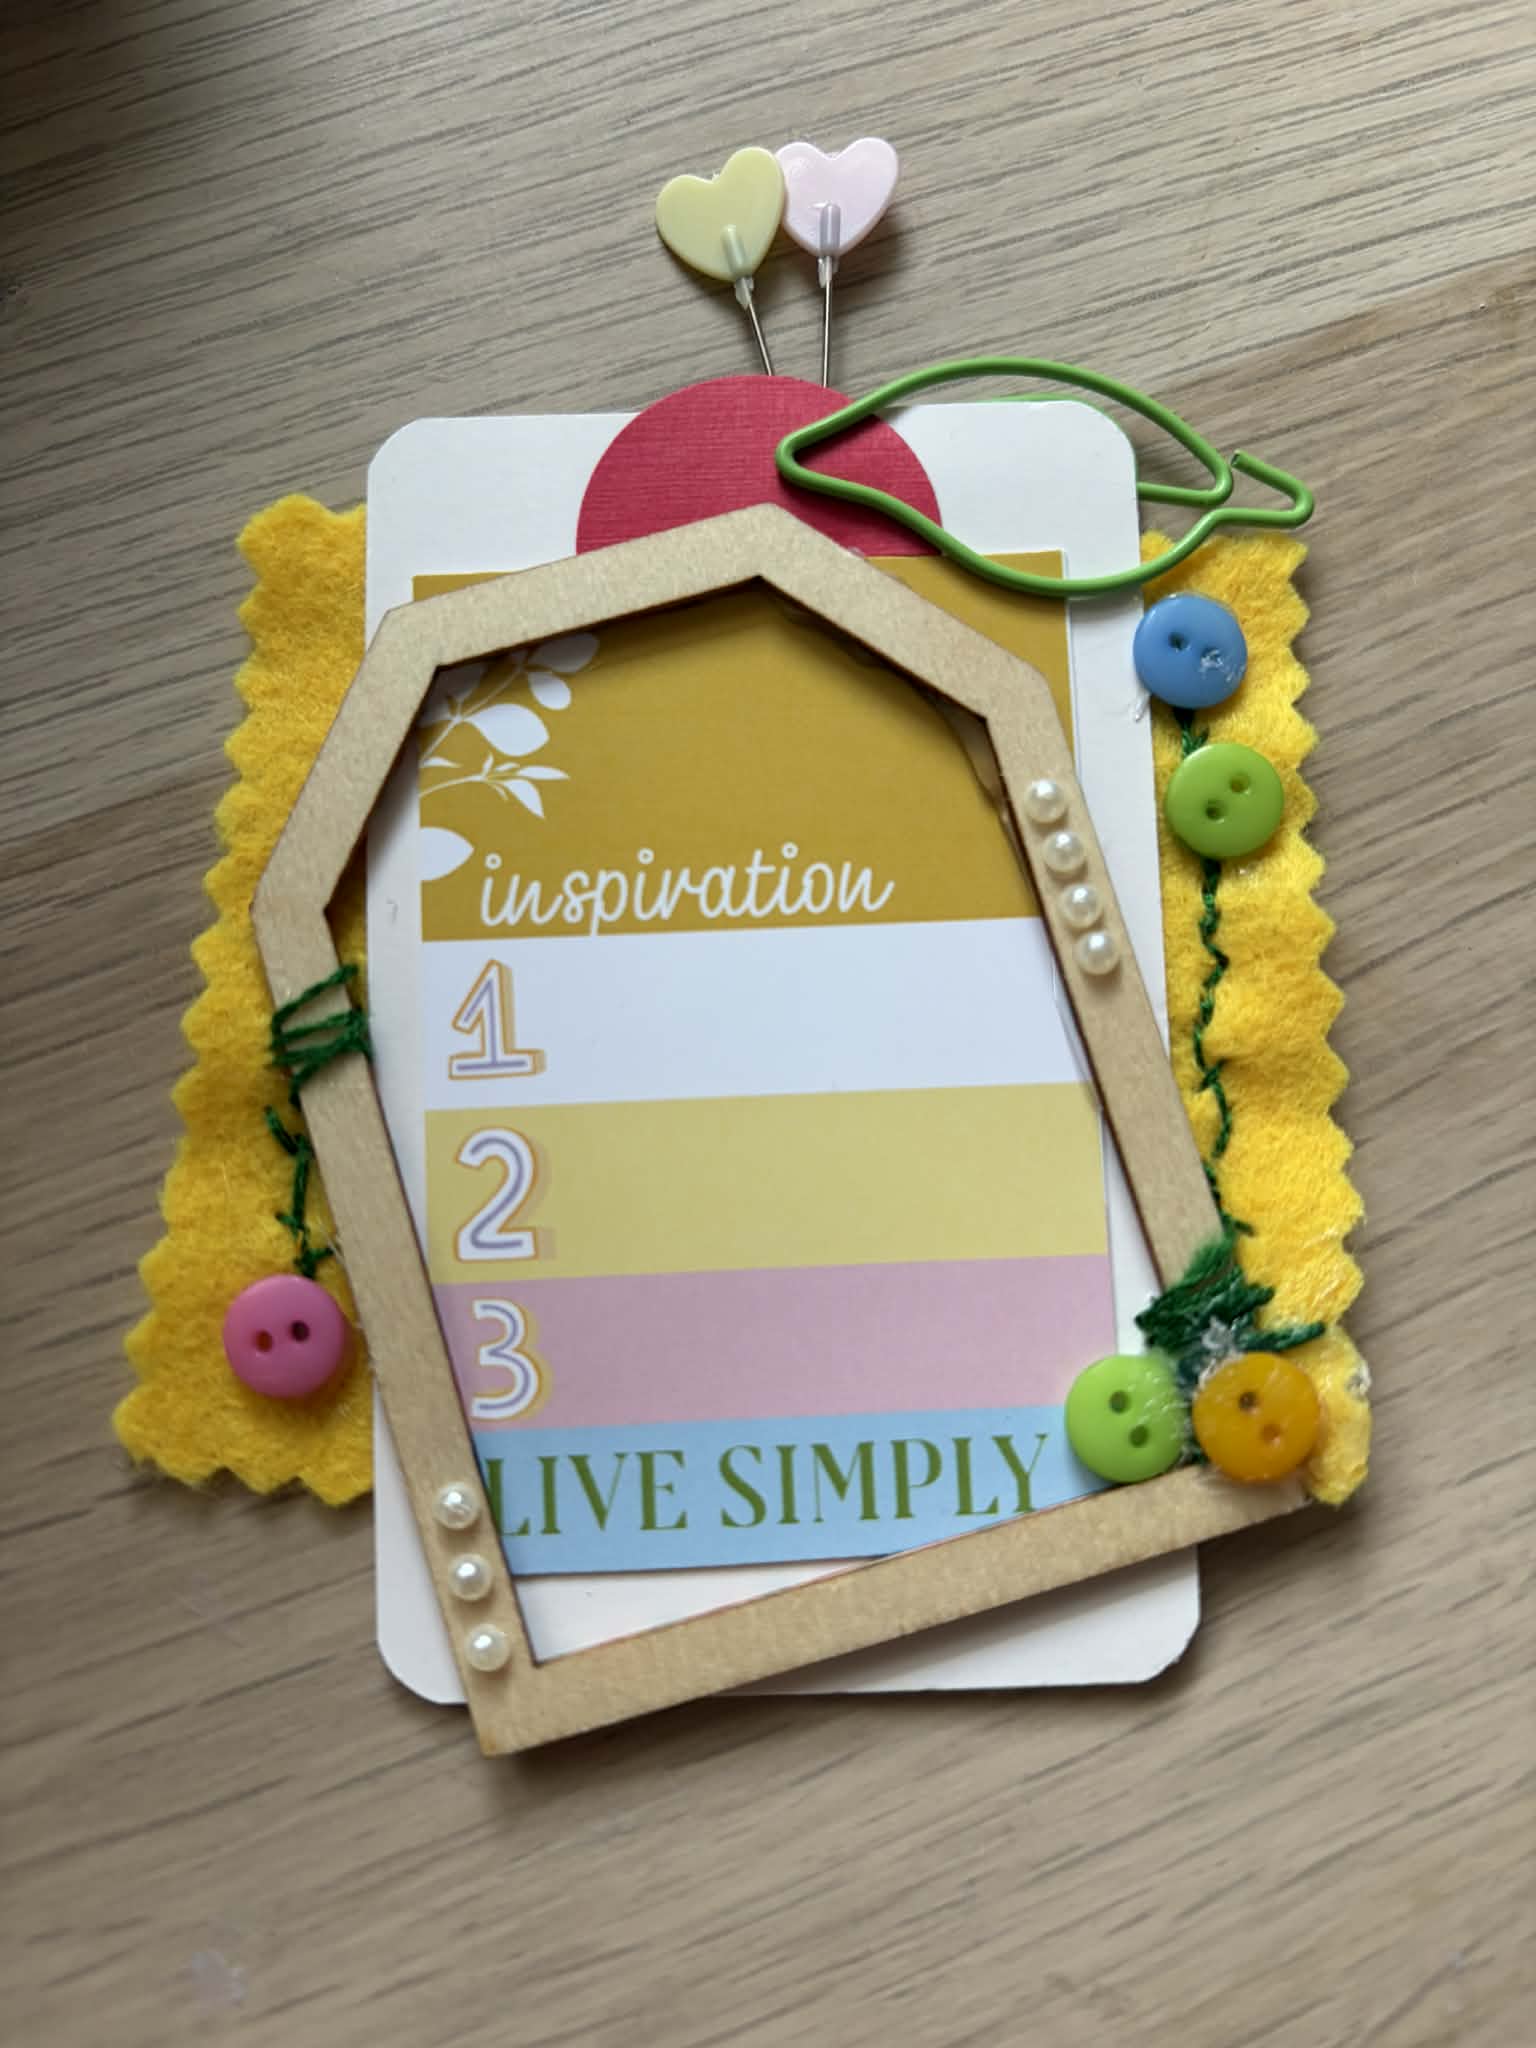
Decorate the pages of your flipbook however you like. I like to make some pockets to hold goodies and have added a belly band to hold the letter. In this flipbook I have also added my summer bucket list and a list of my current faves. I also used some left over paper to create a little envelope.
Step 9
Most of the items used in this flipbook are from June’s Lollipop Box but the enamel dots are from a previous month’s box and I also added some of my own washi and alphas.
I really hope these instructions were clear and if you decide to make your own flipbook, I would love to see it.
Thank you xx


Absolutely gorgeous! Can’t wait to try this myself!!