
Pocket Letter with Emma
Hey Guys!! It’s Emma here. I hope you are all doing well.
I’ve been creating a lot of happy mail recently and decided to make a pocket letter with this month’s kit here and share a couple of tips with you.
I do have a paper crafting IG account here https://www.instagram.com/
if you would like further inspiration.
.
.
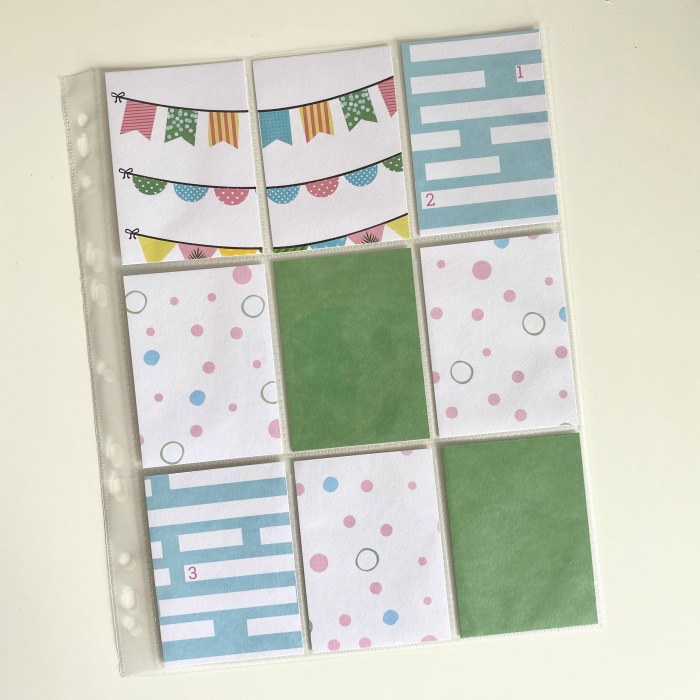
First of all, you will need to trim your paper down to 2.5” x 3.5” and place them in a 9 pocket trading card sleeve.
.
.
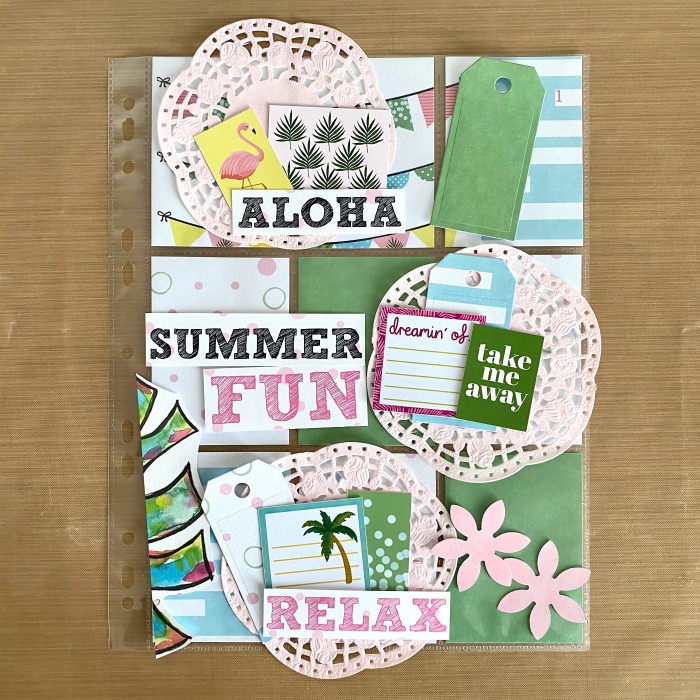
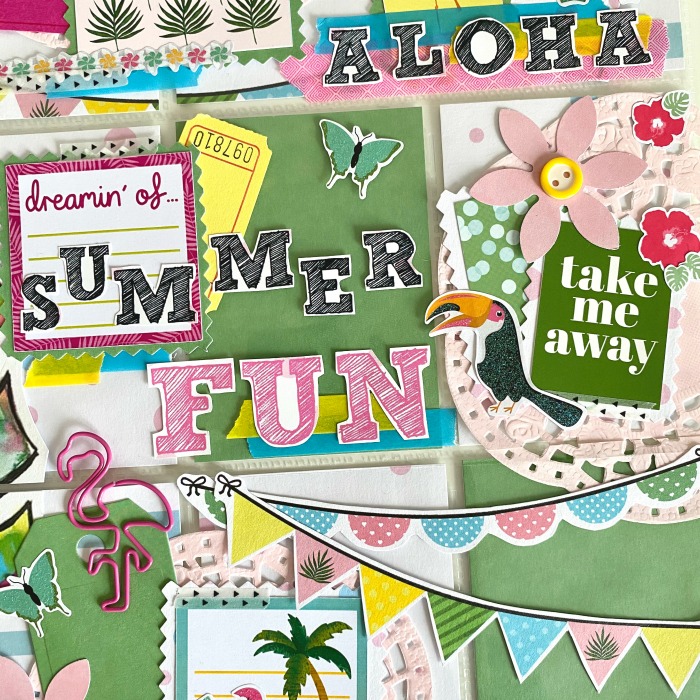
Tip No.1 – Think outside of the box. When most people create a pocket letter they decorate each of the 9 pieces of card and place them back in the pockets. Today, I am creating outside (and on top) of the pockets rather than each individual card. This allows for more freedom in creating.
.
.
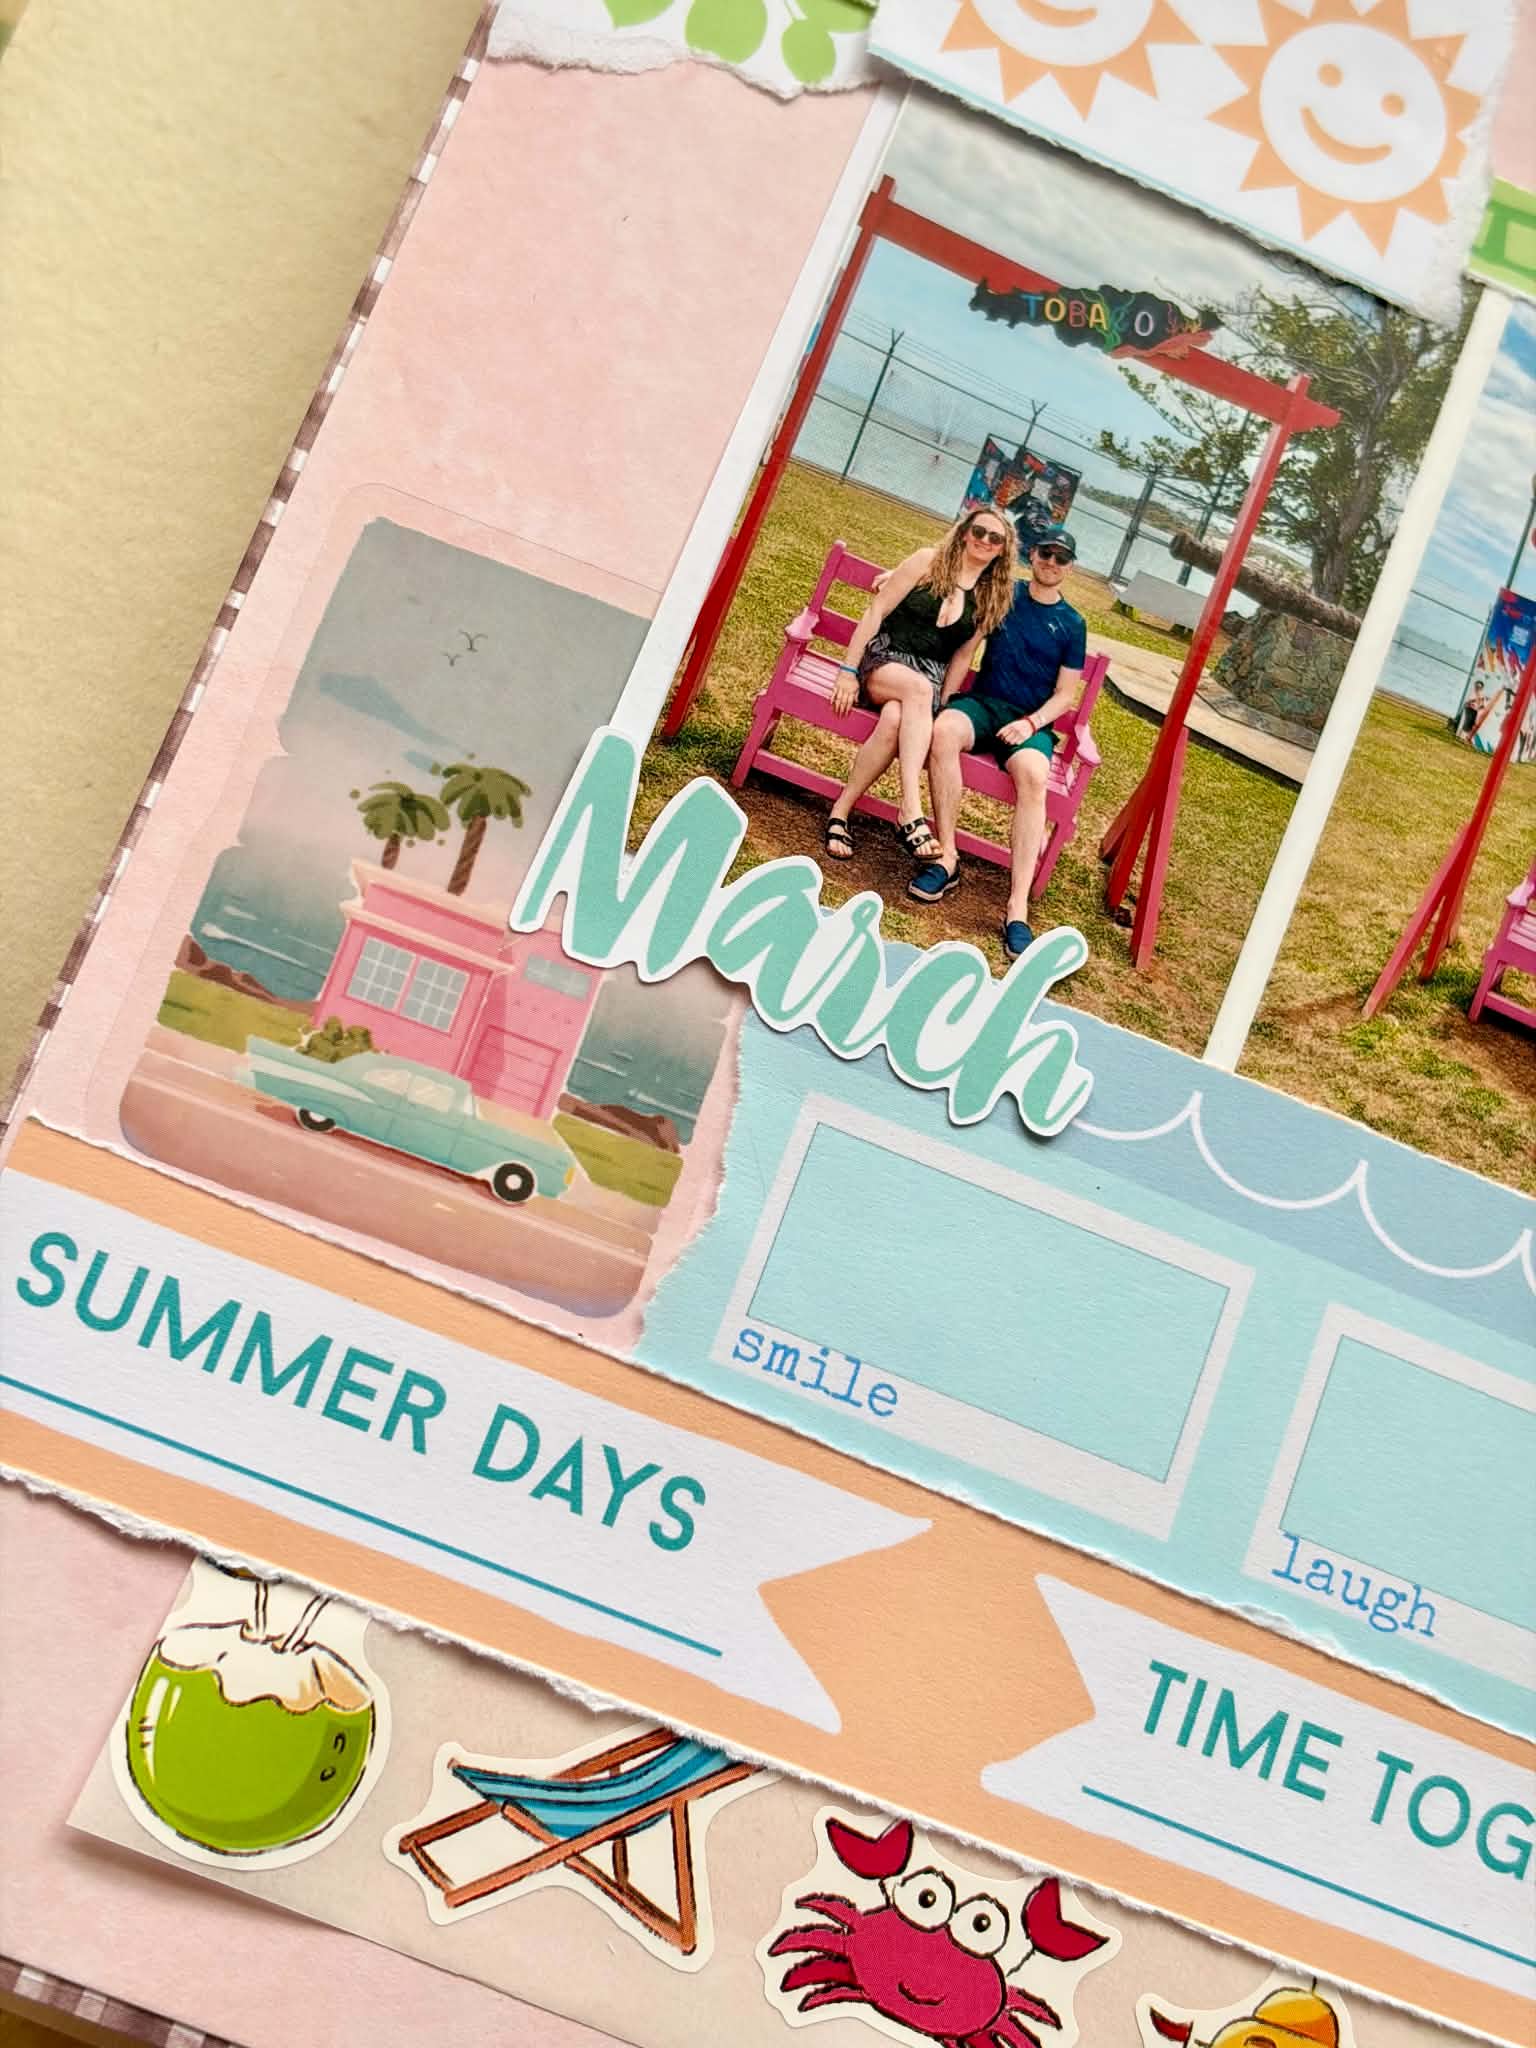
Tip No.2 – Briefly layout the items where you want to use them. It helps to get going if you have an idea of where things will go and what it may look like. You can see from my finished project that some elements remained the same whilst others completely changed places.
.
.
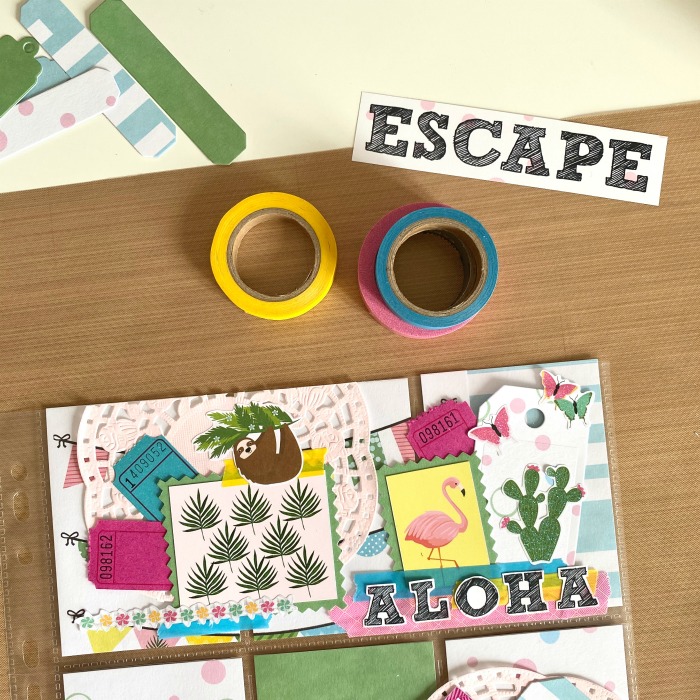
Tip No.3 – I’ve learnt not to use permanent adhesive and only lightly press stickers down. I do change my mind and move things around a lot (for example the sloth is no longer on the final pocket letter). You can always add more adhesive later on.
.
.
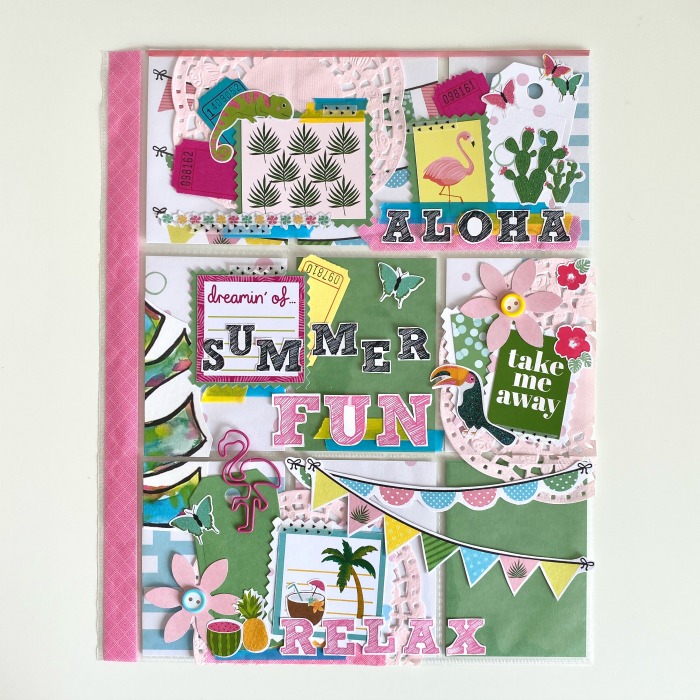
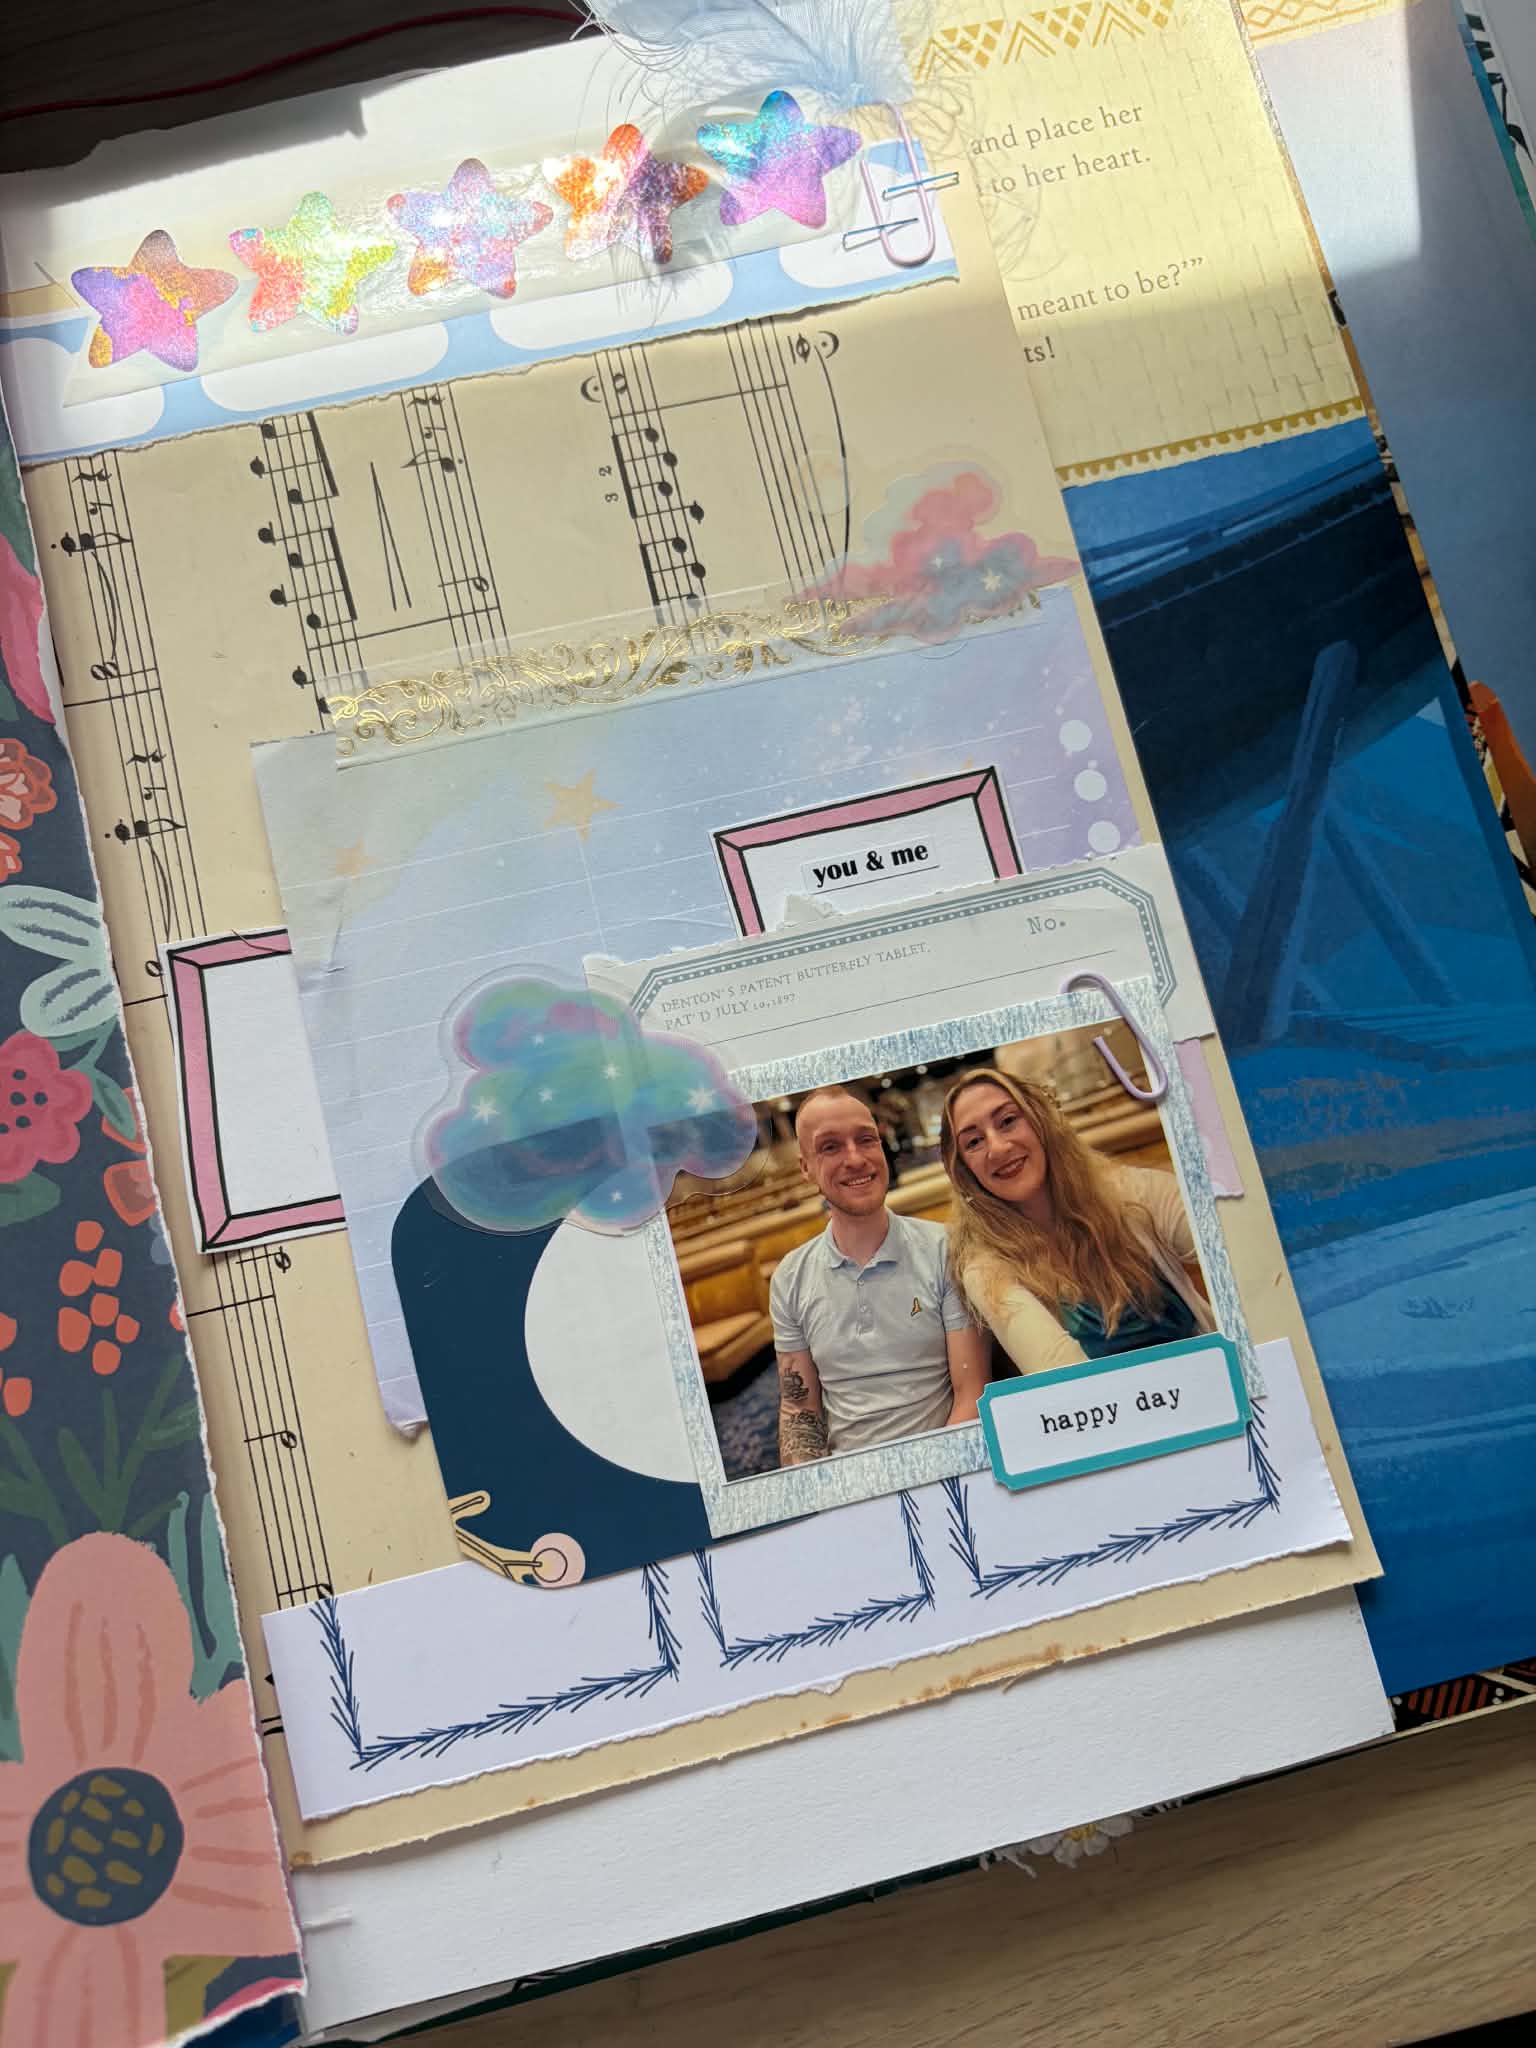
I started with adding doilies and die cut some tags from the papers. I backed some of the embellishment postcard pieces on some of the paper. I then went around with some pinking shears to give them a ziz-zag border. I added some ticket pieces, washi and stickers. I also cut out some bunting and some of the words from the papers too.
Tip No.4 – I add a strip of washi on the side of the pocket letter as I feel like it finishes it off nicely.
I hope some of those tips were helpful. Have you ever made a pocket letter? It’s a great way of sending goodies to your penpals!
Emma xx
**The doilies, ticket pieces and washi were from my own personal collection and are not included in the kit.**


Leave A Comment