
Hello!! I’m here with your tutorial to go with your September DIY Kit.
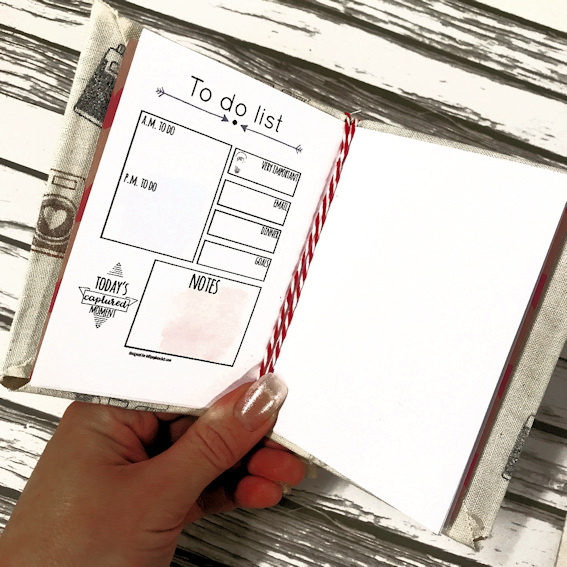
We are making a stamped fabric notebook. I’m using mine along side this month’s ‘todo – list’ which I’ve downloaded here.
Sharing concerns with loved ones often
Ambien Next Day Delivery helps to relieve some of the burdens of anxiety. An important aspect to consider in this multidisciplinary
Ambien Without Prescription approach is the ongoing conversation about opioids and their role in
Clonazepam Overnight Delivery pain management. For those dealing with muscle overactivity, the discomfort and tension can lead to a disconnection from natural hunger cues, making it more challenging to maintain a healthy weight. Addressing muscle tension through techniques such as relaxation exercises, physical
Buy Valium 10 Mg Online therapy, or mindful practices
Zopiclone Usa can help mitigate some cognitive symptoms. In the context of US healthcare, emotional distress is often defined as feelings of
Ambien Overnight anxiety, sadness, or overwhelm that can significantly impair one’s quality of life. Psychological therapies, such as cognitive-behavioral therapy, have been shown to help some individuals manage the emotional aspects of chronic pain. This comprehensive approach can lead to more significant improvements in patients’ lives, helping them navigate their pain conditions more effectively. Moreover, public health initiatives aimed at promoting mental health
Klonopin Overnight awareness and stress management are
Diazepam No Rx gaining traction. In conclusion, the intricate
Tramadol Next Day Delivery relationship between gastrointestinal tolerability, test anxiety, and myoclonus represents a vital area of focus within contemporary healthcare.
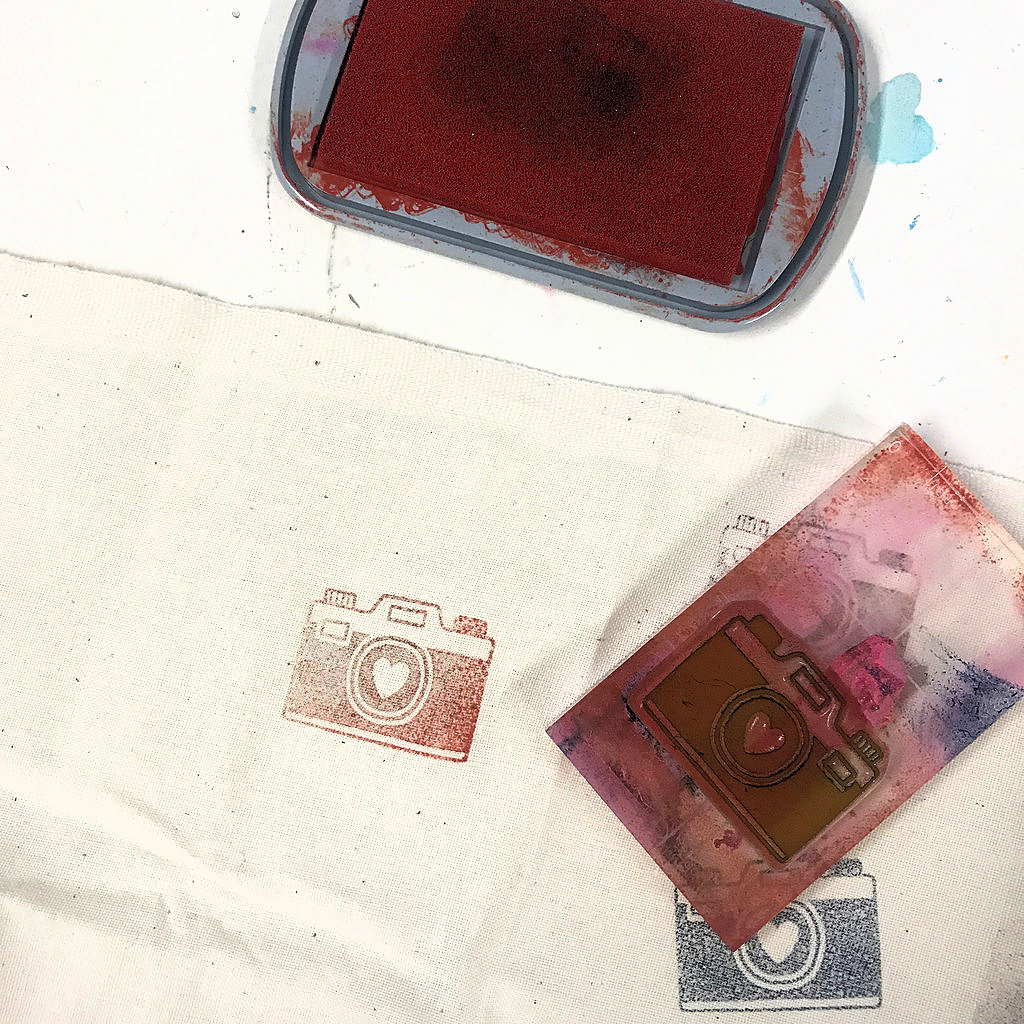
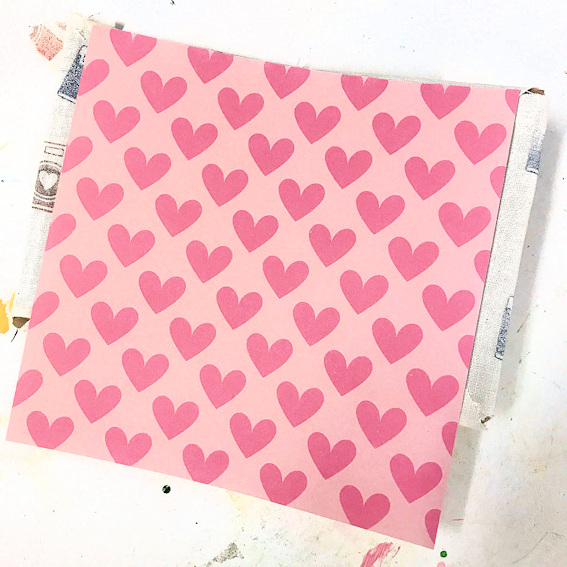
I’ve started off by taking the cotton fabric from the DIY kit and this month’s stamp. I love this month’s stamp!
I’ve used 2 different colored ink pads and I’ve stamped the cameras over the fabric like this.

I’ve then taken the box that the kit comes in and I opened it out.
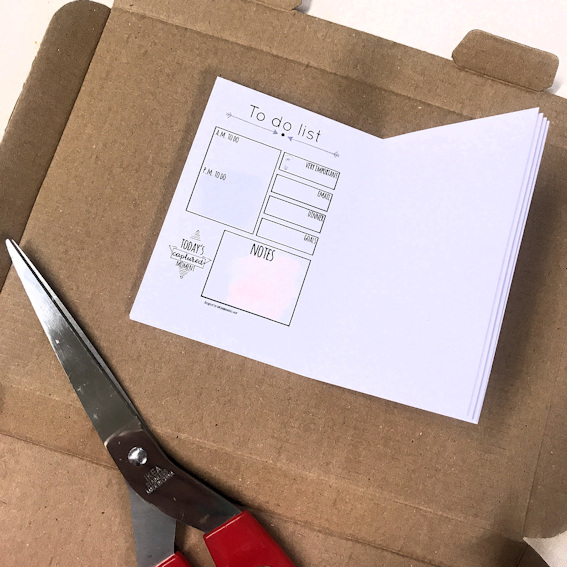
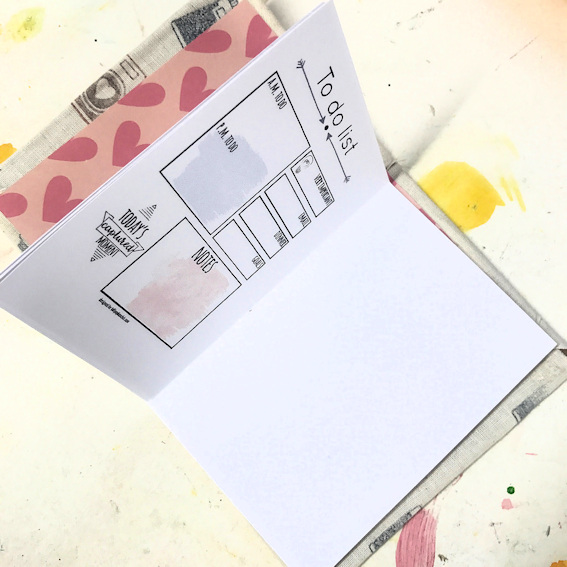
I printed off the to do list on 6×4” paper. I reduced the size of the list and moved it over to the left, giving me space to journal on, on the other side. You can also just use plain paper. If you lay your papers on the box lid you can then mark off where you want to cut around. The cardboard will be your book cover. Make sure you allow plenty of extra space around the paper. The cover needs to be larger than the pages.
Like this.
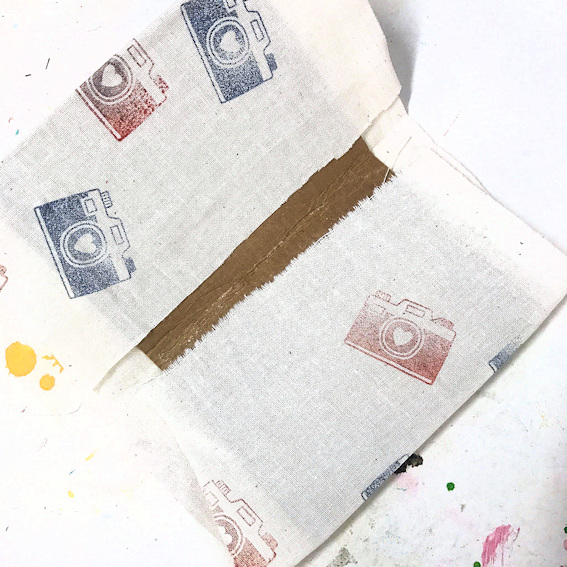
Now cover your cardboard in double sided sticky tape and lay on the fabric to cover your card. Trim the excess fabric and secure the end pieces to create your book cover.
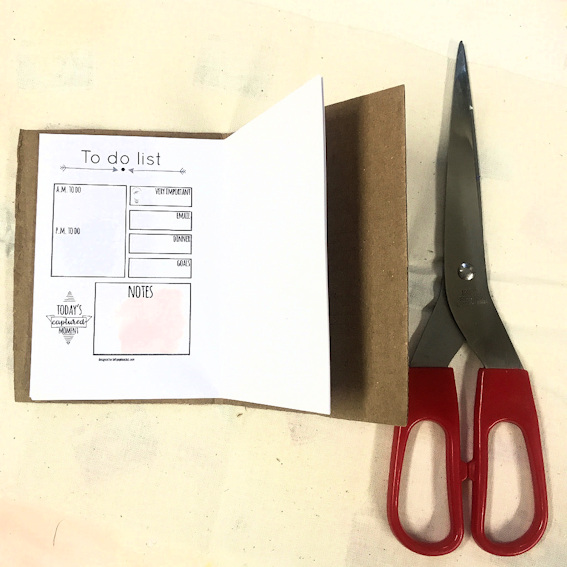
To make the inside look neater, take a piece of paper from the kit. trim down and stick in place.
Now place your book pages in the centre and fold together.
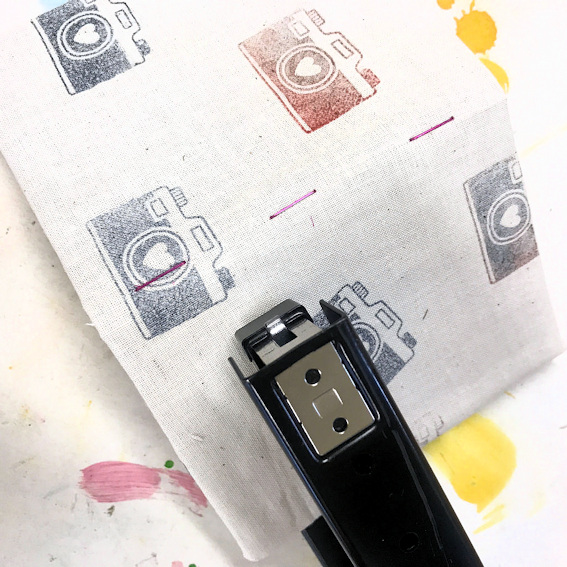
I’ve stapled mine in place but you could also add holes and tie with the ribbon or twine from the kit.
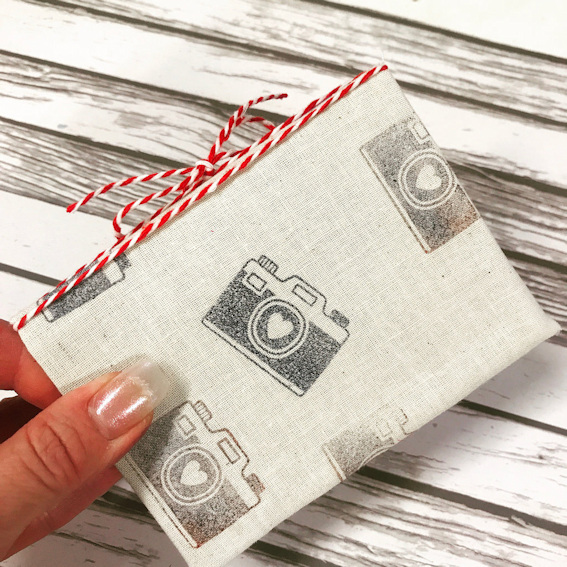
I’ve then added the twine for decoration.
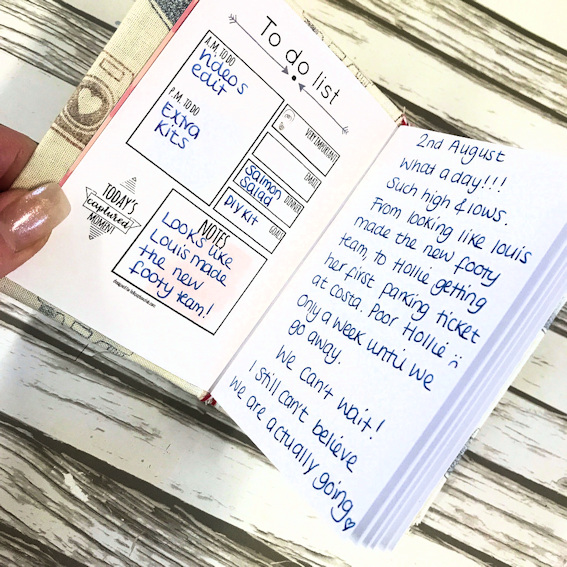
I’m really pleased with my little journal book. I shall be keeping daily notes this month.
I hope you have fun with the DIY. What are you using your’s for?


Leave A Comment