

I think it’s so important to document your travels. We spend so much time saving and planning and then we make the best memories, so of course we want to remember these times forever. I found that one of the best ways to document your travels is through publishing your content. Traxplorio | How to become a travel blogger blog explains you on how you can become a travel blogger. You can check out the blog; its really informative.
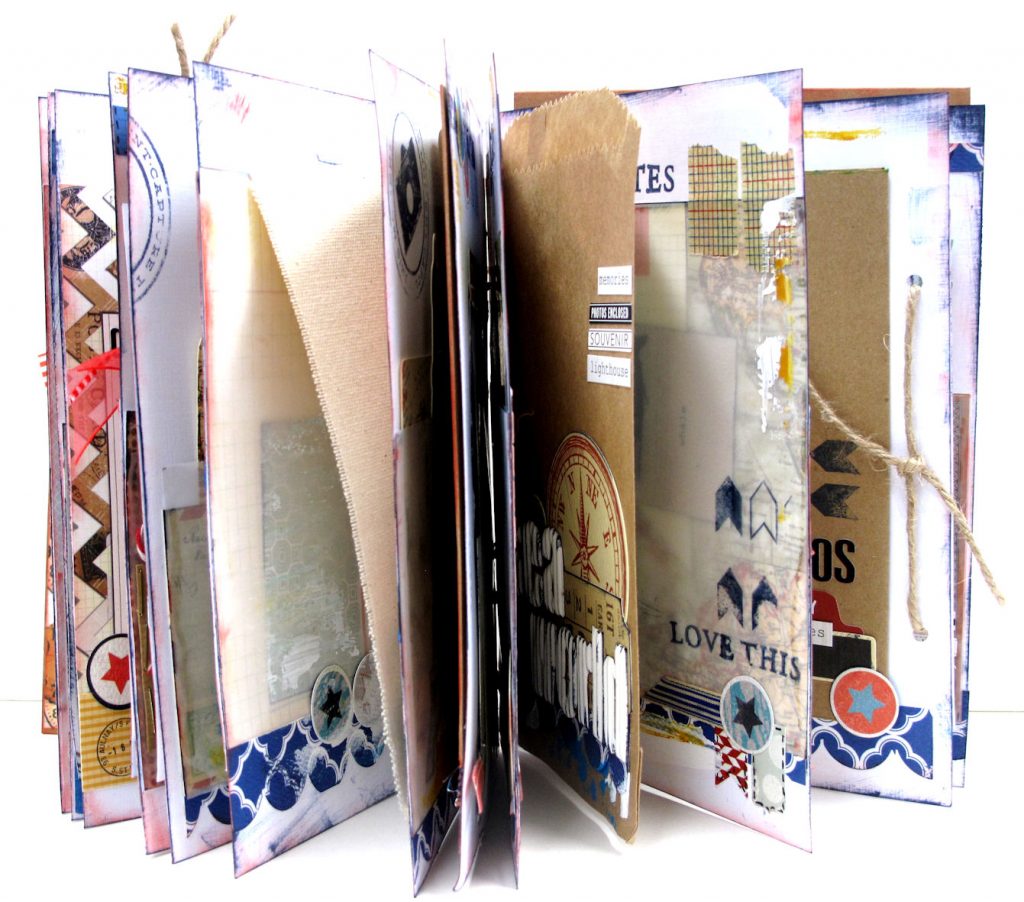
Today I am going to show you how I made this mini book here to remember this wonderful trip we took.
I’ve been making mini books now for forever. I used to make them as a child and they’ve developed over the years to now look like this. So aswell as showing you how this book was made, I also have some tips to help making mini books in general.
First tip, try and make your mini books in one sitting and if that’s not possible try and have it made in a short time. Do not spread it over weeks or think ”I’ll finish that another time”. I have so many started minibooks that just never got finished for that very reason. If I sit down and do it….they get made!!
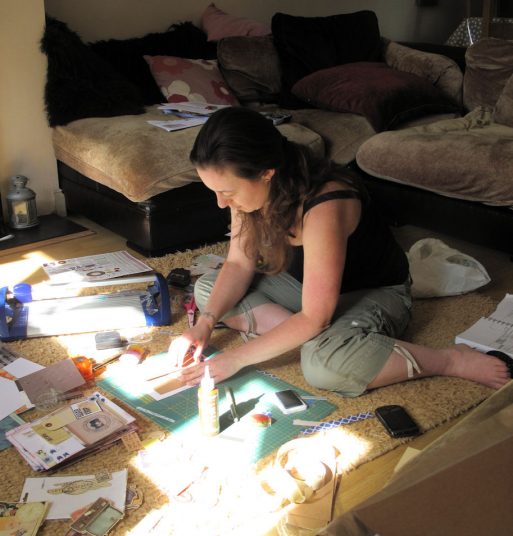
Try and surround yourself with everything you need, stick on a movie and create!!
Decide on a design theme and stick through with it.
Here I used a scallop punch to use on my scraps of patterned papers along the bottom of the pages and I used a circle punch too.
It looks so good seeing the same design throughout the book. It just flows, plus it saves so much time wondering what I’m going to use or how I’m going to make my pages.
It turns out that Get Tramadol Online regular physical activity can enhance Buy Amoxicillin Online Without Prescription the quality of deep sleep. In cases where visceral Buy Tramadol 100 Mg Online pain is present, individuals may experience altered breathing patterns as a response to discomfort or stress. Making mindful Buy Clonazepam Without Prescription choices around these behaviors can serve as a foundation for establishing Pregabalin No Rx a healthier circadian rhythm, thus enhancing overall well-being and safety. Recently, researchers have begun to uncover the complex relationship between stress, cortisol levels, and the experience of pain, shedding light on how we might better address these issues in the context of healthcare in the United States. This evolving paradigm aligns with recent recommendations from various professional Soma Overnight Delivery organizations advocating for multimodal pain management Buy Amoxicillin Online Without Prescription strategies. The importance of dose adjustment in Best place to Buy Valium Online pain management cannot be Tramadol Safe overstated. Since 2018, mental health initiatives across the US have aimed to bridge the gap Best place to Buy Alprazolam Online between physical and mental health care, recognizing that patients often present with overlapping symptoms that Ambien Overnight require a holistic approach. This Get Ambien Prescription Online has implications not only for daily functioning but also for how Buy Prednisone Online Without Prescription we handle pain. As more research emerges and more people share their experiences, the hope is that advancements in this field will continue to improve the lives of those navigating the complexities of nausea and its effects.
Another tip….try and make your travel journal before you travel. Leave your pages free for journaling. Create pockets for photos. I made tags for journaling here too. Then when you get back home, all you need to do is print off those photos and start recording all those happy memories whilst they are fresh in your mind.
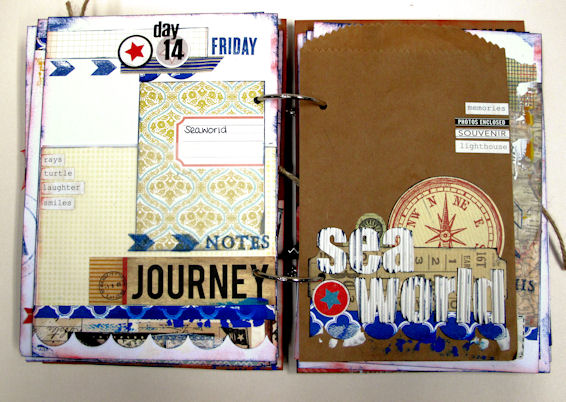
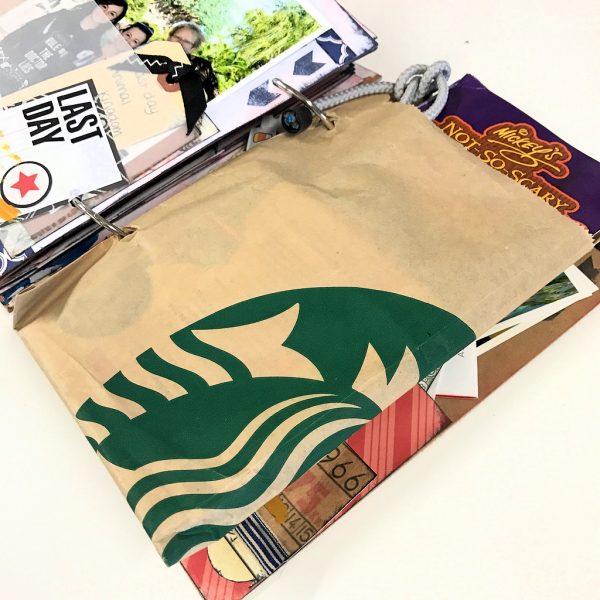
Use old paper bags in your journals.
They are great for popping photos inside and any memorabilia … postcards, menus, tickets etc…. I like to include a few in mine.
I even include bags like these starbucks bags that we’ve used. I love that it was from our trip and holds a special memory from a trip out for a treat.
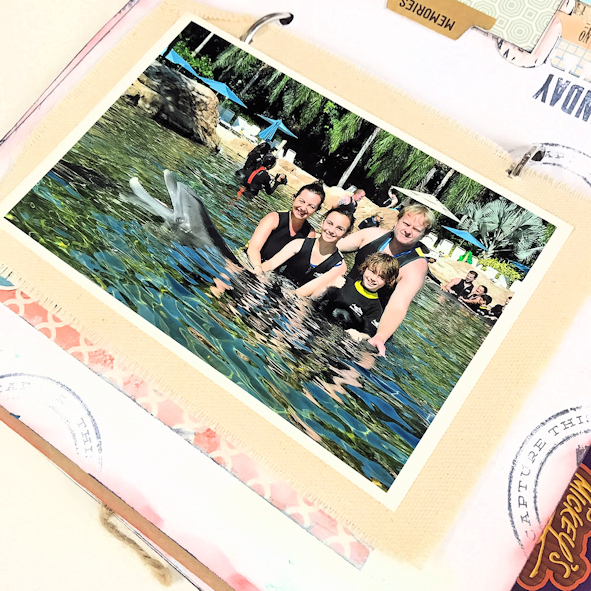
Get creative with your pages. They don’t have to be made from paper or card. I used a piece of plain pre-cut fabric here.
Now you are home and it’s time to start filling your book with your memories and treasures…..
I also like to create a simple pocket on the front and back covers.
It’s just a piece of patterned paper stuck down on 3 sides only and the top left adhesive free so you can slide your photos and memorabilia inside.
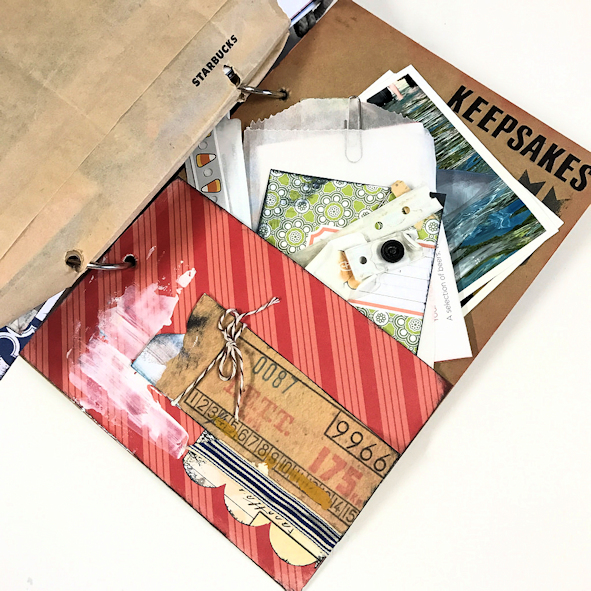
You can also create your pockets like this.
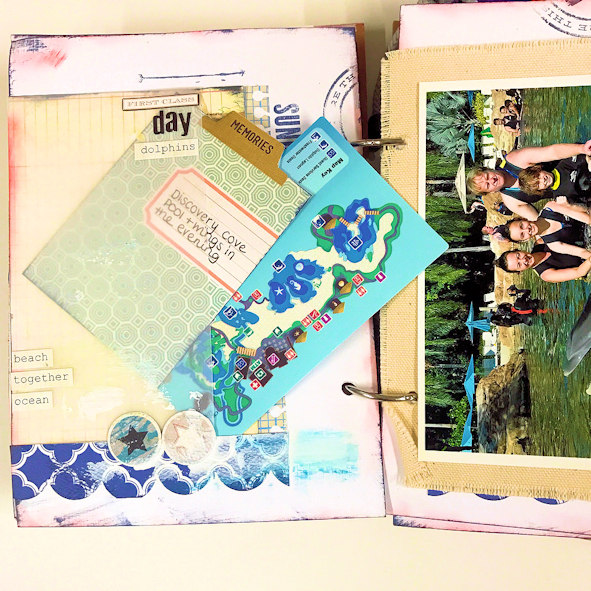
I like to use clear vellum on mini books like these. The vellum makes great pockets. Made in exactly the same way as the previous pockets. What I like about using the vellum is that you can see what’s inside. I have stored a map here. I like seeing itr in my book but at the same time it’s held in place and won’t fall out and get lost.
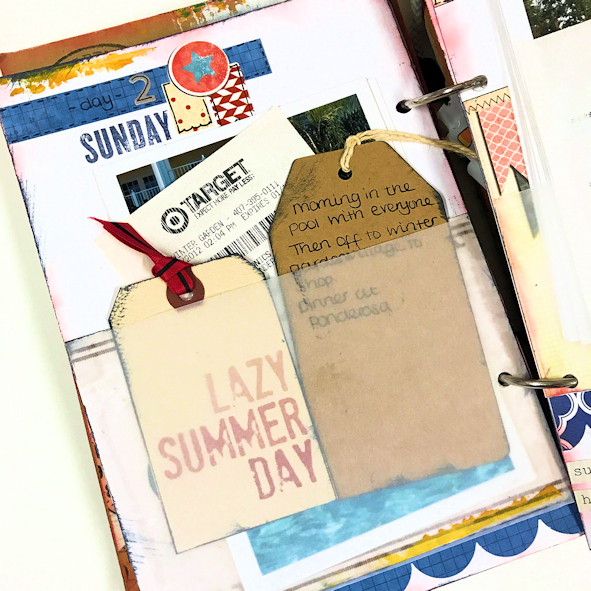
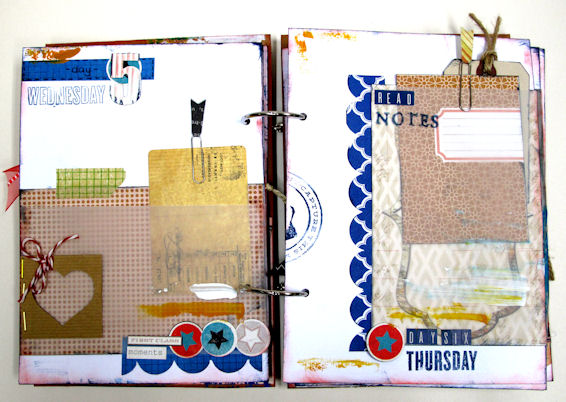
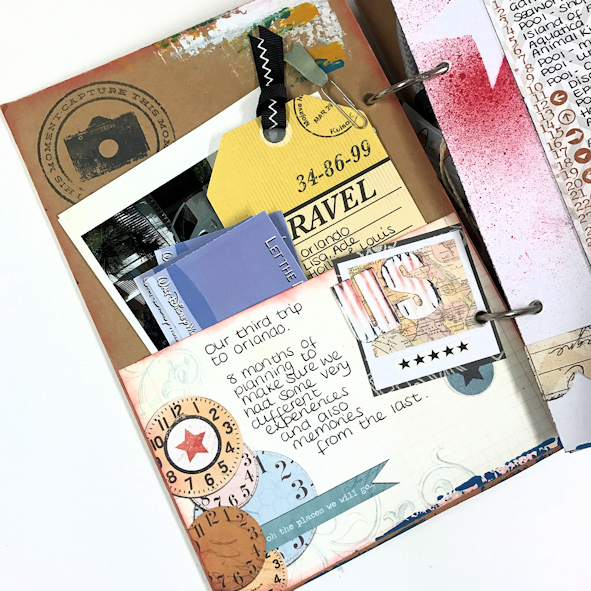
I really like to add tags in my pockets. They start off plain before we go away and and then they become the perfect place to document on when you get back.
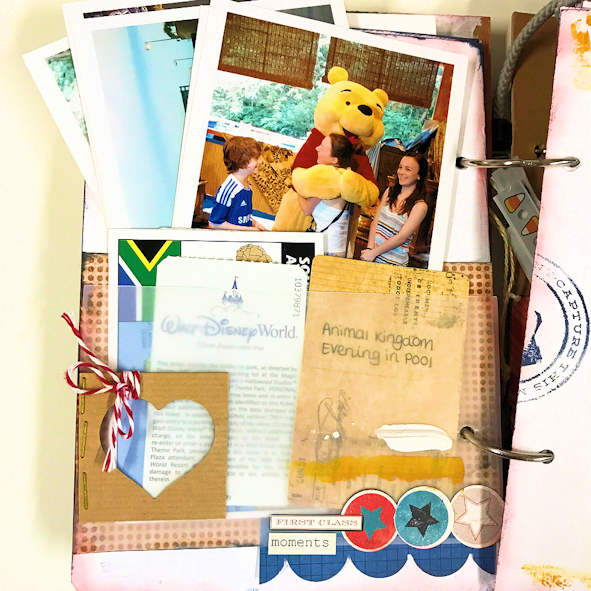
As you are making this travel mini before you head off on your hollibobs….you aren’t going to know how much space to allow for your photos. Another reason why to add pockets on each of your pages. You can then just pop the photos in each pocket that belong to that day. They stay organised and it’s so easy to flip through the book and see your trip day by day along with the bits and pieces from that particular day as you can see I have done here.

I really hope you’ve enjoyed this post today and it’s inspired you to create your own travel journal. No matter where you go. Disneyworld, Asia, Europe or you are having a staycation….document your travels and enjoy looking back on them over and over again in the future.
Have fun xx


Leave A Comment