
Hello there Lollipop friends!
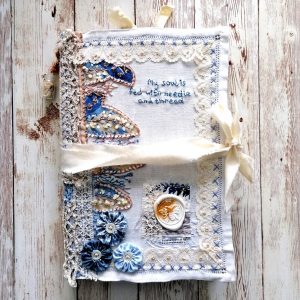
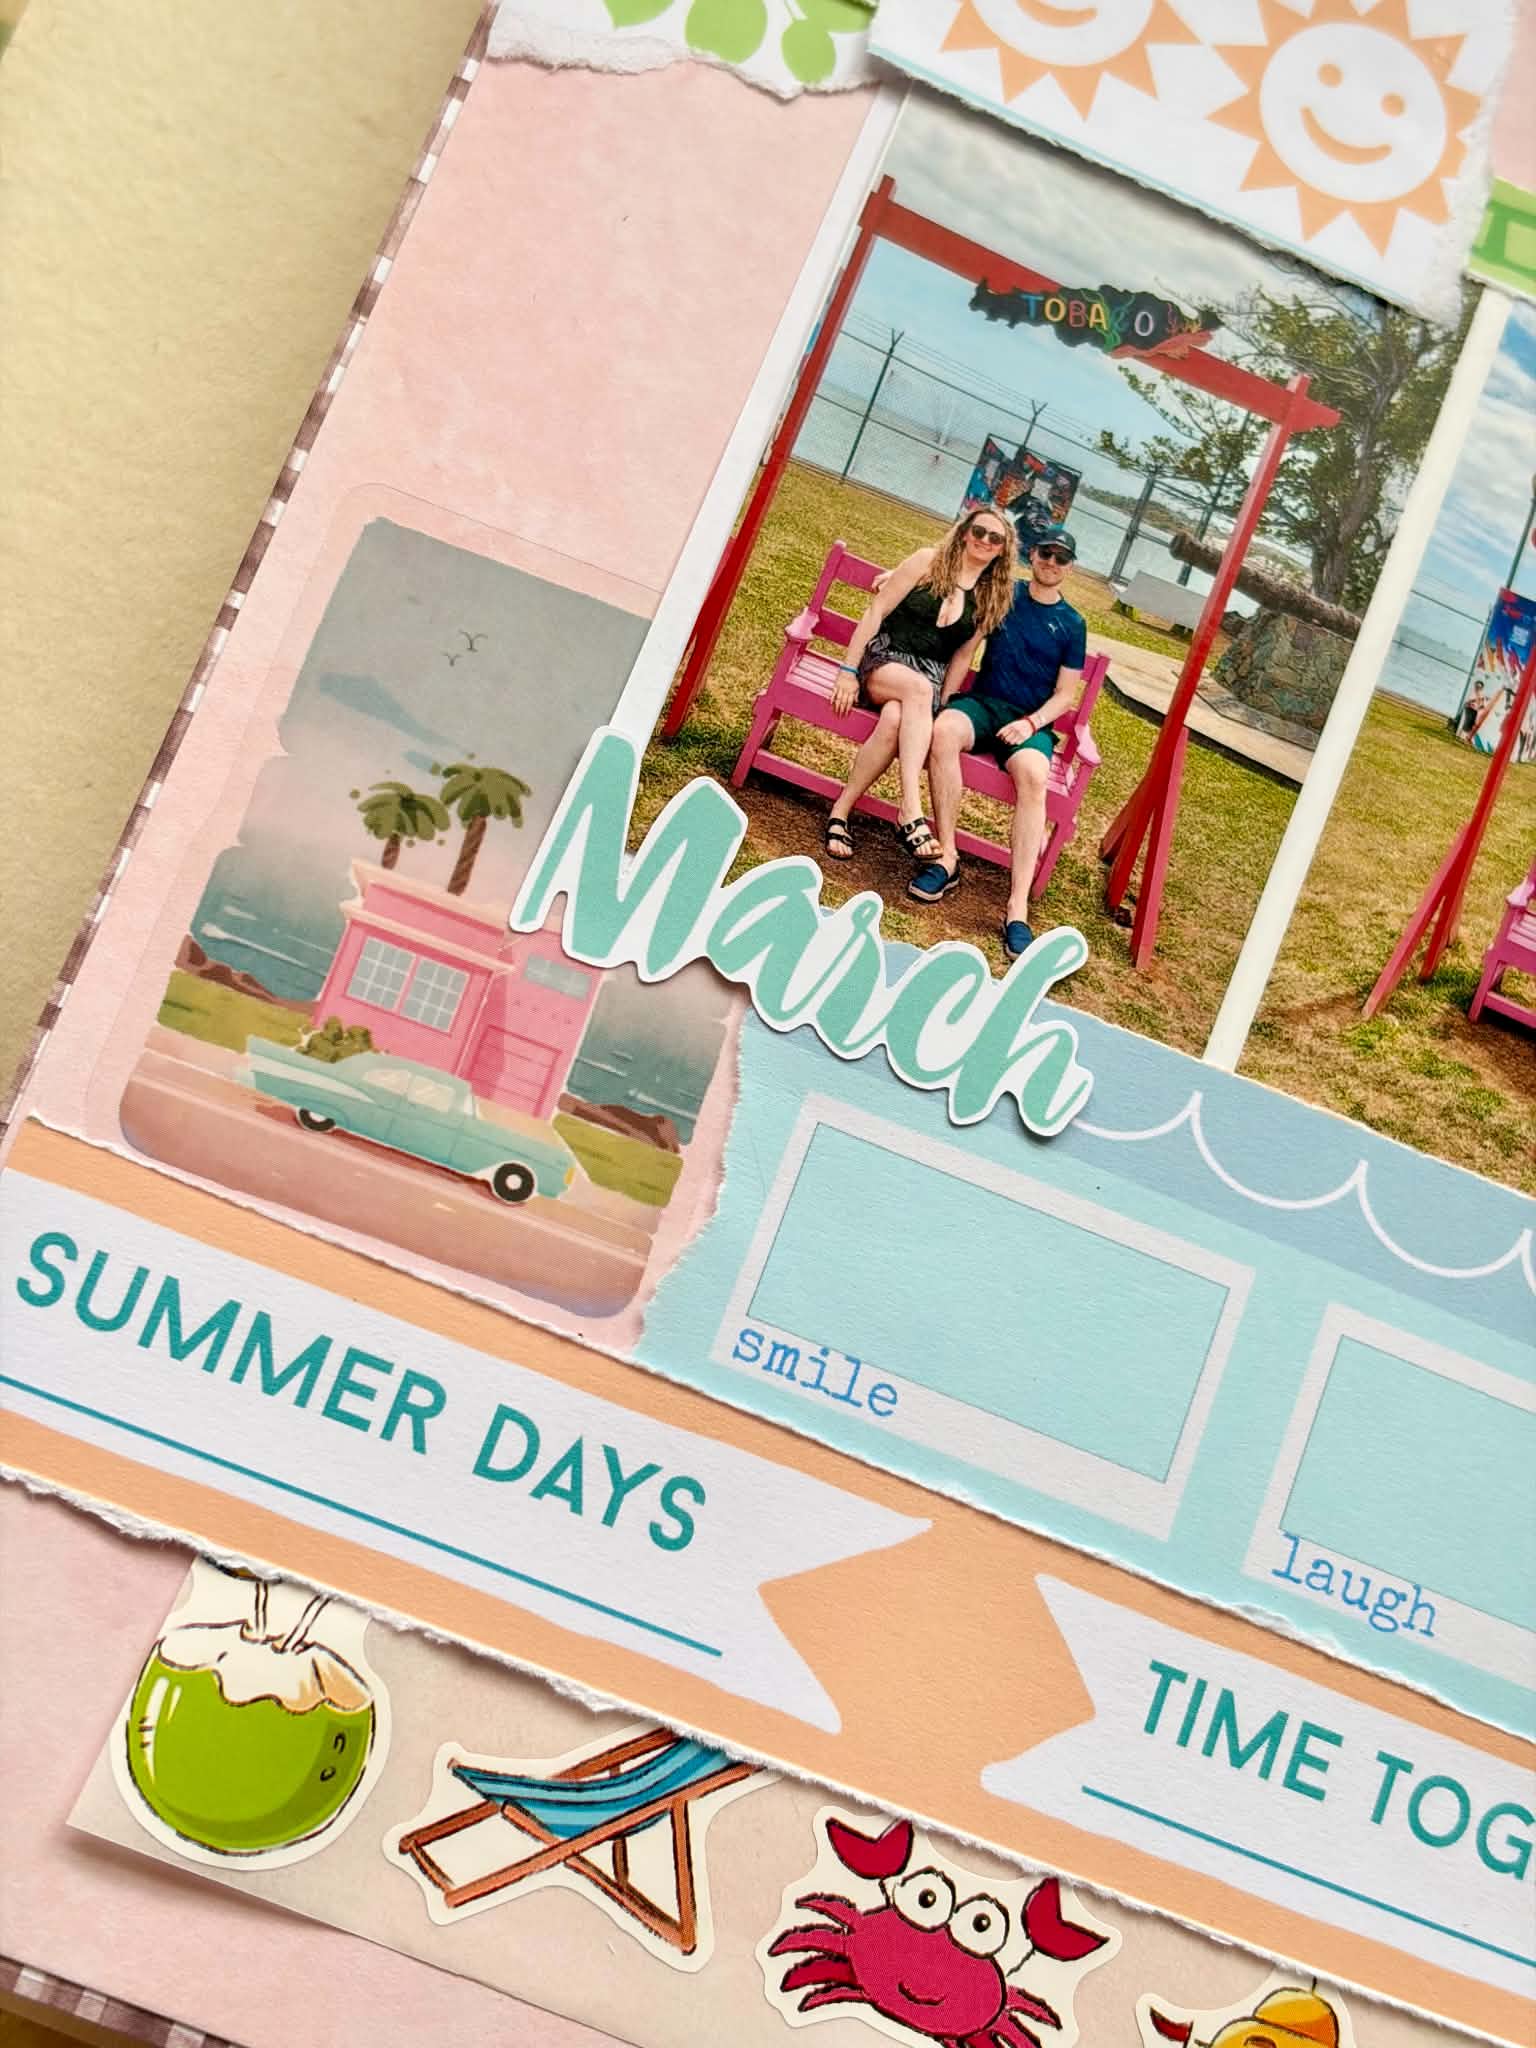
You may have seen over in the FB chat group that I shared pics of a cover I made for an altered book.
I incorporated the gorgeous Bumble & Bluebells seal and lace from the Orange Blossom kit. I decided I would like to use my book for collage, preferably in a vintage style.
.
.
The process is not just about signing a document; it Order Xanax No Prescription involves clear communication between healthcare providers and patients. From considering the metabolic pathways of drugs to understanding the individual patient's context—such Valium For Sale Online as age, comorbidities, and concurrent medications—clinicians must adopt a holistic perspective. The current landscape of healthcare in the United States Order Lyrica Online underscores the urgency of Valium For Sale Online this issue. From the benefits of omega-3 fatty acids to the importance of fruits and vegetables, the evidence increasingly supports the idea that what we Order Tramadol Online eat can significantly influence asthma symptoms. As our knowledge of Zolpidem 5Mg Order Online these connections grows, so does the potential for more effective, integrated approaches to healthcare. Understanding this cycle can empower patients to take an active role in their treatment plans, seeking not only medical intervention but also strategies to manage stress and emotional well-being. By tackling Lyrica Overnight these root causes, individuals may find Order Valium Online more sustainable pathways to recovery. By fostering supportive environments, utilizing Ambien Overnight innovative resources, and prioritizing education, we Zopiclone For Sale Online can enhance the likelihood of successful cessation. This distress, in turn, can negatively affect sleep quality and efficiency, which are crucial for maintaining physical health and Ambien Safe cognitive function.
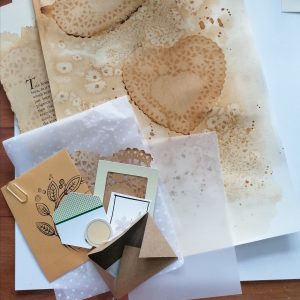
For this spread I started by using the doily from the kit as a stencil to create patterns on some tea/coffee stained paper.
I used one sheet of book page and one sheet of watercolour paper. Each sheet was brushed with tea then I laid the doily down before brushing over strong coffee. I did this a number of times, allowing it to dry between each coat.
You do need patience for this!! I had some similar doilies in my stash so was able to have a few attempts! I also added some rock salt crystals when the pages were wet which give a lovely effect and once dry are easily brushed off the paper.
I assembled various bits from the kit that I thought I might use. The stamped manilla envelope, the tiny envelope the seal came in, white tissue, vellum, a frame, and some die cuts.
.
.
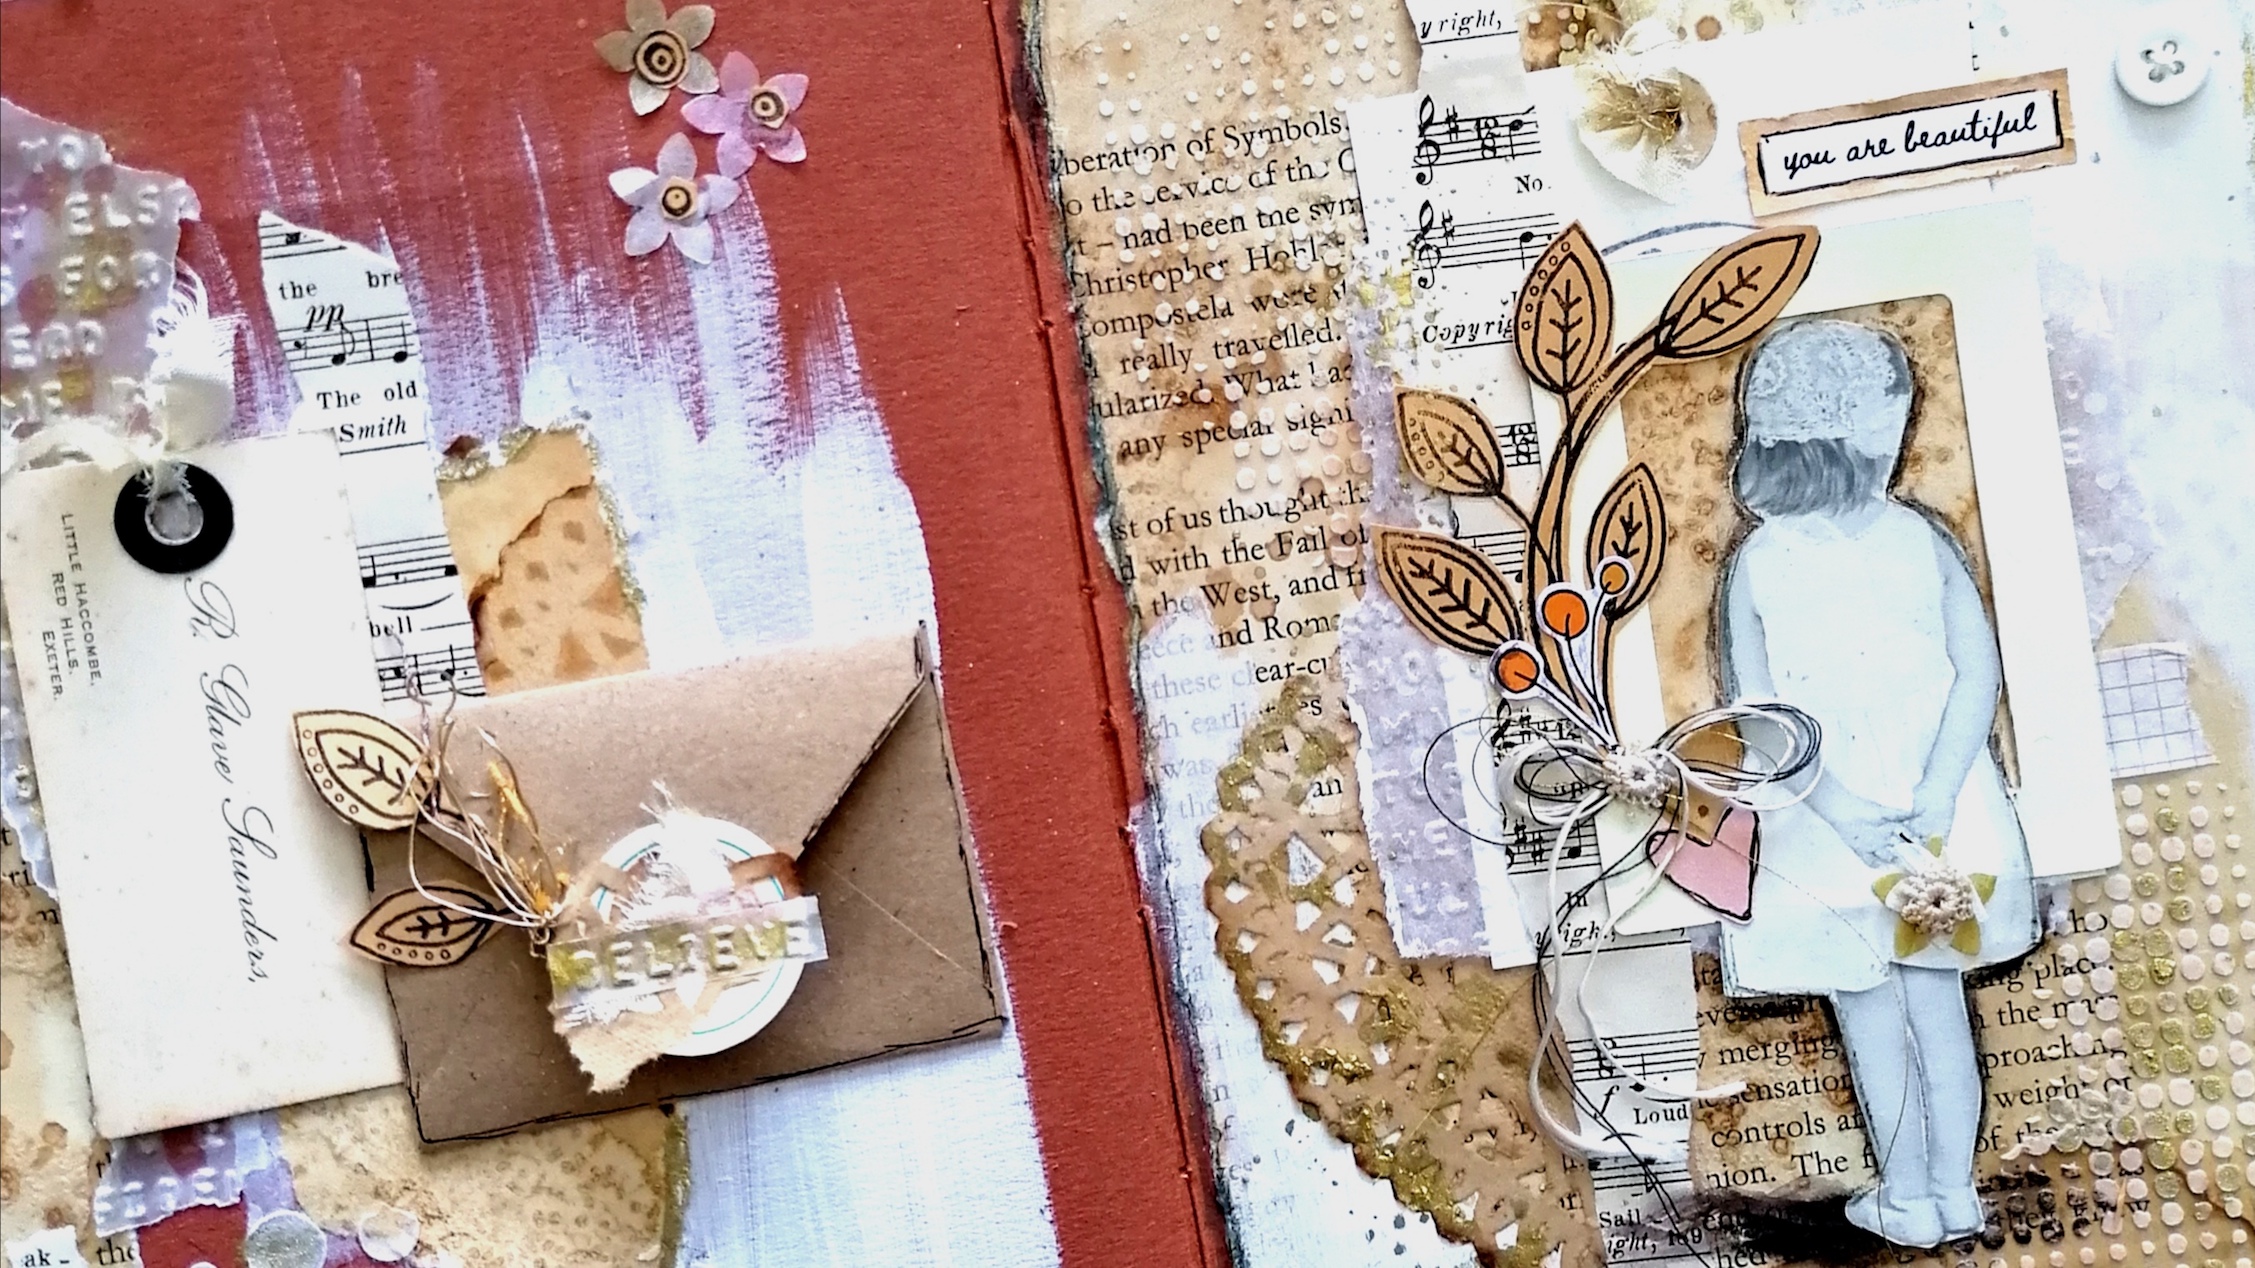
I stuck down a piece of the coffee dyed book paper and for texture added some of the TCW Light & Fluffy modeling paste available from the Lollipop shop applied through an old Tim Holtz stencil.
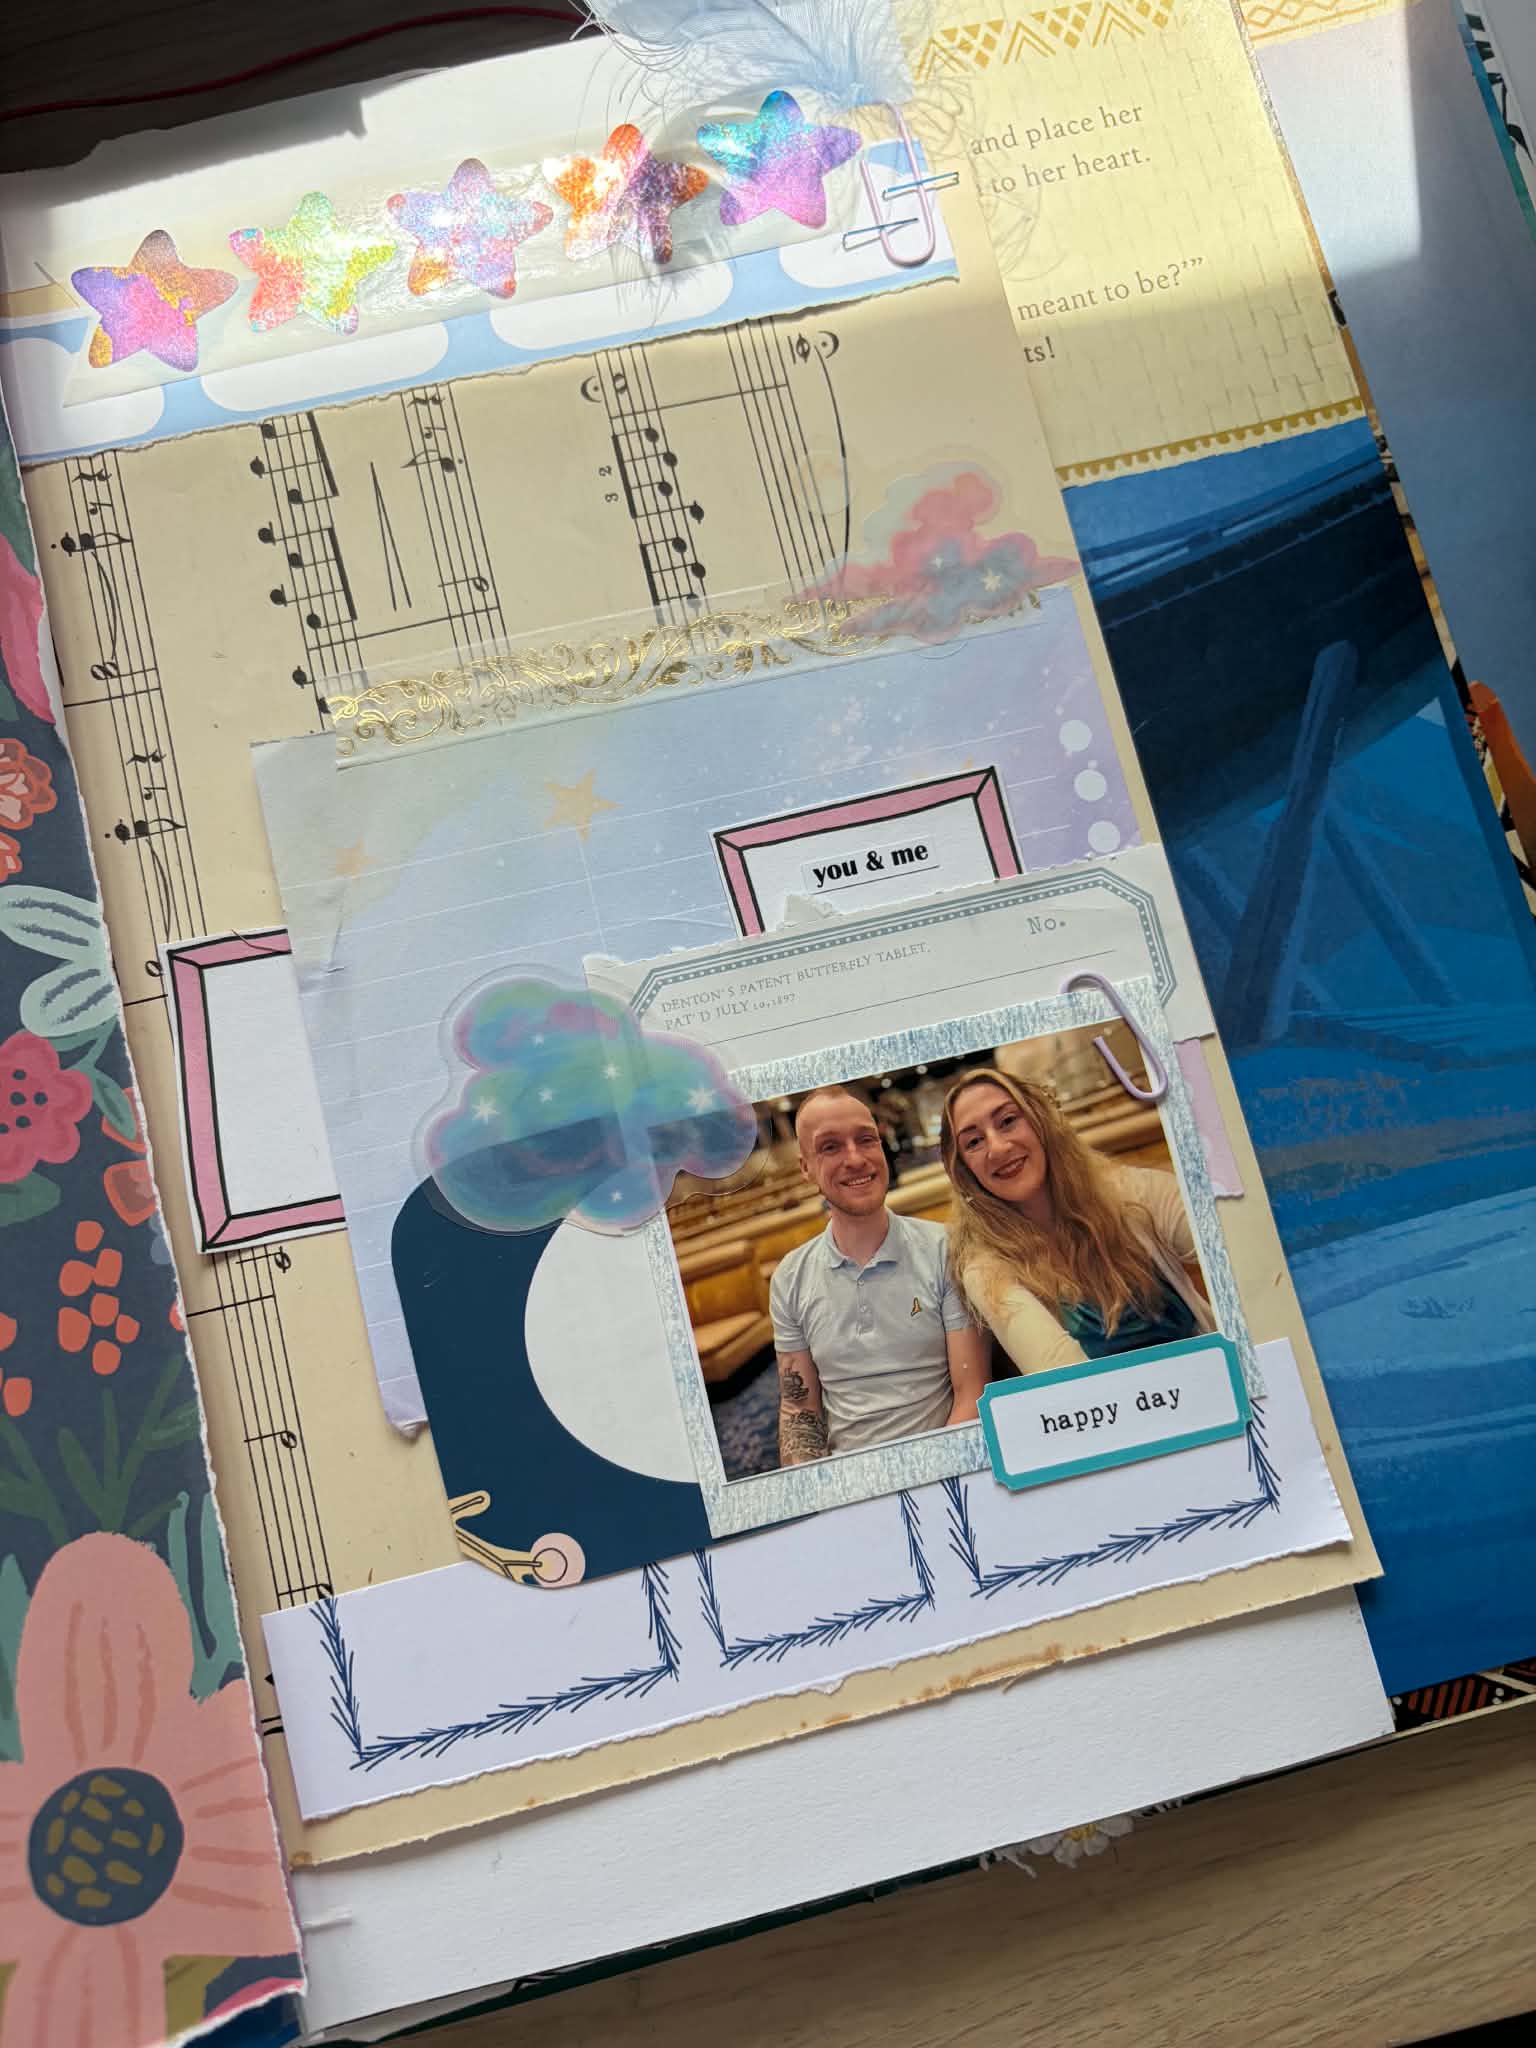
I took an old tag from my stash and layered a piece of the tissue, a frame (I added a piece of the dyed paper behind it) and a fussy cut image of a little girl. I’d removed a number of loose leaf illustrations of children from the book and decided I would like to use them throughout for continuity. I played around with the stamped envelope and in the end decided to cut out the stamped image.
I added a strip of music manuscript from my stash, the tiny die cut heart from the kit and one of the word stickers. The little piece of washi sticking out was on the envelope from Bumble & Bluebells. Nothing is wasted!
.

.
I’d kept the coffee stained doily so tucked a piece under my mini collage. At this point I felt the background needed lightening so I added some white paint and highlighted the modelling paste with gold ink. I had the little buttons on my desk so added those in the top rh corner and finished off with a piece of cream and gold silk through the tag.
.
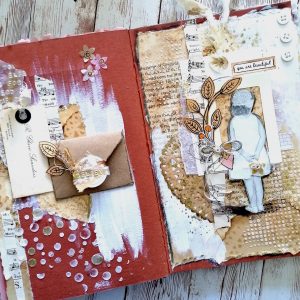
On the opposite page I wanted to continue the theme so used the little envelope, more of the papers and added some modelling paste but this time using a large dot stencil. Do you remember embossing folders?! I haven’t used one for ages but I ran the vellum through my Big Shot and used a strip of embossed vellum to add to the border. The word Believe on the envelope is cut from the vellum.
I felt that the pages were missing something but I wasn’t sure what! I decided to walk away and come back to them later which I did with fresh eyes! I added a cluster of threads by the little heart which I outlined in black. I also went around the image of the little girl to make her stand out more and I gave her some of the tissue confetti flowers to hold! On the opposite page I outlined the tiny envelope, added a vintage calling card from my stash, some more of the tissue confetti flowers and a thread cluster! I felt much happier with how the pages looked!
.
I love to challenge myself and having created a double page TN spread using all the gorgeous bright papers and ephemera from the kit I really wanted to see if I could achieve the vintage vibe I was going for using the same kit! I’m pleased with how it turned out and it only goes to show how incredibly versatile Lisa’s kits are.
.
.
I hope you’re having fun with your kit and as always we love to see how you are using it so don’t forget to post over in the FB Chat Group.
I’ll be back later this month using the new August Time to Shine kit
Until then……Happy crafting!
Philippa x


Leave A Comment