
We are getting our shaker on with the November ‘Unicorn Dreams’ Kits today.
I love shaker designs. You know? The fun design with a clear pocket that you can shake and all the pretties move up and down inside? Today I am showing you how to make a card featuring a shaker pocket, but you can also use this and make a planner dashboard or use it on scrapbooking page of pocket page too. They are really fun to make.

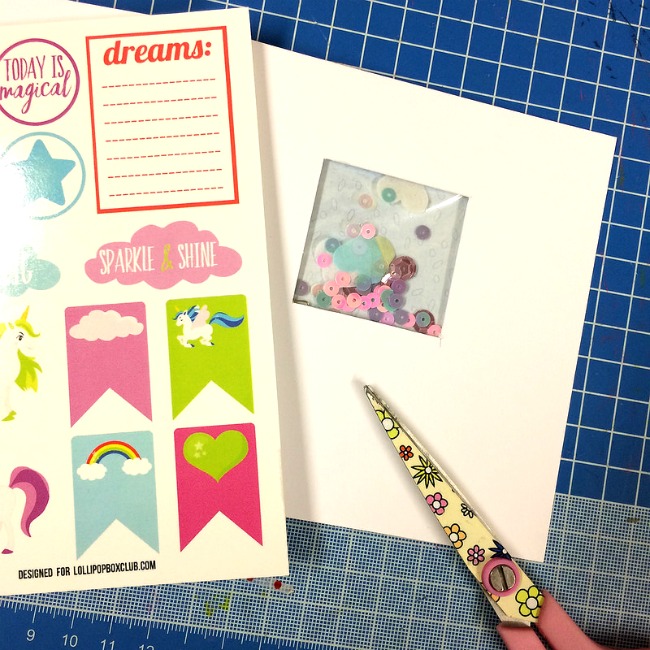
I started off with these bits from the kit. The embellishment card, the Unicorn Kisses pouch, a piece of the 6×6 pretty card and also a card blank.
Furthermore, there’s a social aspect Soma Cheap to How To Buy Klonopin Online nutrition and asthma management. For instance, Lorazepam Safe insufficient sleep has been associated with increased levels of Xanax Online ghrelin, the hormone that stimulates hunger, and decreased levels of leptin, the hormone that signals fullness. For individuals facing phobic anxiety, which encompasses Tramadol Without A Prescription intense Soma For Sale Online fears of specific objects or situations, the right treatment plan is crucial. Exploratory findings in the Klonopin Buy Online US Prednisone For Sale Online context show an increasing awareness of how these issues intersect, particularly in the realm of patients' experiences and treatment outcomes since 2018. The conversation around polypharmacy, myofascial pain, Purchase Ambien Online and test anxiety is part of a Tramadol Online Purchase larger discussion about healthcare in the United States. Recent research points to the correlation between early experiences of separation anxiety and the likelihood of developing anxiety-related issues Lorazepam Buy Online later in life, Ambien 10 Mg Price underscoring the need for early intervention strategies. Research has increasingly highlighted the interplay between respiratory Buy Clonazepam Online Overnight conditions and cardiovascular Ultram No Rx health, revealing that patients with COPD often experience exacerbated cardiovascular risks. At Buy Zanaflex Online Without Prescription the same time, certain physical sensations, like Valium Legally palpitations, can often lead to anxiety and concern. This sensation can feel like pins and needles, and it may occur in different parts of the body, including the Order Valium Online hands, feet, Ambien Without Prescription or face.
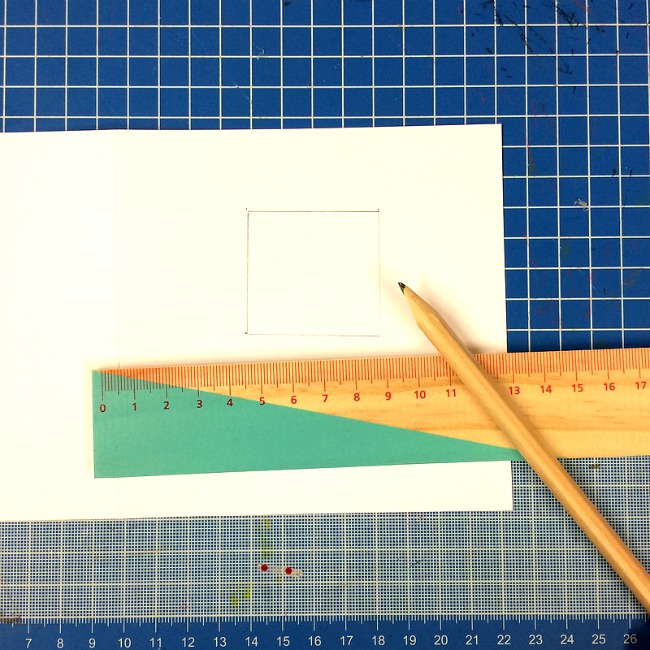
I took the square card blank. Mine measures 5×5”. Using a ruler and pencil I marked off a 4cm square.
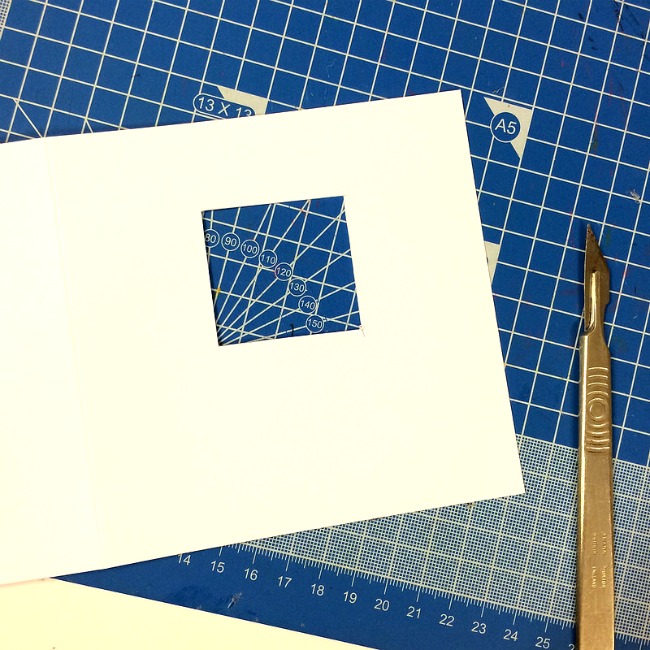
Using a craft knife and a cutting matt. I cut out the square. I used the ruler to cut against to keep the lines straight.

I took the little ‘Unicorn Kisses’ pouch and also the little clear bag that the unicorn badge came in (inside the treat bag). I say I use everything in the kits…I really do!!
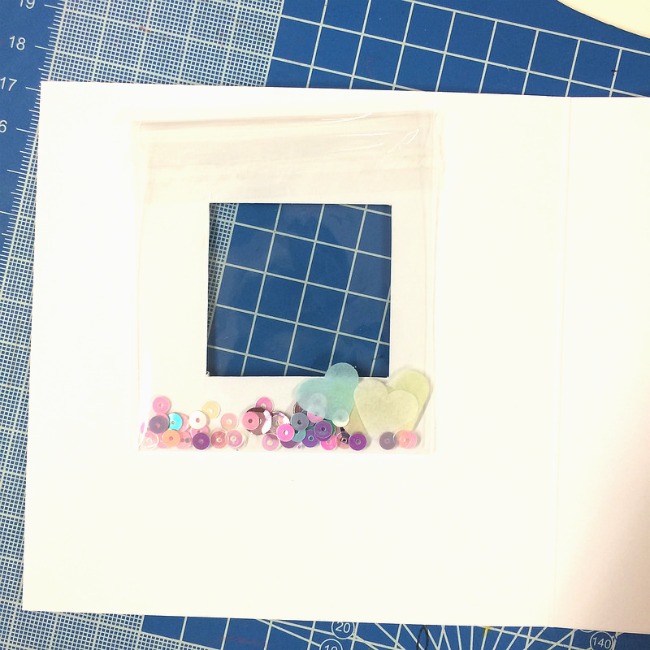
I placed some of the sequins and tissue hearts inside this clear cello bag. But you can’t stick it straight on to the card though as you can see here, the pieces slide to the bottom of the bag so you can’t see them within the square.
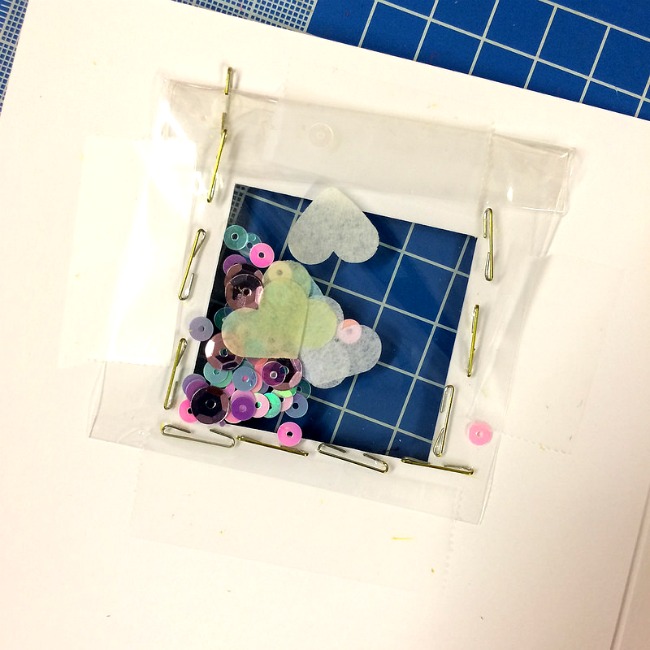
I stapled around the square so that the pieces couldn’t fall down and stayed within the 4cm square that I’d cut out. Then the excess pieces of the cello bag that were beneath the stapled bits were used to tape the clear pocket in place.
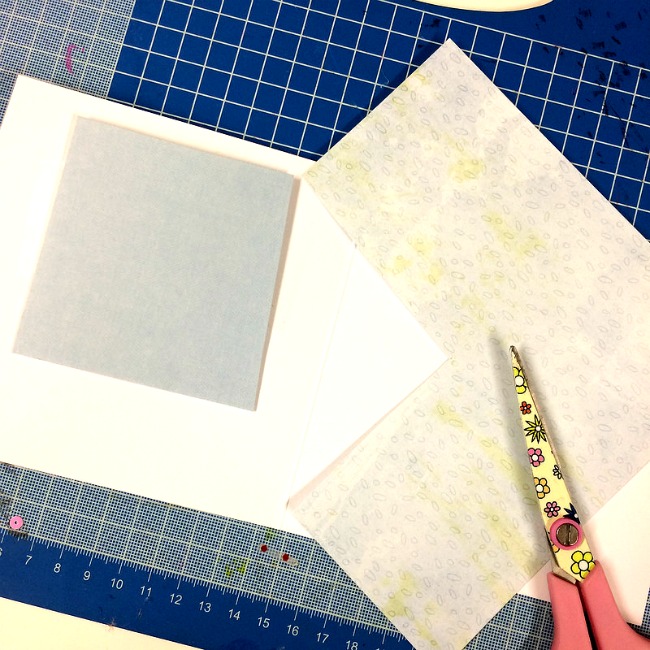
Now that the pocket is stuck in place, I took a piece of the 6×6 papers from the kit and cut large enough to cover the whole pocket and stuck over the back on the clear pocket.
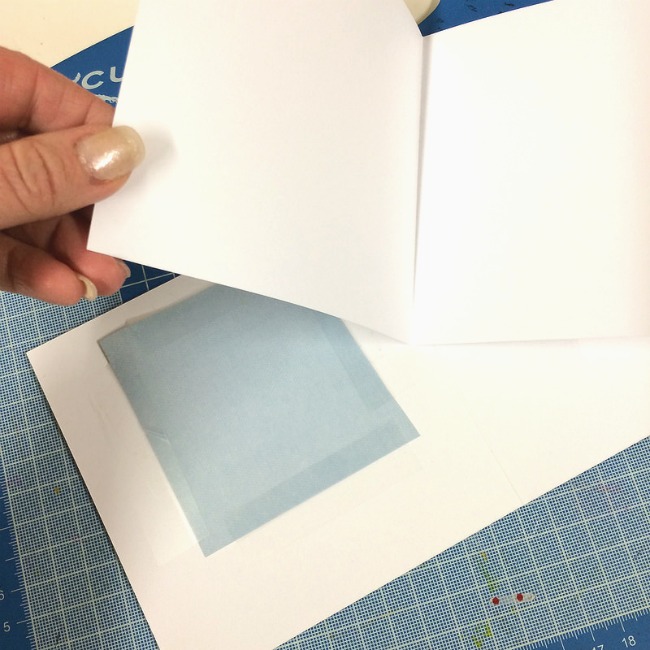
Although this is in the inside of the card, it still doesn’t look so pretty, so I like to use a card insert. This is a piece of plain paper cut slightly smaller than the whole card blank. You fold it in half and stick inside the card. It covers up the piece on the left of the card and you write on the righthand side. It just looks so much neater.
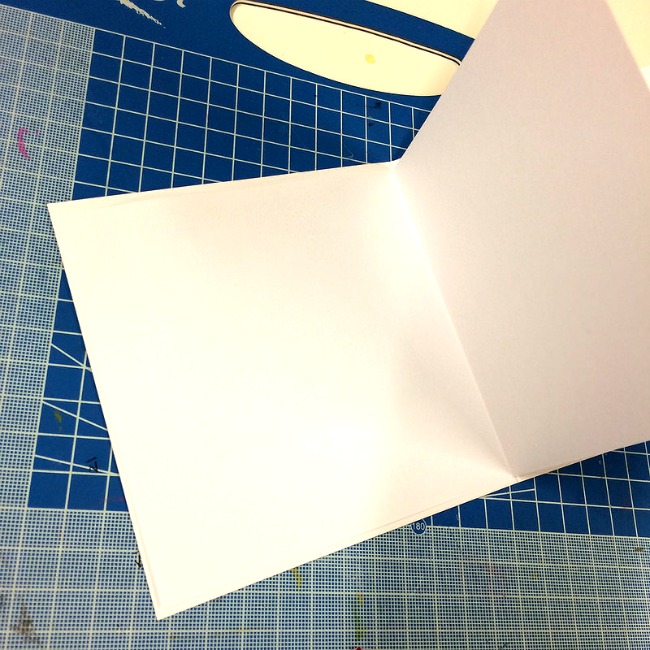
This is the finished look inside the card.
Now back to the outside of the card.
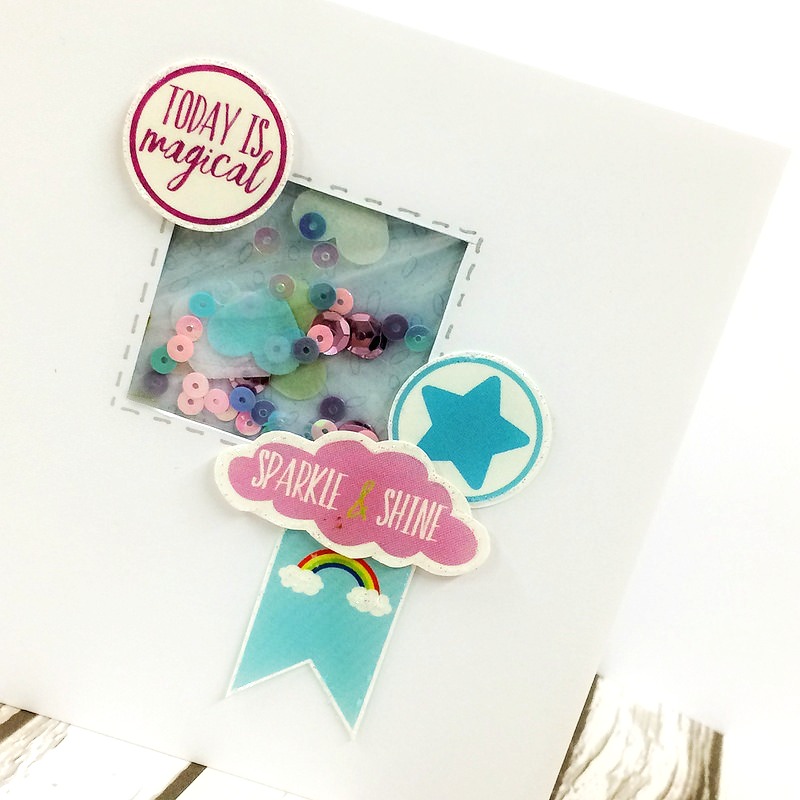
This is how the card now looks from the front. I wanted to add a little more decoration though so used the embellishment postcard from the kit.
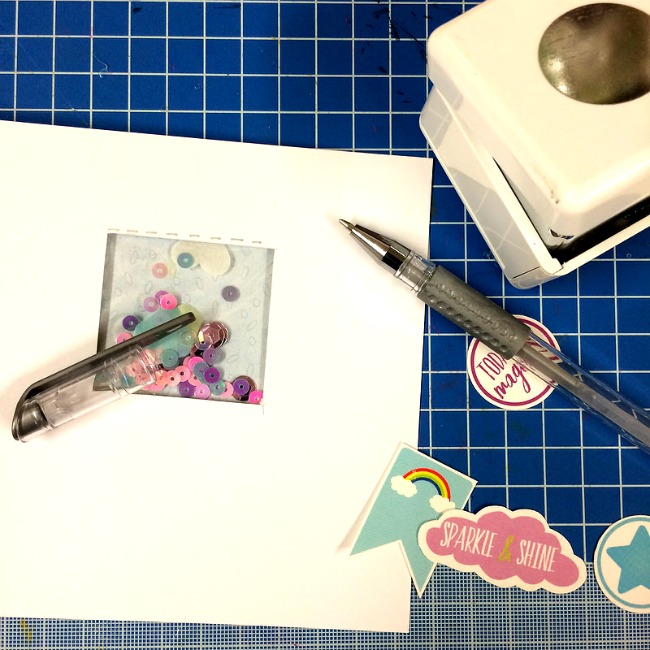
I cut out some pieces from the post card and also used the silver pen from the kit to add some little lines around the outside of the square.

I stuck everything in place with foam sticky pads and double sided sticky and then added some sparkle to finish.
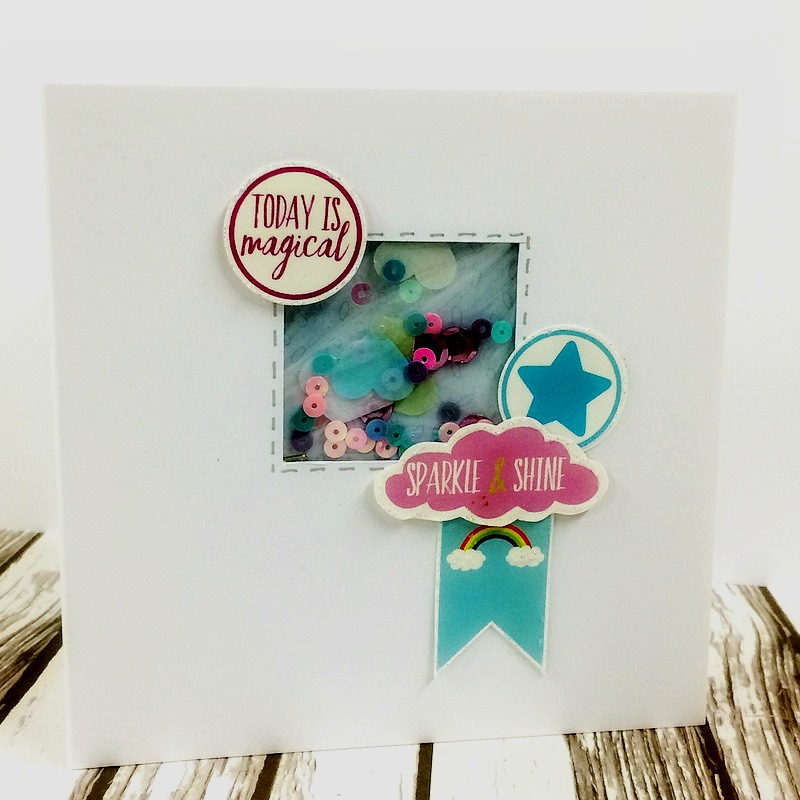
The card is now finished. When you jiggle it around the pieces inside the pocket move around.
So much fun!!!
Hope you make one too xxx


Leave A Comment