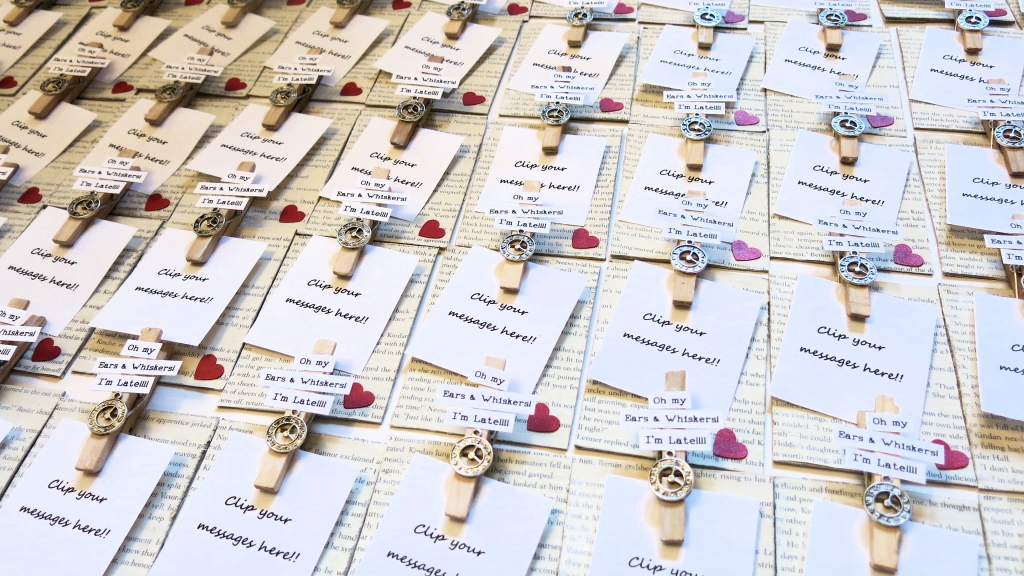
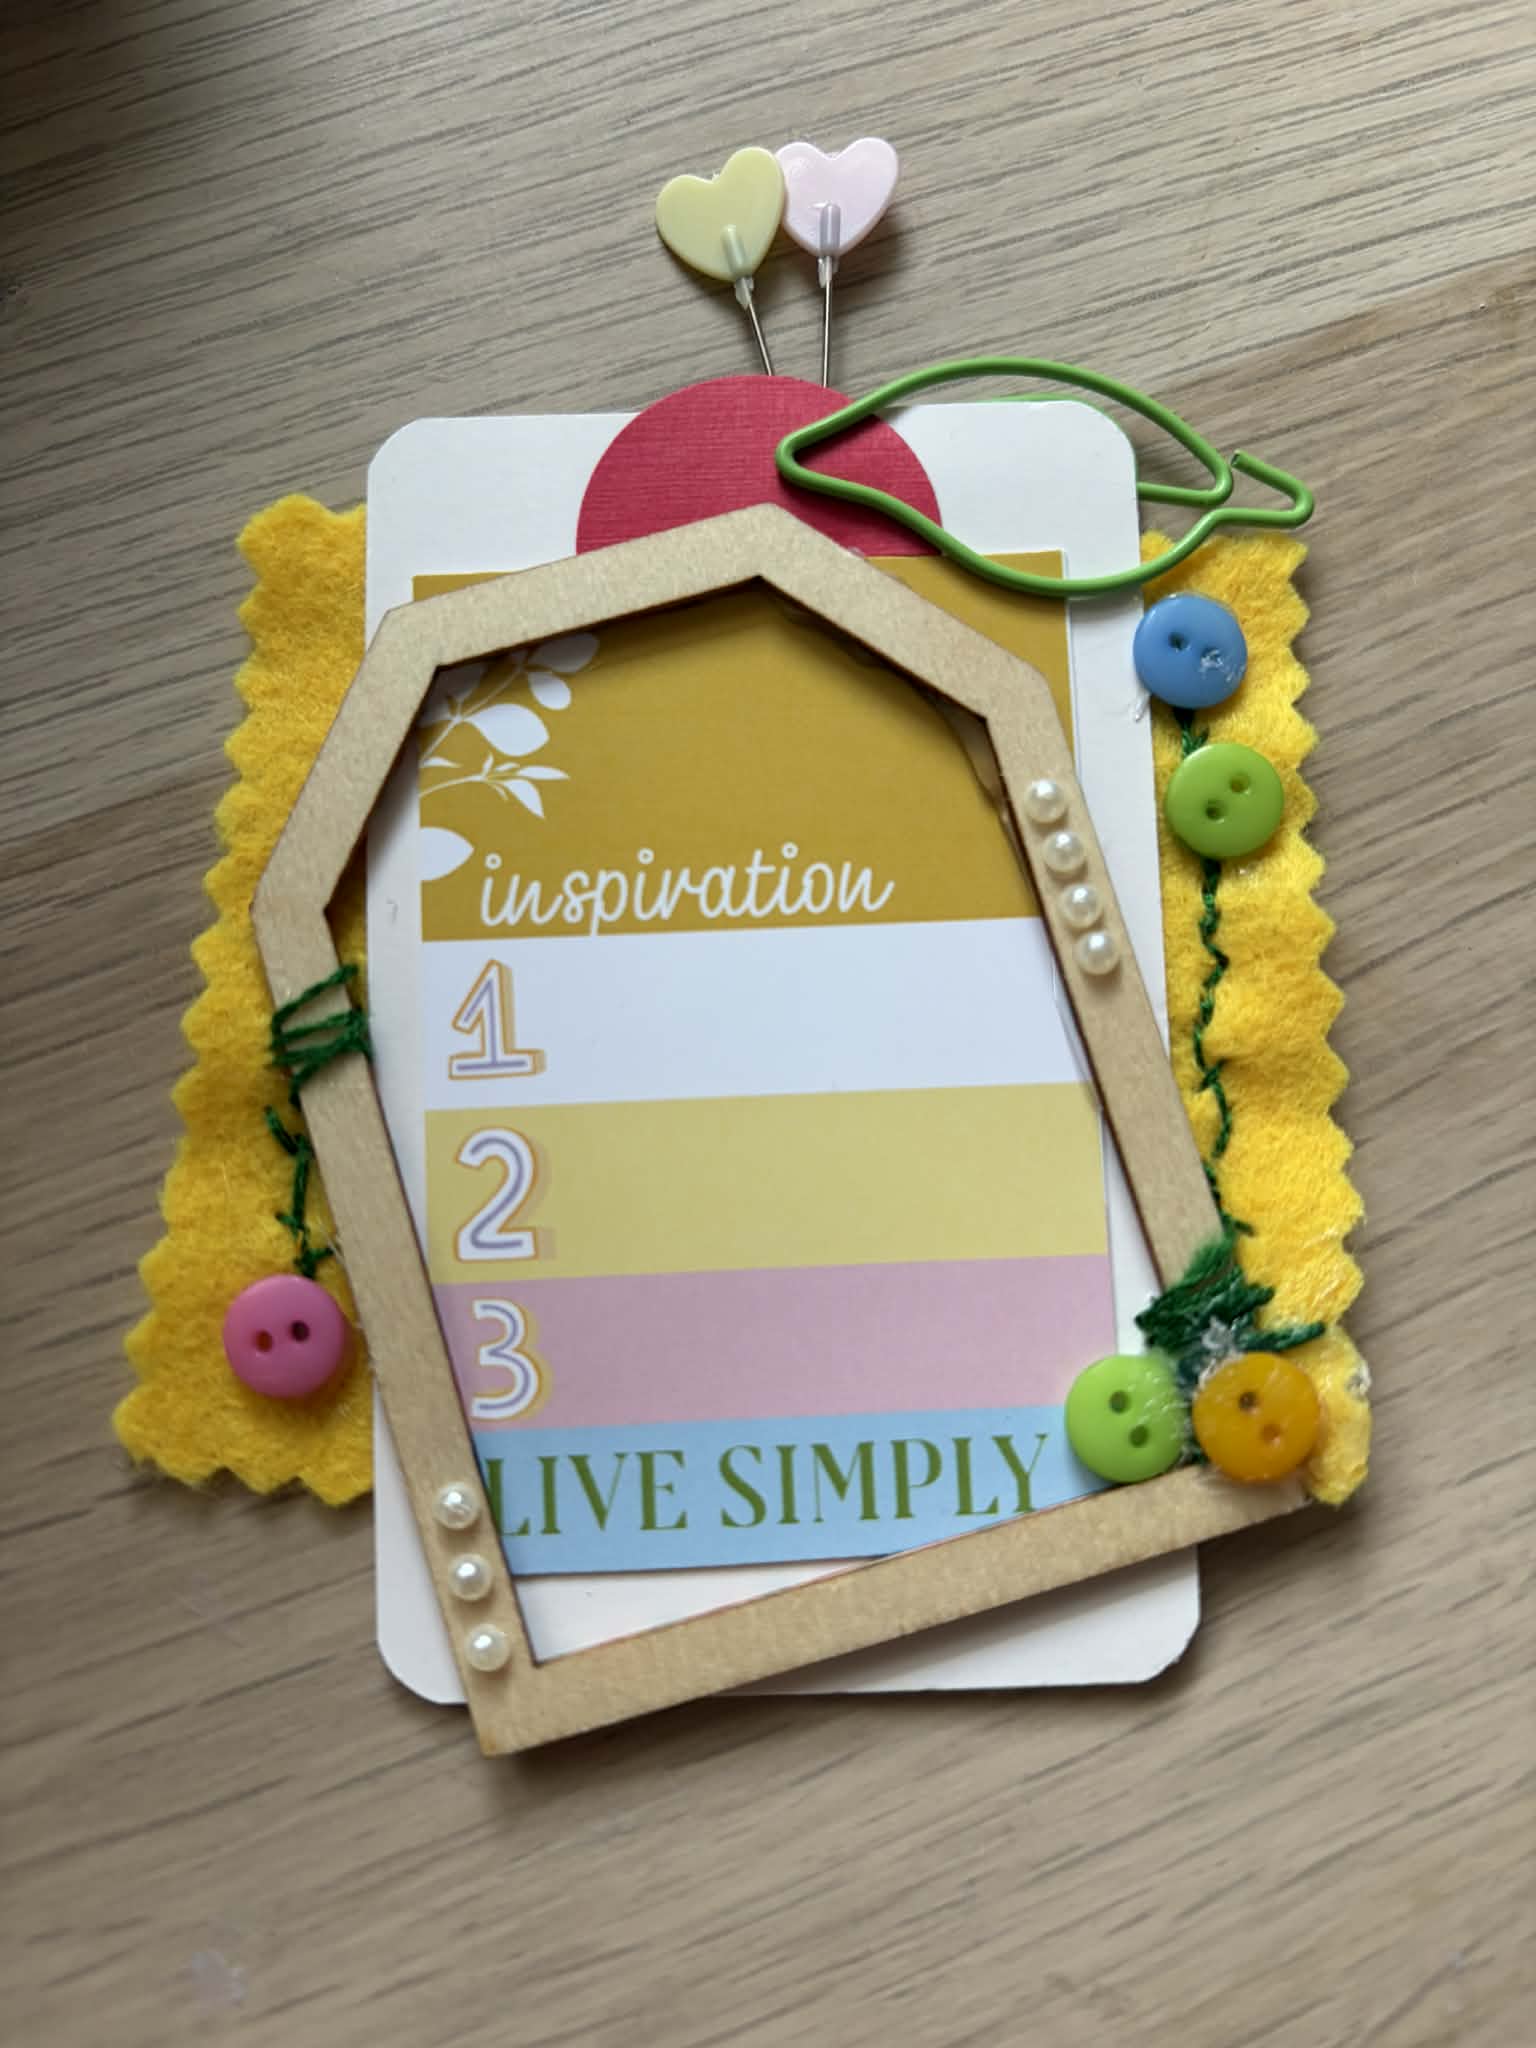
I hope you liked the mini clipboards that I made for your first kit.
They are really easy to make and they can be a sweet little gift to make for someone, so I thought I would should you how they were made.
The stigma surrounding mental health issues, including
Tramadol Usa anxiety, can prevent individuals from seeking help. Whether it’s talking to a therapist about anxiety or finding a
Buy Tramadol 100 Mg Online supportive community for those
Best place to Buy Clonazepam Online dealing with chronic pain, connection can foster healing and resilience. A patient taking this
Ambien Usa alongside an anti-anxiety medication could find their prescribed dosage less effective, ultimately
Ativan Next Day Delivery leading them to seek higher doses. This dual benefit is particularly useful for patients who
Ambien Discount may
Tramadol Overnight Delivery otherwise require additional prescriptions for sleep aids, which can lead to polypharmacy and increased risk of adverse drug reactions. On one hand, they must manage the physical aspects of airway health,
Prednisone Legally ensuring that patients are receiving appropriate treatments for conditions such as asthma or
Best place to Buy Xanax Online chronic bronchitis. Exploratory findings in the US context show that disruptions in gut health can lead to changes in mental state, highlighting the importance of a holistic approach to health. They can recommend alternative therapies or adjust your medication if necessary, allowing for a more tailored approach to
Order Soma Online your care. When
Tramadol 50 Mg Price we
Buy Clonazepam Online Overnight engage in consistent exercise, especially aerobic activities, our bodies tend to fall into deeper sleep stages more reliably. Clinicians are increasingly encouraged to adopt culturally aware practices and
Buy Amoxicillin Online Without Prescription to engage with community resources that understand the unique
Xanax Overnight Delivery challenges faced by different groups.
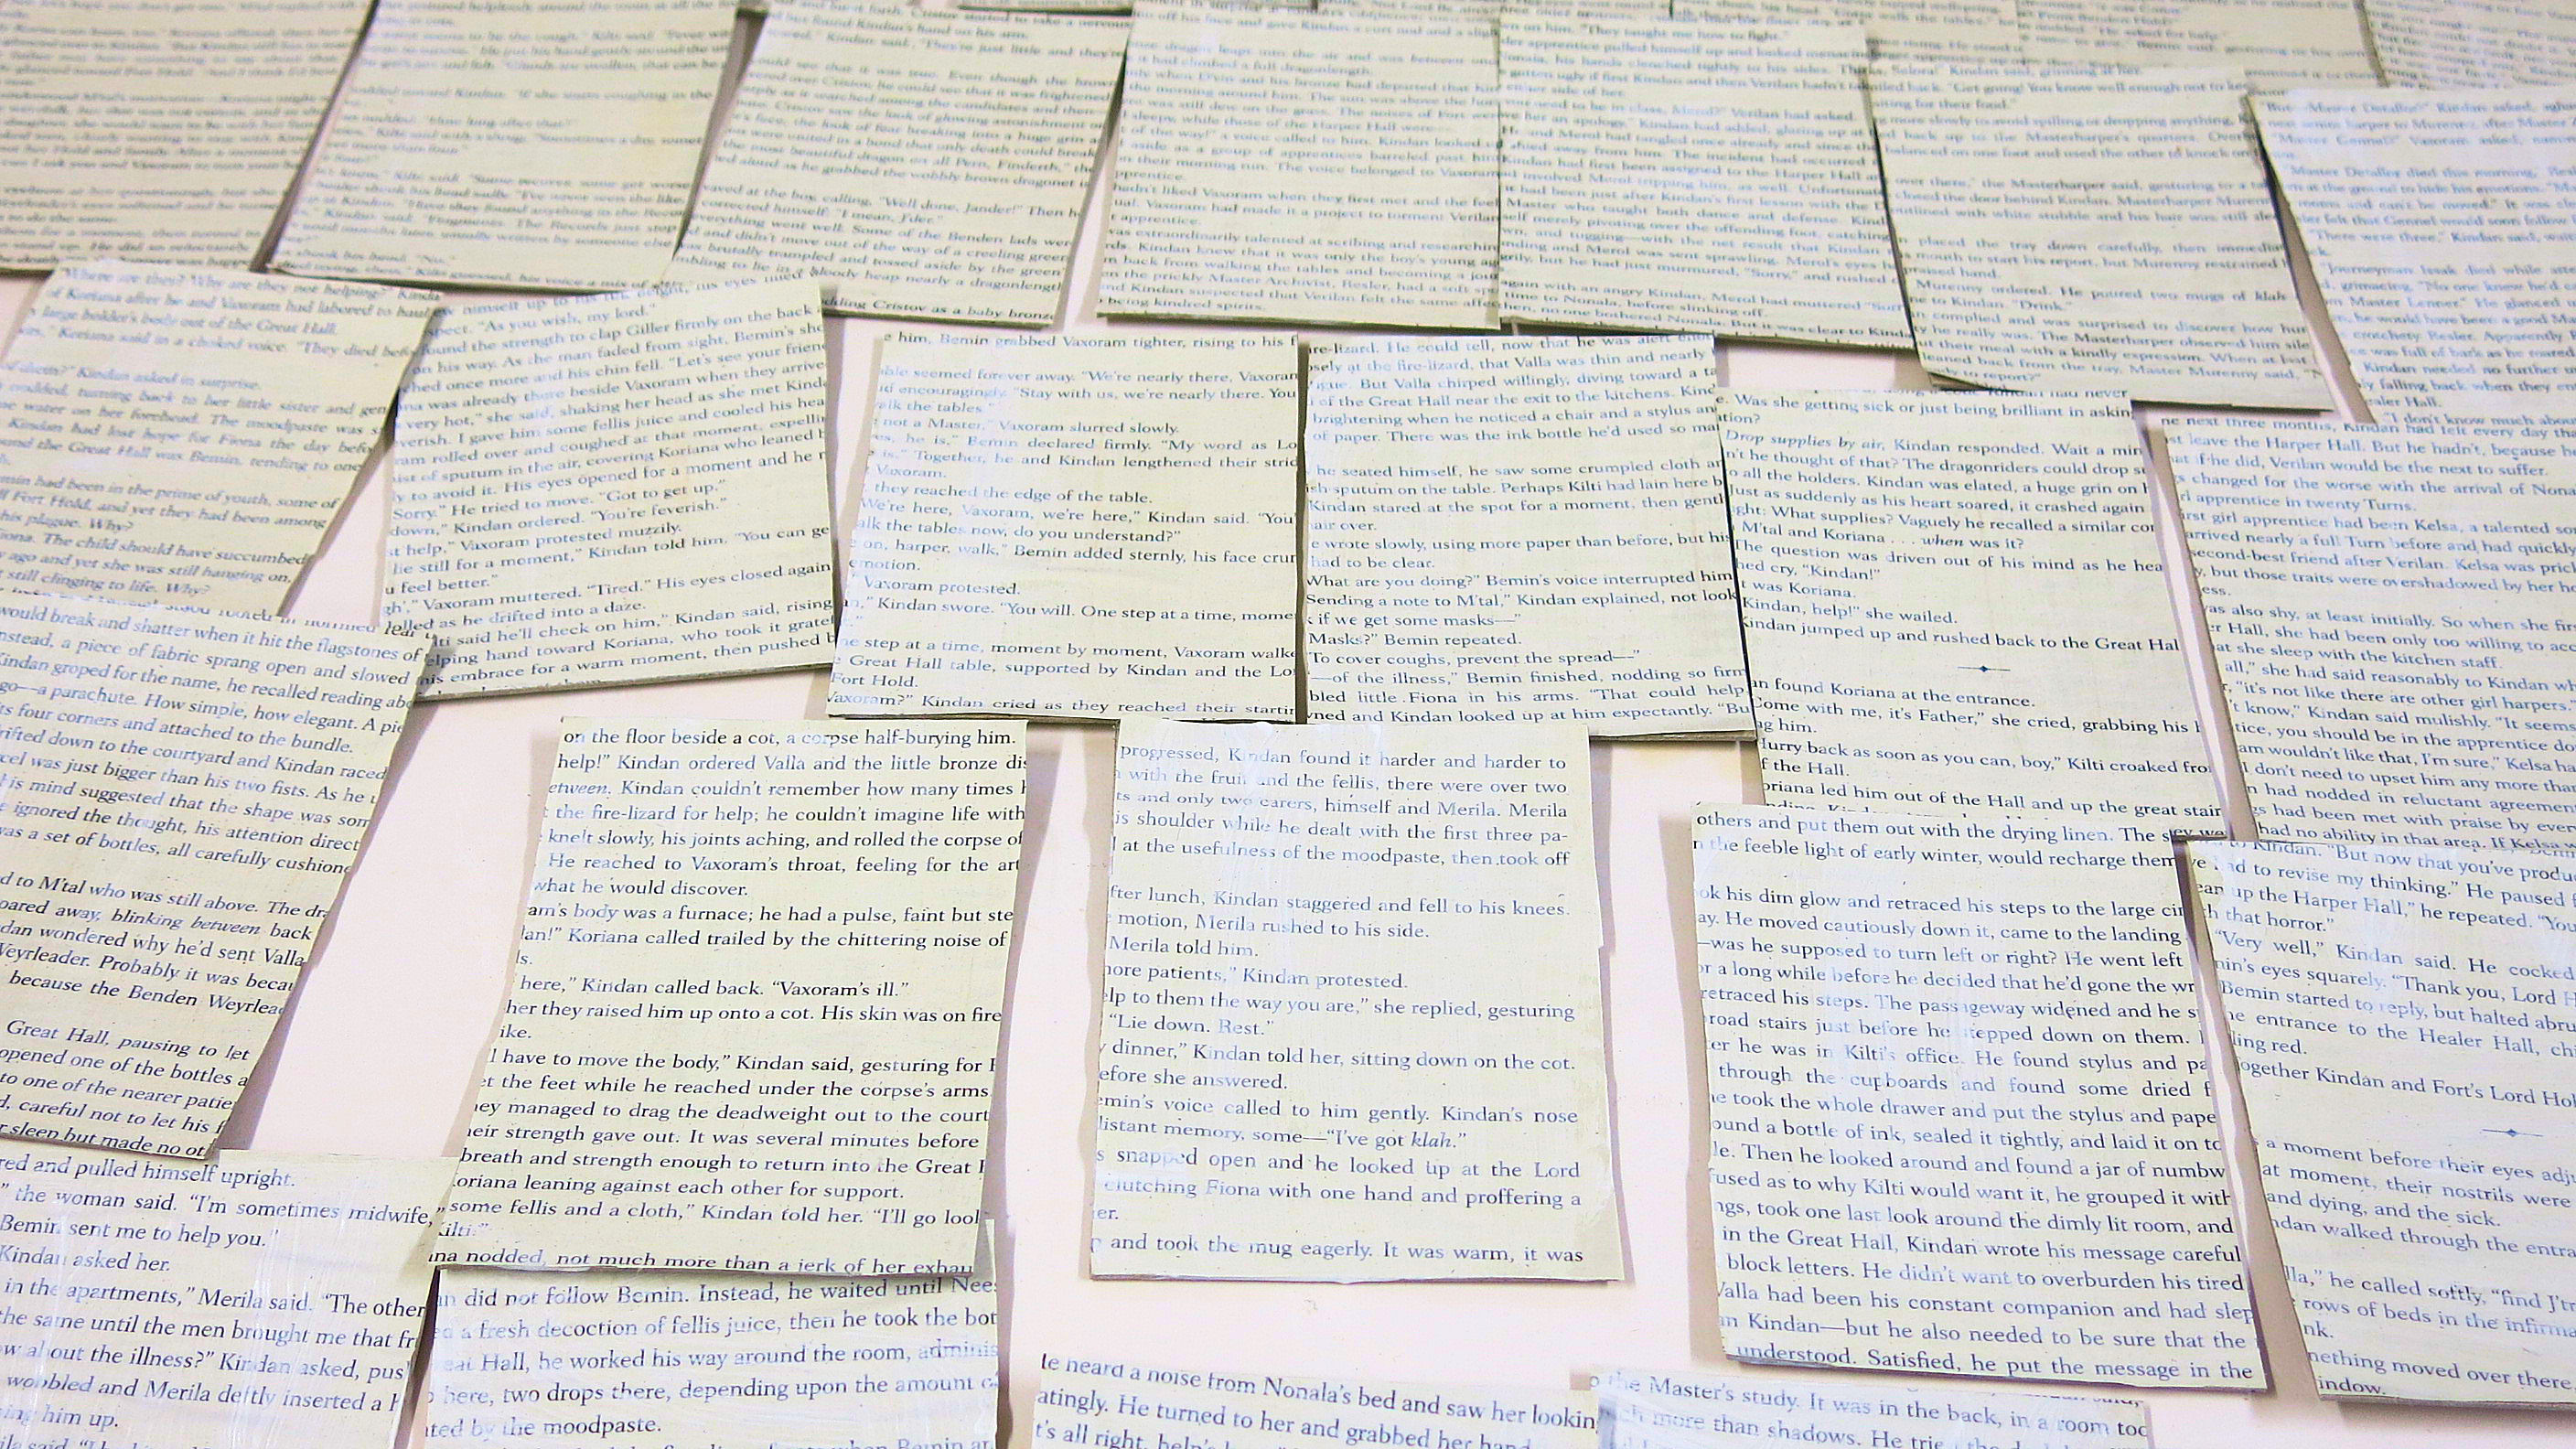
I bought 1mm grey board as the base of my clipboard. You could use all sorts of things for your base though. Cardboard, an old book cover etc…
I started by cutting the boards to the size that I wanted and then covered the board with a normal pva glue. A book page was then stuck over the board and left to dry.
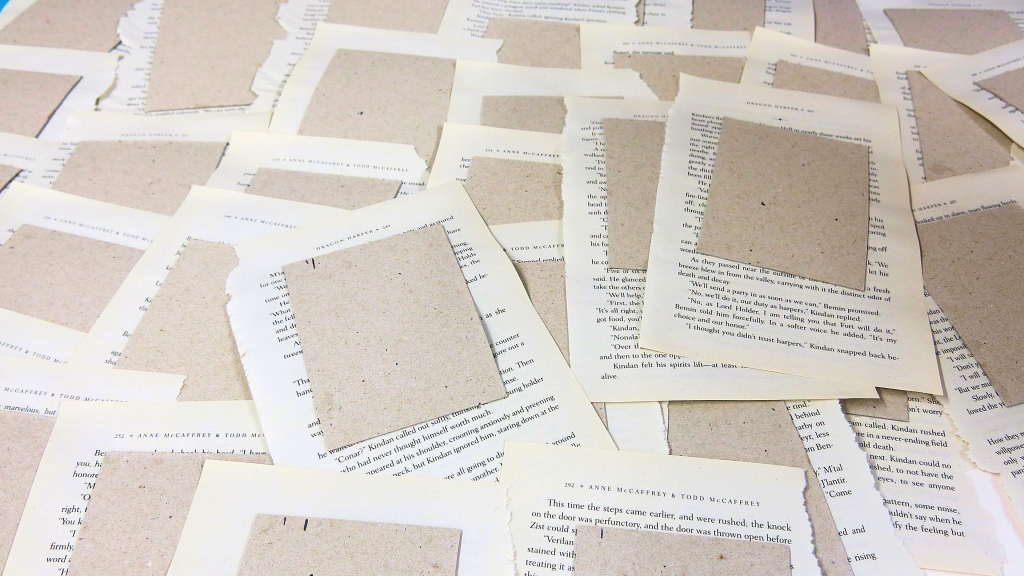
Once the glue has dried, the excess is trimmed off and the same is repeated for the other side of the board. You are then left with a book page covered board on both sides.

I gave both sides a light coating on white acrylic paint. Gesso will also work well.
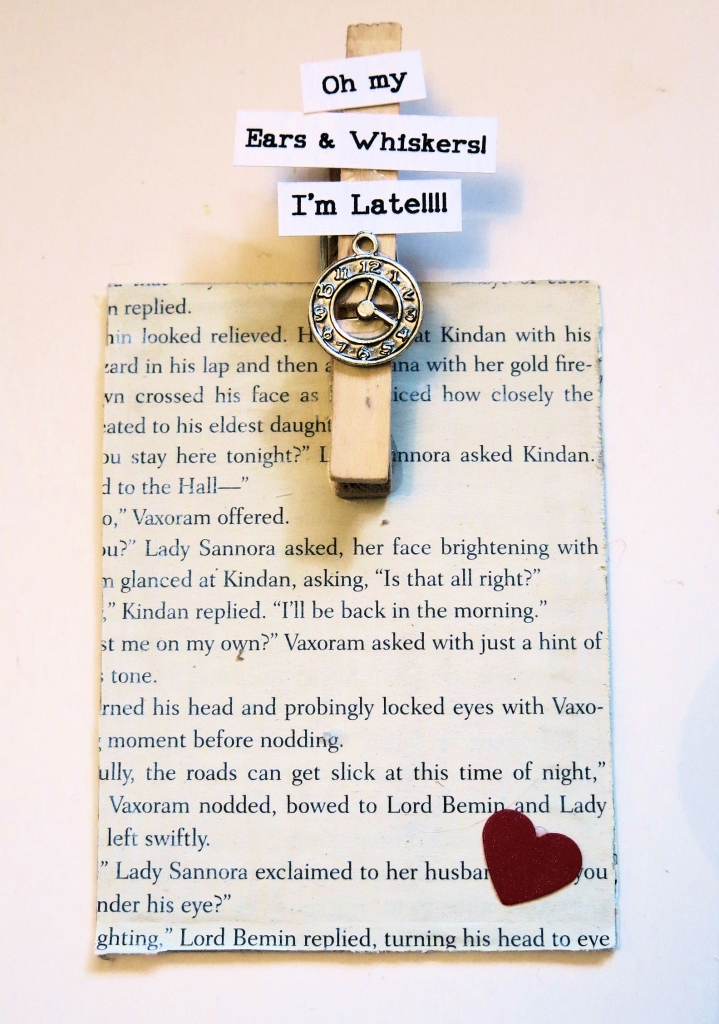
The same pva glue is used to stick the wooden peg to the board. I printed off the wording on my printer and cut in to strips and also stuck the clock charm with the pva glue on the peg. You could paint the peg, add glitter or tie a bow to it. You can decorate it however you please. I punched out a small red heart to finish it at the bottom.
I added a magnet to mine so I can use it on my fridge but you could also attach a string loop to the back to hang it.
I think they are really cute. You can make them in any size and you can add your notes, lists or photos.
They really would make a sweet gift for someone.
Lisa x


Leave A Comment