
Memory Keeping in My Planner with Carrie
Hey Lollipops – it’s Carrie, back again on your feed. I hope that you are all surviving this very wintry patch of weather that we are having at the minute. Hopefully my post can add a little sunshine to your day.
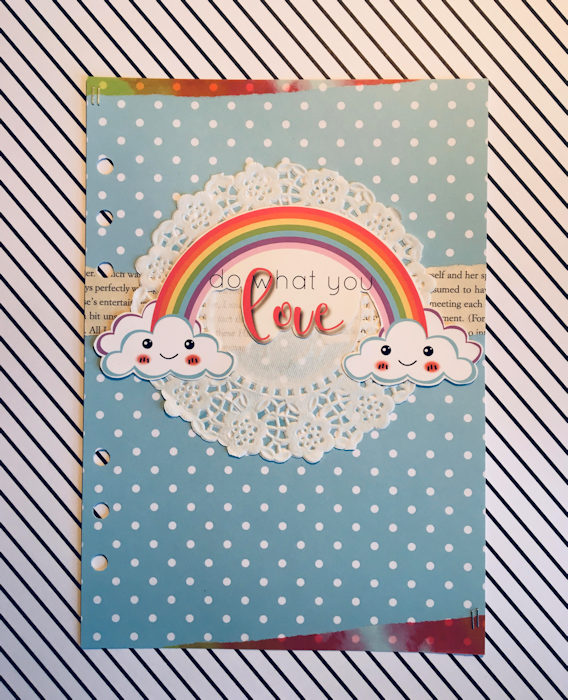
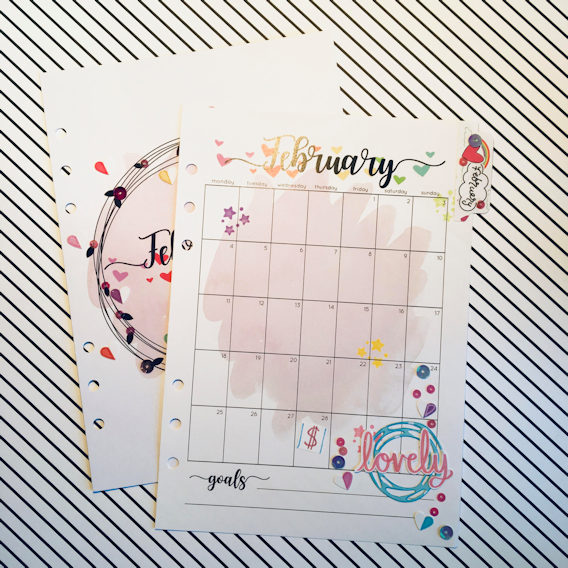
There was a thread in the Lollipop FB group a couple of weeks ago about memory keeping in your planner and I thought I would show you how I make mini layouts to go in my planner. Along with decorating the planner pages, they really make me smile as I am getting my organising shizzle on 🙂
These mini layouts are super easy – I used the same techniques as on my 12×12 page this month as I loved it so much. I worked on these two pages in tandem this time round – its easier to do when the pages are smaller as I don’t run out of desk space and it saves time. I find using thick white card-stock as my base layer works well for both 12×12 and smaller layouts – its nice and sturdy for the mixed media – especially after you coat it in gesso. This primes the paper and means that it can withstand the battering that I will no doubt give it in the name of art!!
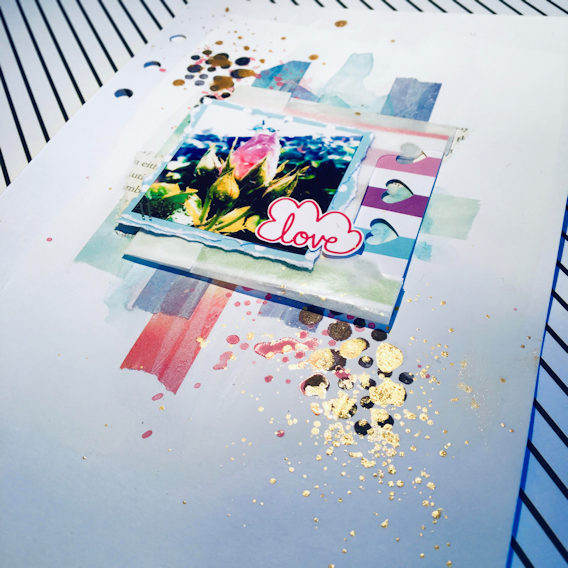
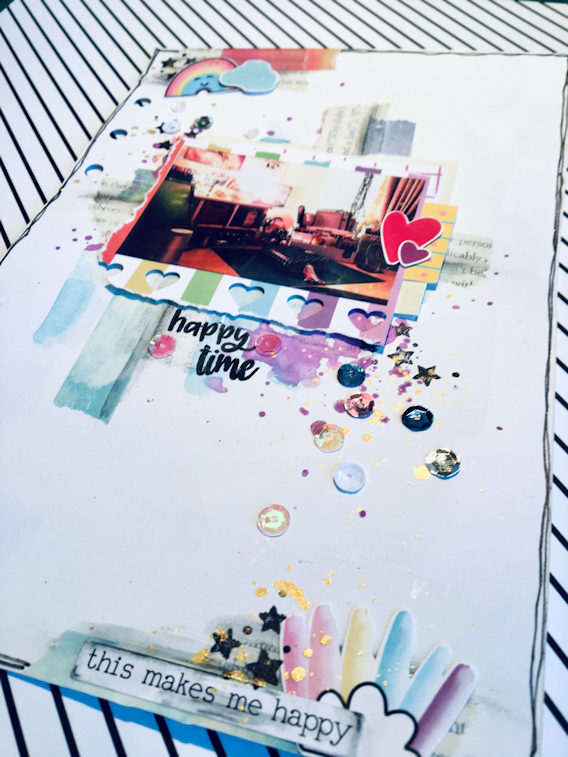
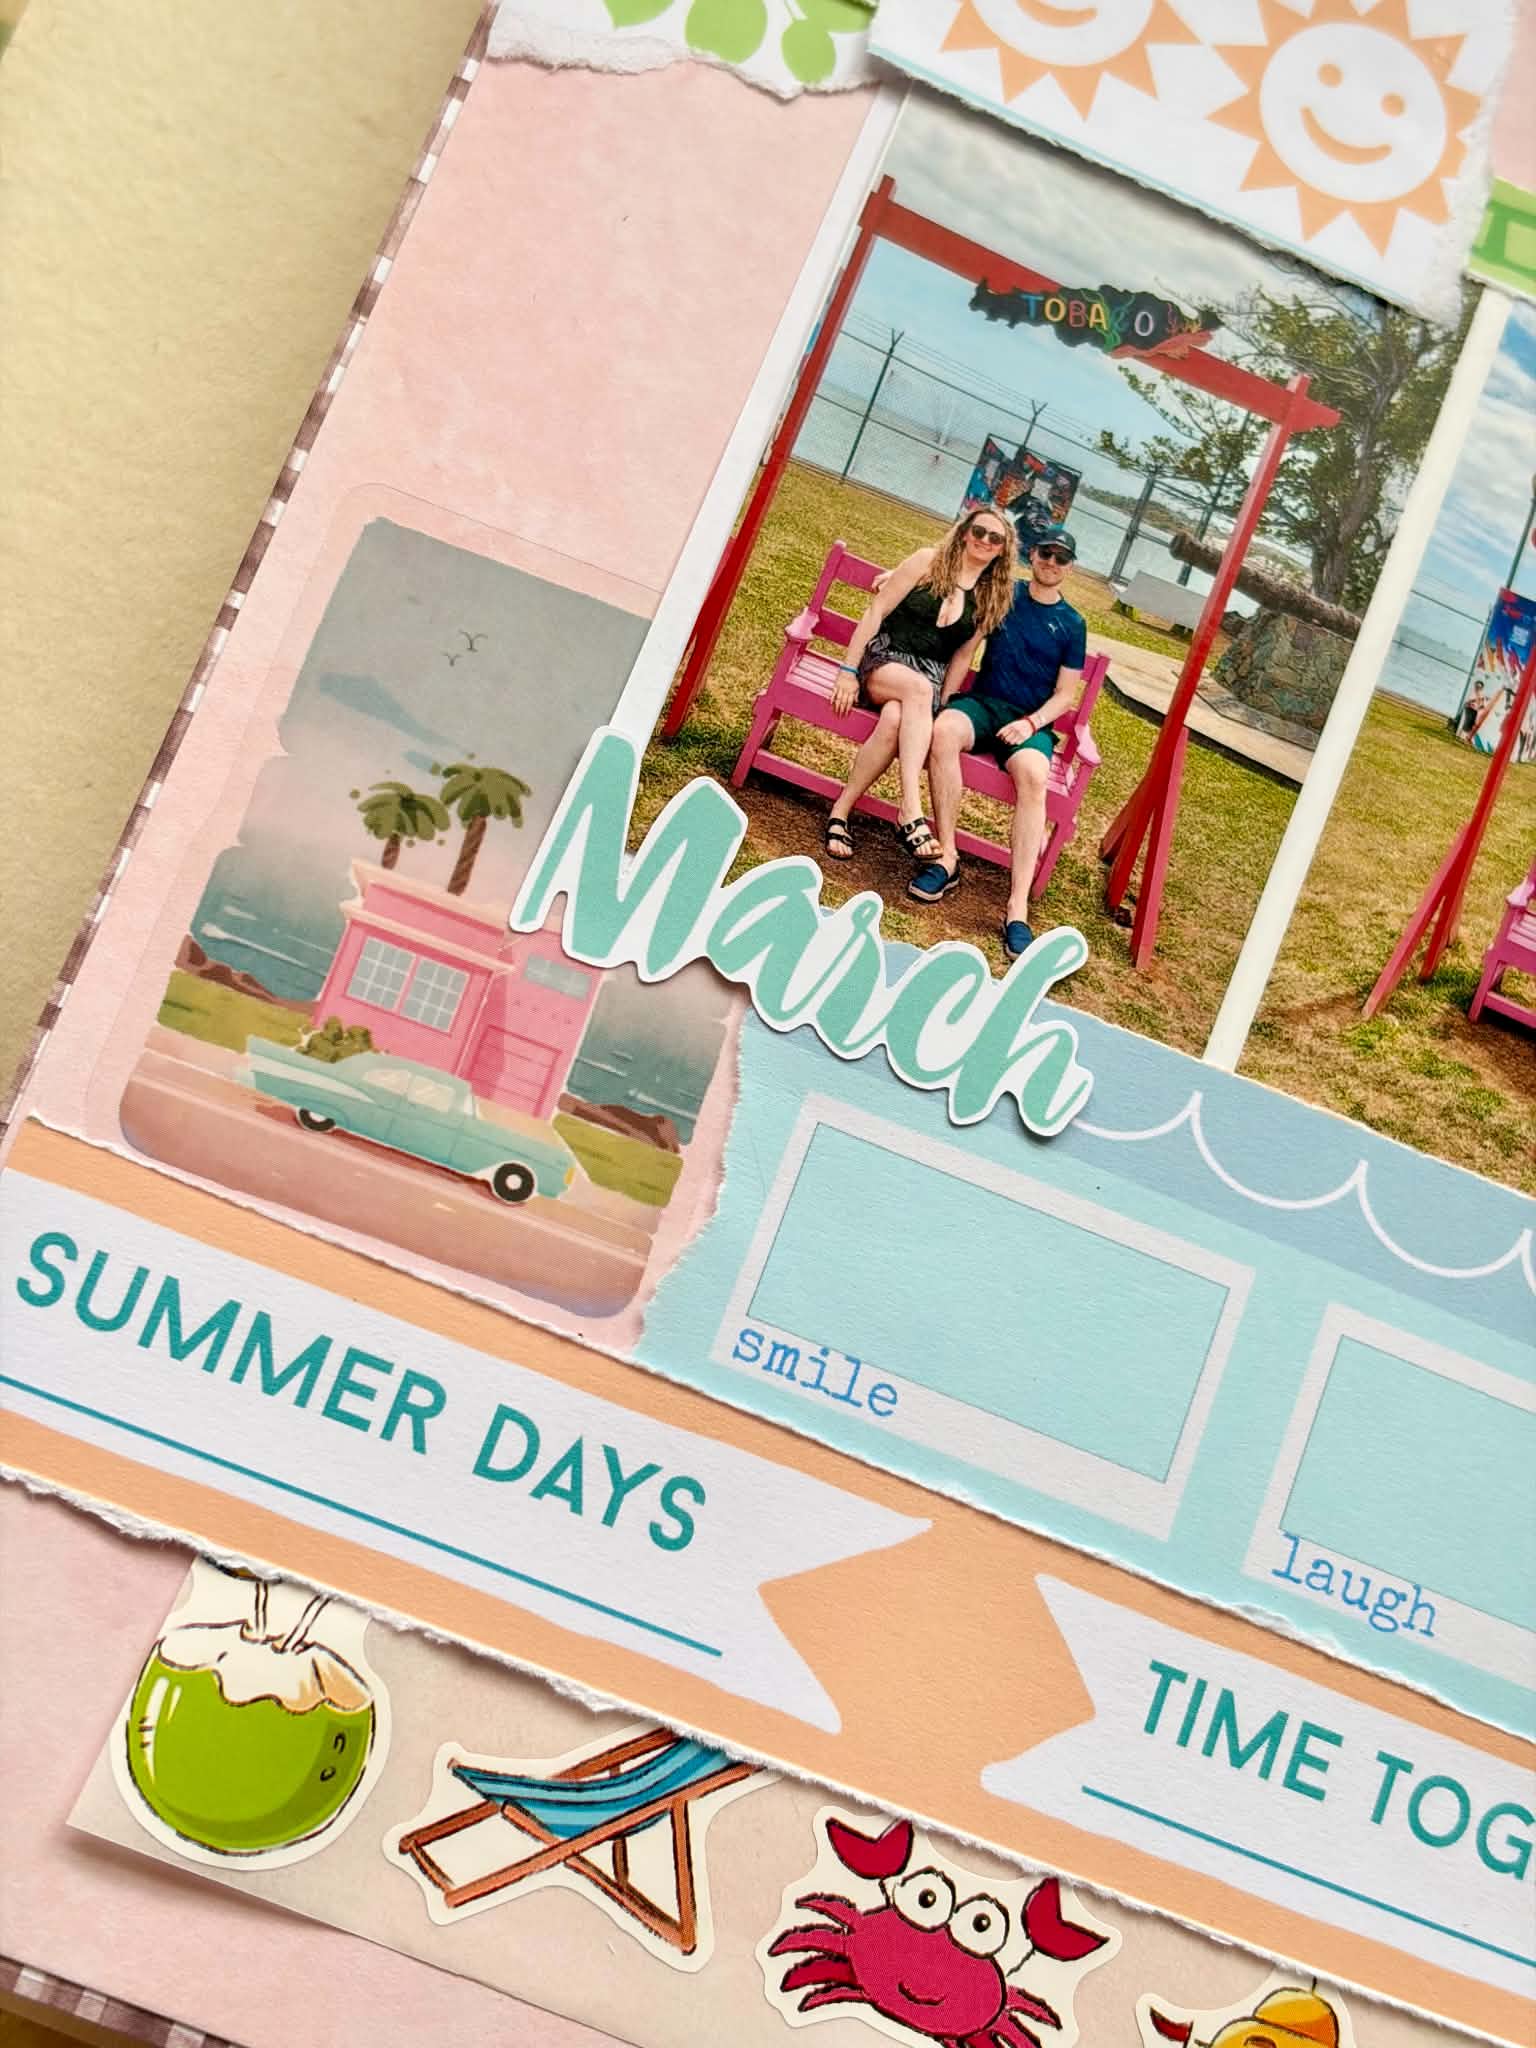
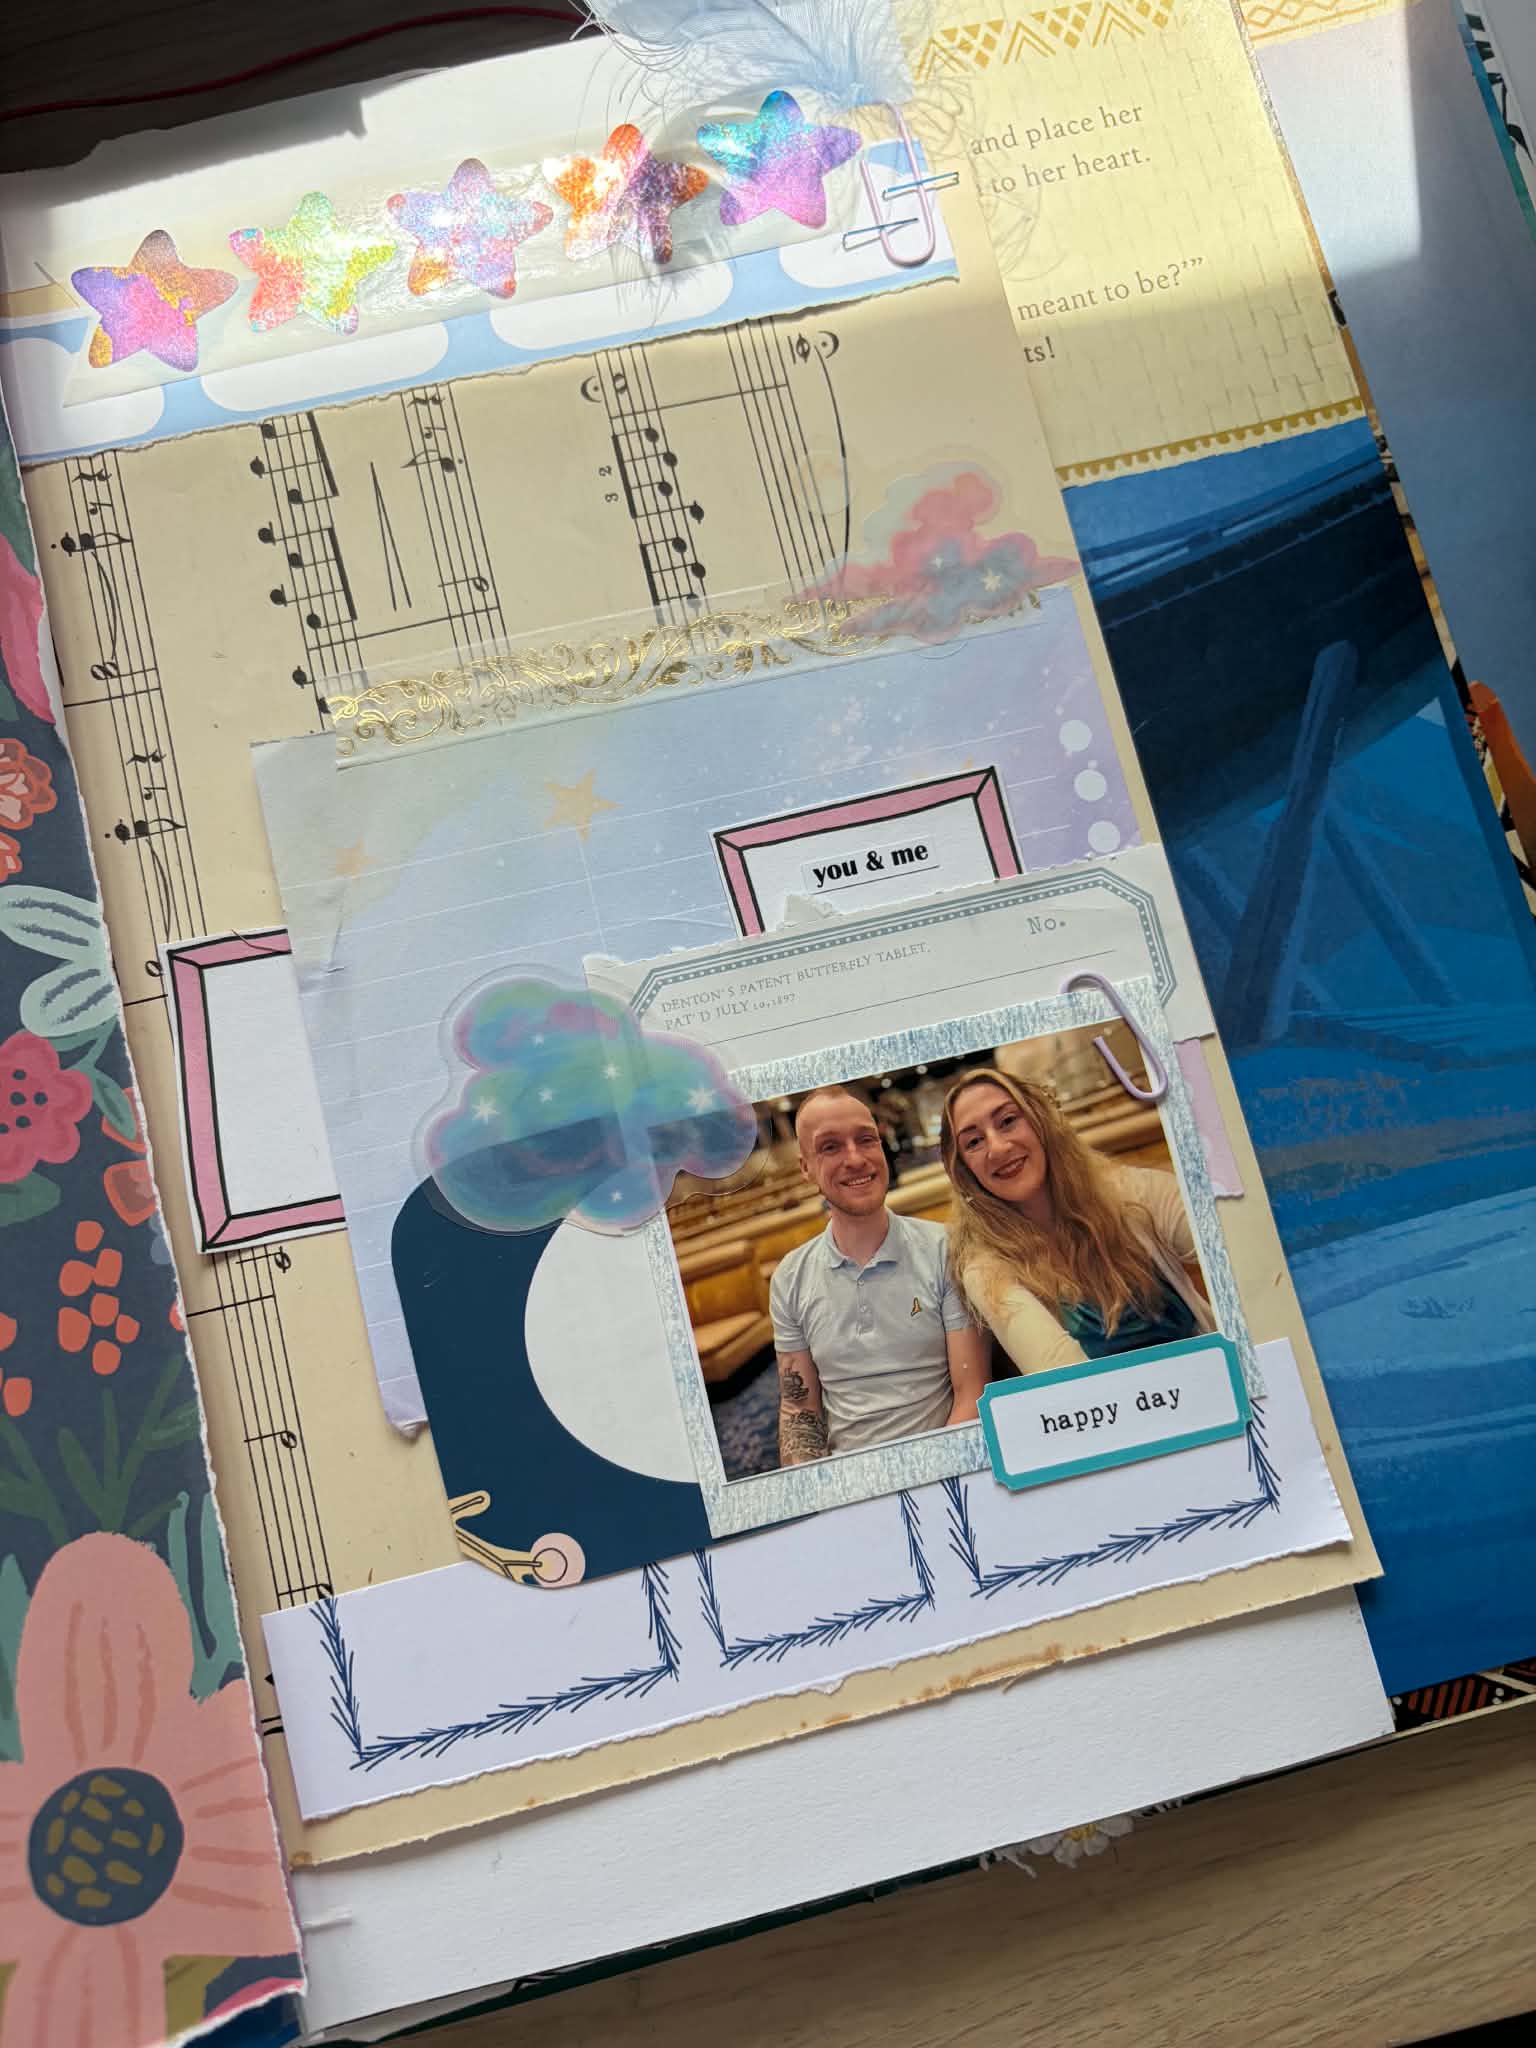
Once the papers are cut and gesso’d – I add the book paper and washi strips (the washi was an add on at the shop this month) to the background. Once dry, I gesso’d over it again to bring the colours down – I wanted to add some watercolour paint splatters behind the pictures and this is easier to see when the background is more muted.
Whilst my backgrounds were drying I created my layers behind the pictures. I used papers and a glassine bag that had come with a past kit to make these. I never throw anything away that comes in the kit – it can all be repurposed into something beautiful. Once everything was dry, I added the photo’s to the background, some gold mist splatters and some sequins from the kit to finish off the layouts.
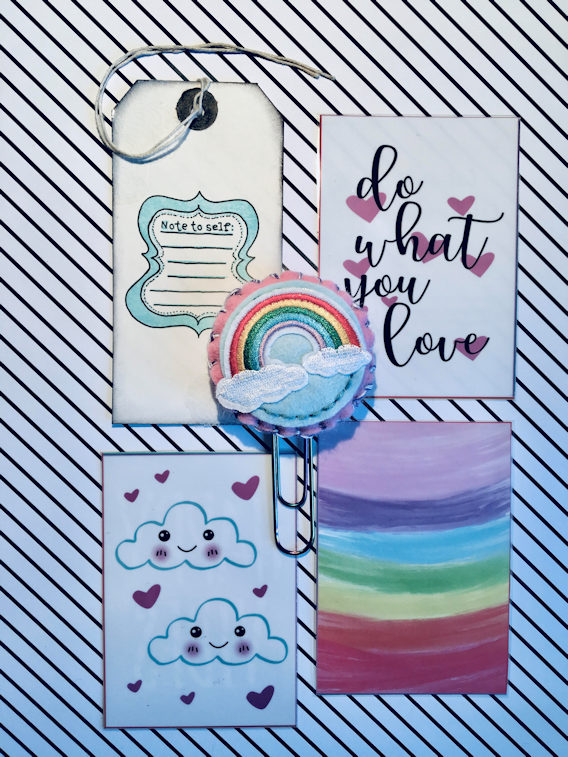
I also made a few bits to go in my planner. I used some felt, the rainbow iron on patch (extra in the shop) and the giant rainbow paperclip that came in the kit to make a planner clip. This was really simple. I pulled out some of my (very neglected) circle dies and cut two large pink circles, one medium sized blue circle and two small pink circles from felt that I have had in my stash for ages. I back-stitched the blue circle onto one of the pink circles, ironed the rainbow patch onto the blue circle and then used a blanket stitch to sew them all together. I then added a little wadding to make it puffy. Once this was done I used fabric glue to attach one of the small pink circles to the back, popped the paperclip on top of that with more glue and then stuck the remaining small pink circle on top.
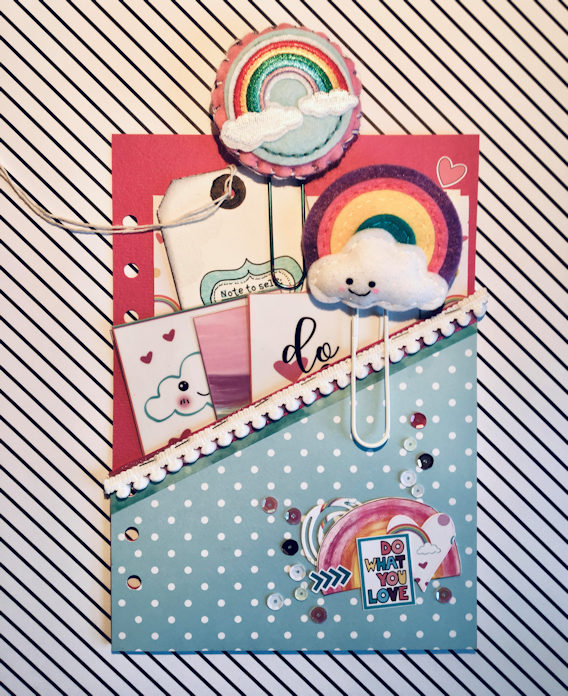
Did you all love the new mini ‘zine in the kit? I did – especially the custom artwork from Lisa! I cut this into 3×4 cards and laminated them. I kept these in a folder that I made from a piece of card-stock and decorated with embellishments and sequins from the kit. This was finished off with the ribbon and some of the pink Pom-Pom trim that came in a previous kit.
I love Lollipop kits so much because they are so versatile. You really can use them for any paper craft project that you are creating. Thanks again for dropping by to see what I have been up to – I will be back next month using the February ‘Happy Mail’ kit – I am going to be doing some more mixed media pages and some pocket scrapbooking.
Big hugs,
Carrie xo


Leave A Comment