
Summer Mini Book with Jennifer
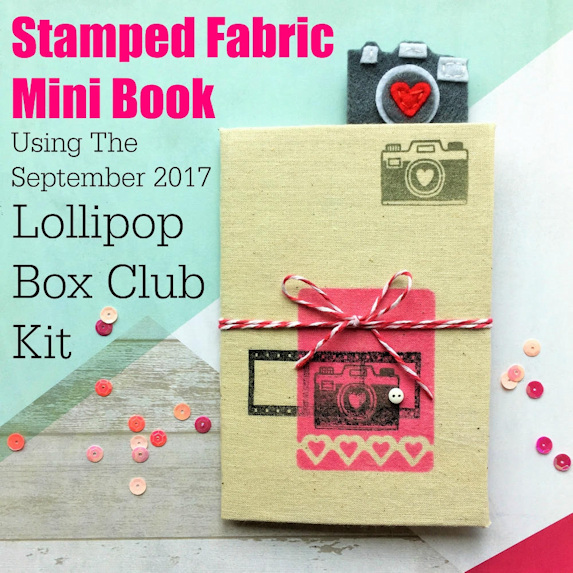
Hello, it’s Jennifer here to show you how I used the DIY this month to make a mini book for my sister…
My book is similar to Lisa’s DIY ,here, but I did a few things differently. My book is a little bigger – my piece of cardboard measures 21cm wide by 15.5cm tall. So I couldn’t wrap the fabric around quite as much. Instead I used glue stick all over the back of the card, then stuck it onto the fabric. Then I chopped off the corners of the fabric before folding them in and sticking them down with glue stick too:

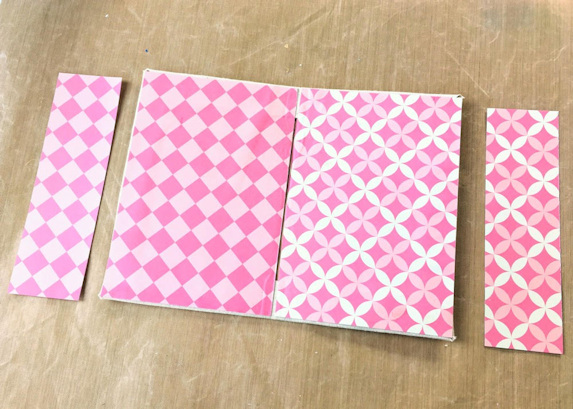
I used 2 pieces of paper from the kit to cover the inside, again sticking them on with glue stick:
I then decorated the cover. I used repositionable spray adhesive on the back of the Happy Scatter stencil to help hold it onto the cover – because the material was bumpy I wanted to make extra sure that ink wouldn’t get under the edges of the stencil. I also used washi tape to mask off the areas around the stencil too. Then I used a mini ink blending tool and pink ink to colour through the stencil:
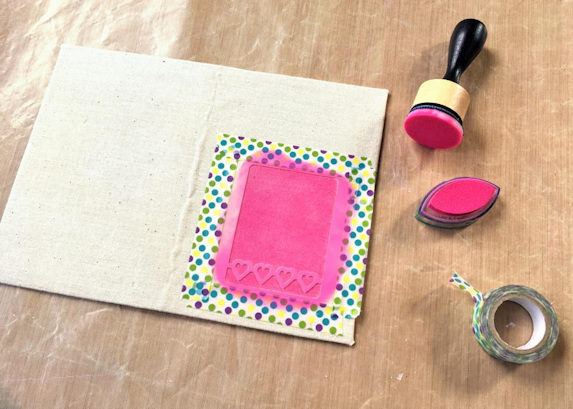
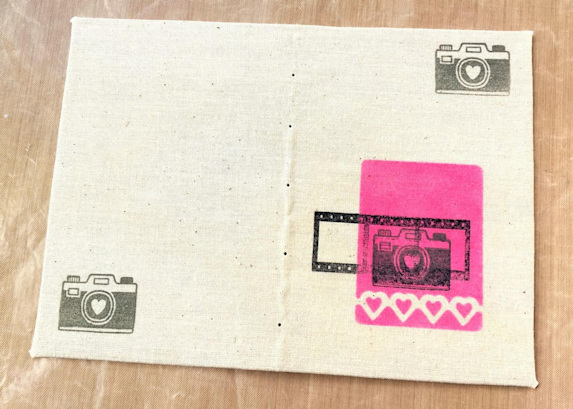
Then I used the Skull and Crossbuns camera stamp and the mystery gift to add some stamped details. Unfortunately I tried using Stayz On black ink for the mystery gift film strip stamp and the camera stamp on top of it – this DID NOT work! I realised afterwards that the Stayz On ink is not juicy enough to get into the grains of the fabric. I then stamped on top, and stamped a couple more cameras, using Avery Elle grey pigment ink, to show you it does work if you use the right ink! I decided to not worry about the less-perfect images in the middle, they just add to the handmade look!
I also pierced some holes as I wanted to stitch my book together:
I stitched the book together (using the 5 hole stich method, you can see a tutorial on that on Design Sponge here: http://www.designsponge.
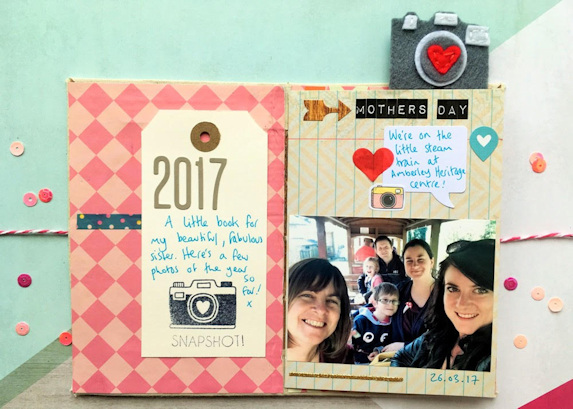
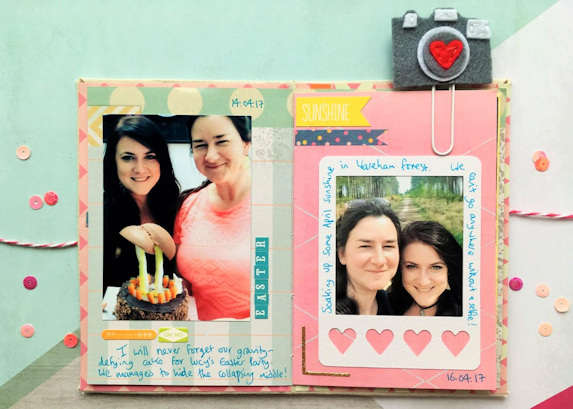
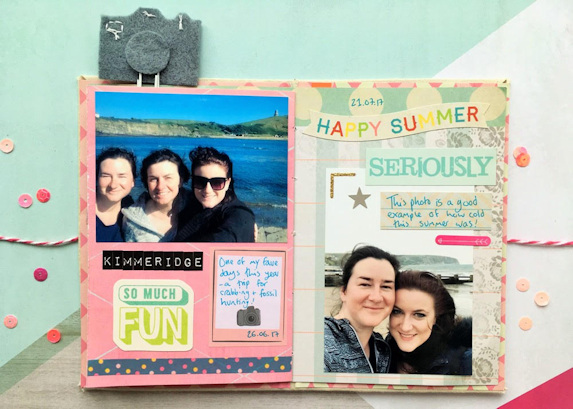
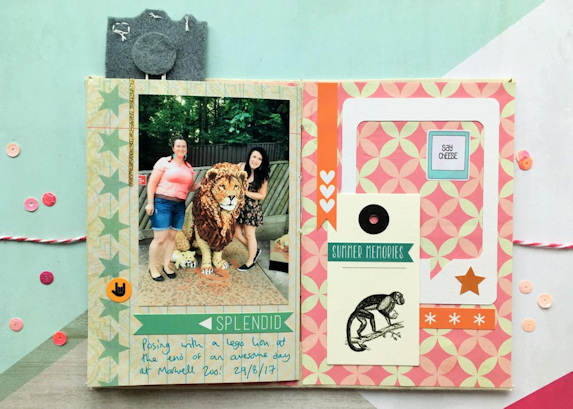
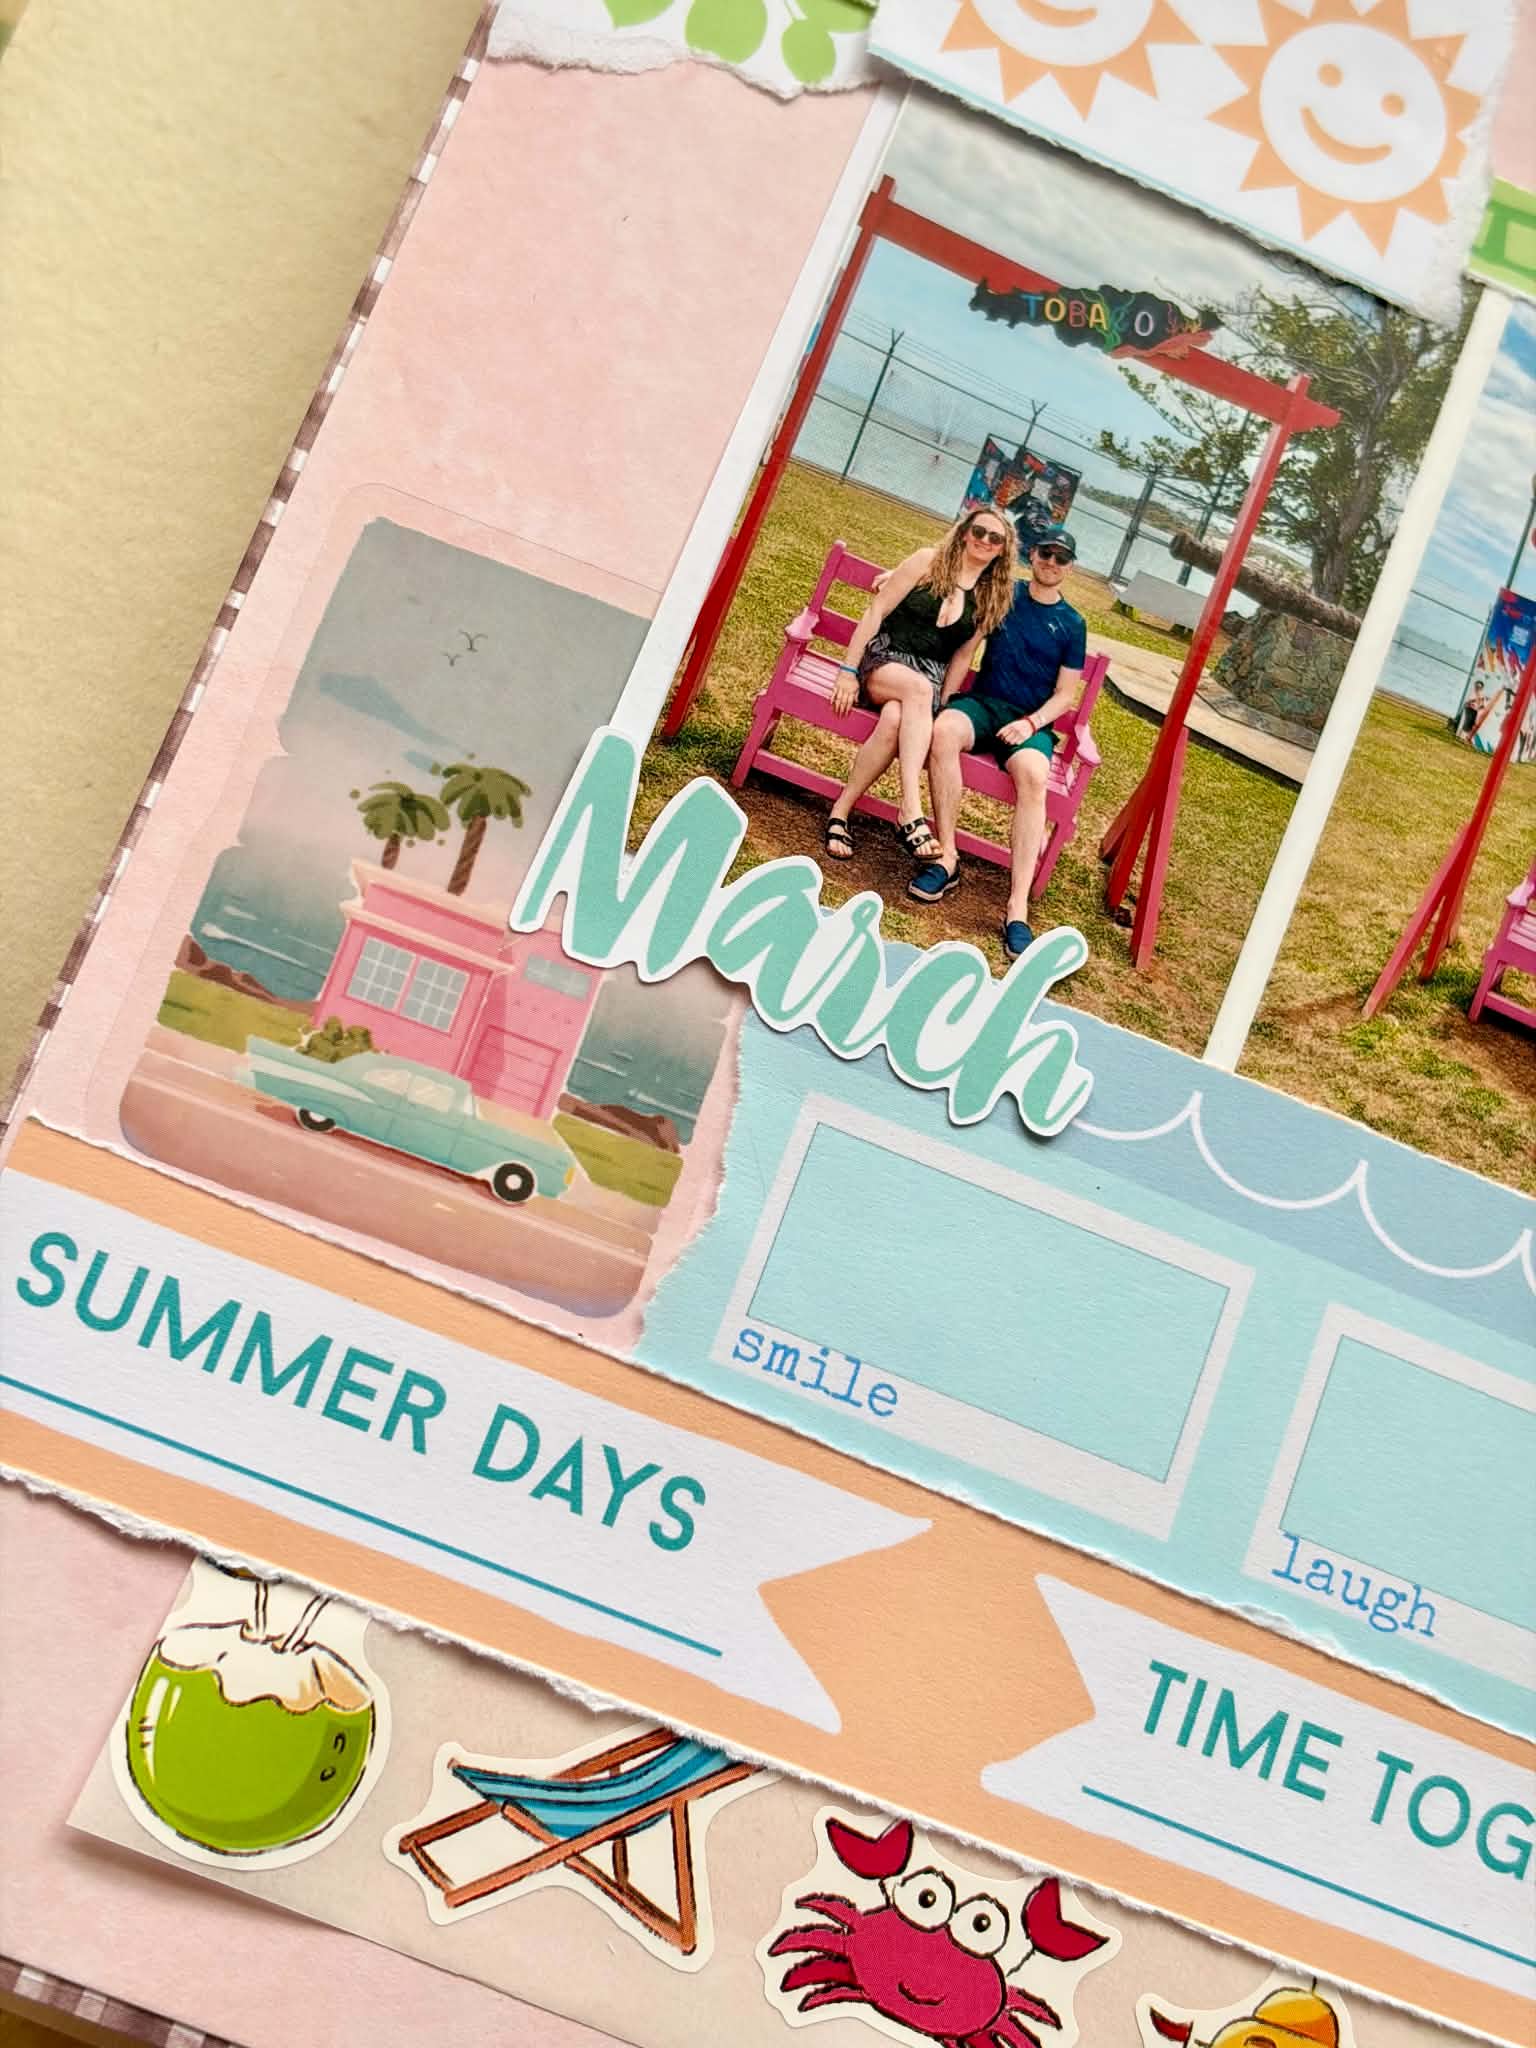
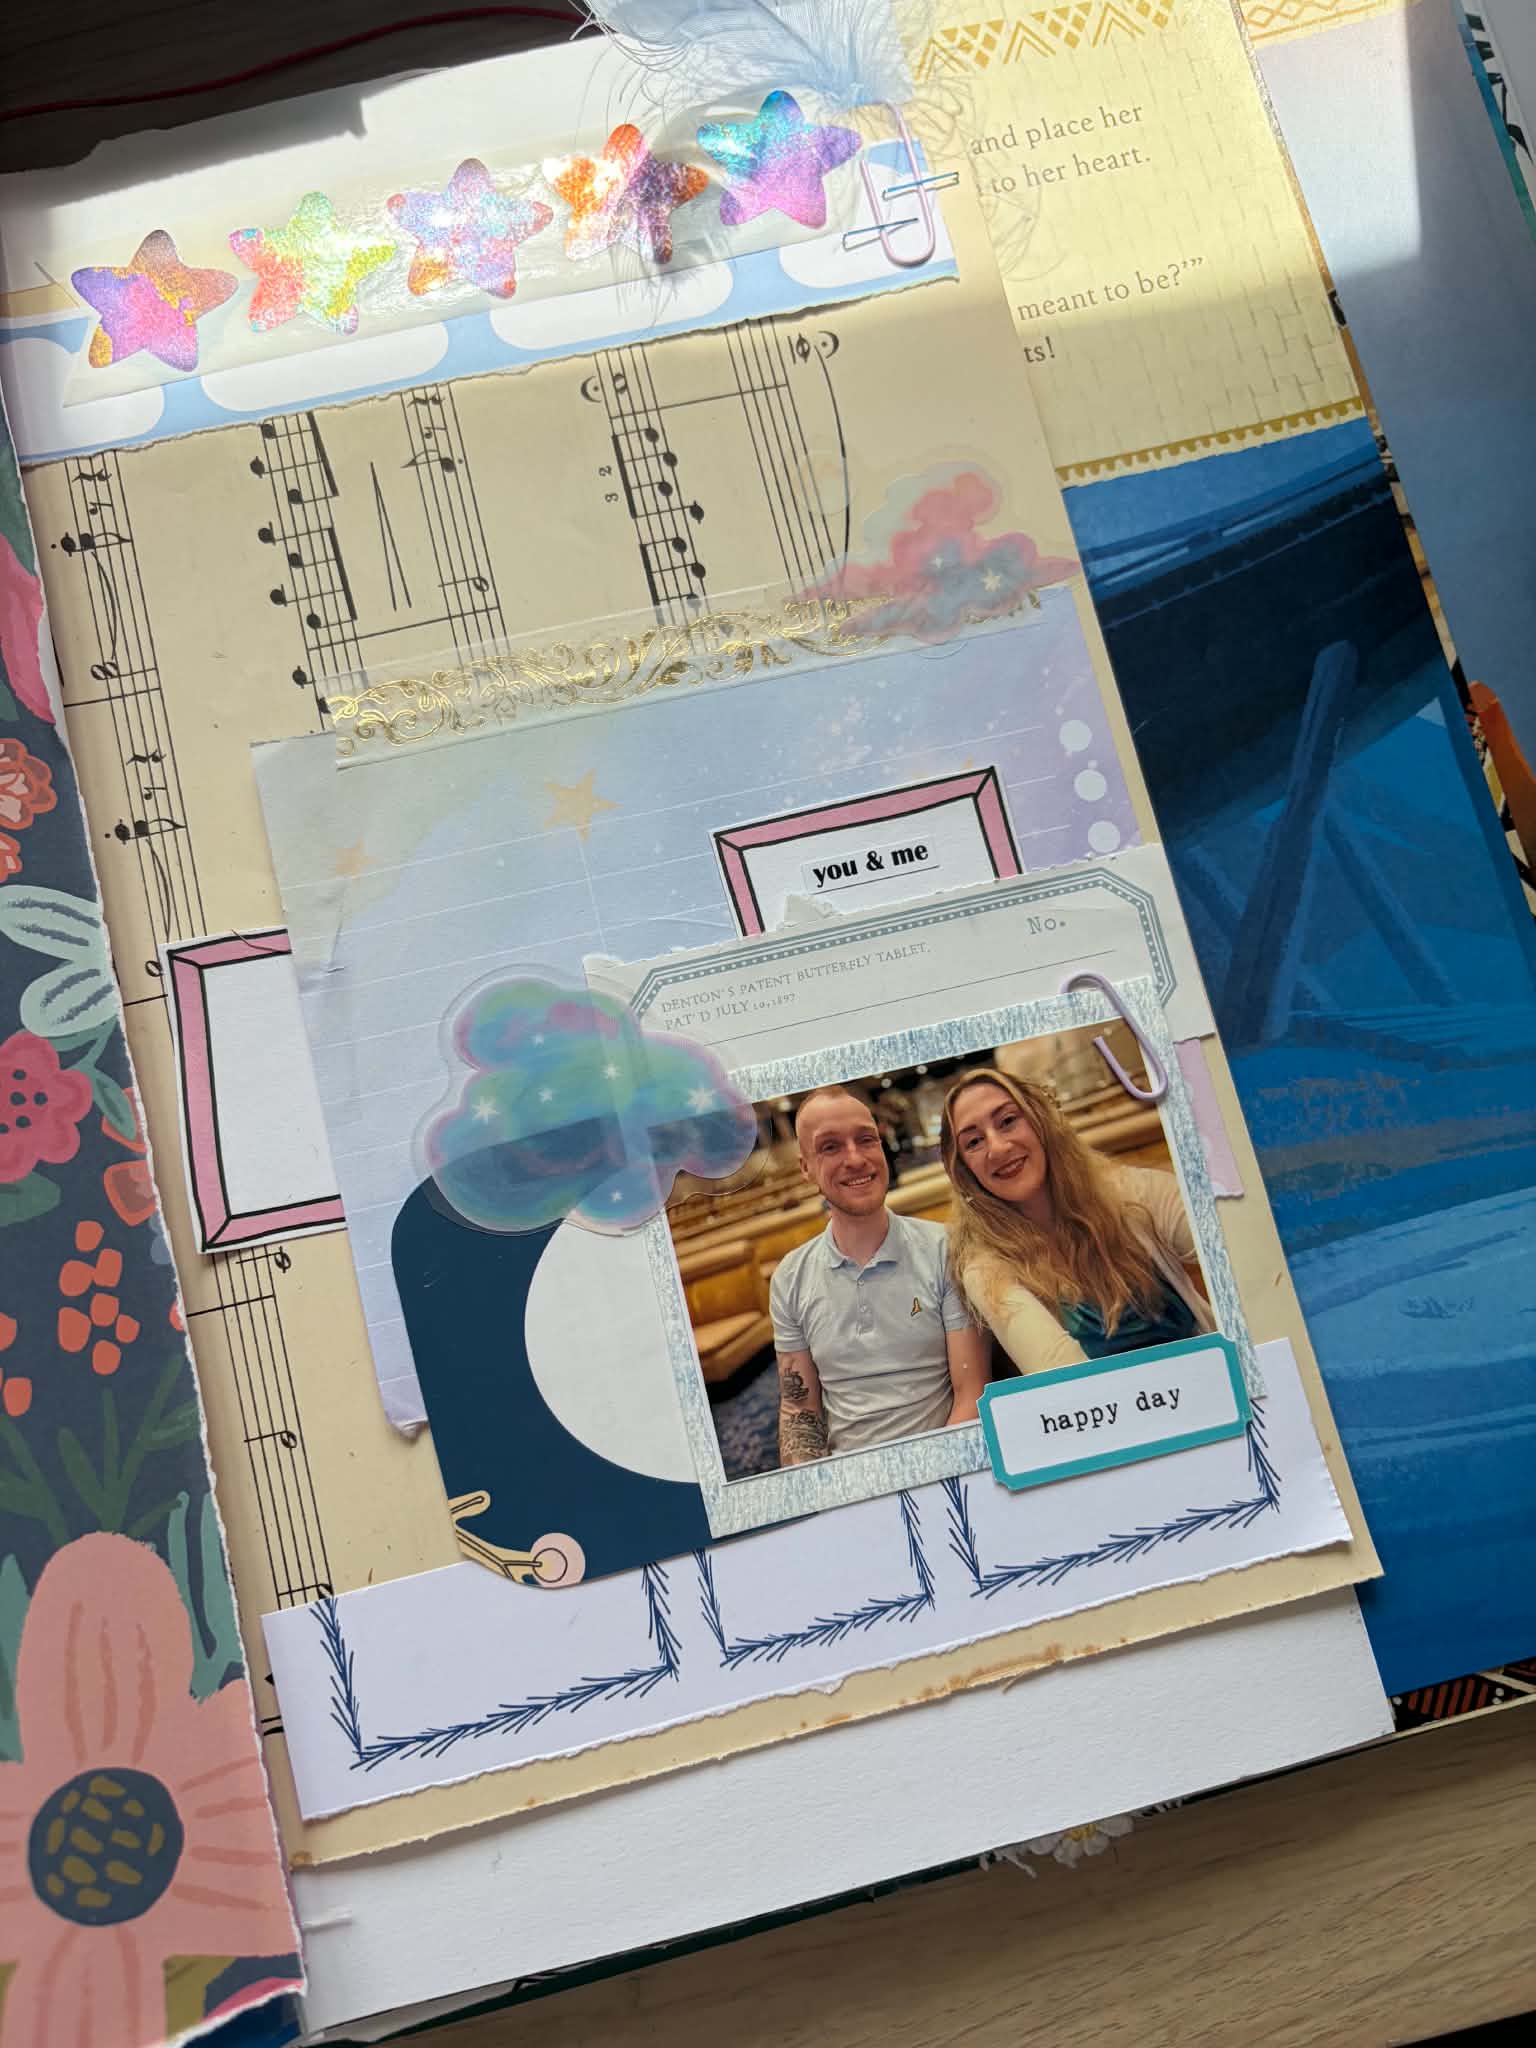
Then I was able to decorate my book. I didn’t want it to get too thick so I used almost all flat embellishments – from the kit I used washi tape, stickers, the Happy Scatter die-cut cards, tags, and the speech bubbles. I used the pen from the kit for journaling. I also used some alphabet and element stickers from my stash. The only thicker embellishment I used was the camera paper clip from the kit – as it sticks out of the top it doesn’t make the book thicker. The book is for my sister, she’s been living near us this year, but is probably going to be moving away again soon, so I wanted to give her a little gift to show how we’ve enjoyed having her around lots!
Here’s a look at all the pages:

I had forgotten how much I love making mini books, I think I will be making some more!
Jennifer


Leave A Comment