
Today I am making my own little selfie polaroids.
I love this retro polaroid look. There’s just something about it.
In this month’s ‘Hey Foxy’ Kit, you will receive 2 of these polaroid frames along with some string and the hearts pegs.
This is how I turned mine in to polaroid photos.
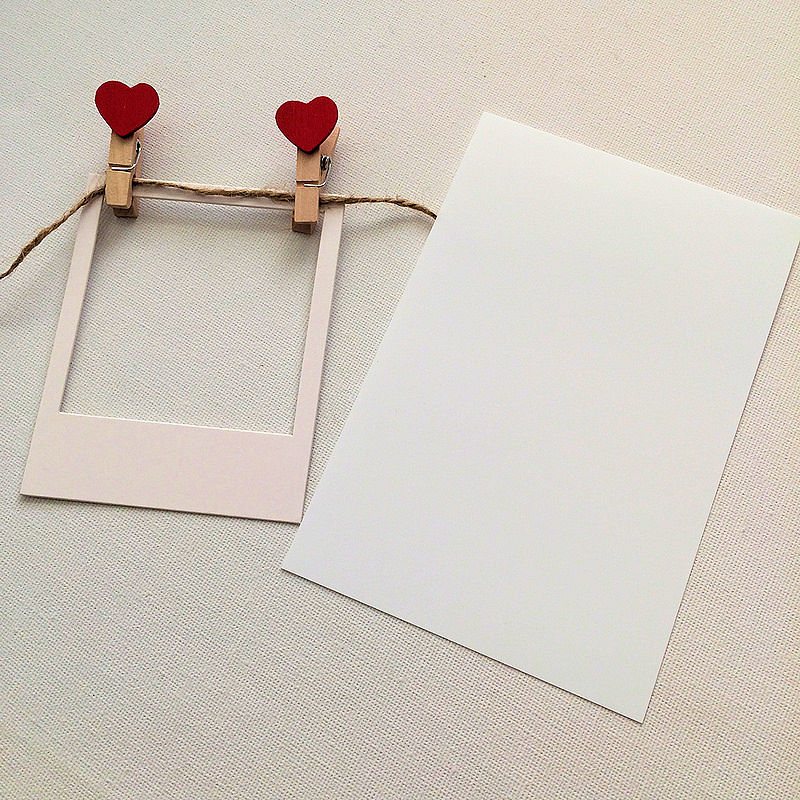
I started off with one of the frames and a 4×6” piece of photo paper. You could also just take a photo that’s been ready printed. But I like to print my own.
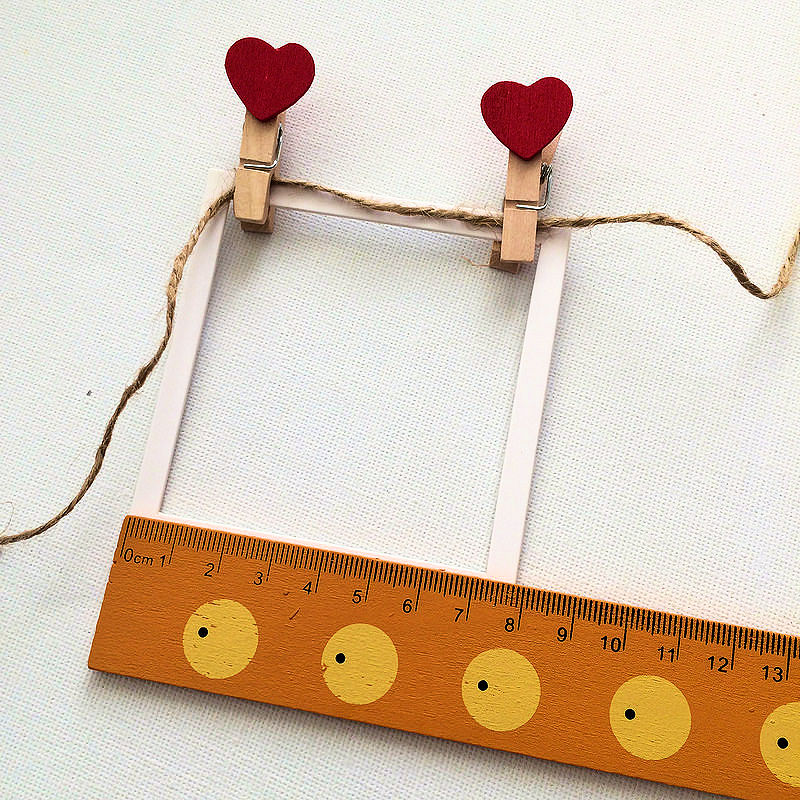
You’ll need to measure the photo space so you know what size to print your photo. I printed mine off 8cm wide.
(If you are using a ready printed photo, just lay the frame over the top and move it around until you are happy with how it will appear in the frame. Draw around the outside of the frame so the the photo is larger enabling you to stick it to the back of the frame. If the photo is too small you will have nothing to stick it to).
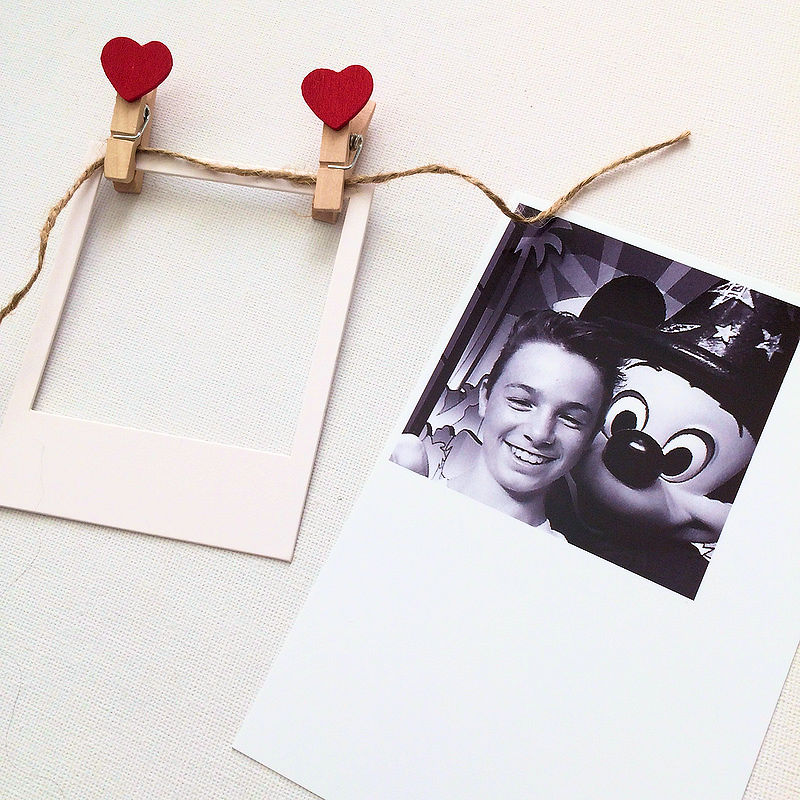
My photo is slightly larger than the frame and can now be trimmed ready.
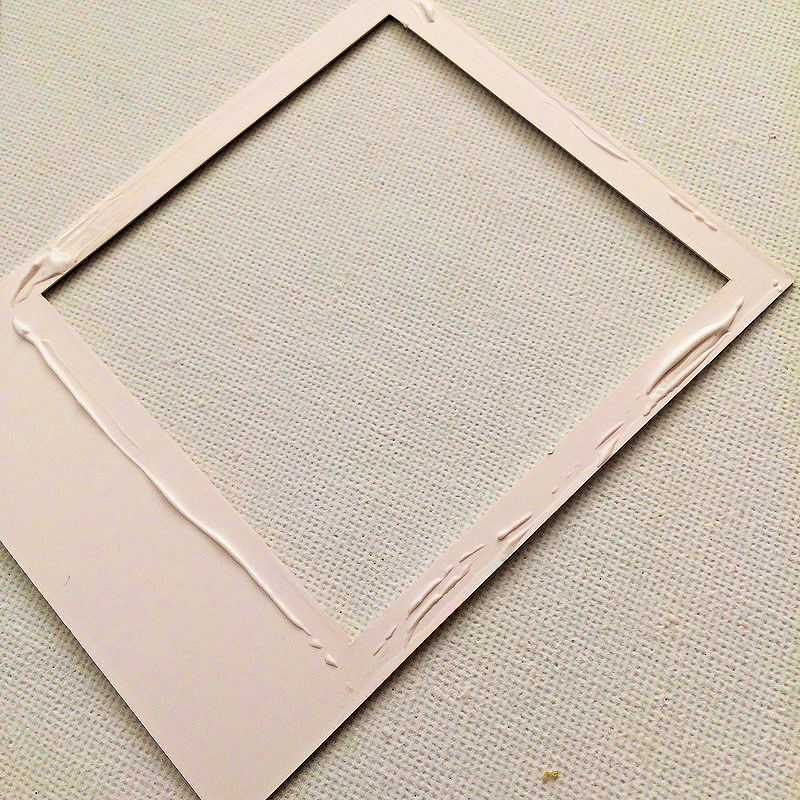
I used regular pva glue on the back of the frame.
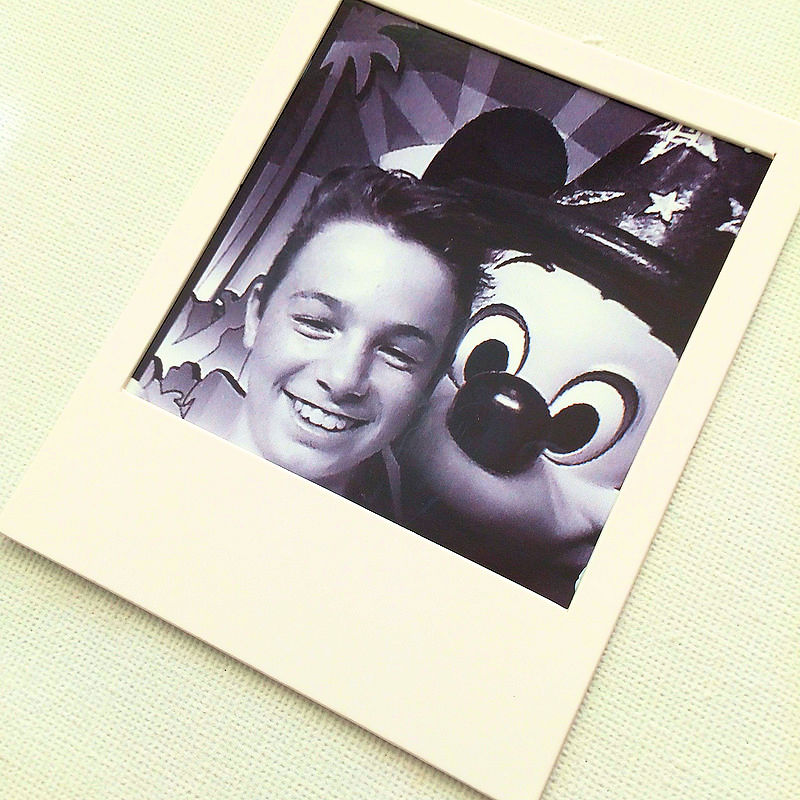
The frame then gets stuck on to the photo. You will have a few seconds to move it until you are happy and it’s stuck in place.
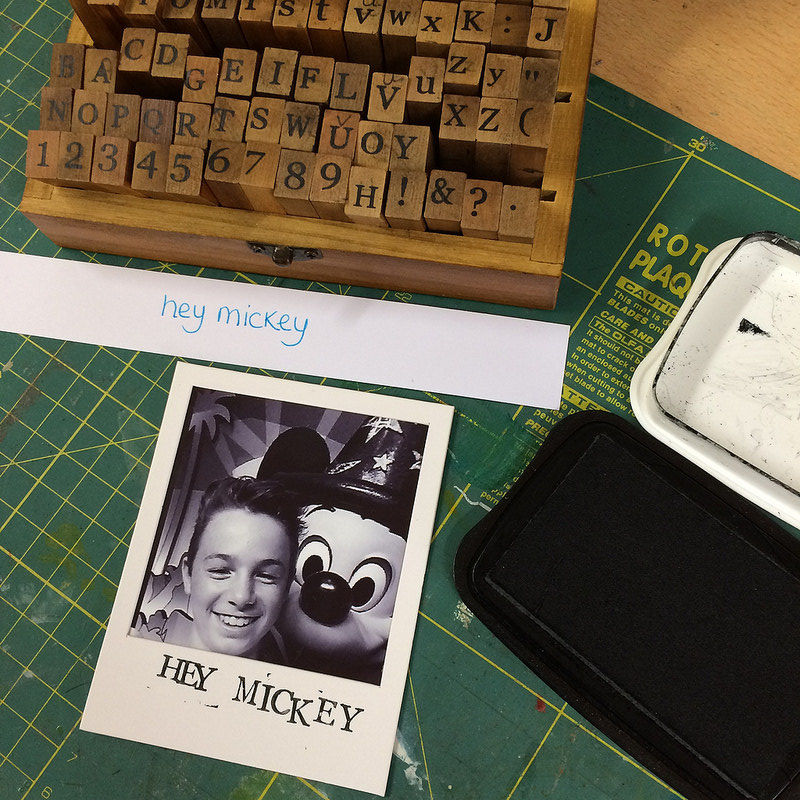
I decided to stamp some words along the bottom of the frame. I used a little alphabet stamp set that can be bought very cheaply at most craft stores or online. They are really handy to have.
If you are a perfectionist, you can draw a faint pencil line to stamp along. I am not …and like that playful look. One big tip….always have the wording written out in front of you. I have made so many silly mistakes doing this in the past.
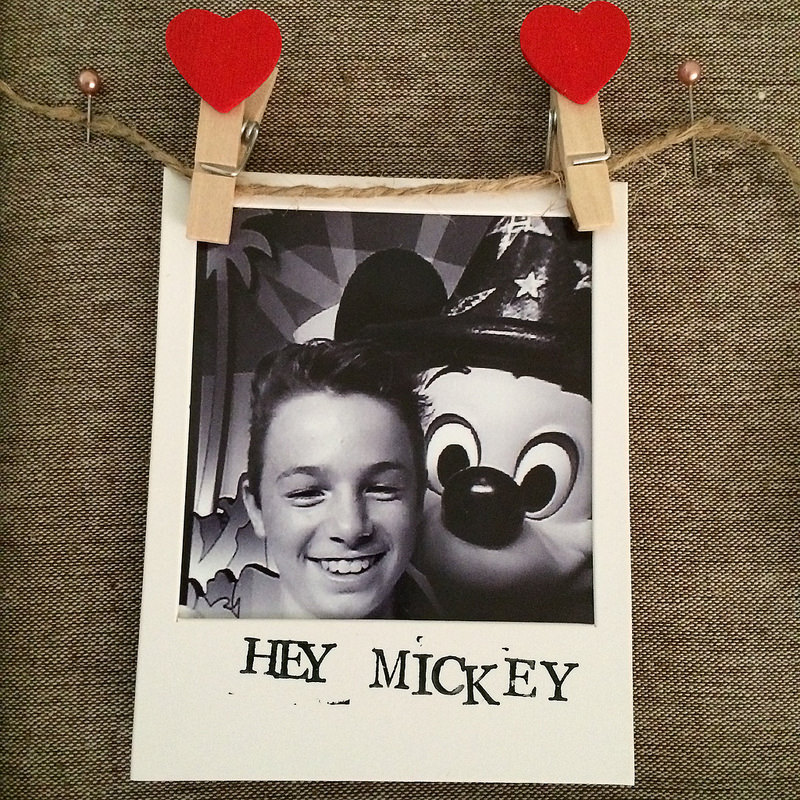
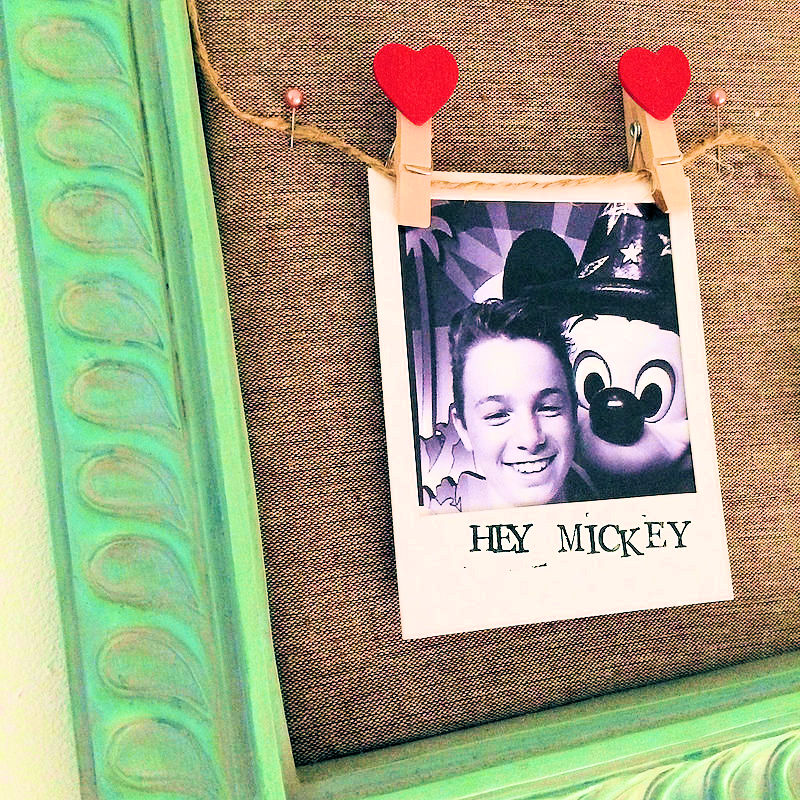
We have a framed canvas board on our Disney wall gallery going up the stairs, so I have pinned this photo here. You can add your’s to a pin board, inside a photo frame, pinned to a wall or add it inside your planner or to a scrapbooking page.
Have fun making your polaroid selfie photos!!


Leave A Comment