
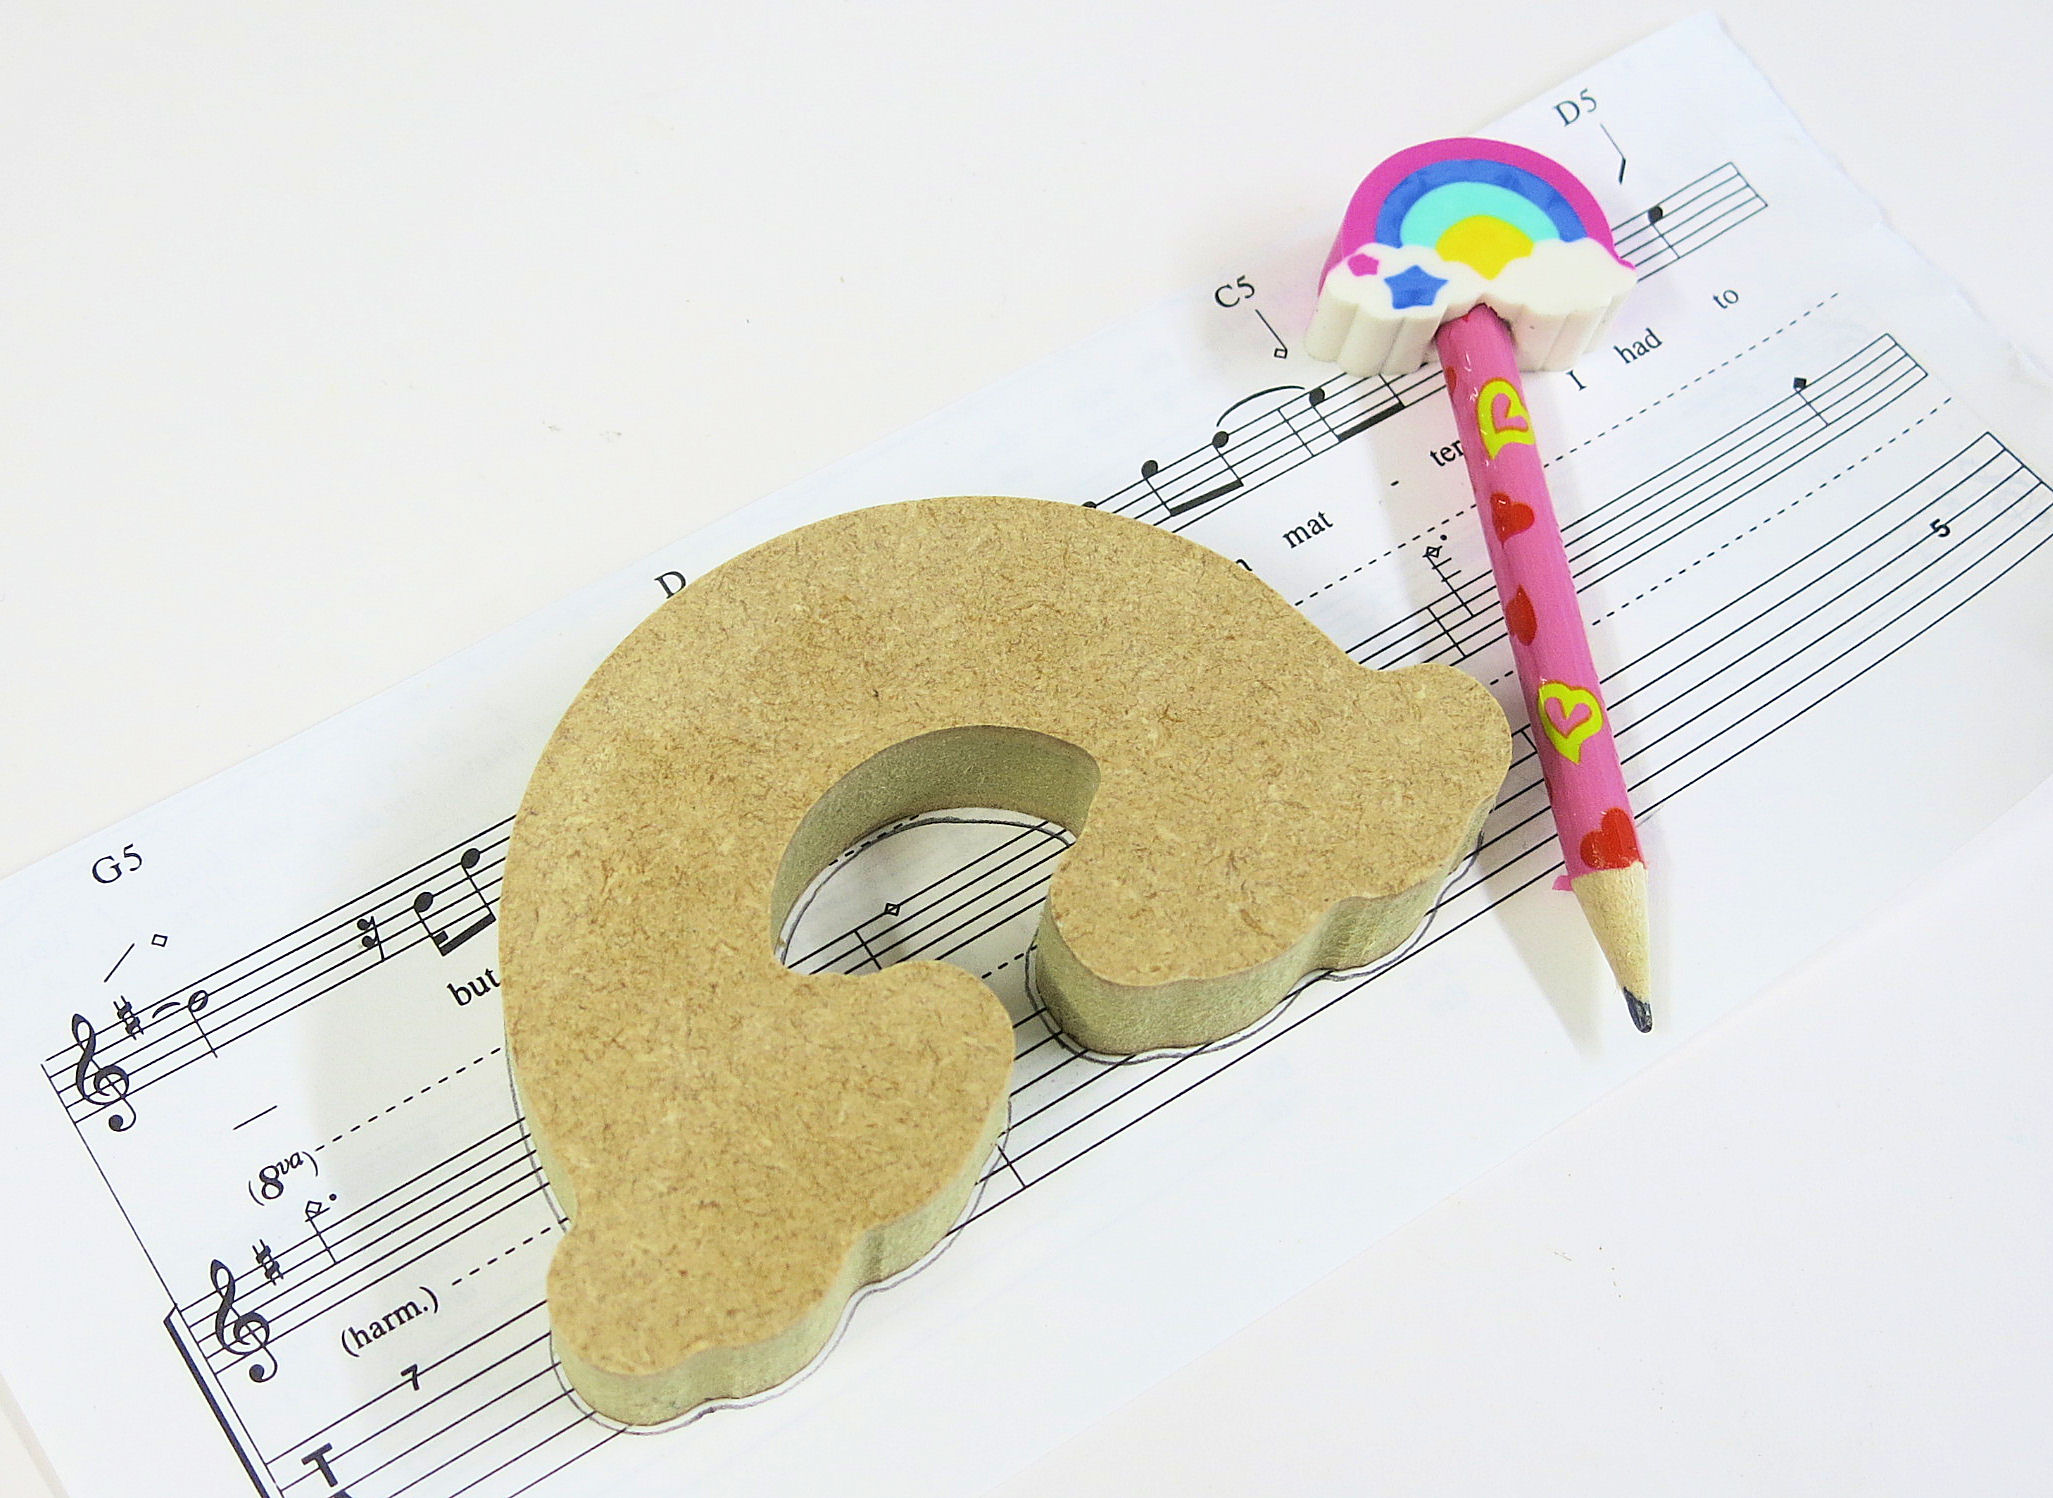
Did you love your wooden rainbows in your July boxes? Have you transformed your’s yet? Today I am going to show you how I prettied mine up. Time to get messy fingers!!
I started by taking my script paper and pencil from my kit and drawing around the wooden rainbow. This needs to be done twice so that you can cover both sides.
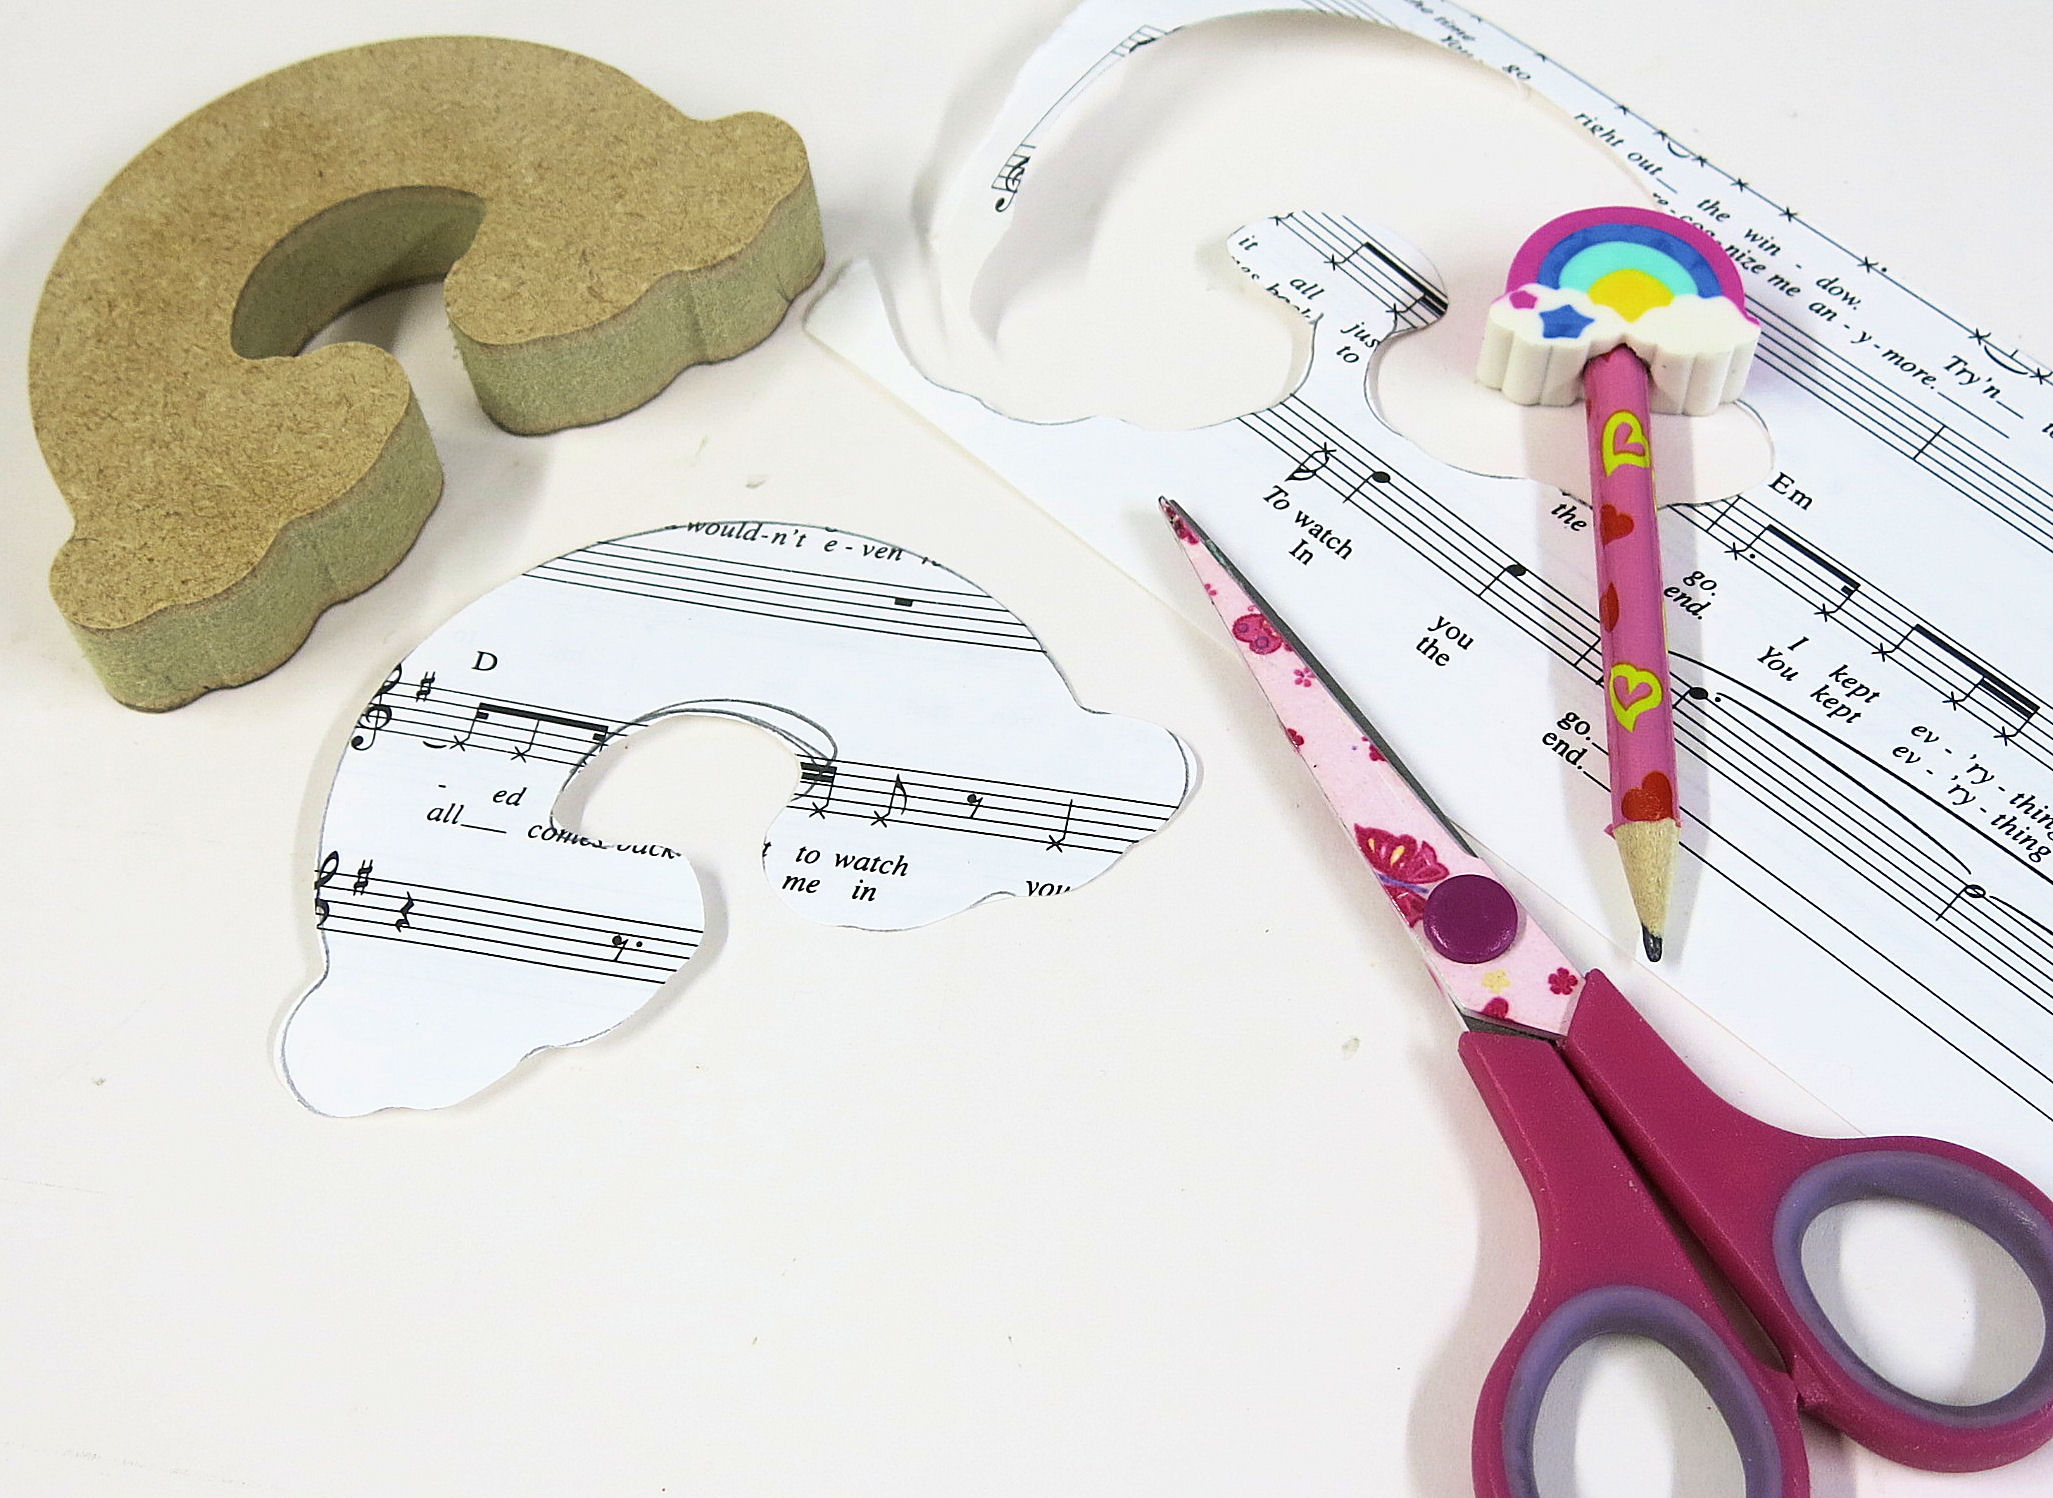
Then cut out the rainbow shapes.
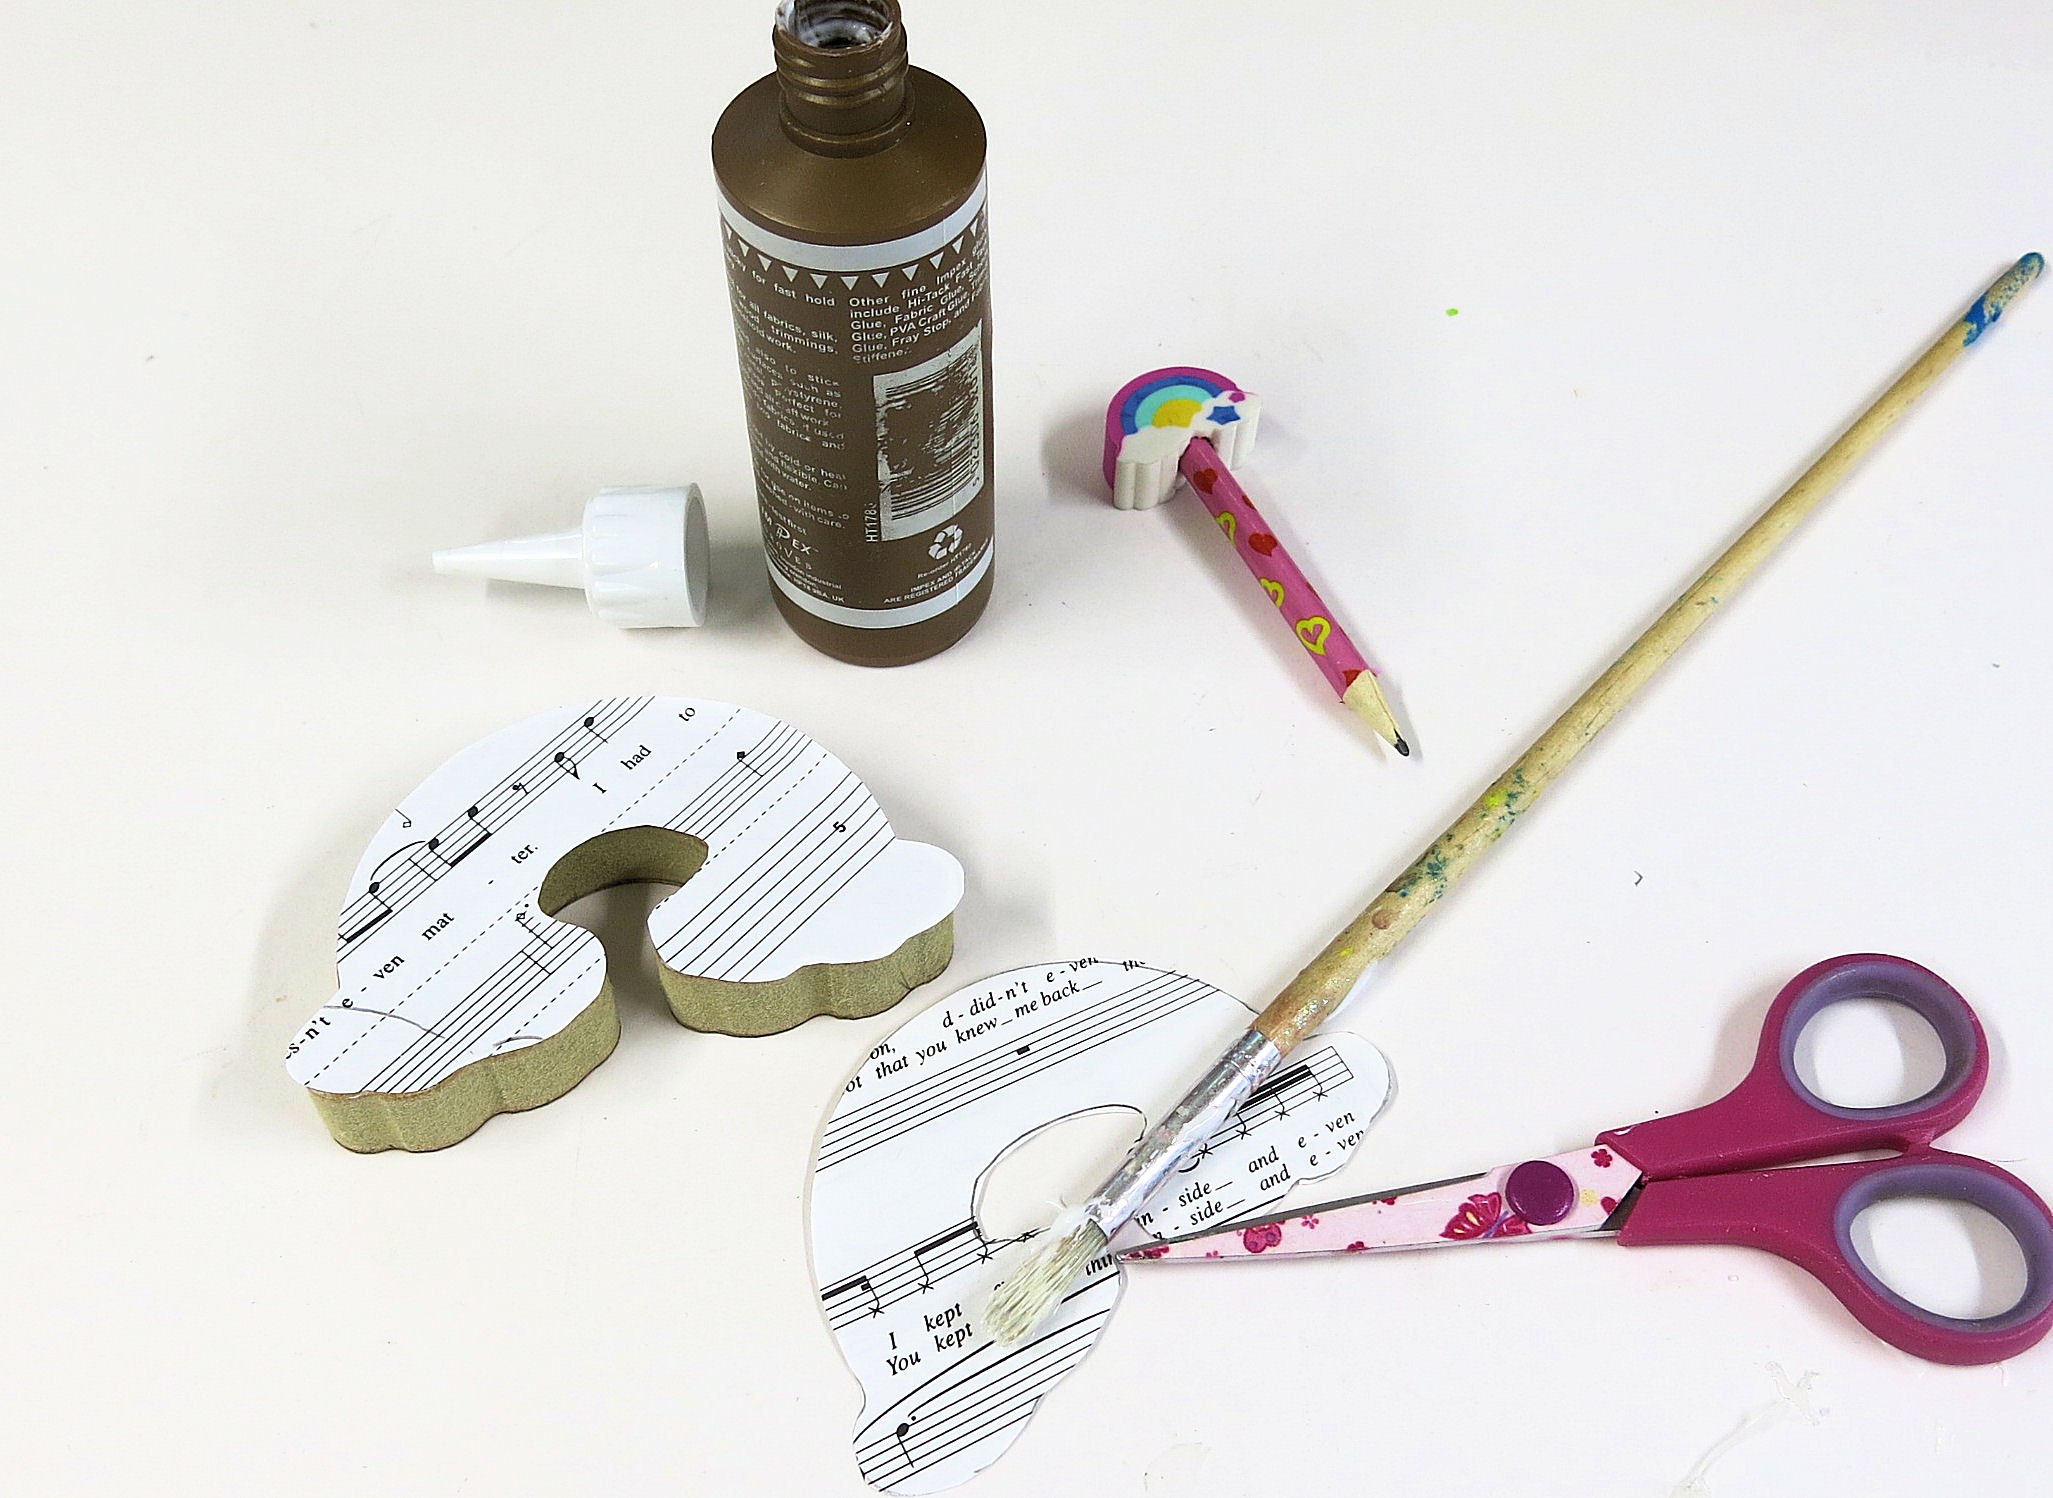
Using regular pva glue, both pieces get stuck to the sides on the rainbow.

Once the glue is dry, which doesn’t take very long, the edges can be tidied up. I find filing the easiest way and this also gives the best finish. Cheap disposable nail files from the chemist also work a treat for this.
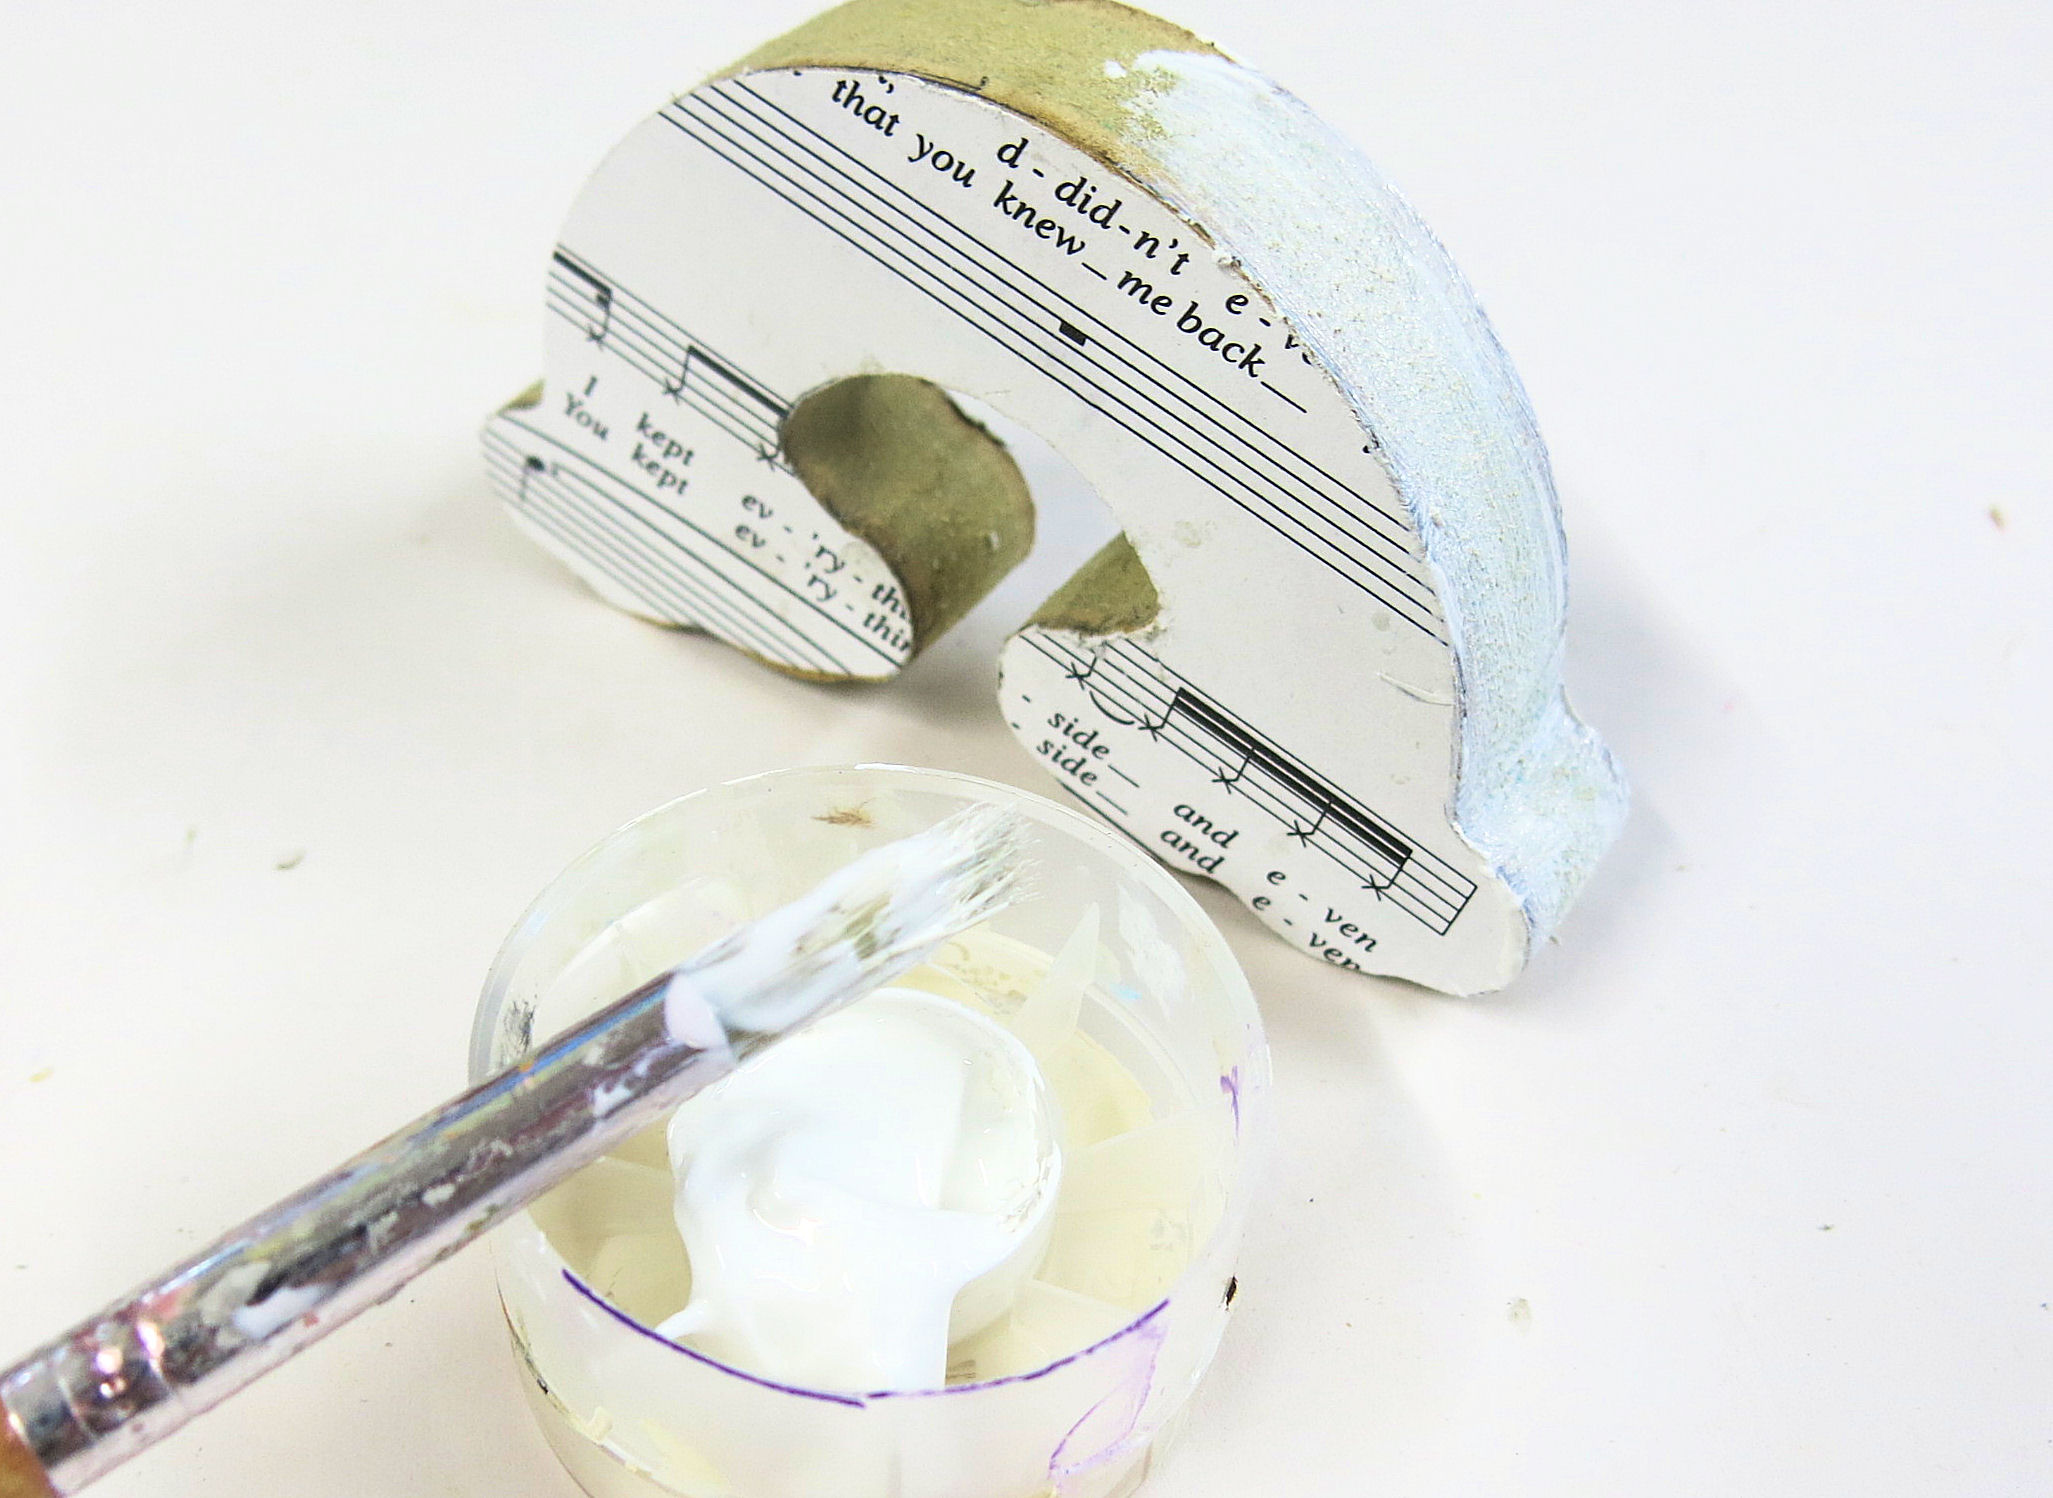
The whole rainbow can then be painted with white acrylic paint. I gave mine 2-3 coats.
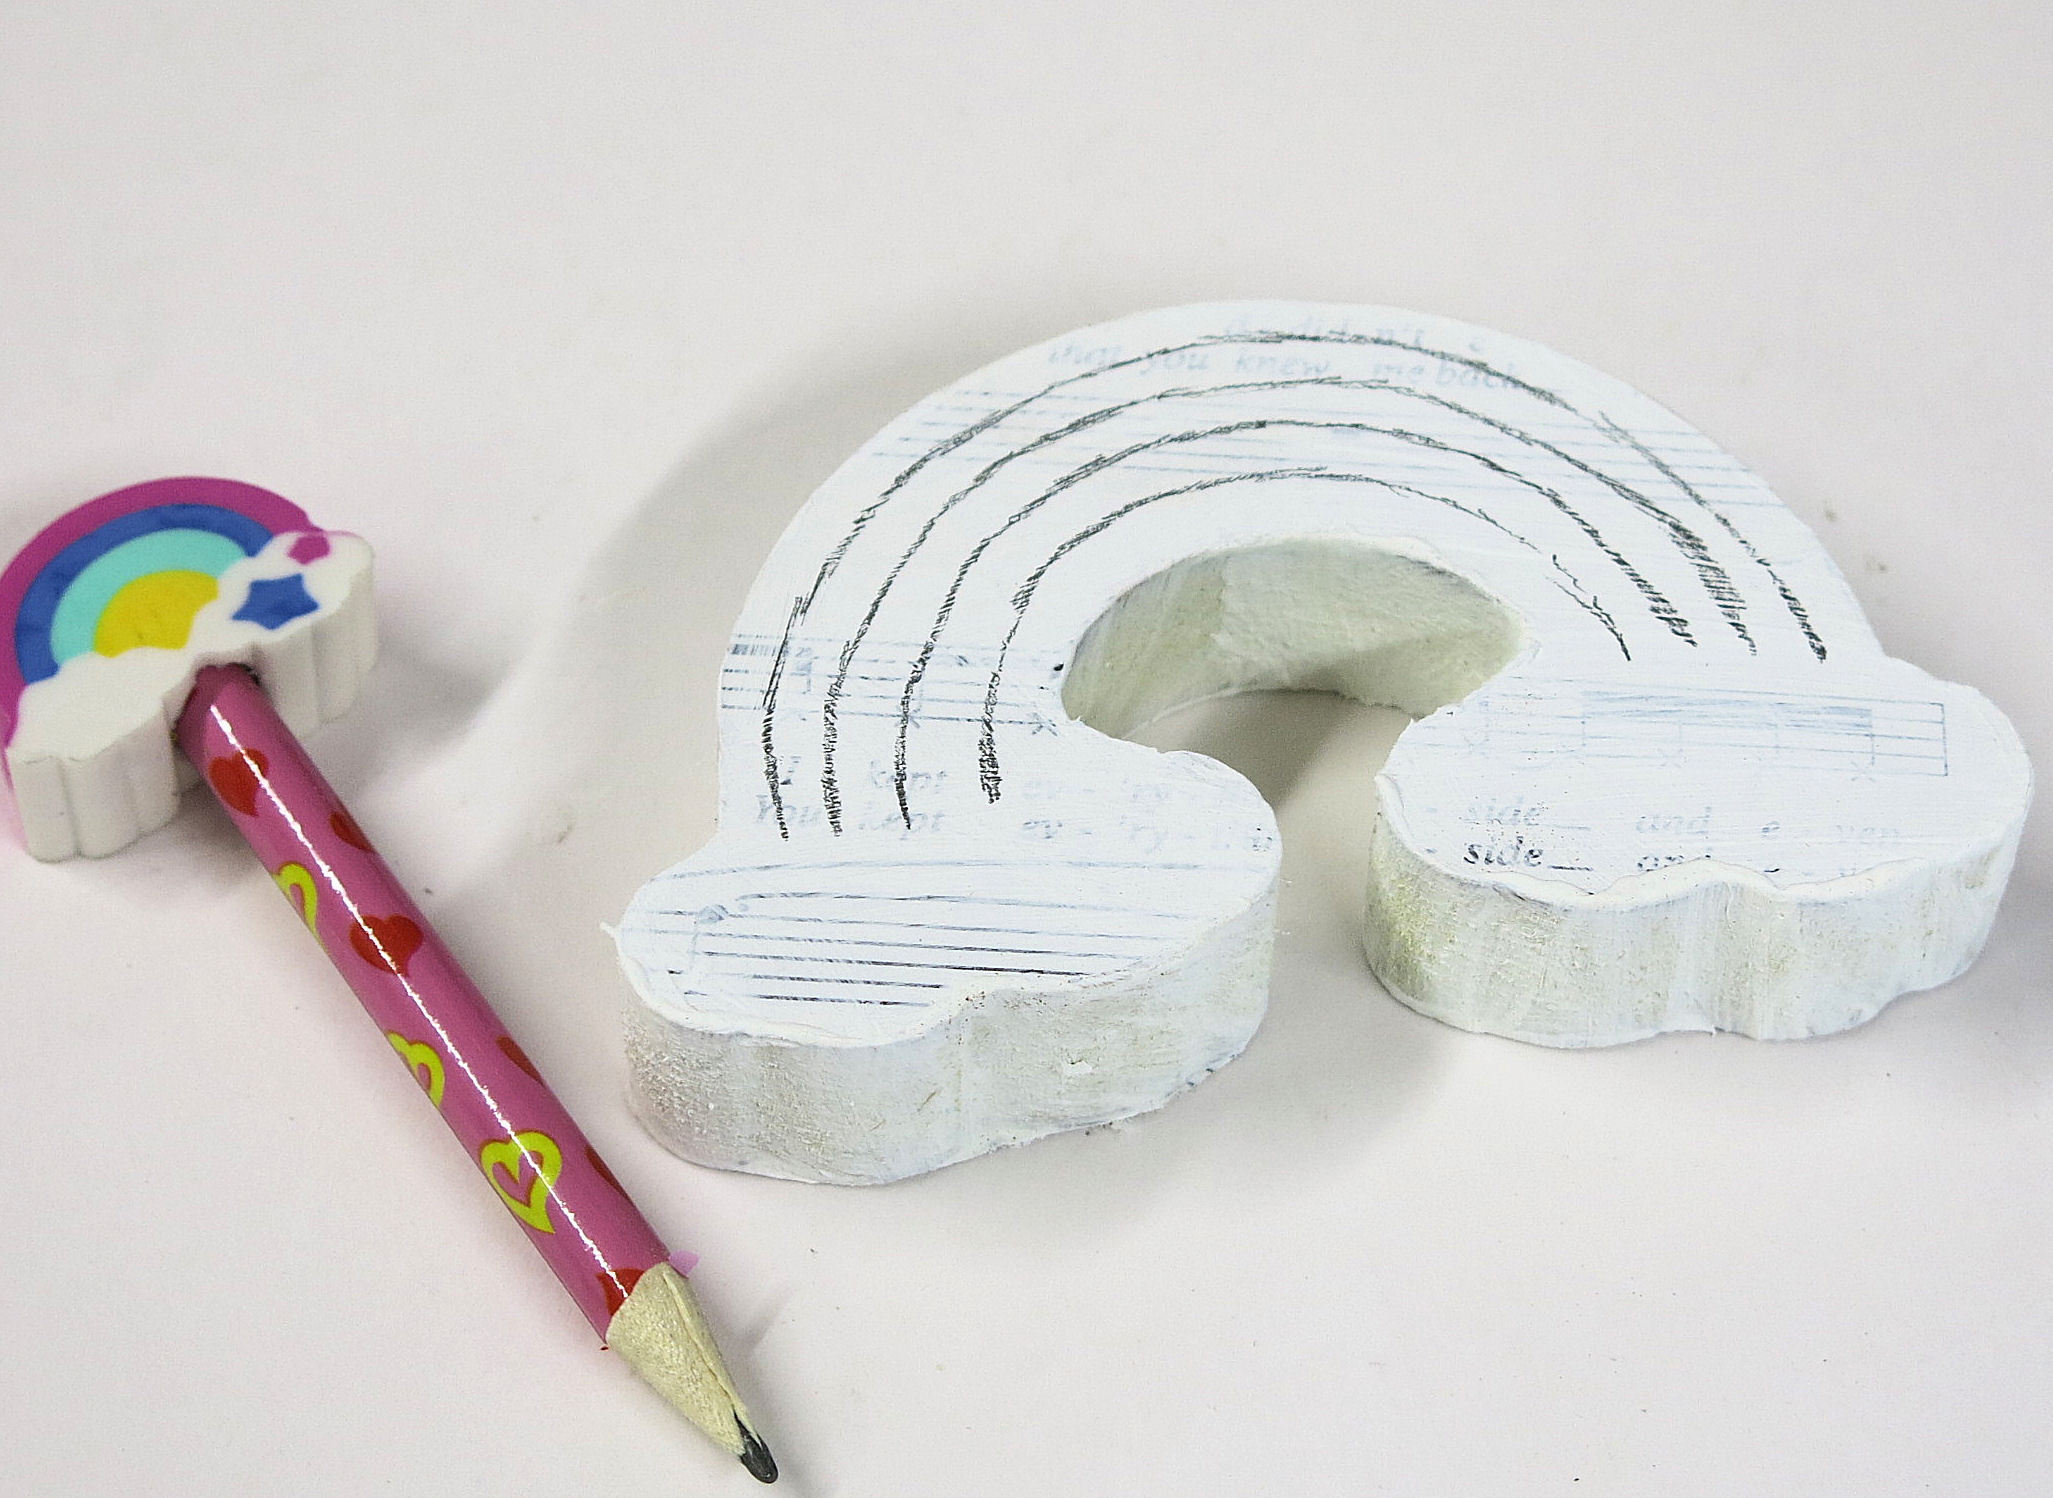
When dry take your pencil again and draw in your rainbow lines to make it easier when you start painting.
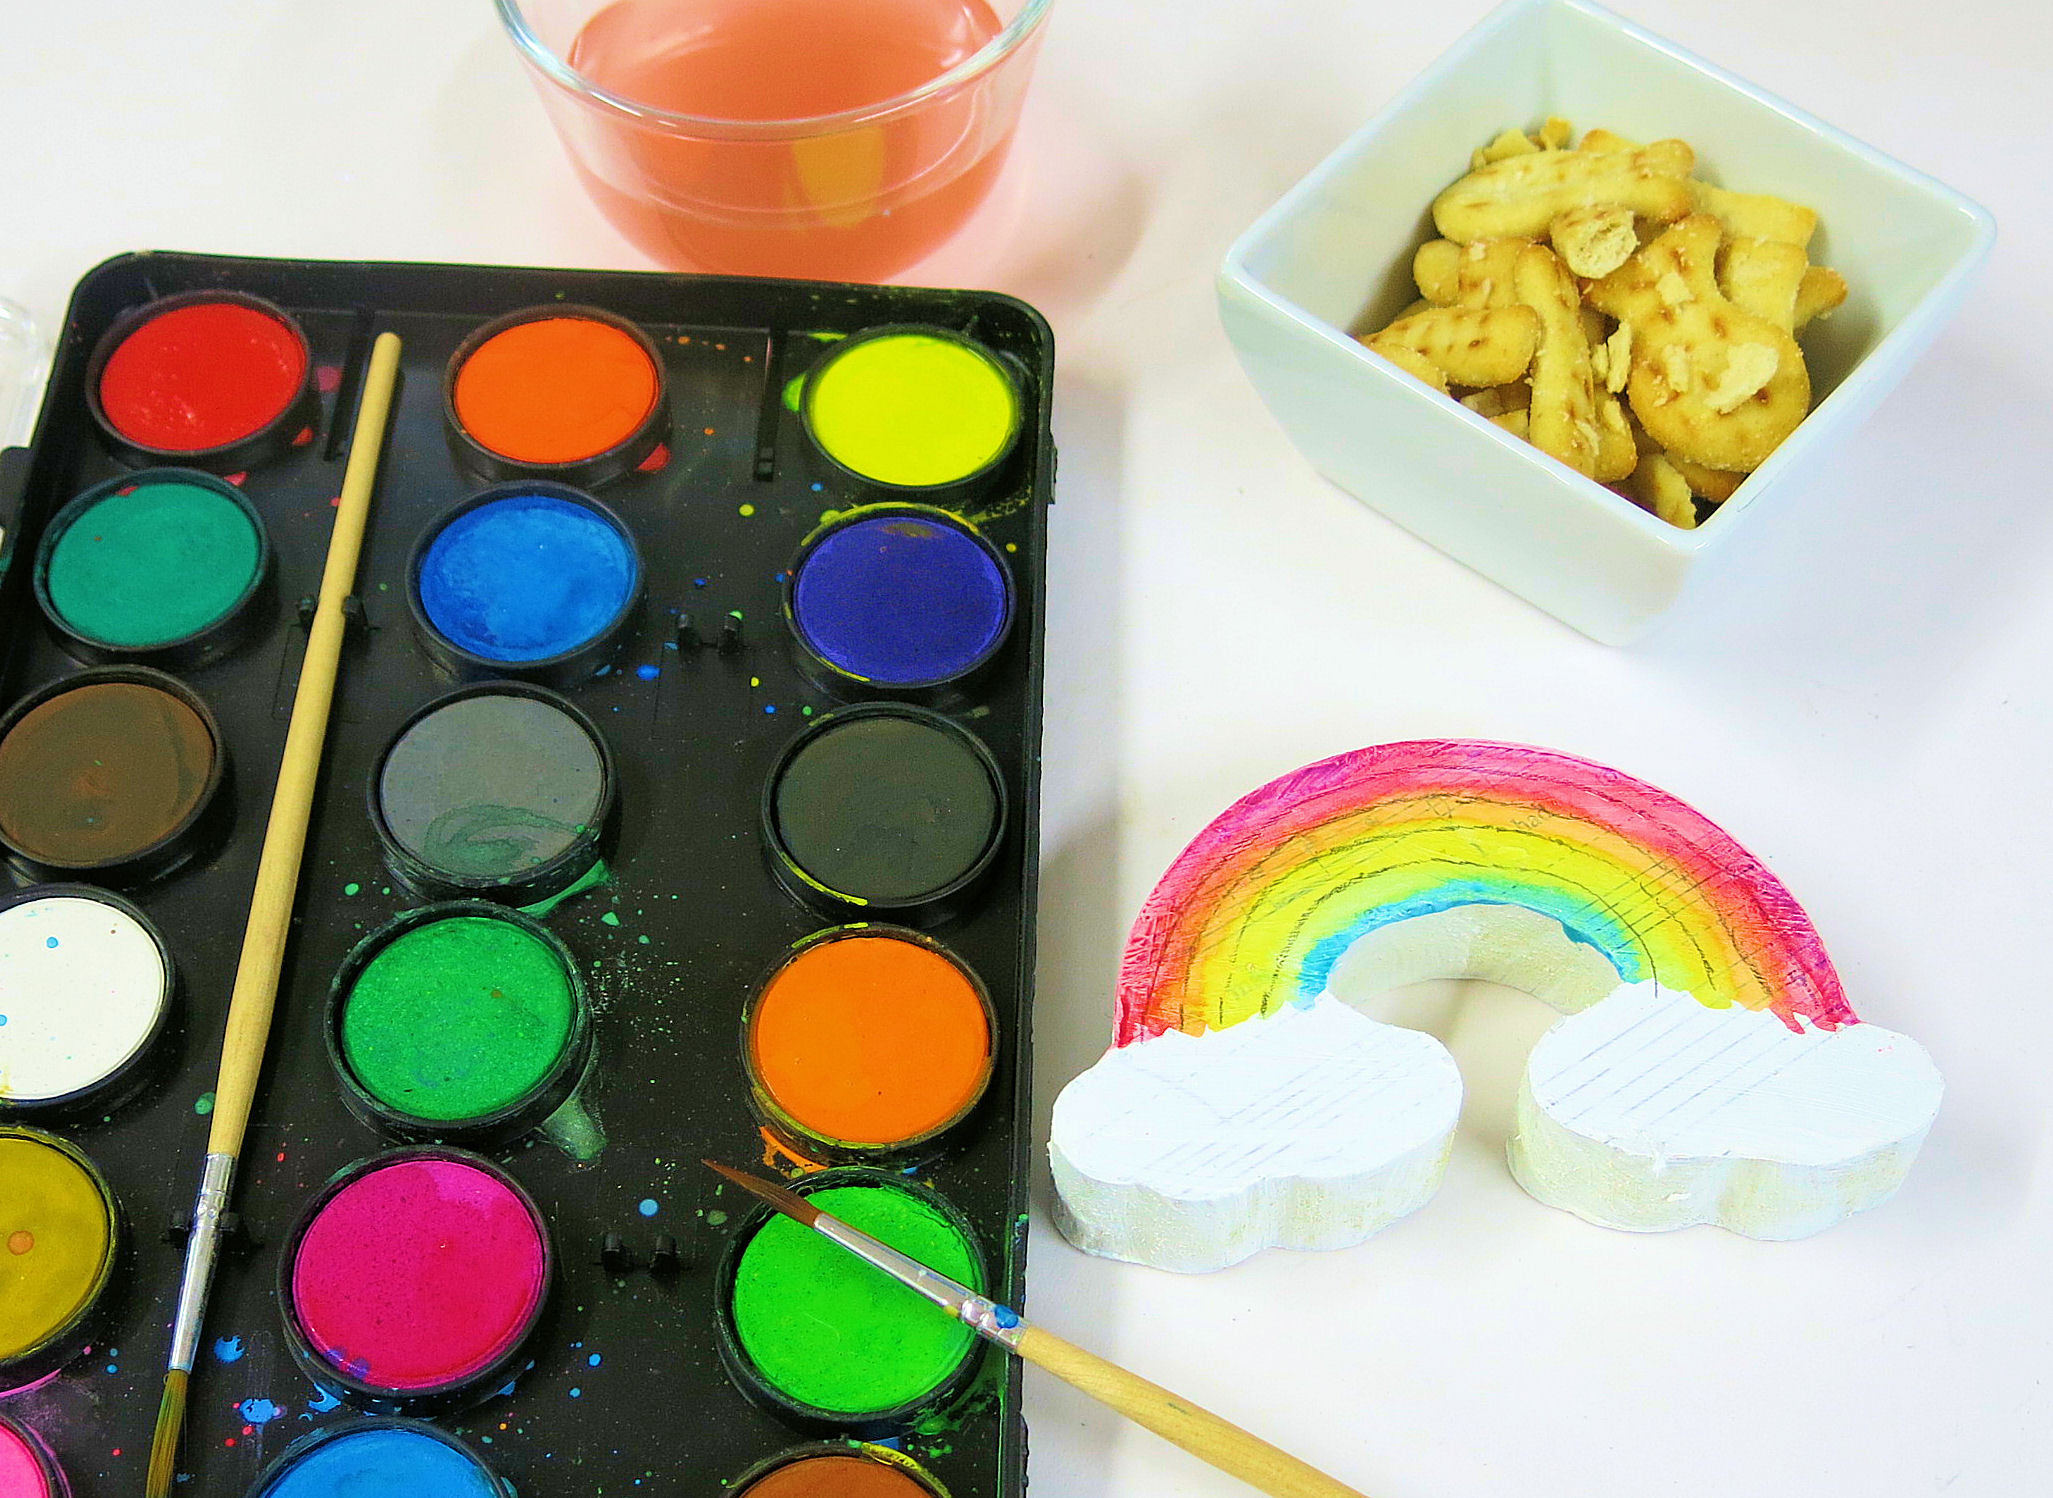
I’ve used water colour paints to paint mine as I like how the colours blend. But acrylic paints can be used or pens too. And my chosen crafty snack today was ‘fish n chips’. Love those!!
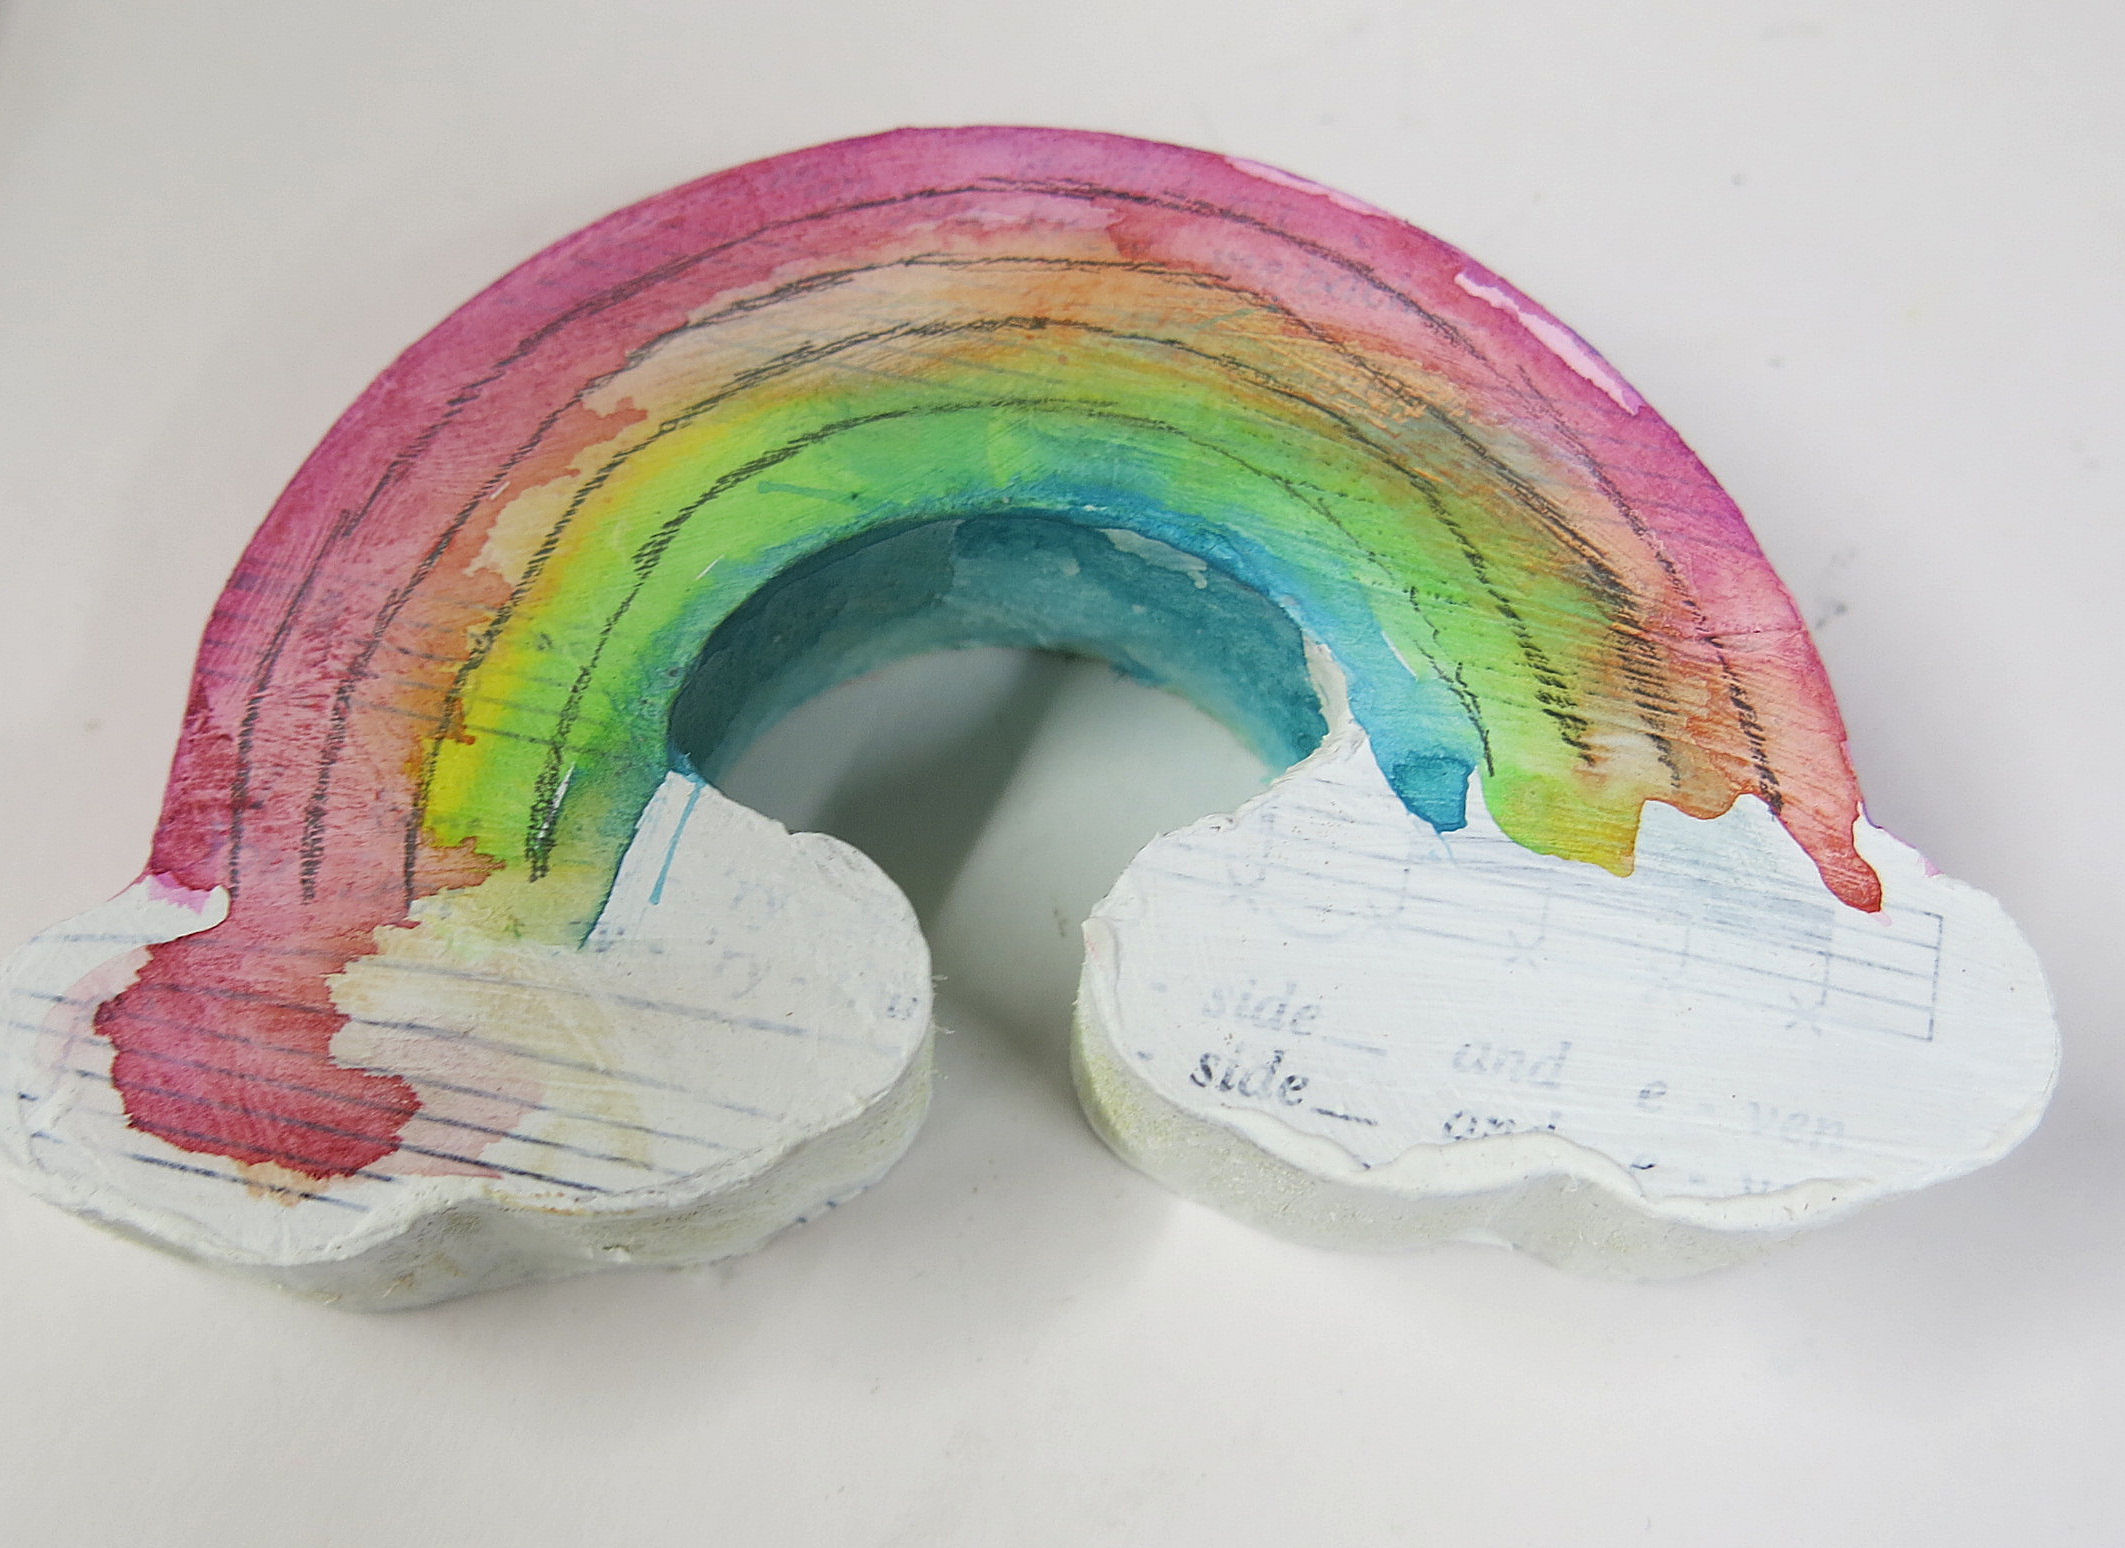
Don’t panic if at some stage it doesn’t quite look how you were expecting it to look. At one point mine looked like this.
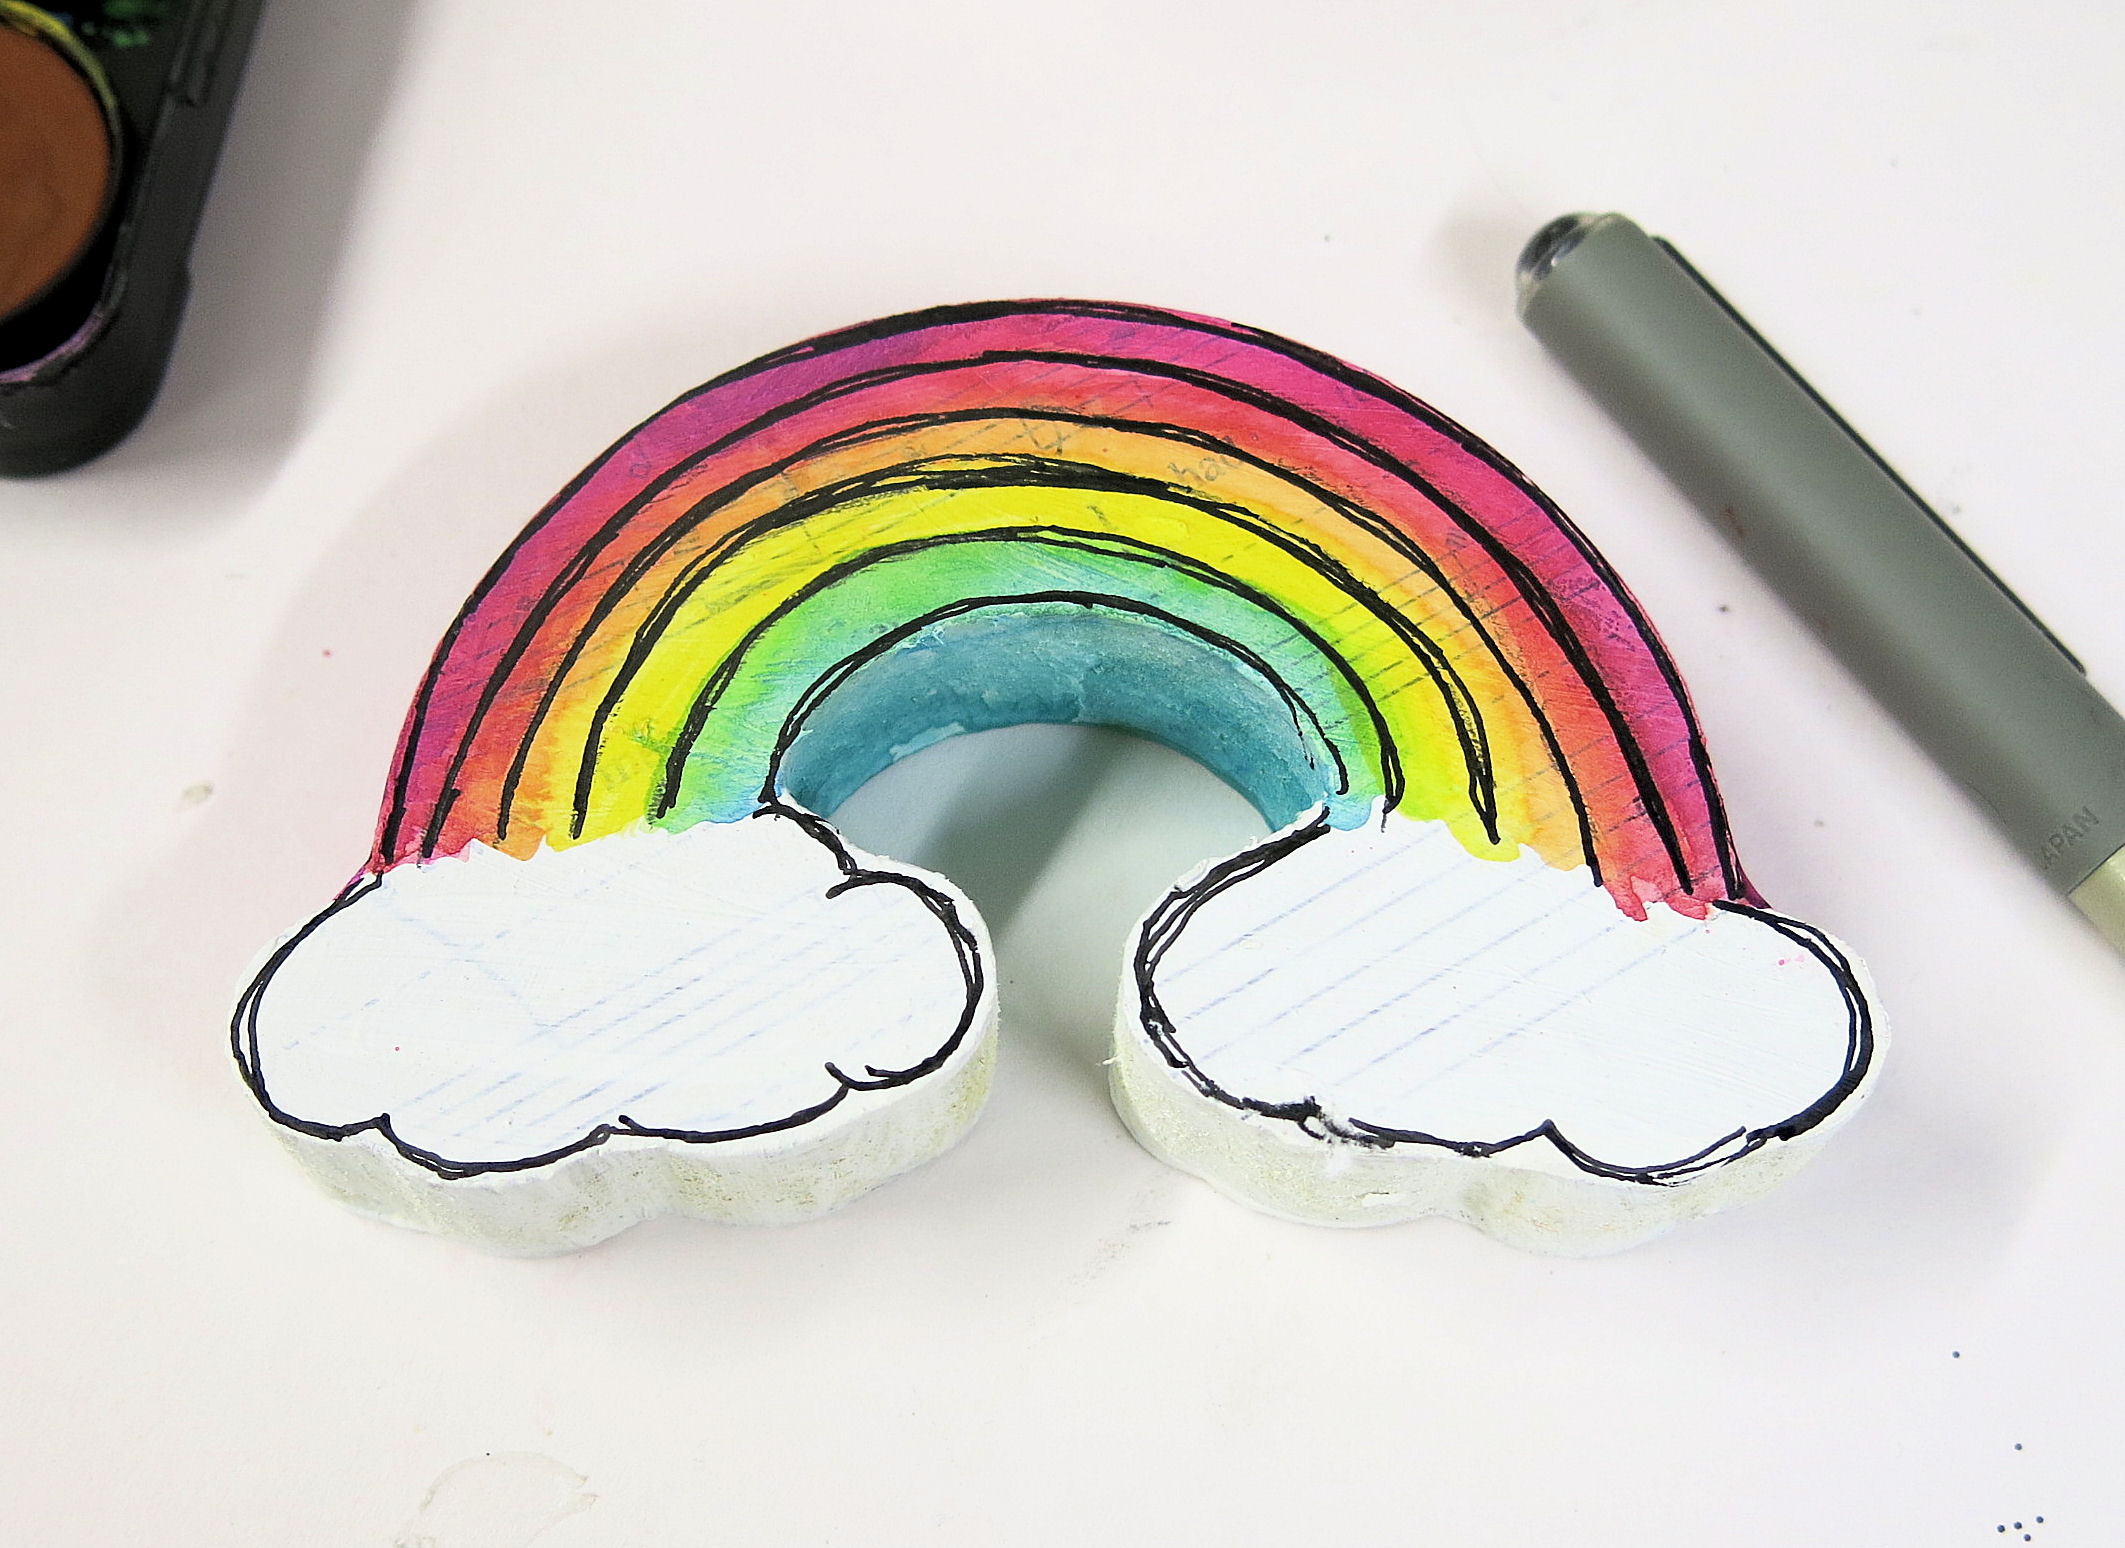
Just go over the coloured lines to brighten them up and add more white paint to the clouds when you’ve finished with the water colours. Once dry, take a black pen and doodle around the edges and over the penciled lines. This needs to be done both sides.
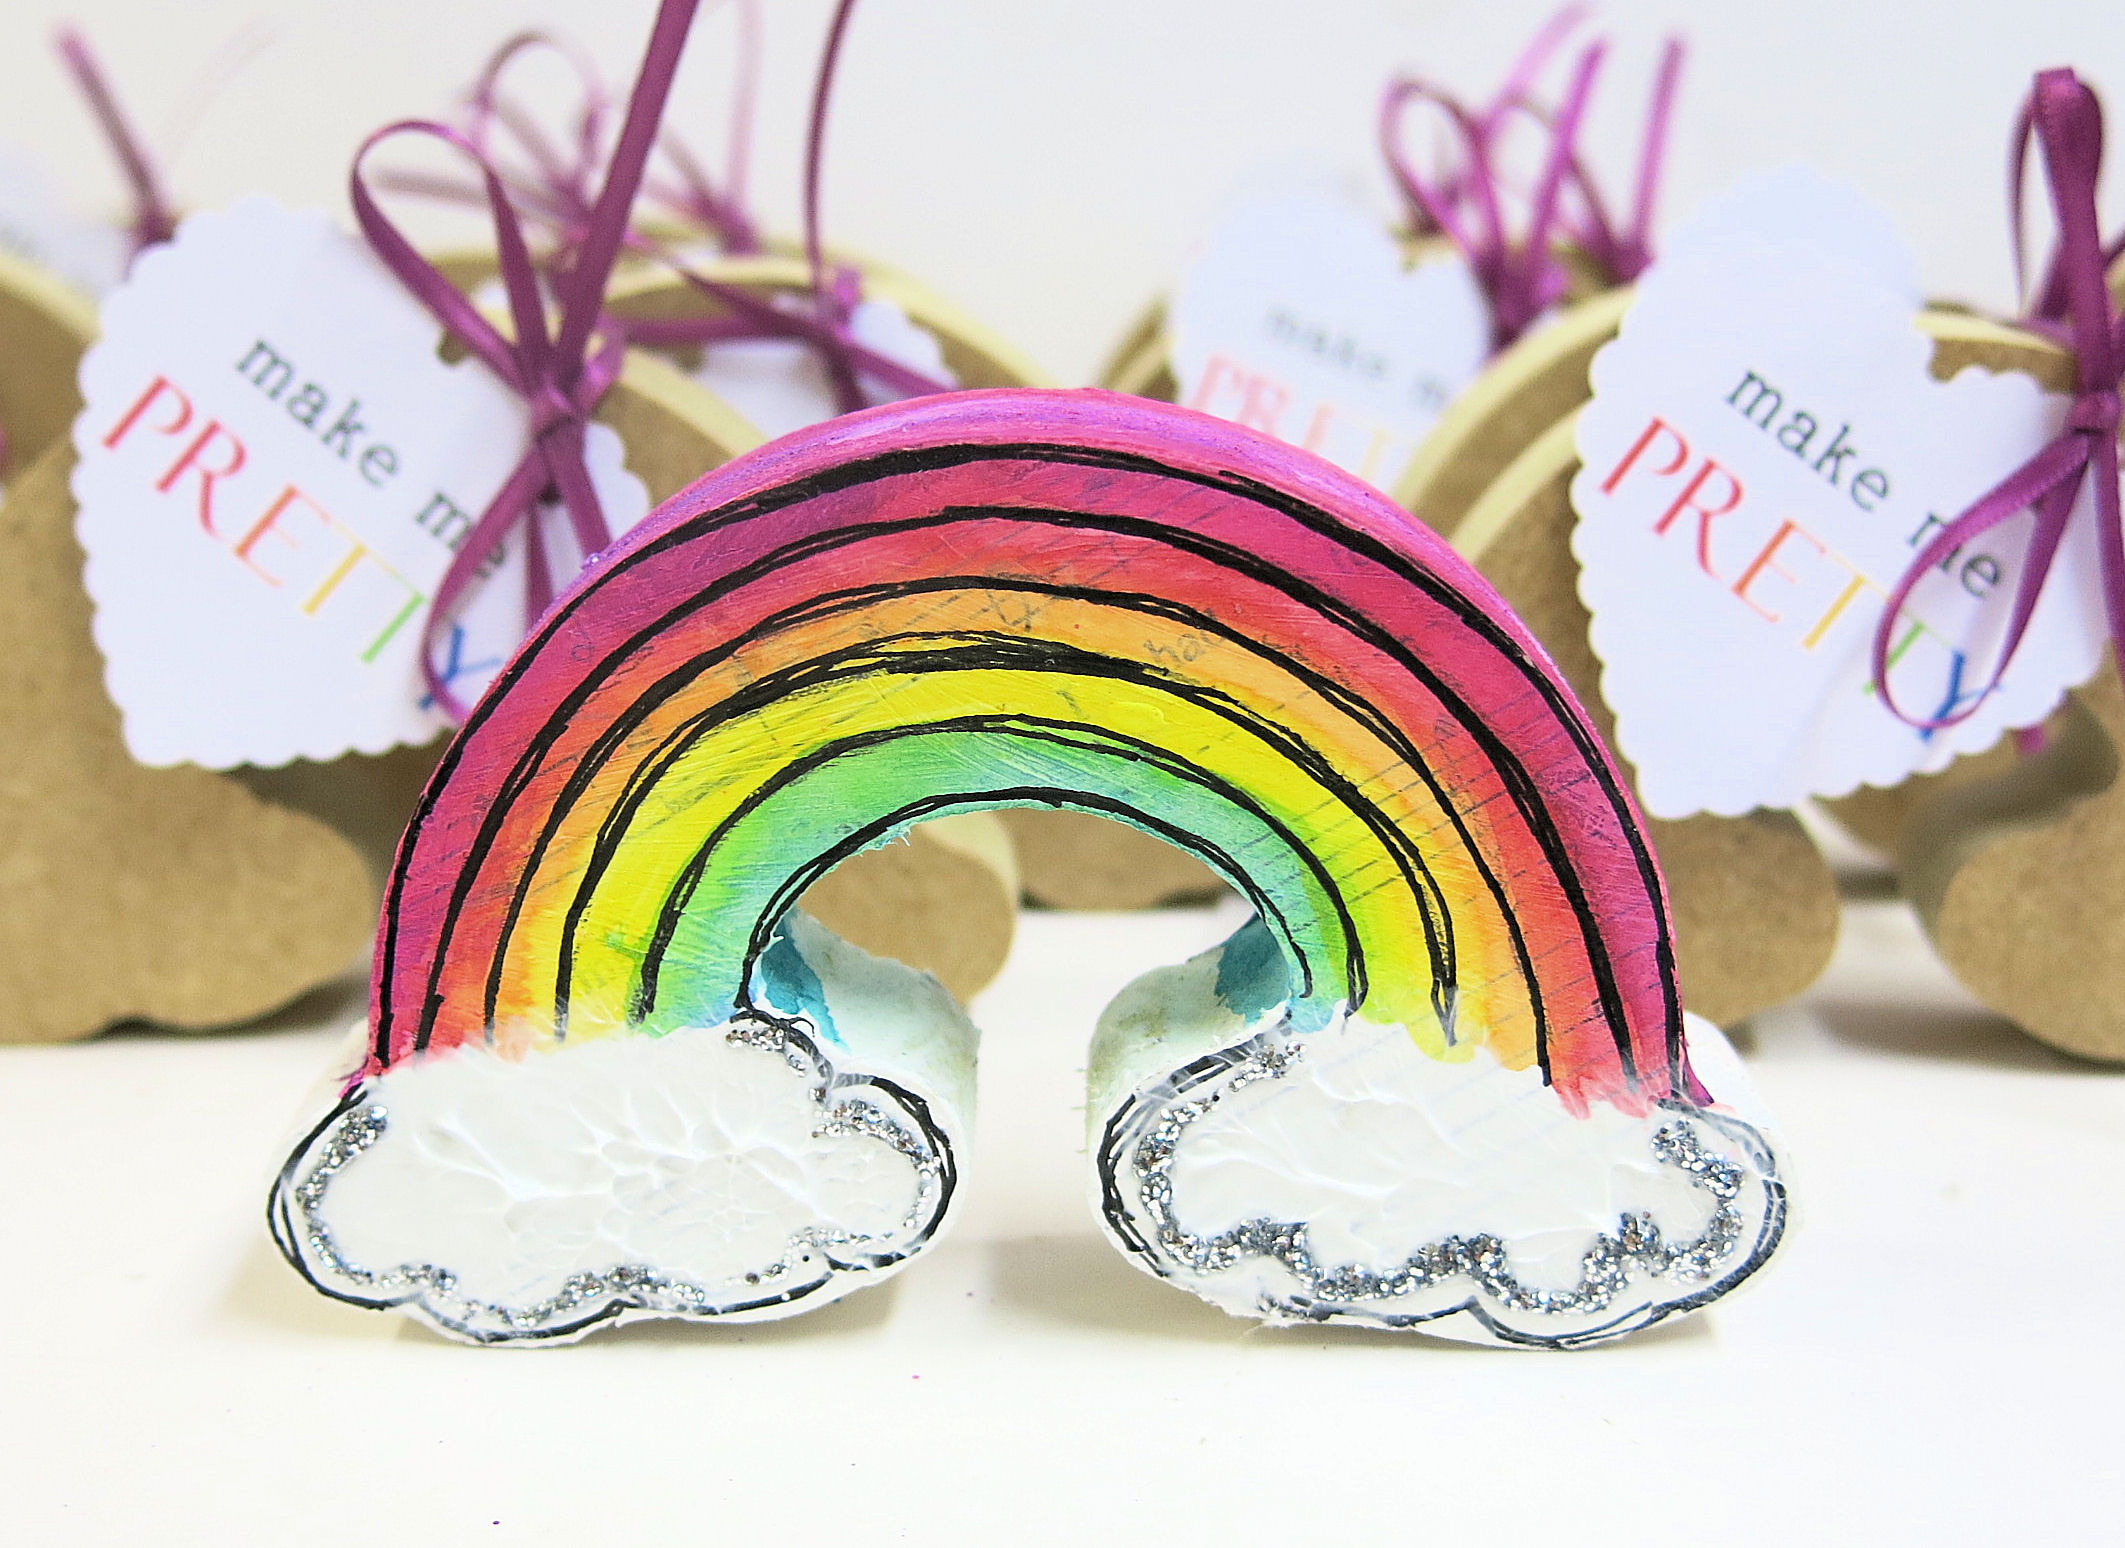
To finish I added a little texture to my clouds. I used some moulding paste. I simply applied with my index finger and as I lifted my finger from the cloud it left the textured look and dried like this. I used some silver stickles glitter to go around the cloud to create the ‘silver lining’ (which every cloud has of course!).
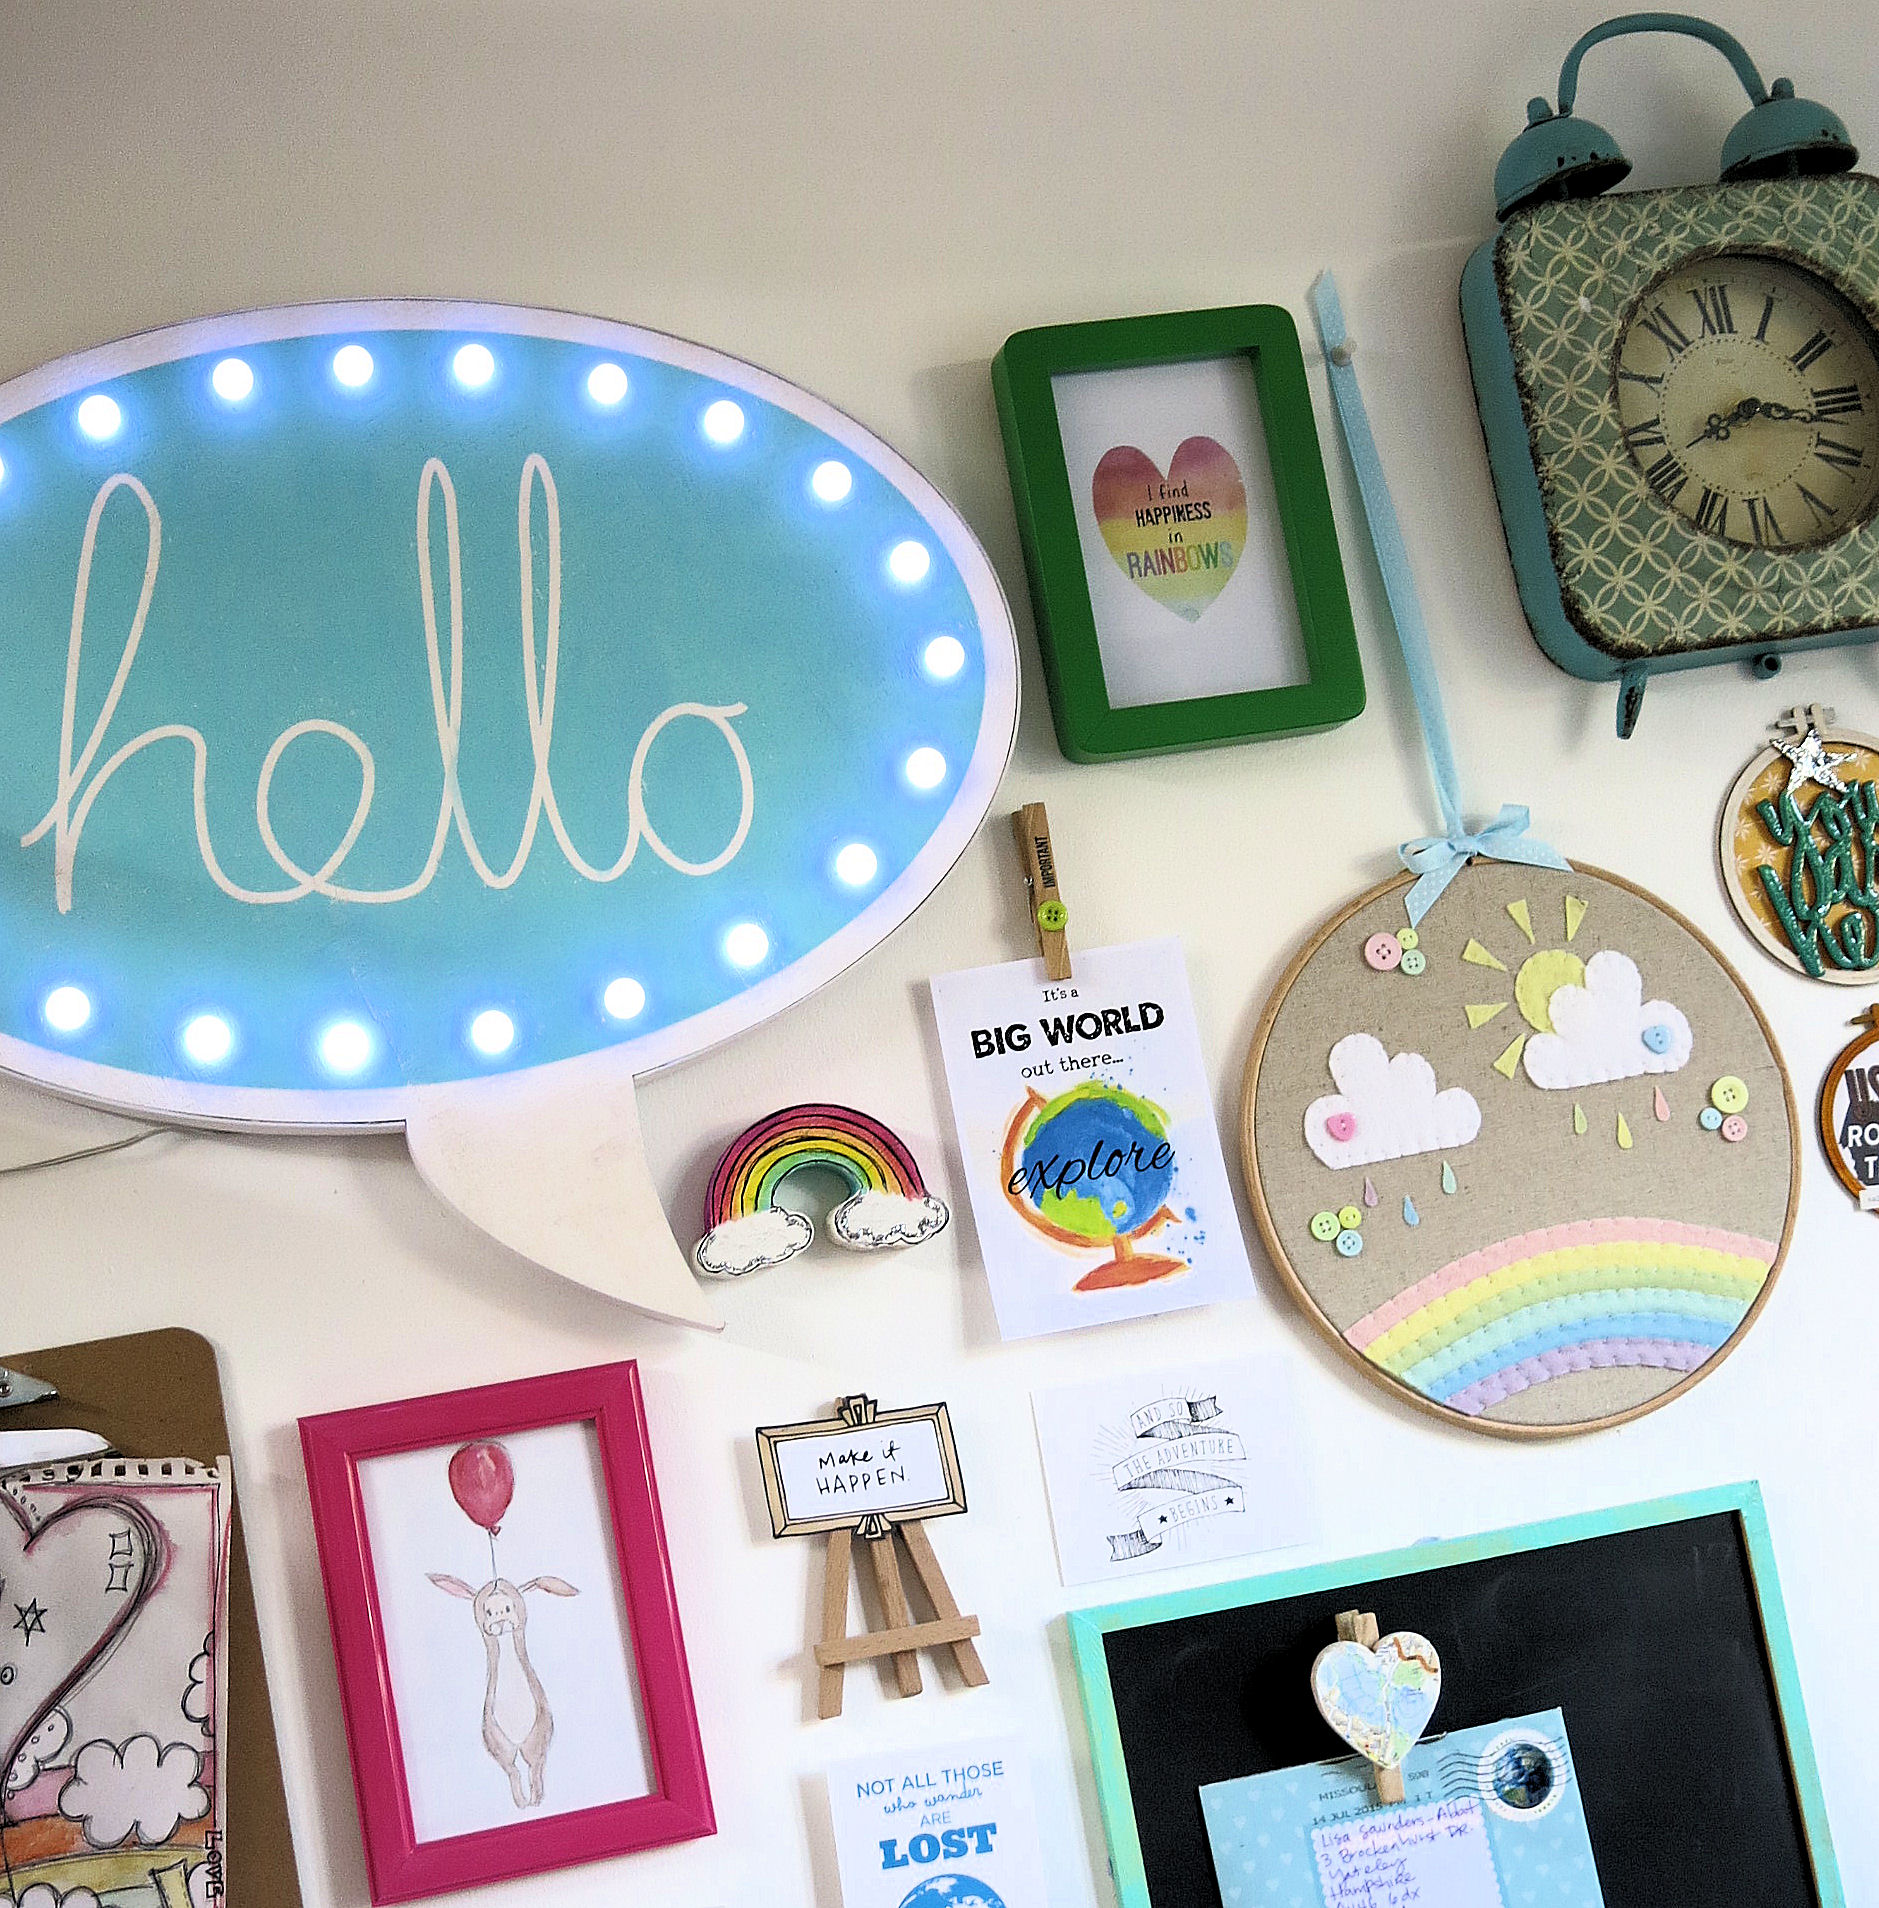
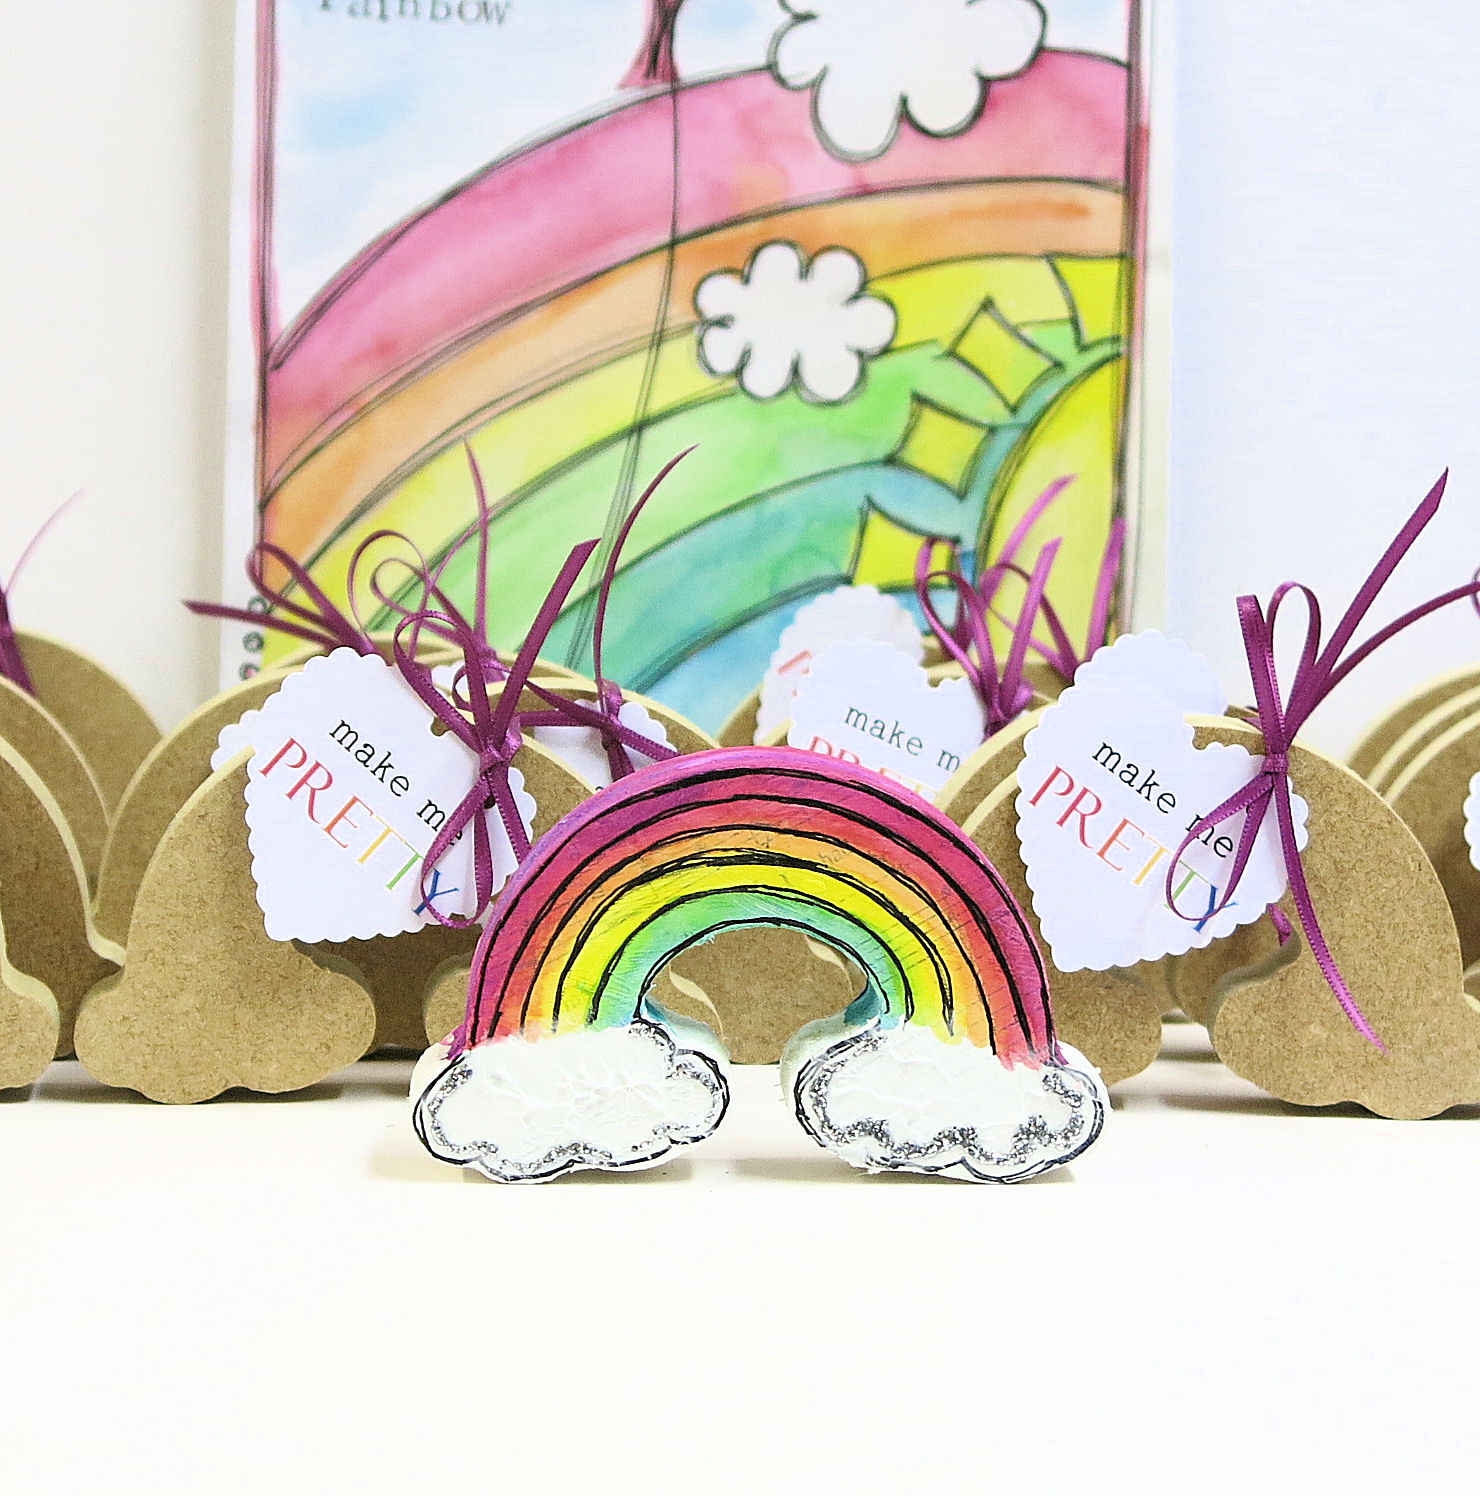
I had originally planned to sit my rainbow on a shelf in my studio (I love that they are free standing) but in the end I added some blue tack on the back and it’s become a part of my gallery wall along side my desk. Fun!!! Now I’m thinking about it. I think I might buy a much larger rainbow and have it sat on my window ledge of my studio.
The wooden rainbows were all cut and supplied to us from Custom Craft Shapes. A small husband and wife business who are a delight to work with. There are many different shapes and fun items in the online store. I think I will be making lots of Christmas gifts like this, this year.
Please do keep in touch. I’d love to see your transformed rainbows. Remember to hashtag us so that we can see – lollipopboxclub on Facebook and Instagram.
Have a colourful day.
Lisa x


Leave A Comment