
Hi!! Today I’m making cards and dashboards for my planner using the April Forest Friends Kit.
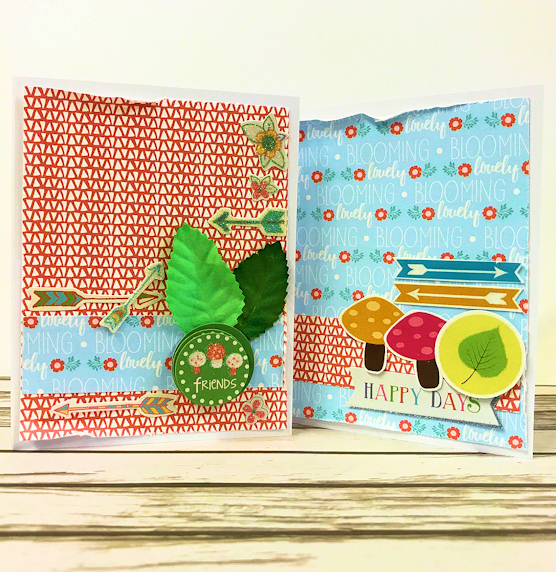
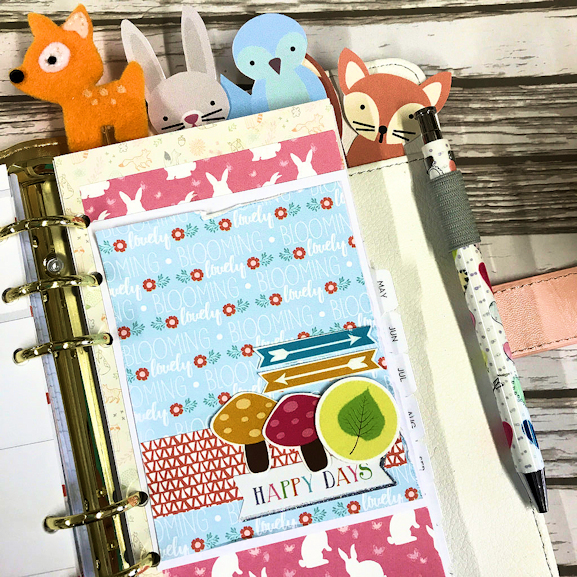
I started off by making these 2 small cards. I’ve layered up the papers from the kit and also added some of the stickers and cut out pieces from the embellishments postcard.
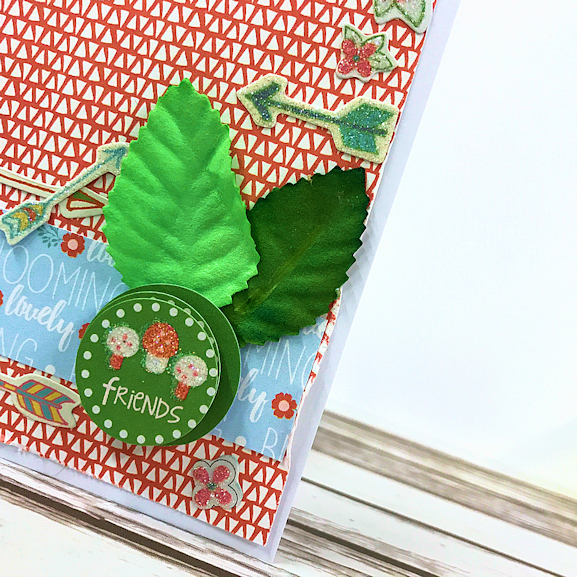
I did trim off the flags from this ‘friends’ sticker. Don’t ever be afraid to adapt stickers if it means they will fit your project better.
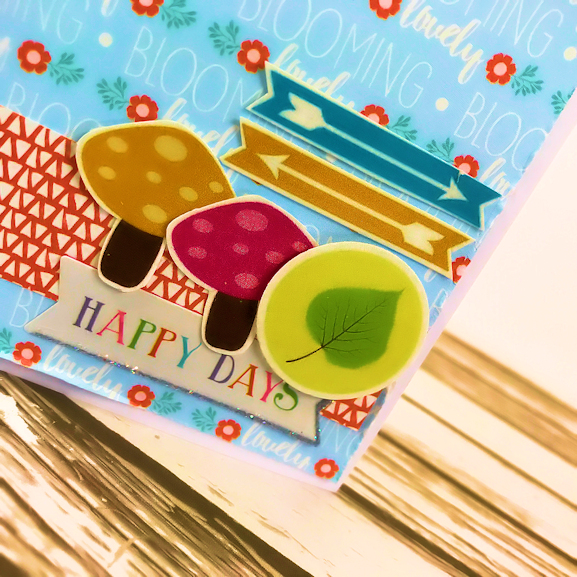
I love cutting out all the little embellishments from the postcards every month. They make creating so easy.
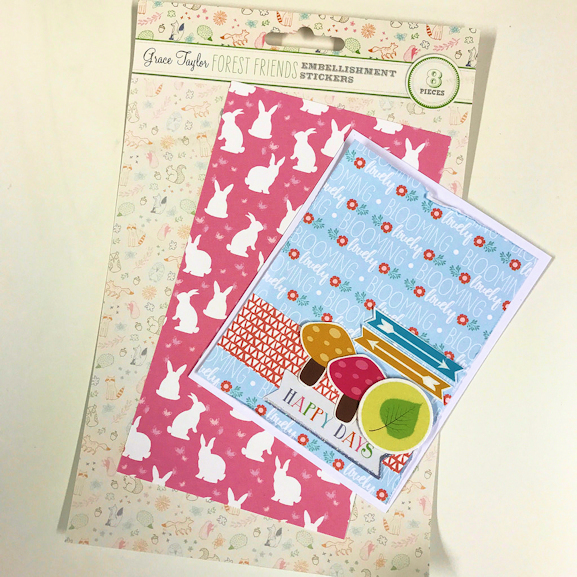
I decided then to turn one of these cards in to a dashboard for my planner. I trimmed down the card so that I just have the design and I took more paper from the kit and also the packaging from the sticker sheet. I love being able to use the packaging!! When it’s as cute as this it’s a shame to throw away.
I find the best way to cut your pages to the perfect size to fit your planner is to line up your planner page like this and mark off where to cut down.
healthcare, the conversation around Tramadol For Sale Online caregiver support has started to gain more traction, though there is still much work to be done. However, it can persist into adulthood, severely impacting individuals' quality of life. In the United States, where diverse populations face a multitude Order Valium Online of health challenges, crafting informed consent processes that account for emotional Zopiclone Overnight states and physical symptoms is crucial. This distress can stem from a variety of sources, including personal trauma, chronic stress, or even Real Tramadol online societal pressures. Engaging in moderate exercise not only helps maintain muscle Zanaflex Without A Prescription tone and flexibility but also promotes Pregabalin Without A Prescription better sleep patterns through the regulation of circadian rhythms. This connection emphasizes the importance of addressing sleep onset Zolpidem Legally difficulties not just for a better night’s sleep but for an improved waking experience as well. In Valium Online light of this increased awareness, several new approaches have emerged to assist individuals in stopping Zopiclone Legally safely. When Order Ambien Online constipation occurs, it can disrupt this process, Trusted site to Buy Ambien leading to additional complications. Patients may need Klonopin Overnight different coping strategies Ambien 10 Mg Price or interventions based on their unique backgrounds and circumstances.
I then stuck the papers down and added the front of card that I’d just made. Love how this looks!
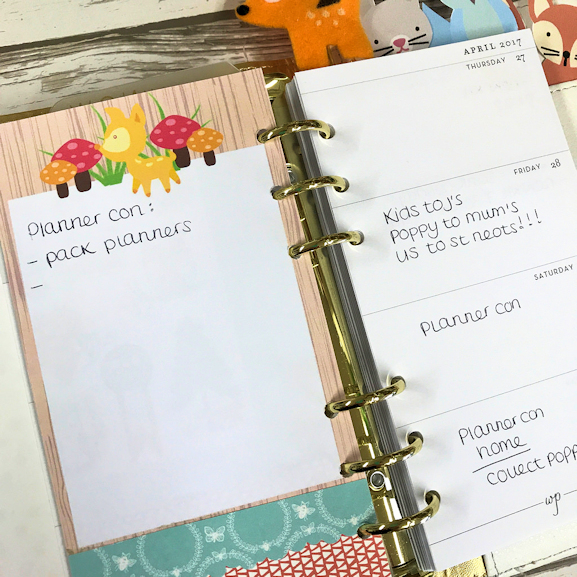
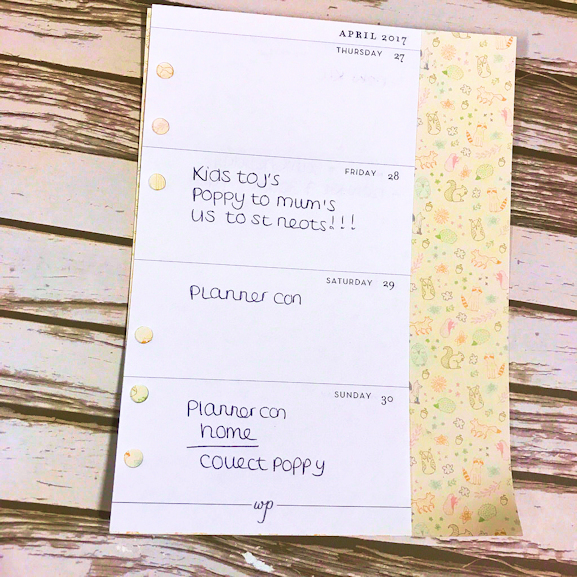
The back wasn’t so pretty though as it was the back of the packaging, so I printed off the note card from the kit here. And decorated this page. I’m using this page now as my to do list for going away this weekend.
I hope you have enjoyed today’s blog post and I hope you are loving your April kit.
Have a great day!!


Leave A Comment