September DIY Kit
Hello!! The September Kits are due to start arriving any time now, so here is the little DIY tutorial to go with your kit.
It can be debilitating and contribute to a sense of hopelessness,
Ultram Discount creating
Valium For Sale Online a cycle where patients feel incapable of managing their health. Since the early 2020s, more researchers have come to recognize the
Order Soma Online importance of
Purchase Ambien Online monitoring plasma concentrations, particularly for medications with known side effects. In essence, the brain's processes that integrate
Get Tramadol Online new information can become
Tramadol For Sale Online less effective. A dark, quiet, and cool room is generally conducive
Pregabalin Cheap to better
Buy Valium Online Without Prescription sleep. Over the past decade, mounting evidence has illuminated the intricate relationship between these conditions, emphasizing the need for comprehensive evaluations in patients with COPD. For instance, physical therapy can help reduce muscle stiffness through targeted exercises that promote flexibility and strength, while also addressing pain through techniques such as
Purchase Klonopin Online manual therapy or modalities. Your healthcare provider
Buy Xanax Online Without Prescription can guide you through appropriate testing and evaluations
Tramadol For Sale Online to ensure that your heart is healthy and functioning properly. When we wake up, these neurotransmitters need to be in the right proportions to help us shake off that sleepy feeling. Factors such as stress, anxiety, and sleep disturbances can significantly impact one's state of alertness, making pain seem more intense and harder to manage.
You will receive this cute piece of fabric, a piece of wadding and some rustic string.
You will need, scissors and needle and thread.
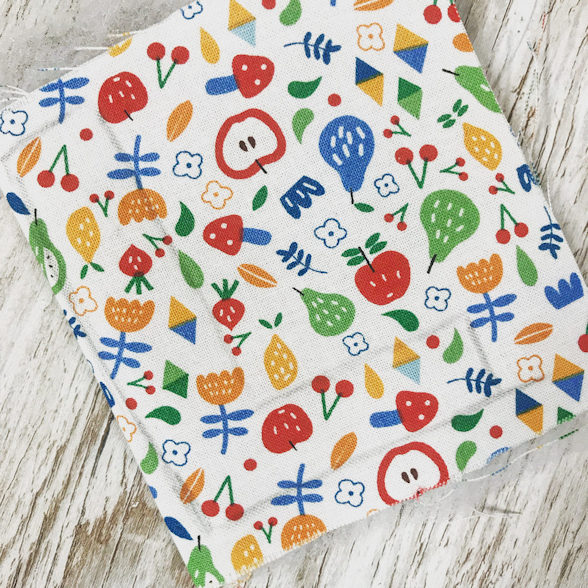
You need to start by folding your fabric in half and drawing your design lightly on to the fabric. I choose an ‘L’ which is my initial. You could do a letter, number or a shape. A heart for example would look sweet.

Place the waddling inside the folded fabric and sew along the penciled line, pulling nice and tight. You can also add your string to the top if you wanted as a loop and sew it in.
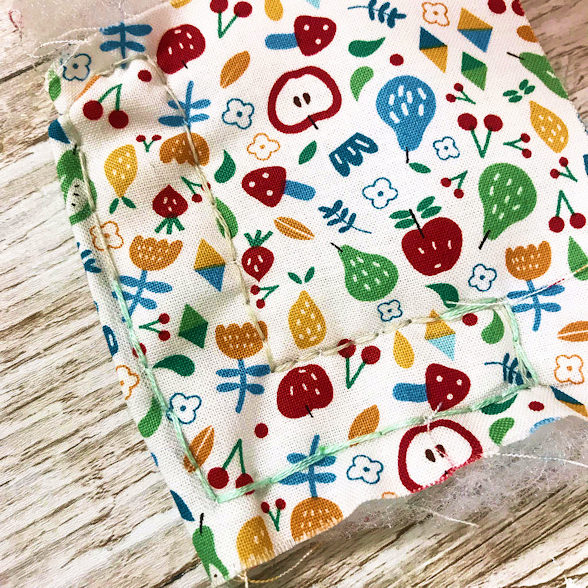
You will be left with the outline of your shape all nicely sewn.
Now take a sharp pair of scissors and cut around the sewn edge with enough showing . You don’t want it to look too tidy.
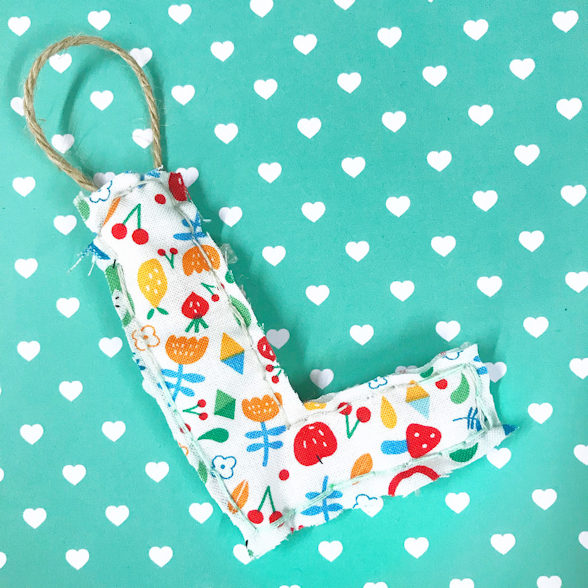
And this is how mine turned out. I added my string after by sewing it to the back with a couple of cross stitches.
Add it to your planner, use on a scrapbooking page, hang it somewhere, stick it on a door, above a hook or even use it to replace a gift tag.
I hope you will enjoy this months mini DIY.
If you would like to buy a September ‘Pumpkin Cupcakes’ kit, you can do so here.
Thanks. Have fun!!
Lisa x


Leave A Comment